


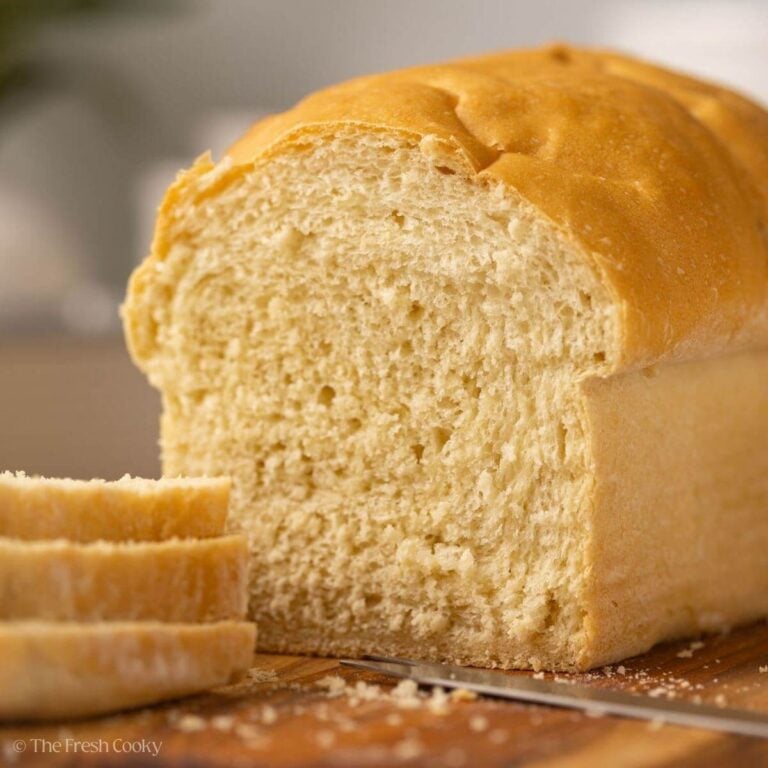
There’s nothing quite like the smell of freshly baked sandwich bread wafting through your kitchen, and this Homemade Bread Recipe is one you’ll turn to again and again. With just a handful of pantry staples and a little time, you can make soft, flavorful white bread that’s perfect for sandwiches, toast, and so much more!
Homemade Bread Recipe
Making your own sandwich bread from scratch may seem daunting, but it’s actually quite simple! Plus, the taste of fresh bread is so much better than store-bought. Whether you’re making the best-ever overnight French toast or keeping it classic with a peanut butter and grape jam sandwich, this homemade loaf delivers soft, flavorful slices, without any preservatives. Once you try it, you’ll wonder why you didn’t start baking your own bread sooner!
This is a great basic or starter bread recipe that you can build on with fun variations (hello, cinnamon swirl or honey oat!). If you’re new to bread baking, don’t worry—I walk you through every step and share my best tips to help you succeed. You’re just one loaf away from becoming a confident bread baker!
Praise for the best soft, sandwich bread
Since I bake at high altitude, I work with a team of recipe testers across the country to make sure my recipes work at sea level and everywhere in between. No matter where you bake, you can trust it’ll turn out! Below are a couple of reviews from my recipe testers:
“I thought this was a delicious loaf. It is easy to make, certainly beginner-friendly, and the result is outstanding. The crumb is tender but sturdy enough to hold up well to a sandwich (my son wanted a grilled cheese on it and it worked perfectly!) and it has great flavor. I used the honey option for sweetener and thought it was a perfect level of sweetness.” ~ Adrienne
Dawn said, “I finally made the bread yesterday!! I didn’t realize how easy it was!! It’s good. I did everything in my Breville mixer. It rose pretty quickly for me because it’s warm out. I’ll definitely make it again. I used my organic Costco flour and not bread flour, and sugar, not honey.“
“I made the Basic sandwich bread. I followed your directions. I don’t have milk so I used ½ cup half and half plus one tablespoon and ½ cup plus 1T of water. I had to add 4-5 tablespoons of flour because the dough was sticky. It was still a bit sticky, but I didn’t want to add too much flour. On the first rise, I checked it at one hour, and it was already doubled. The second rise I checked at 30 min, and it was already a couple of inches above the pan. Maybe I should have punched it down and let it rise again, but I baked it at that point. It tastes very good, but it is a bit soft for sandwiches.” ~ Susan
(Kathleen’s note: Using the half and half with water may have contributed to the softness of the loaf)
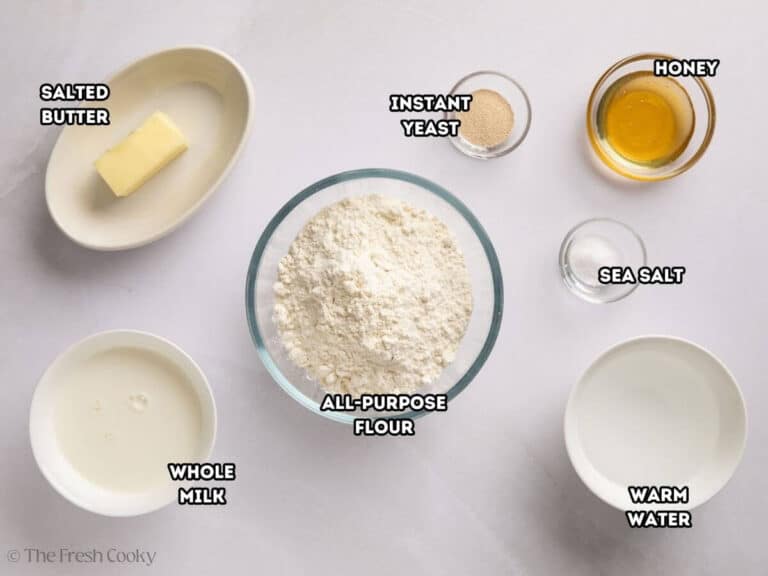
White Bread Recipe Ingredients
This recipe easily doubles for 2 loaves of bread! Split the piece of dough in half when forming the loaves.
- Unbleached All-Purpose Flour: Provides structure and soft texture. You can also use bread flour or a mix of both for a chewier crumb.
- Honey or Granulated Sugar: Adds a touch of sweetness and helps activate the yeast.
- Fine Sea Salt: This enhances flavor and helps control gluten. If using kosher salt, increase to 1 ½ teaspoons.
- Instant Yeast: I recommend Saf Instant Yeast for ease and reliability. Refer to the notes in the recipe below for instructions on using active dry yeast.
- Salted Butter: Adds richness and softness to the loaf. If using unsalted, add a pinch more salt.
- Whole Milk: Helps tenderize the bread and adds flavor.
- Warm Water: Works with the milk to hydrate the dough and activate the yeast.
Get the full recipe in the recipe card below.
How to Make White Bread Recipe
How to Make Homemade Sandwich Bread
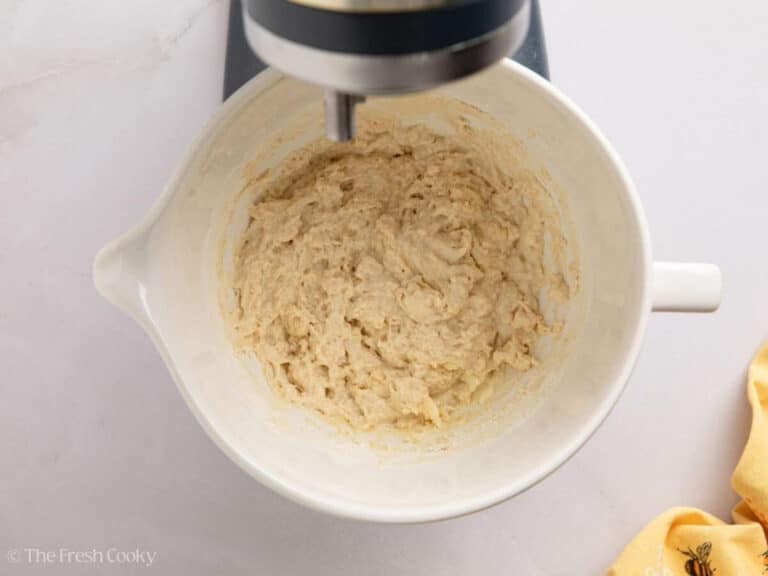
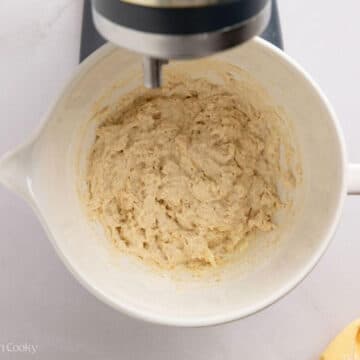
Step 1 – Mix the Dough
In a large bowl or the bowl of a stand mixer, combine flour, honey (or sugar), salt, yeast, softened butter, milk, and water. Stir until no dry flour remains. Let rest for 15 minutes, covered.
Using active dry yeast?
Proof it first by stirring it into warm water with a pinch of honey or sugar. Let the yeast mixture sit for 5–10 minutes until it’s bubbly and active, then continue with the recipe as directed.

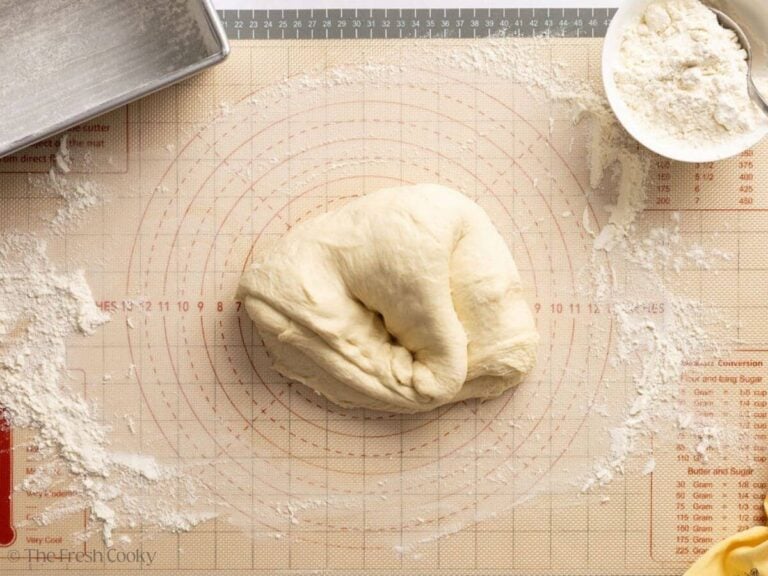
Step 2 – Knead the Dough
- By hand: Knead on a lightly floured work surface for 5 minutes, until smooth and springy.
- By stand mixer: Use the dough hook and mix until the dough pulls slightly away from the sides of the mixing bowl (about 5 minutes).

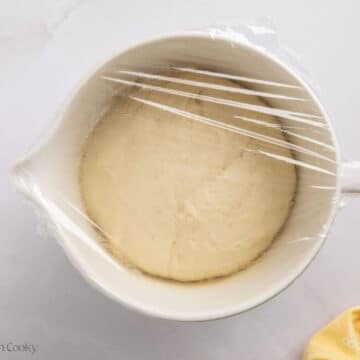
Step 3 – First Rise
If using a separate bowl for rising, rub a teaspoon or two of vegetable oil or olive oil around the bottom and sides of the bowl, then add your bread dough. Cover the bowl and let the dough rise at room temperature for 1–2 hours, until puffy and about doubled.

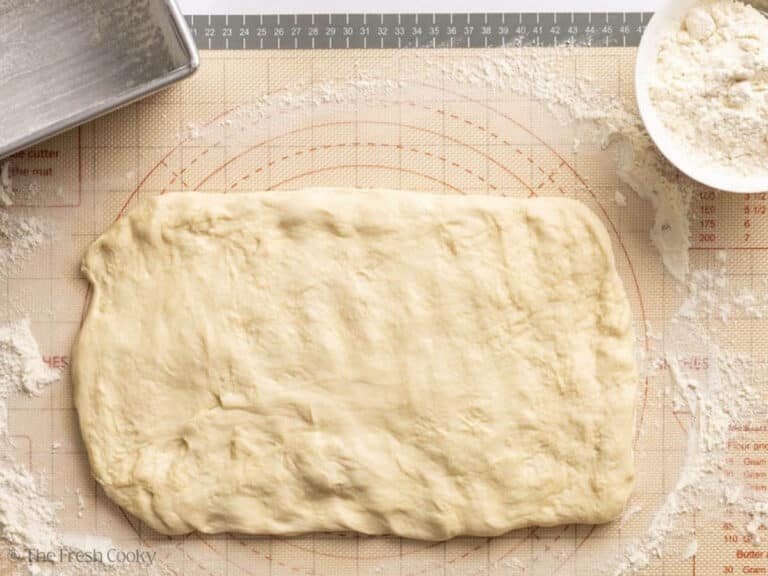
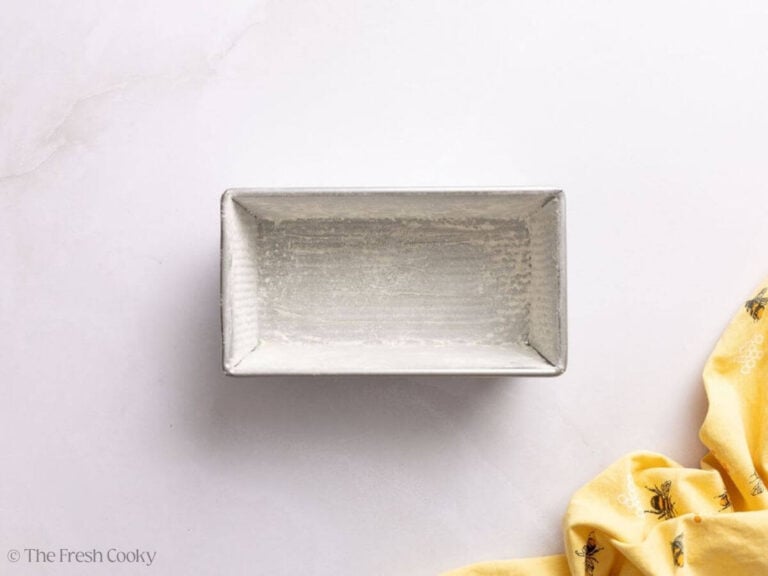
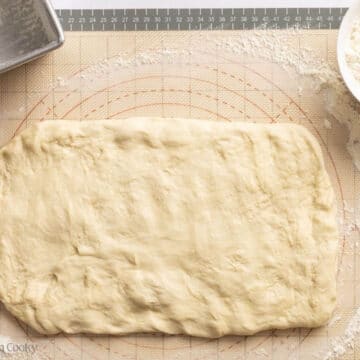
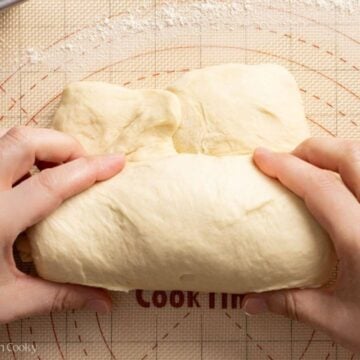
Step 4 – Shape the Dough
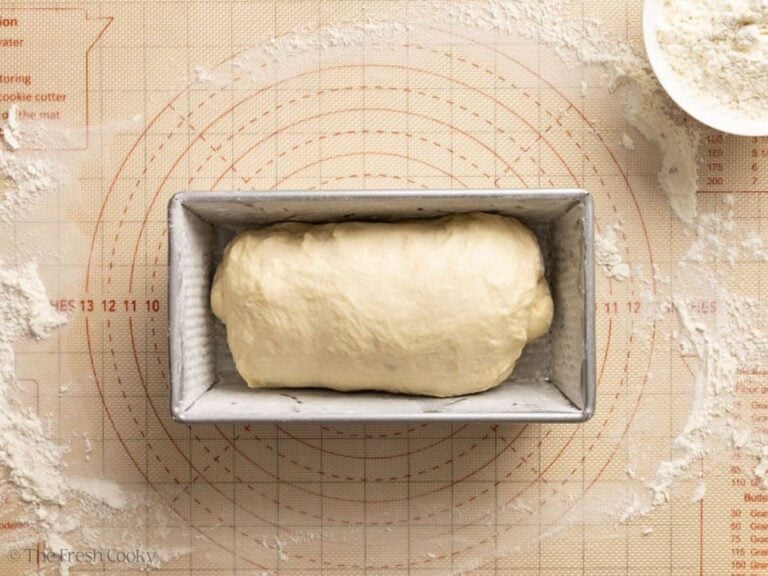
Lightly flour your surface and flatten dough into a 12×8-inch rectangle. Fold in the sides and roll into a log. Pinch the seam and place seam-side down in a greased loaf pan.

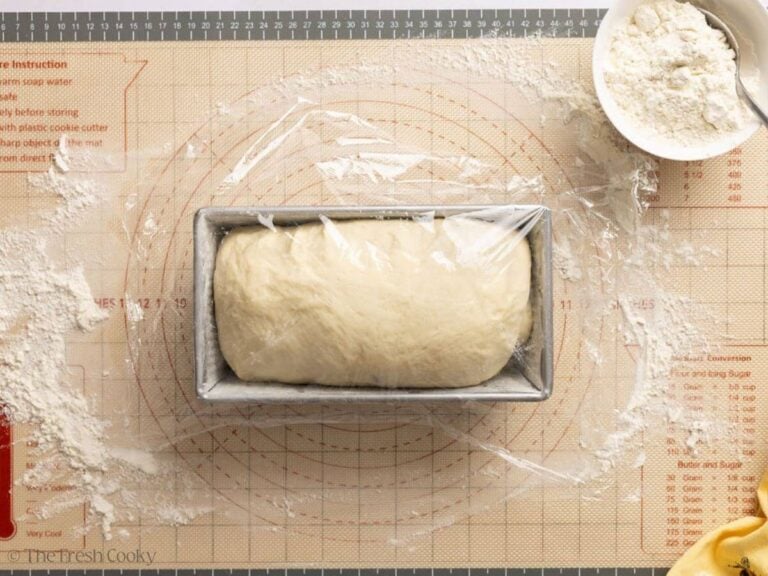
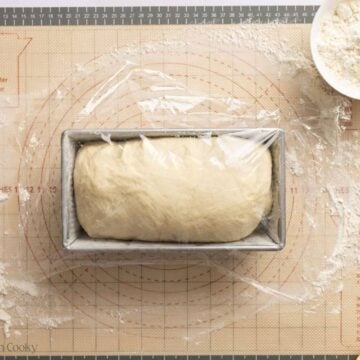
Step 5 – Second Rise
Cover and let the dough rise until it is about 1 inch above the edge of the pan, 1 to 2 hours. In warm kitchens (e.g., summertime), keep an eye on it; see tips below.
Fresh Tip: Kitchen Temps Matter
Kitchen temperature and humidity can really impact how your sandwich bread rises and bakes. In the summer, dough tends to rise much faster, so keep a close eye on it to avoid overproofing. In cooler months, it may take longer to proof depending on how warm your kitchen is.
Generally, a slower, cooler rise gives you better flavor and texture. If your kitchen is really warm and you want to slow things down, place the dough in a cooler spot (like a basement or near a window), or pop it in the fridge for part of the rise to let the flavor develop more gradually.
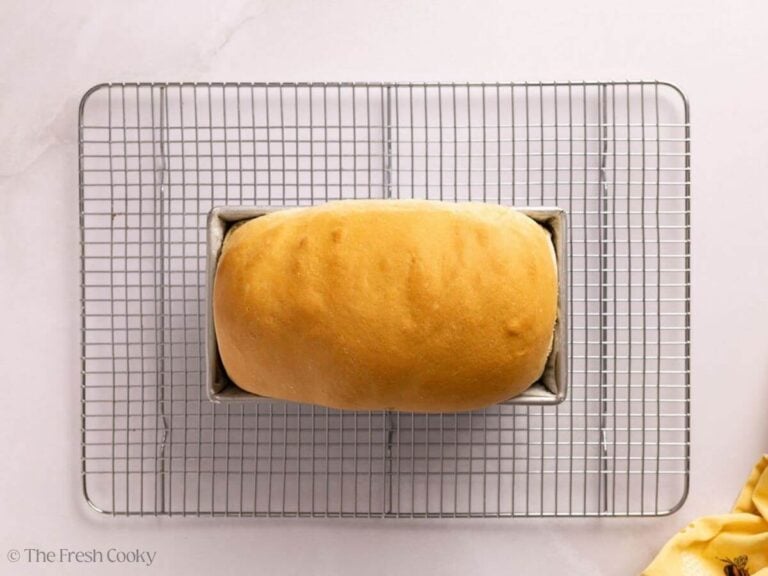
Step 6 – Bake your country white bread
Preheat oven to 350°F (175°C) and bake in the lower third for 30–35 minutes, until golden brown and internal temp is 190°F. Turn out onto a cooling rack and cool for one hour before slicing.

Sandwich Bread Recipe Tips For Success
- Use warm, not hot liquids. Aim for 100–110°F to properly activate the yeast without killing it.
- Don’t rush the rise. A slower rise helps develop more flavor and a stronger structure in your bread. If your kitchen is on the cooler side, try placing the dough near a warm oven or use your oven’s proof setting if it has one. On the flip side, if your kitchen is warm, your dough may rise faster. Just keep an eye on it and don’t let it overproof.
- Just Right Flour. The dough should be tacky but not sticky. Add extra flour a tablespoon at a time if needed.
- Cool completely before slicing. Bread continues to bake as it cools. Cutting into hot bread releases steam and can make the texture gummy; resist the temptation! Allow it to cool for at least an hour before cutting into it.

Ways to use your homemade sandwich bread
- Classic Sandwiches – PB&J, grilled cheese, turkey, and Swiss… you name it.
- Toast – Slather with butter, jam, or avocado for a simple breakfast or snack.
- French Toast – Thick slices make the best golden, custardy French toast.
- Bread Pudding – Use day-old slices for a cozy, no-waste dessert.
- Texas Toast – Thick-cut, buttered, and pan-fried or broiled for the perfect side.
- Croutons – Cube, toss with oil and seasonings, and bake until crisp.
- Stuffing – Perfect for holiday dressing or any savory bread stuffing.
- Paninis or Melts – Holds up well to grilling or pressing.
- Homemade Breadcrumbs – Dry it out, blitz it, and keep on hand for toppings or coatings.
- Egg in a Nest – Butter a slice of bread and tear (or cut) a hole in the center. Place it in a hot skillet over medium heat, then crack an egg into the hole. Cook until set, flip carefully, and cook to your liking. Don’t forget to toast the cut-out piece alongside—it’s perfect for dipping!
- Garlic Bread – Toasted with butter, garlic, and herbs as a side dish or snack.
How to Store Sandwich Bread
Once fully cooled, wrap the loaf in plastic wrap, foil, or a zip-top bag. Store at room temp for 1–2 days. Avoid the fridge—it dries out quickly. For longer storage, wrap the item well (twice is best) and freeze it in a freezer bag with as much air as possible removed.
You can also slice and freeze individual portions for later use. Just thaw in the bag at room temperature.
Bread Machine Instructions
To make this bread in your machine, follow the recommended order of ingredients in your manual, typically starting with liquids (warm water, milk, honey, and butter), then adding salt, flour, and yeast on top. Use the Basic or White Bread setting with your preferred crust color. After a few minutes of mixing, check the dough; it should form a soft, slightly tacky ball. If it’s too sticky, add flour a tablespoon at a time. Allow the machine to finish the cycle, then remove the loaf and cool it on a wire rack before slicing.
White Bread Recipe FAQs
Bread flour gives a slightly chewier texture due to its higher protein content, but this recipe works beautifully with all-purpose flour. You can also use a mix of both.
From start to finish (including rising and baking), this loaf of white sandwich bread takes about 4–5 hours. Most of that time is hands-off while the dough rests and rises. Keep in mind the total time will vary depending on how much time you allow the bread to rise! The colder the environment, the longer it takes to rise.
Yes! All-purpose flour creates a wonderfully soft sandwich bread. Be sure to measure it correctly and adjust for high altitude if necessary.
Yes! This sandwich bread dough is super versatile. Shape it into rolls, twist into garlic knots, or stretch into breadsticks. Just reduce the baking time, most small shapes will bake in 12–18 minutes at 350°F. Brush with melted butter or garlic butter for extra flavor.

Variations and Substitutions
- Whole Wheat Bread: Swap up to half the all-purpose flour with whole wheat flour (avoid stone-ground, which can be too dense). Add a teaspoon or two of extra warm water if the dough feels dry.
- Herb & Garlic Sandwich Bread: Add 1 teaspoon of garlic powder and 1–2 teaspoons of dried herbs (such as rosemary, thyme, or Italian seasoning) to the dough for a flavorful twist.
- Honey Oat Bread: Use ¼ cup honey and stir in ½ cup of old-fashioned rolled oats. Sprinkle extra oats on top before baking for a rustic look.
- Cheese Swirl Bread: After shaping the dough into a rectangle, sprinkle with ½ to 1 cup shredded cheese. Roll, pinch, and place seam-side down. Try cheddar, mozzarella, or a cheese blend.
- Seeded Sandwich Bread: Mix in 2–3 tablespoons of seeds, such as flax, sunflower, or sesame. For a seeded crust, brush the top with milk or egg wash and sprinkle with more seeds before baking.
- Cinnamon Raisin Bread: Add 1 teaspoon cinnamon and ½ cup raisins to the dough.
- Cinnamon Swirl Bread: For a swirl effect, spread a mix of ¼ cup sugar and 1–2 teaspoons cinnamon over the rolled-out dough before shaping.
- Buttery Crust: For a soft, rich crust, brush the loaf with melted butter as soon as it comes out of the oven. It adds a beautiful shine and a touch of buttery flavor.
- Dairy-Free or Vegan Country White Bread: Replace the milk with an equal amount of unsweetened non-dairy milk (such as almond, oat, coconut or soy), and use a plant-based butter or neutral oil (like avocado or light olive oil) in place of the butter. The result is still soft, fluffy, and perfect for sandwiches or toast, no dairy needed!
- Bake using a regular loaf pan or use a Pullman sandwich bread pan with square sides for the perfect loaf of bread.
High Altitude Baking Tips (3,000–8,000 ft)
If you’re baking at elevation, a few simple tweaks will help your sandwich bread turn out just right:
- Add 3–4 tablespoons extra flour to strengthen the structure.
- Reduce the yeast to slow the rise:
- Use 1¾ teaspoons at 3,200–7,000 ft
- Use 1½ teaspoons above 7,000 ft
- Add 1–2 tablespoons extra warm water, just until the bread dough feels tacky (not sticky).
- Check for doneness early — start checking around 25–30 minutes into baking.

More Bread Recipes

More Recipes from The Fresh Cooky
Like this recipe?
Don’t forget to give it a ⭐️⭐️⭐️⭐️⭐️ star rating and leave a comment below the recipe!
Video
Equipment
- kitchen
Ingredients
- 3 – 3 ½ cups unbleached all-purpose flour 360-380 g, plus more for dusting (see notes for high altitude). May use bread flour if preferred, or a combination of bread flour and all-purpose flour.
- 2 tablespoons honey 42 g honey, or granulated sugar 25g
- 1 teaspoon fine sea salt 5 g (if using kosher salt increase to 1 ½ teaspoons)
- 2 teaspoons instant yeast 6 g; I like Saf Instant Yeast (see notes for active dry yeast)
- 4 tablespoons salted butter 57 g, softened (if using unsalted, add ¼ teaspoon extra salt)
- ½ cup whole milk 142 g – includes 2 tablespoons below; warmed to 100–110°F
- 2 tablespoons whole milk
- ½ cup warm water + 1 tablespoon (127 g) warmed to 100–110°F
Instructions
- Mix the Dough: In a large bowl or bowl of a stand mixer, stir together the flour, honey (or sugar), salt, yeast, softened butter, milk, and water until no dry flour remains. I like to use the handle of a wooden spoon or a dough whisk or let the stand mixer do it for you on low. Cover and let rest for 15 minutes.See notes if using active dry yeast.3 – 3 ½ cups unbleached all-purpose flour, 2 tablespoons honey , 1 teaspoon fine sea salt , 2 teaspoons instant yeast, 4 tablespoons salted butter, ½ cup whole milk, 2 tablespoons whole milk, ½ cup warm water

Knead the Dough (by hand or mixer)
- By Stand Mixer (my go-to method): Use the dough hook and mix on low speed until the dough is combined, then increase to medium speed and mix until the dough is smooth and pulls slightly away from the sides (it may still stick to the bottom). This takes about 5-6 minutes.
- By Hand: Transfer dough to a lightly floured surface. Knead for about 5 minutes, until tacky, smooth and springy. It’ll be sticky at first, use a bench scraper to help lift and fold the dough without adding too much extra flour.
- Note: If your dough is extremely sticky, add additional flour a tablespoon at a time, incorporating it first before adding more. If the dough is too dry, add a few teaspoons of water at a time until it is no longer dry.
- First Rise: Cover with plastic wrap or a damp tea towel and let the dough rise in the bowl at room temp until puffy (not necessarily doubled), 1–2 hours depending on the warmth of your kitchen.
- Shape the Dough: Grease an 8½ x 4½-inch or 9 x 5-inch loaf pan with spray oil or softened butter. Lightly flour a work surface and gently turn out the dough using a bowl scraper or spatula. Deflate it and press into a 12 x 8-inch rectangle, using a rolling pin gently if needed. It doesn’t need to be perfect, mine rarely is! Rounded corners are just fine!
- Fold the short sides of the dough toward the center, overlapping slightly. Flatten gently, then roll up from the top into a log. Pinch the seam closed and place seam side down in the prepared pan.
- Second Rise: Cover with a tea towel or plastic wrap and let the dough rise at room temperature until it crowns about 1 inch above the edge of the pan, about 1½ to 2 hours. If it rises too high, it can become overproofed, which may affect the texture and structure of the bread, potentially causing it to deflate.
- Bake: About 30 minutes before baking, preheat the oven to 350°F (175°C) and move the rack to the lower third of the oven. This will help prevent the top from browning too quickly.
- Bake 30–35 minutes, or until the top is golden and the internal temperature reads 190°F.
- Immediately remove from the pan and cool on a wire rack to prevent a soggy crust. Let cool at least one hour before slicing. If brushing with melted butter, do so before turning out of the pan.


Notes
- Add 3-4 more tablespoons of flour
- Reduce yeast to:
- 1¾ teaspoons (3,200–7,000 ft)
- 1½ teaspoons (above 7,000 ft)
- Add 1–2 tablespoons more water, just until the dough is tacky, not sticky
- Start checking for doneness at 25–30 minutes
Nutrition


Heidi
Very easy to make and perfect for sandwiches!
Thanks so much Heidi! I so appreciate you taking the time to comment!