


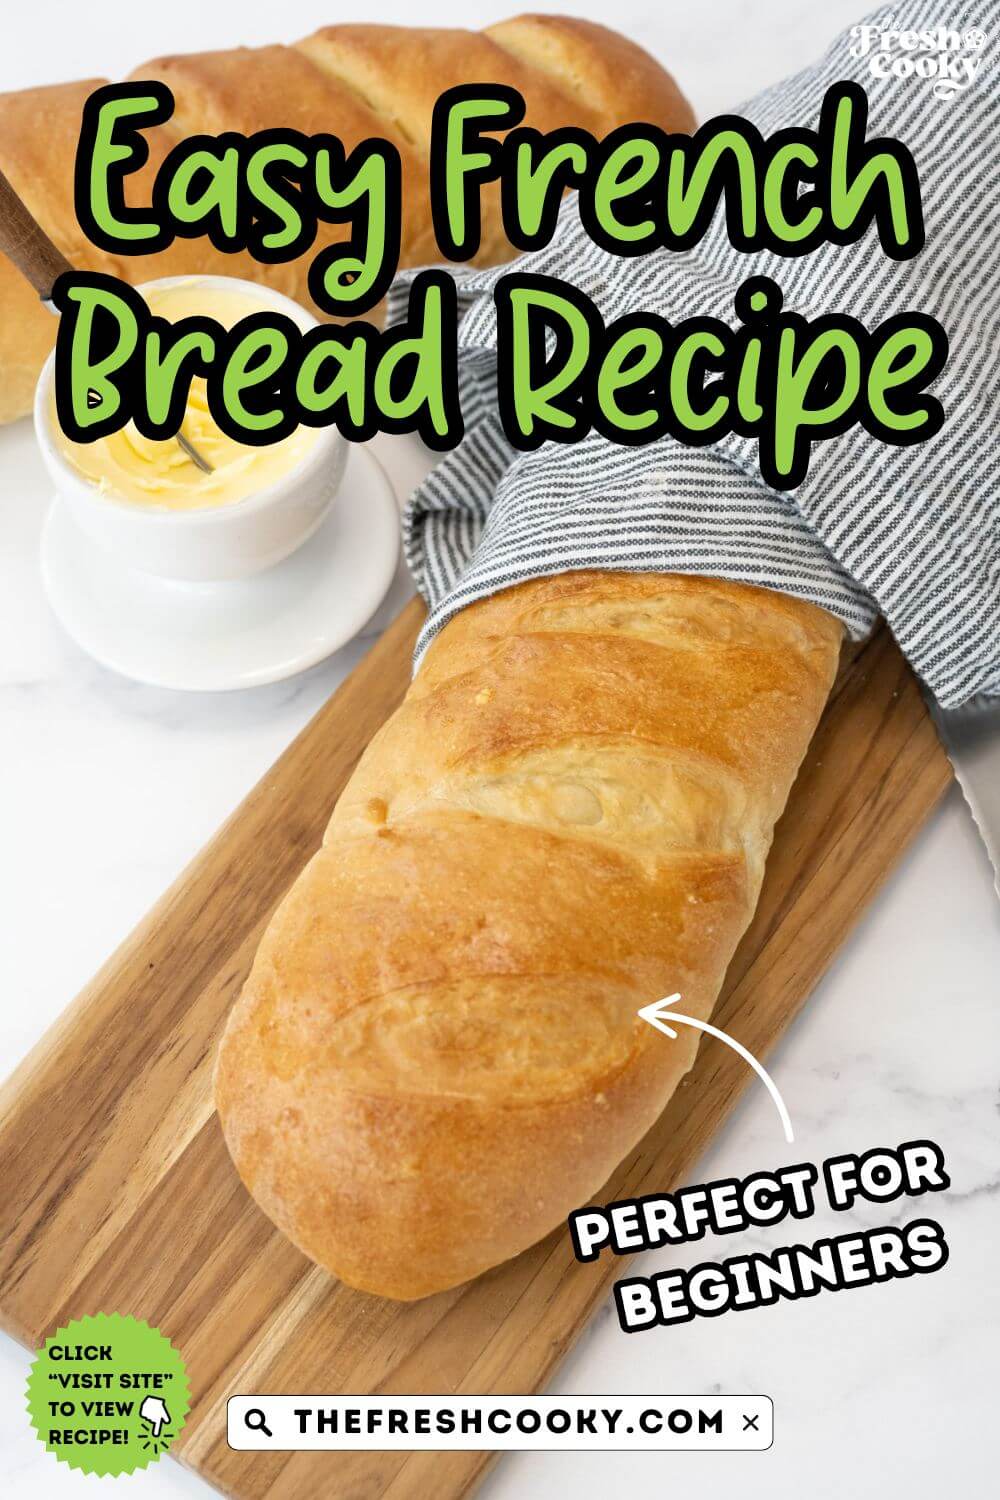
Homemade French bread that’s soft inside, chewy and golden outside, and ready in about 2 hours? Yes please! This beginner-friendly recipe makes two loaves using pantry staples and bread flour for that classic bakery-style texture, but all-purpose flour works great too!
⭐️⭐️⭐️⭐️⭐️ One reader/tester said, “I found the recipe very easy to follow and absolutely beginner-friendly. My measurements and bake times were in line with your instructions, and I was very happy with the results. The bread has a nice chew without being tough, and it is delicious! It is not too sweet nor too salty and has that pleasant yeasty flavor you expect with bread. Definitely something I would make again! Oh and it makes killer French bread pizzas!” ~ Adrienne
The Best French Bread Loaf You’ll Ever Make
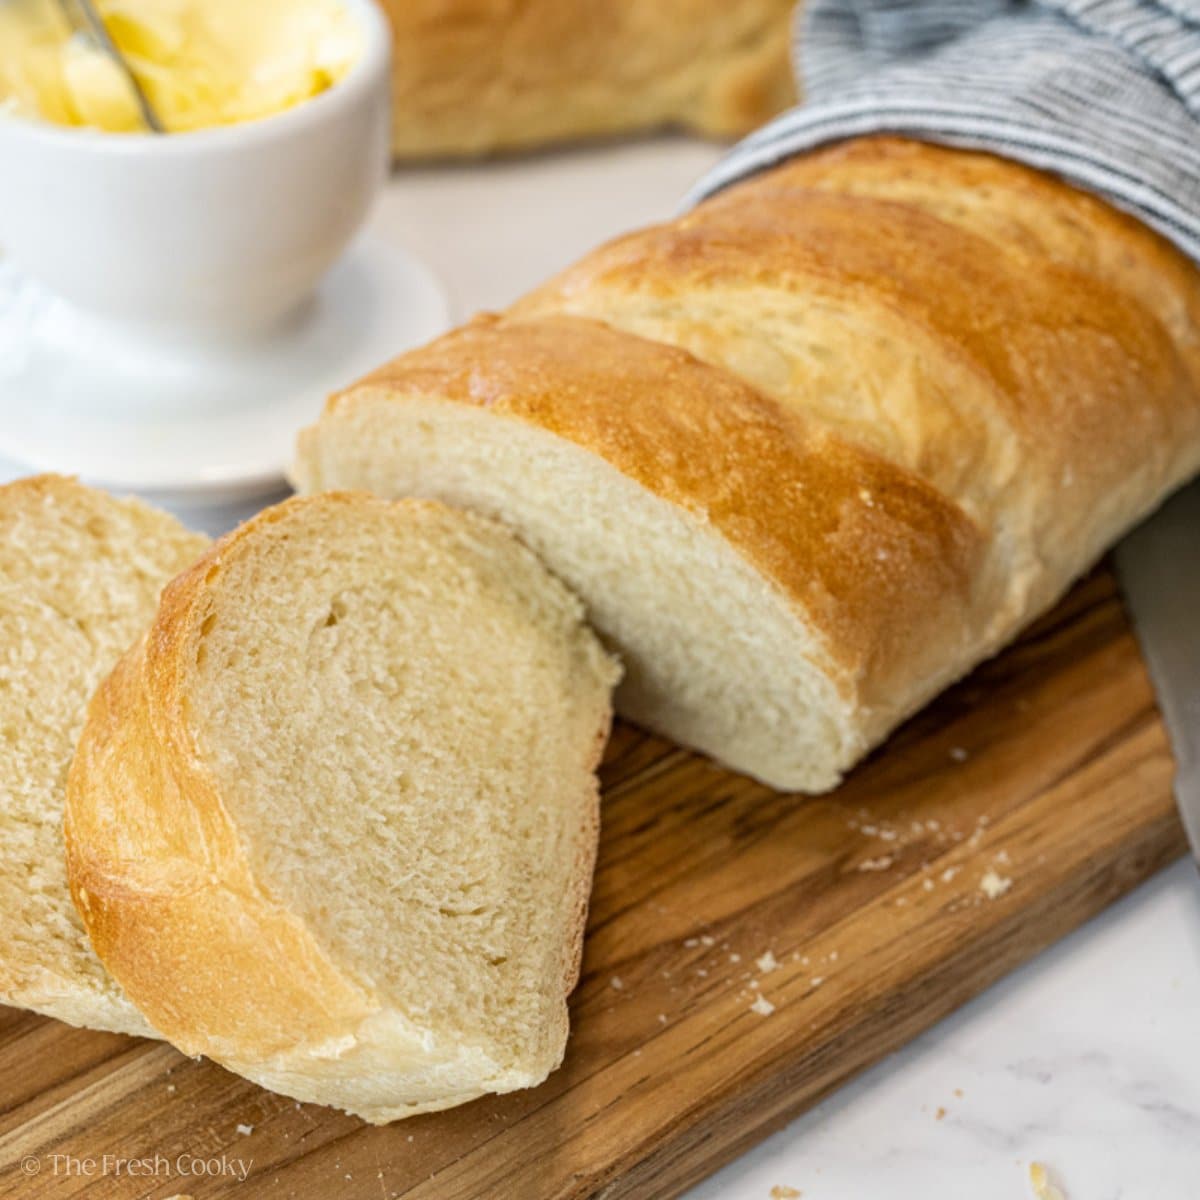
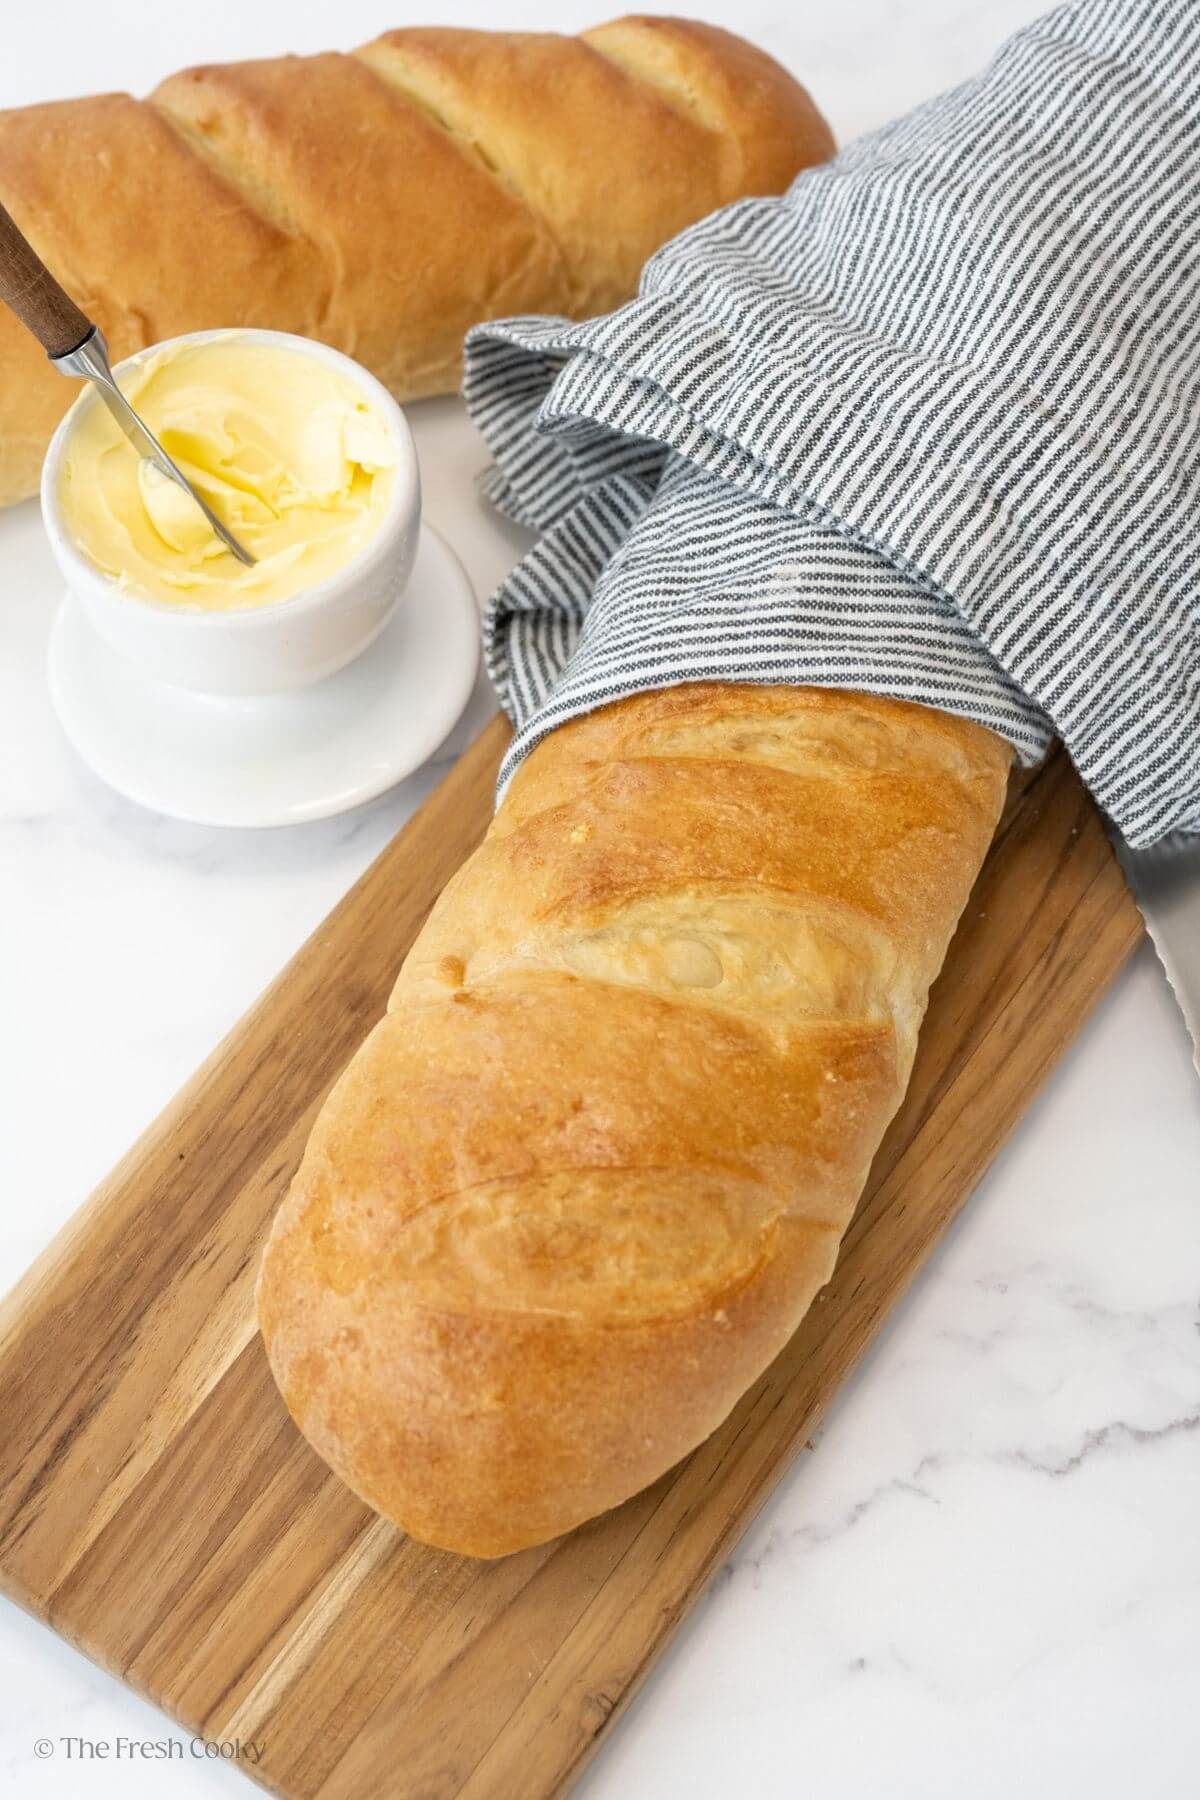
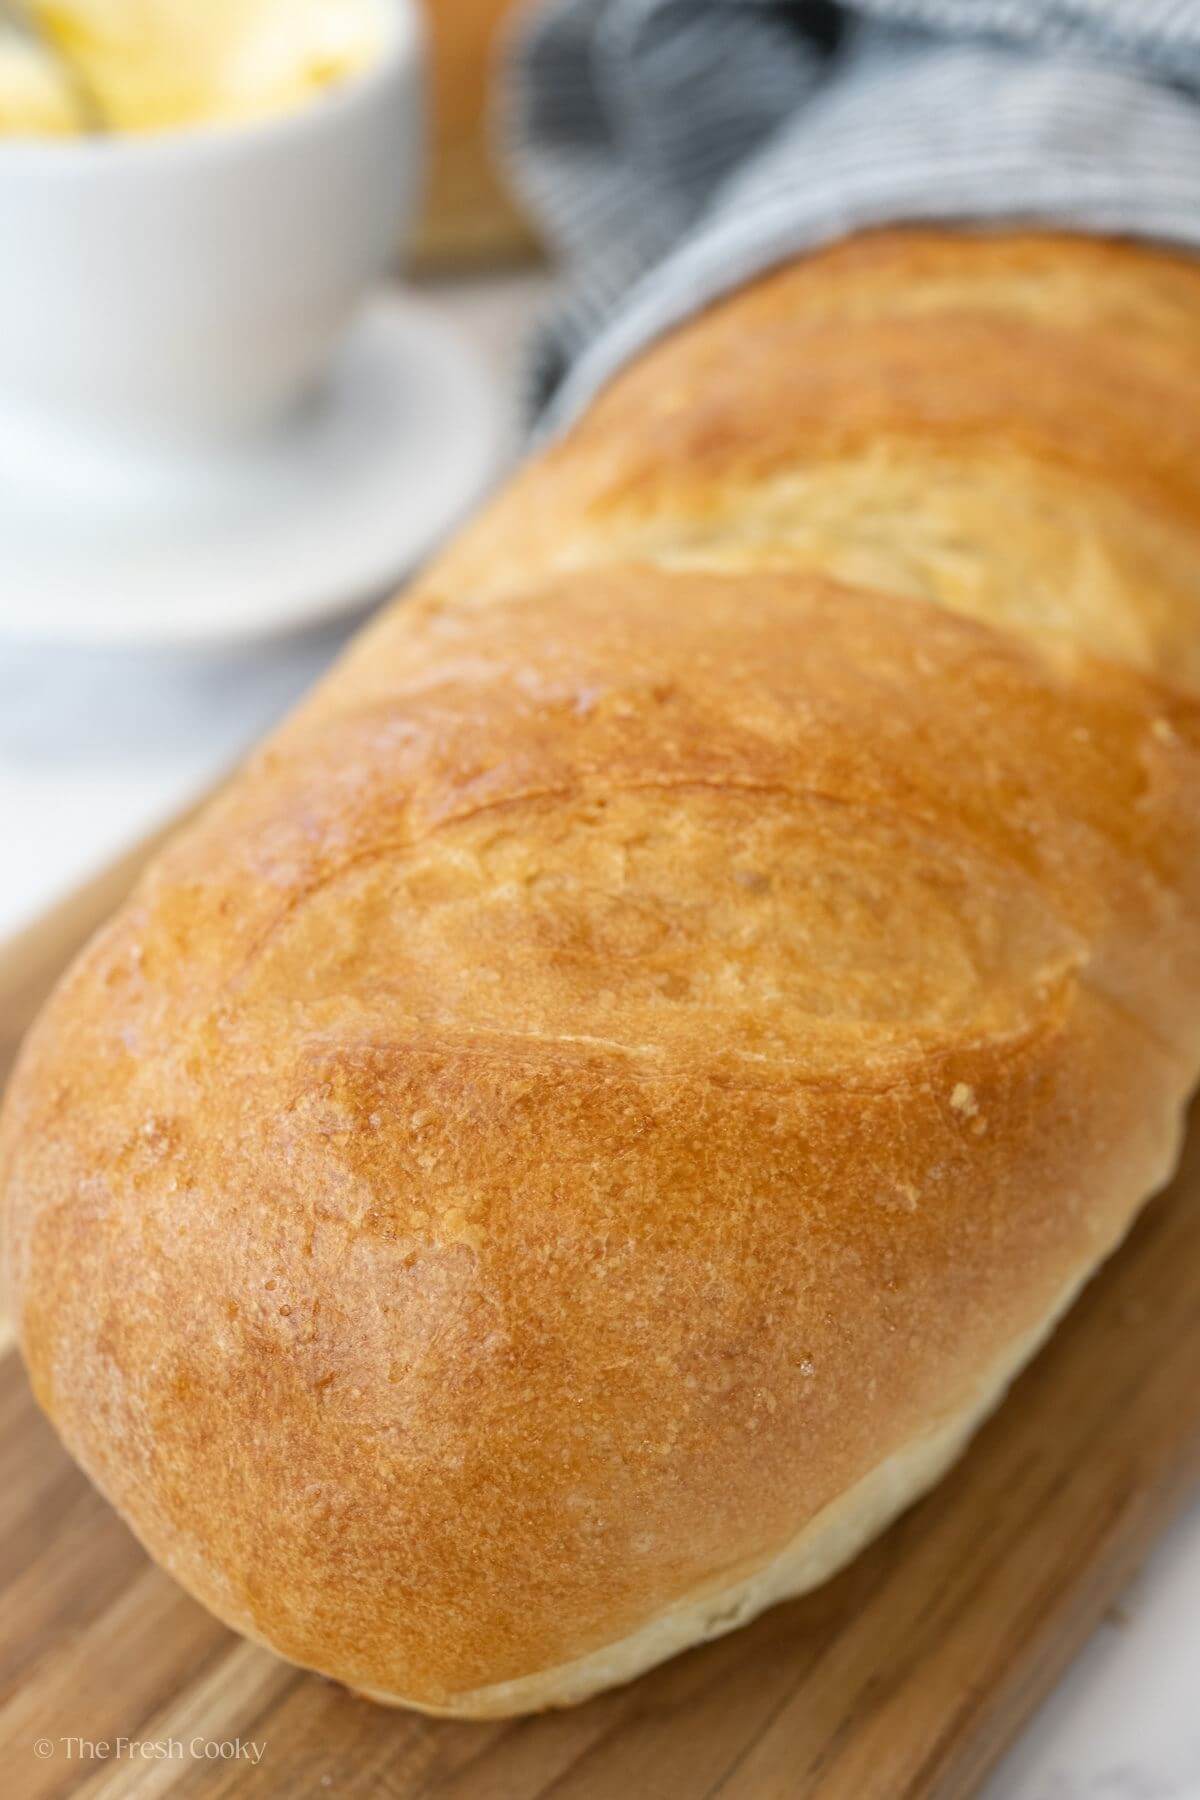
Is there anything better than the smell of fresh-baked bread? If I could bottle that with fresh coffee and sizzling bacon, it’d be my signature scent! Every time I make this French bread, my family comes running for a warm slice. It’s soft and fluffy inside and chewy and golden outside.
Many recipes use all-purpose flour, but I’ve found that bread flour gives this loaf a more authentic chew, just like a bakery-style French bread. You can absolutely use all-purpose (I suggest unbleached), and it will still turn out great, but I recommend trying bread flour at least once for that extra structure and chew. That said, two of my testers mentioned the bread was a bit denser than typical grocery store French bread, not in a bad way, just different. Both enjoyed it, but noted the texture was heartier.
What I love most, besides the taste, is how simple this recipe is. Skip the store and bake two beautiful loaves at home (or half the recipe for just one!).
Recipe Testing Tips & Tricks: I bake at high altitude (5,280 feet!) and have personally tested this French bread recipe to make sure it performs beautifully at altitude. But here’s the best part: every baking recipe on The Fresh Cooky is also tested by a team of dedicated volunteer recipe testers scattered across the country, from sea level and all elevations in between, so you can be confident it’s been tried, tweaked, and perfected to work in your kitchen, no matter where you live. You’ll find my high-altitude tips below if you’re baking at elevation!
Why You’ll Love This French Bread Recipe
I used to think that French bread baked at home was out of my reach. I’ve had lots of flops over the years, dense, heavy “bricks of bread” so to speak. Until I discovered the magic of using bread flour, the higher protein content gives you a far better loaf, with a perfectly soft crust, a tight crumb, and the perfect chew. Perfect for serving to company or just serving along with your soup or stew. And I’ll walk you through each step, with video too!
💡 Quick Tips for Perfect Homemade French Bread
- Use fresh yeast: When in doubt, activate it!
- Give it time to rise: Let it double, but don’t overdo it.
- Use bread flour: For a chewier, bakery-style texture.
- Don’t over-flour: Dough should be soft and slightly tacky.
- Cool before slicing: It finishes baking as it cools!
Video: How to Make French Bread at Home
French Bread vs. Italian Bread
French and Italian breads may look similar, but they have a few key differences, with French bread having a thinner crust and a more neutral flavor, perfect for sandwiches or sopping up sauces. Italian bread, on the other hand, often includes ingredients like milk, olive oil, or sugar for a softer crumb and slightly sweeter taste.
French Bread Recipe Ingredients
- Yeast: Essential for helping the dough rise! Use instant yeast for faster mixing, or active dry yeast, but proof (activate) it first.
- Warm Water: Make sure it’s warm, not hot; or it can kill the yeast. Between 105°F and 110°F (40°C–43°C).
- Honey: Feeds the yeast but doesn’t sweeten the bread. You can use sugar or agave if preferred.
- Salt balances the flavor and helps control yeast activity. Don’t skip it! You’re bread will lack flavor, but also won’t bake evenly.
- Olive Oil: Adds tenderness and richness to the crumb.
- Bread Flour: Gives the bread its chewy texture and good rise. You can use unbleached all-purpose flour instead, but the structure will be a bit softer. Several of my recipe testers and I used King Arthur Bread Flour, which has a higher protein content.
- Egg + Water: Brushed on before baking for a shiny, golden crust. Skip it if you prefer a rustic finish.
- Melted Butter: also optional, brushed on right as it comes out of the oven.
Get the full recipe in the recipe card below.

How to Make French Loaf
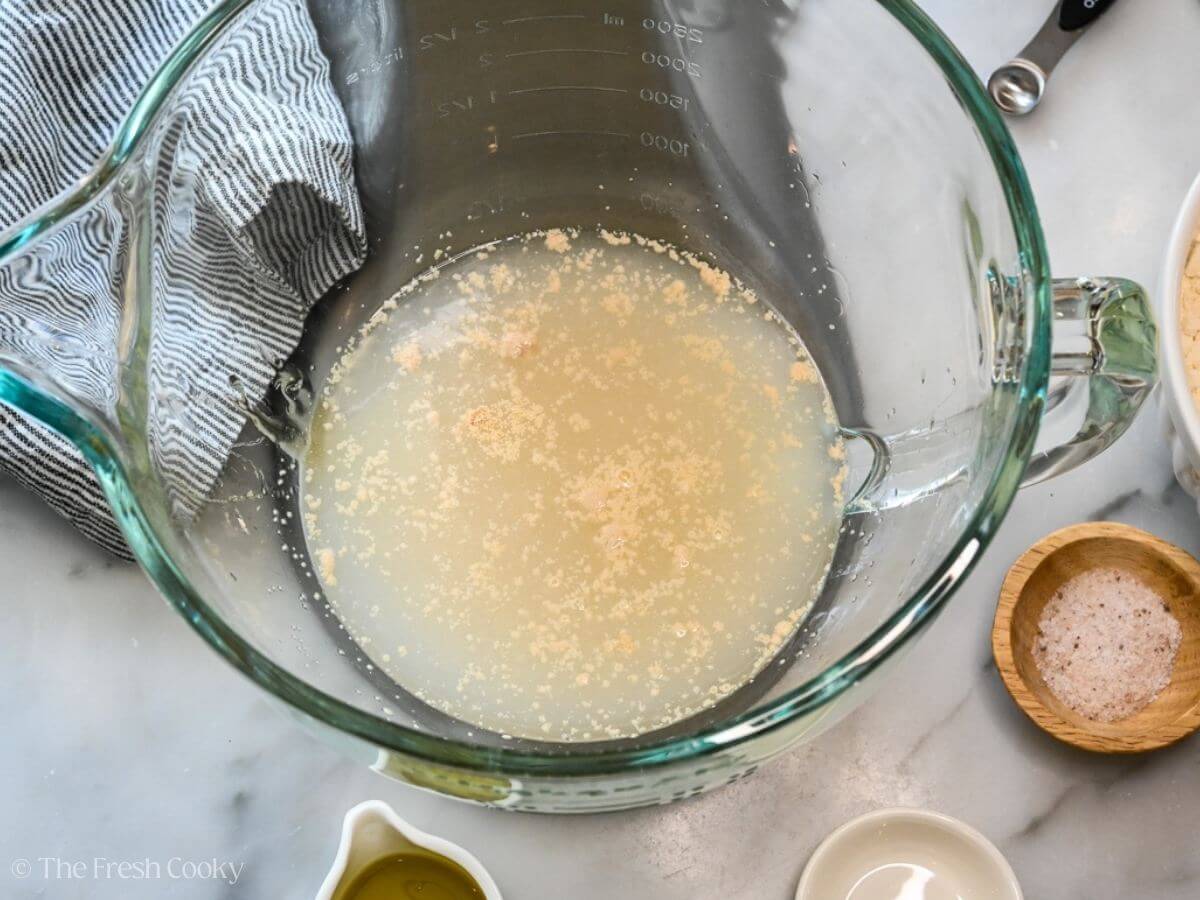
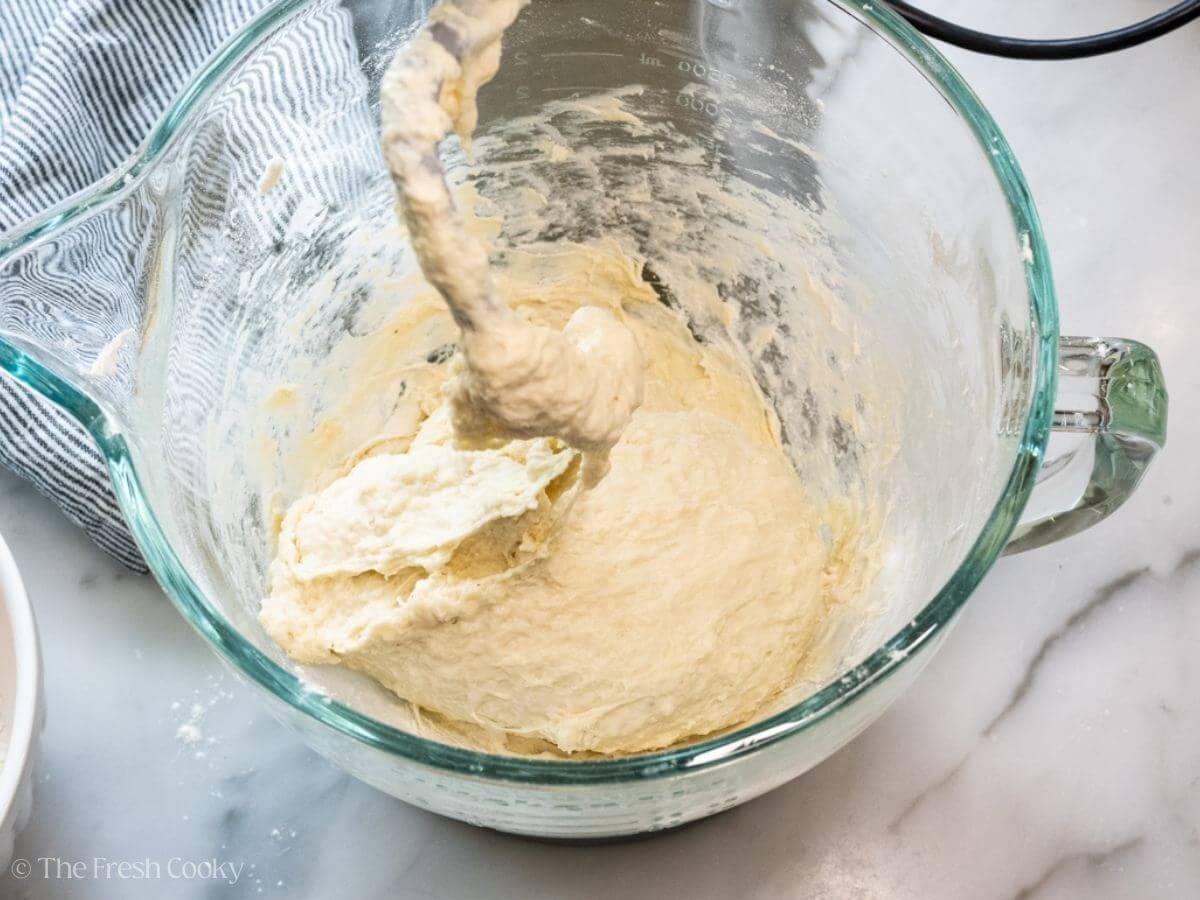
Step 1 – Mix the Dough
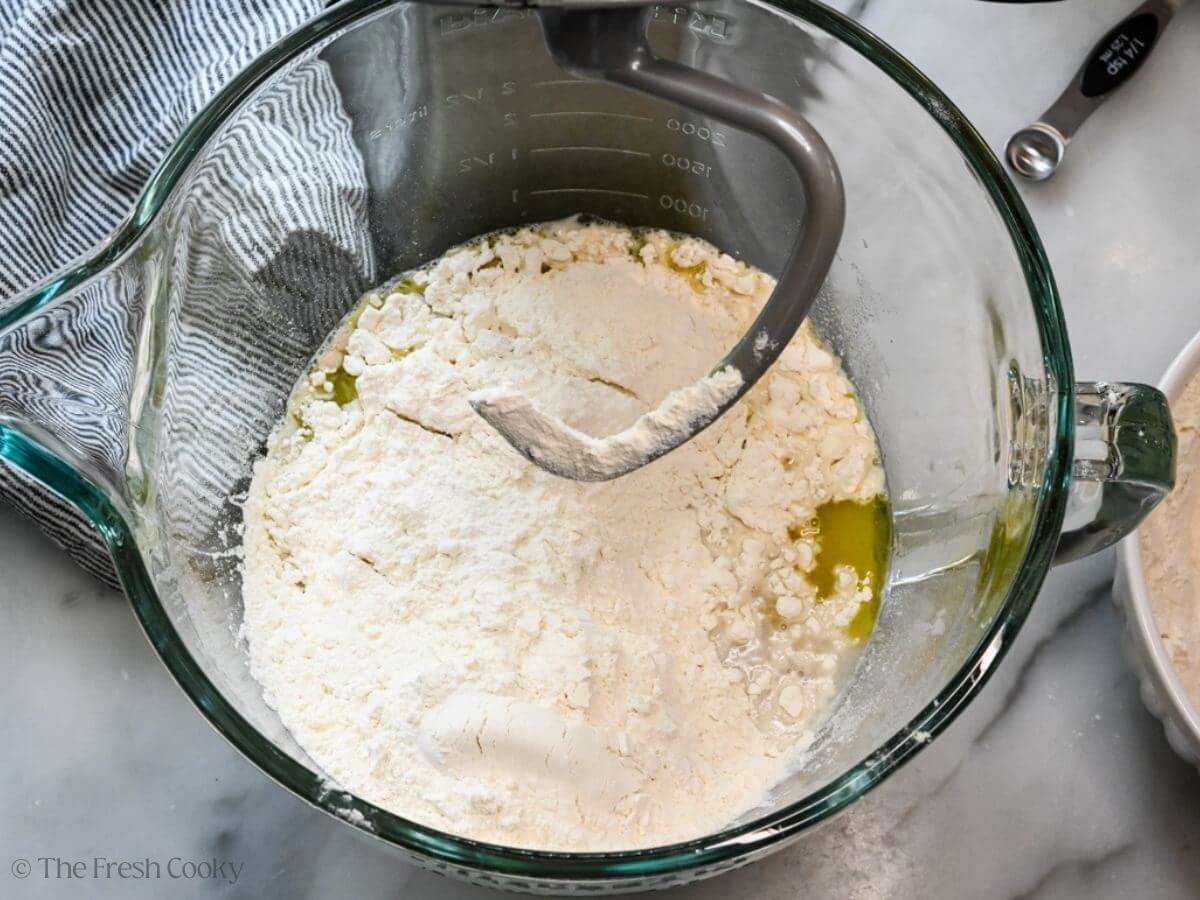
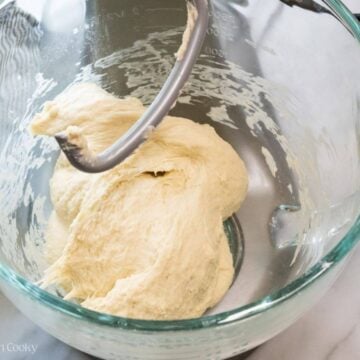
In a large bowl or stand mixer, combine warm water, instant yeast, and honey. Stir mixture briefly. Add salt, oil, and 3 cups of bread flour. Stir with a wooden spoon or dough whisk or mix using your mixer fitted with a dough hook until combined, then slowly add more flour, ½ cup at a time, until the dough pulls away from the sides and is just slightly sticky.
Add more flour as needed, but avoid making the dough too dry; it should be slightly tacky. It shouldn’t stick to the sides of the bowl, but it will stick to the bottom.
Pro Tips for Using Different Yeasts:
- Rapid Rise Yeast – You can use it just like instant yeast, with no changes needed.
- Active Dry Yeast: Proof it first by mixing it with warm water and honey in the mixing bowl. Let it sit for 5–10 minutes, until it becomes foamy, before adding the remaining ingredients. Overall rise times may be a little longer.
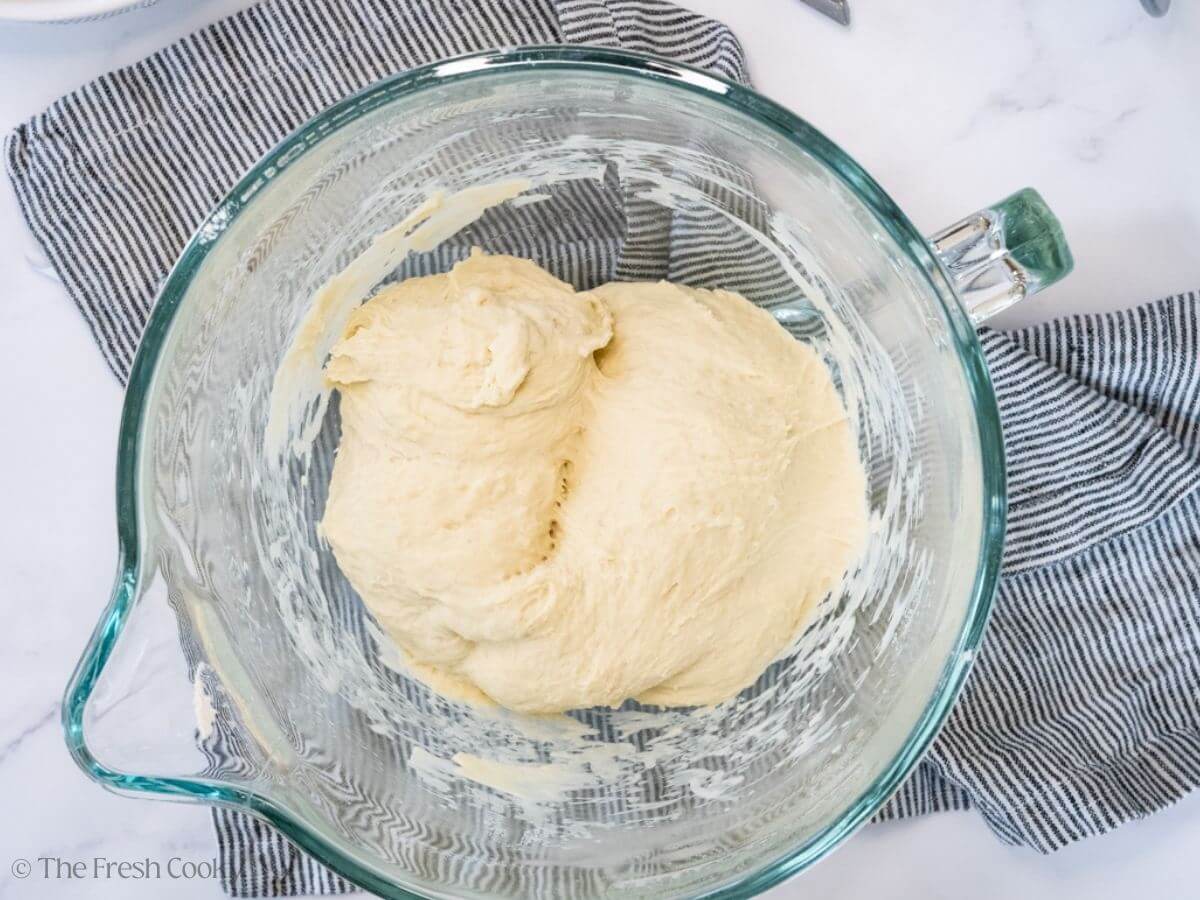
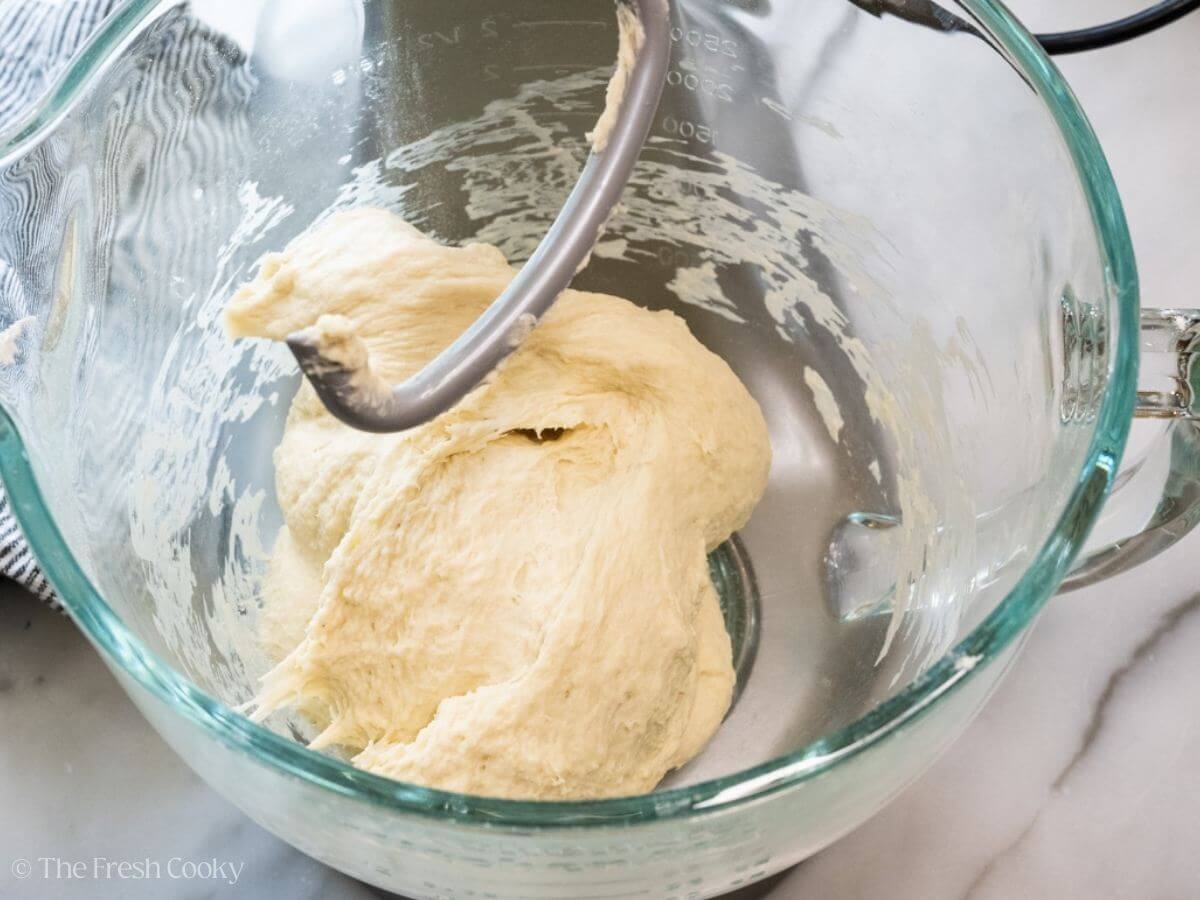
Step 2 – Knead
Knead for 5–6 minutes using a dough hook or by hand on a floured surface until smooth and elastic. The dough should be soft but not overly sticky. Add flour a tablespoon at a time if too sticky.
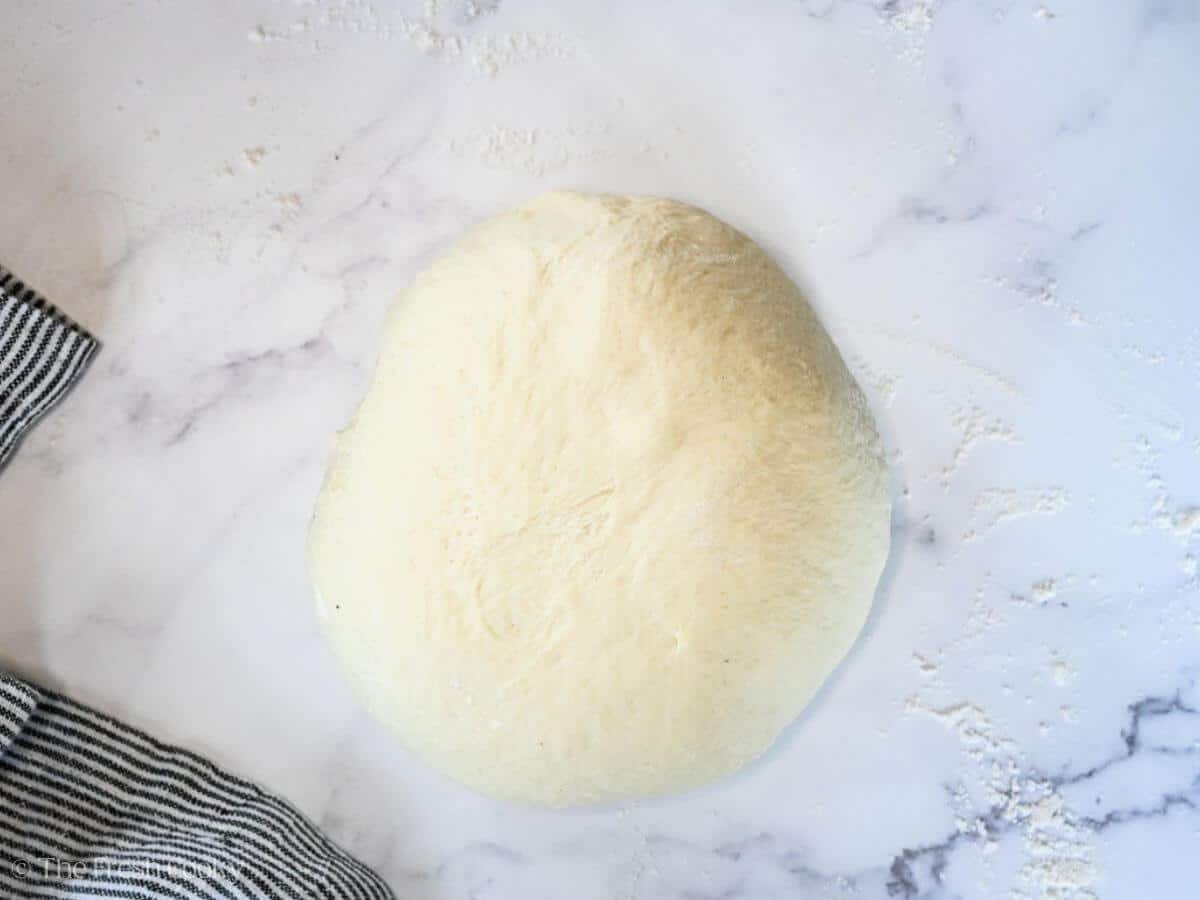
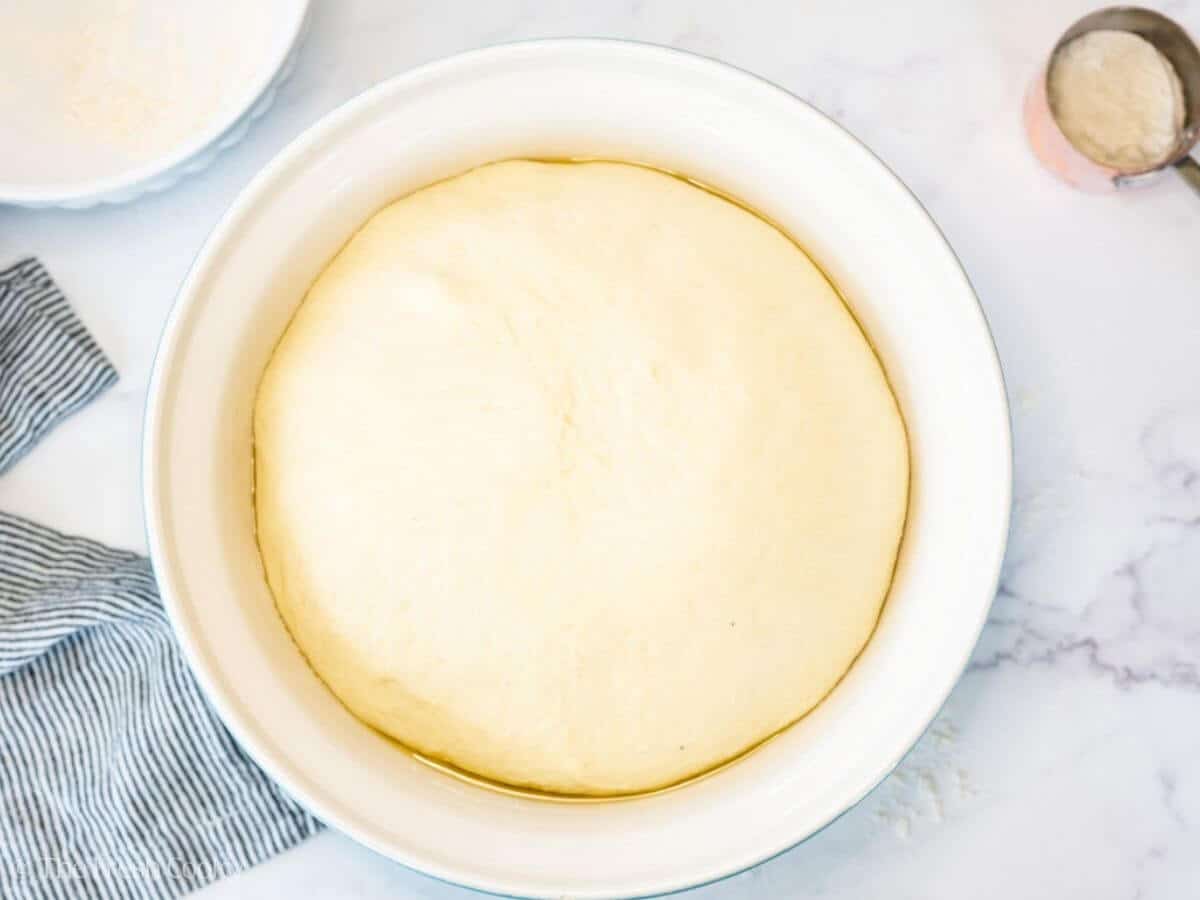
Step 3 – First Rise
Place the dough in a lightly oiled bowl, cover it with a clean towel or plastic wrap, and let it rise in a warm spot until it has doubled in size, about 45–60 minutes.
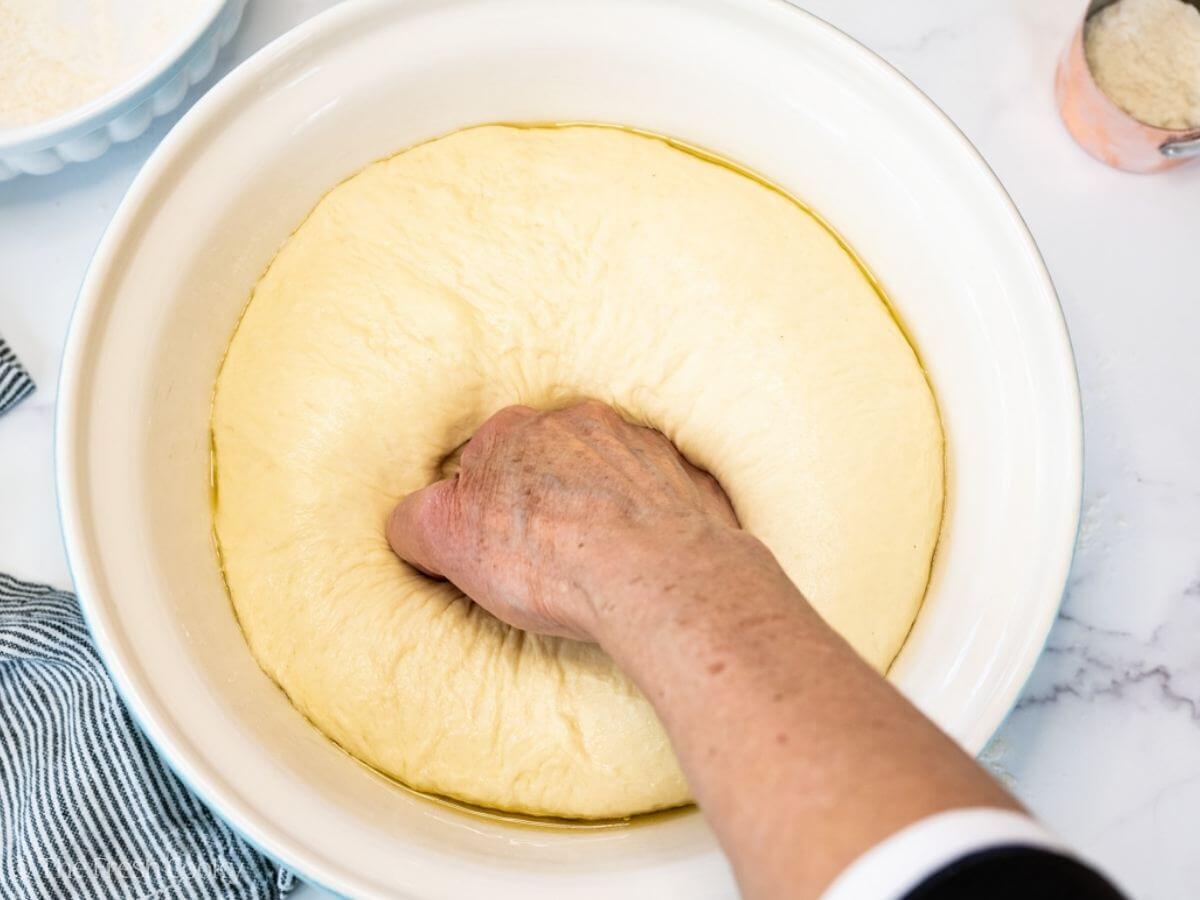
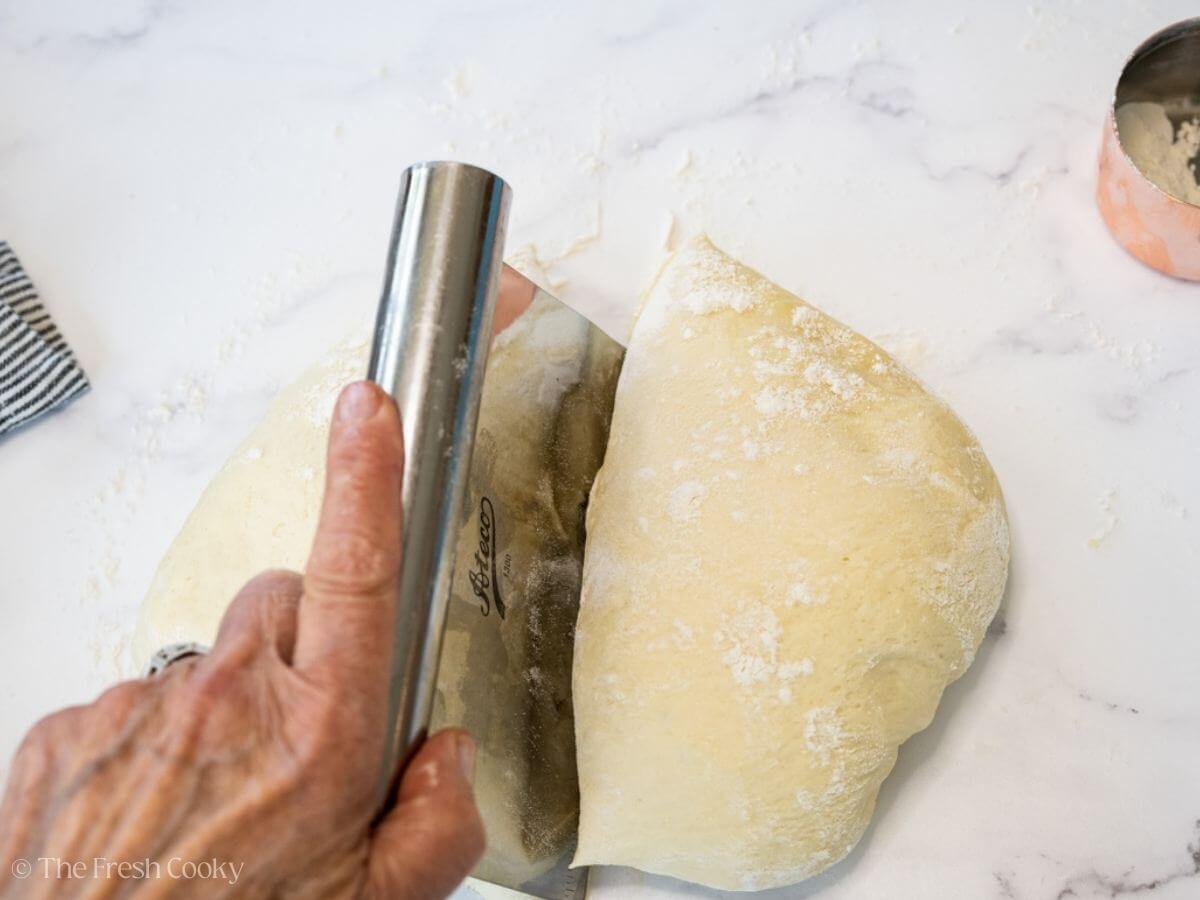
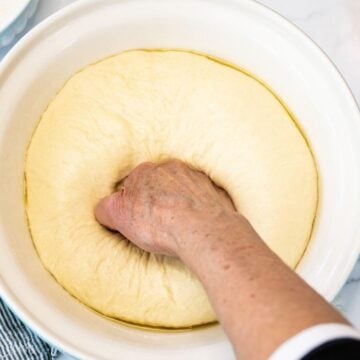
Step 4 – Shape the Loaves
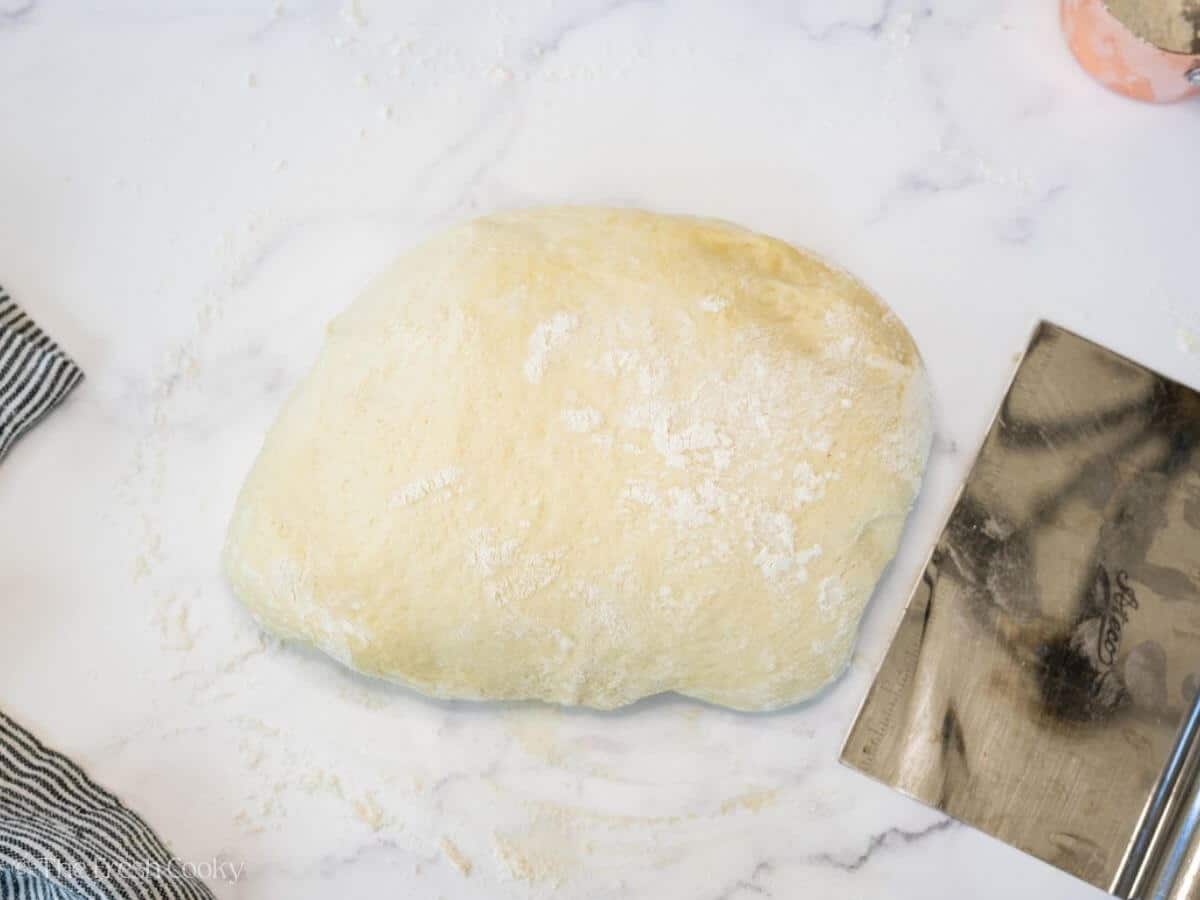
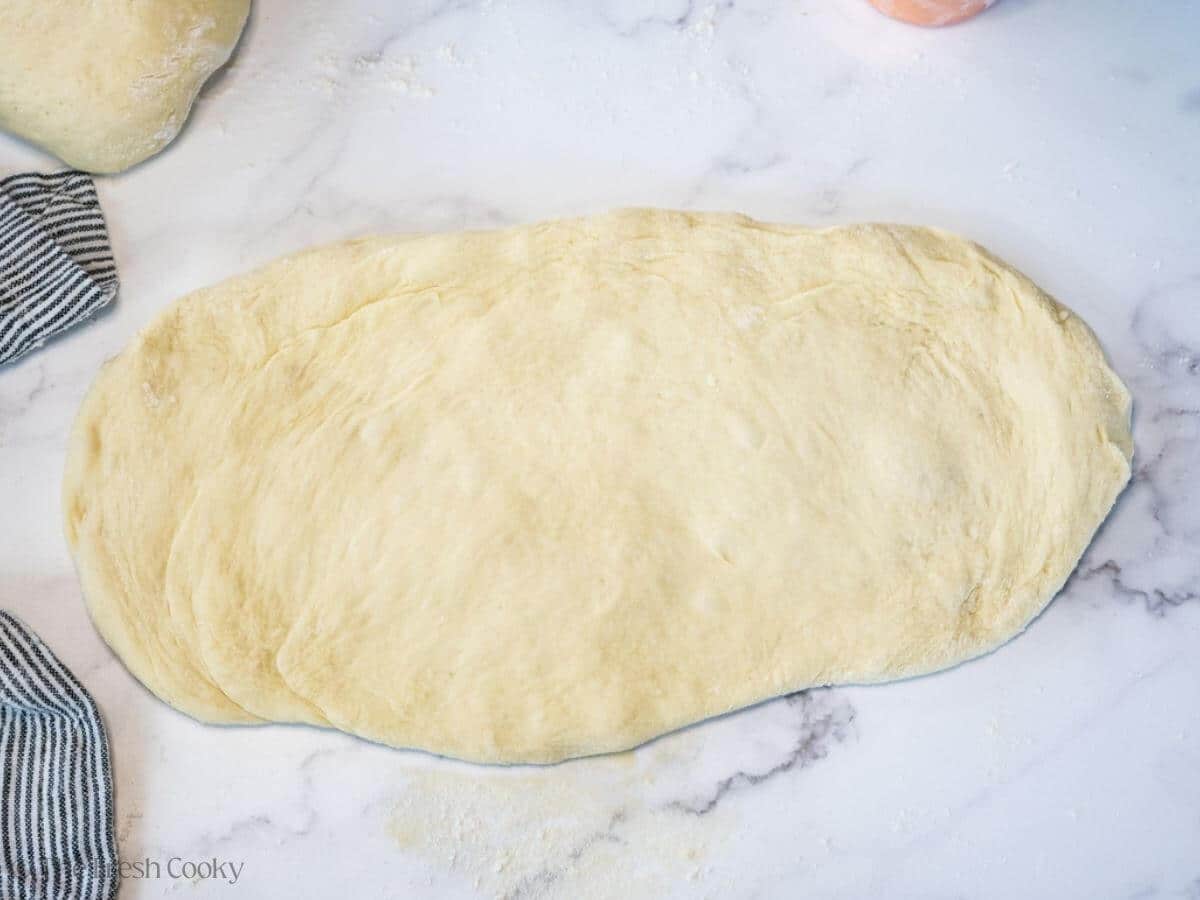
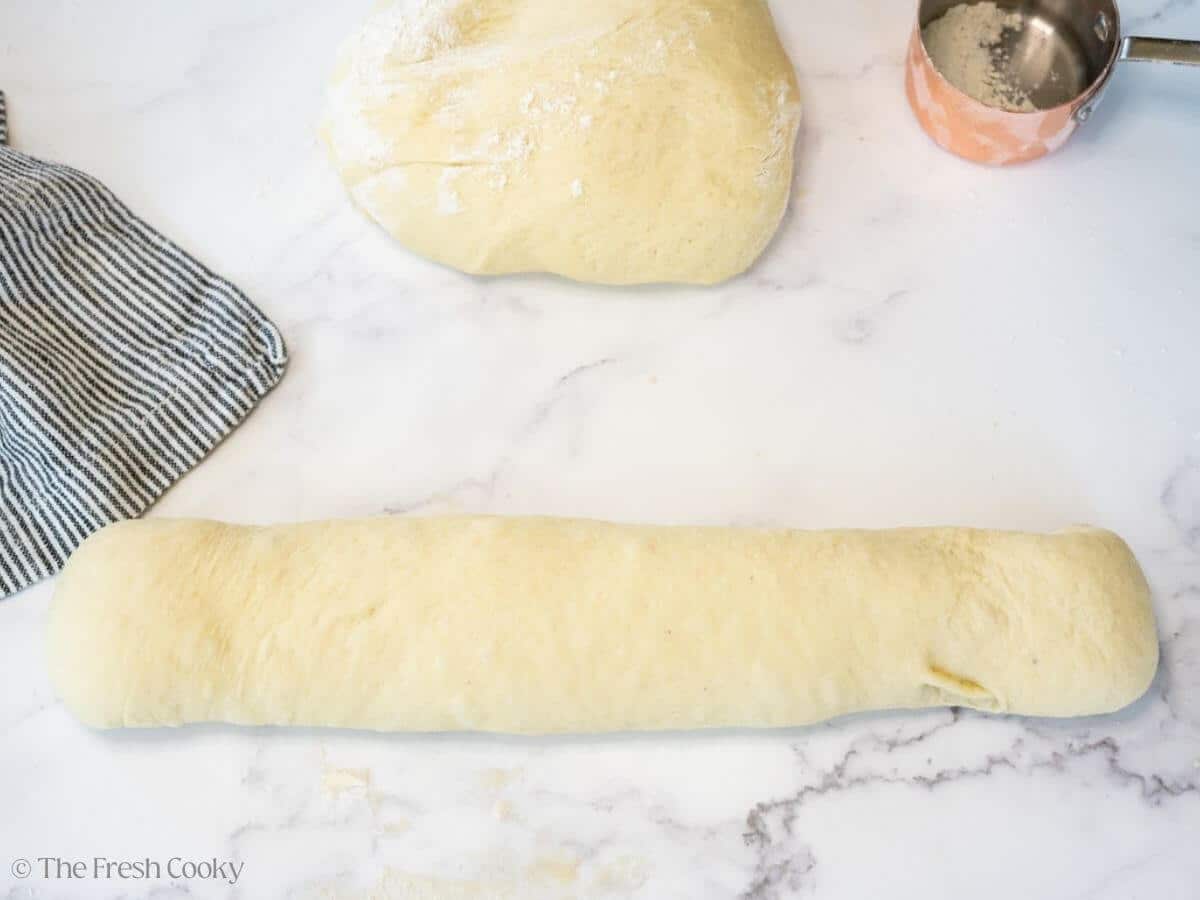
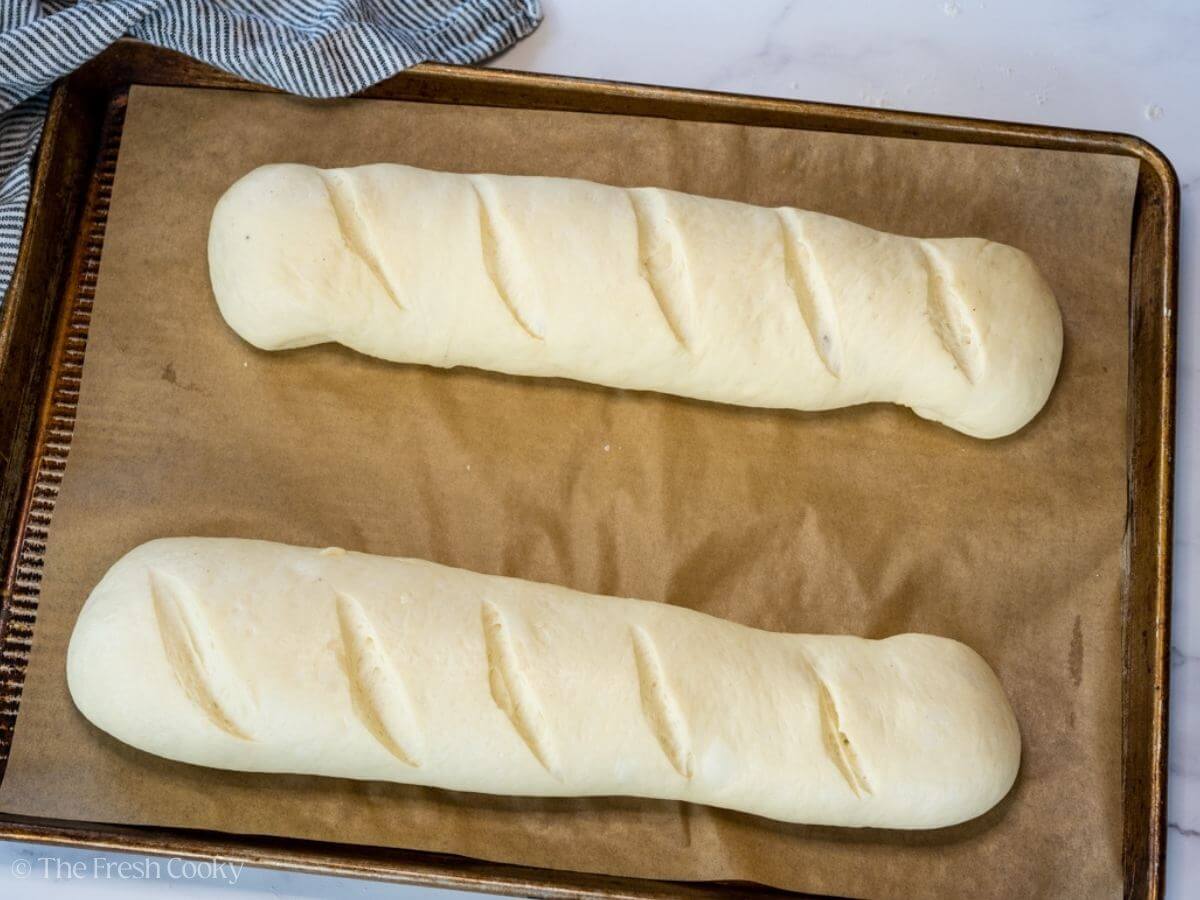
Punch down the dough and divide it into two equal pieces. On a lightly floured surface, shape each piece into a rough 9×12 to 15-inch rectangle. You can use your hands, like I did, or if easier, use a rolling pin lightly dusted with flour.
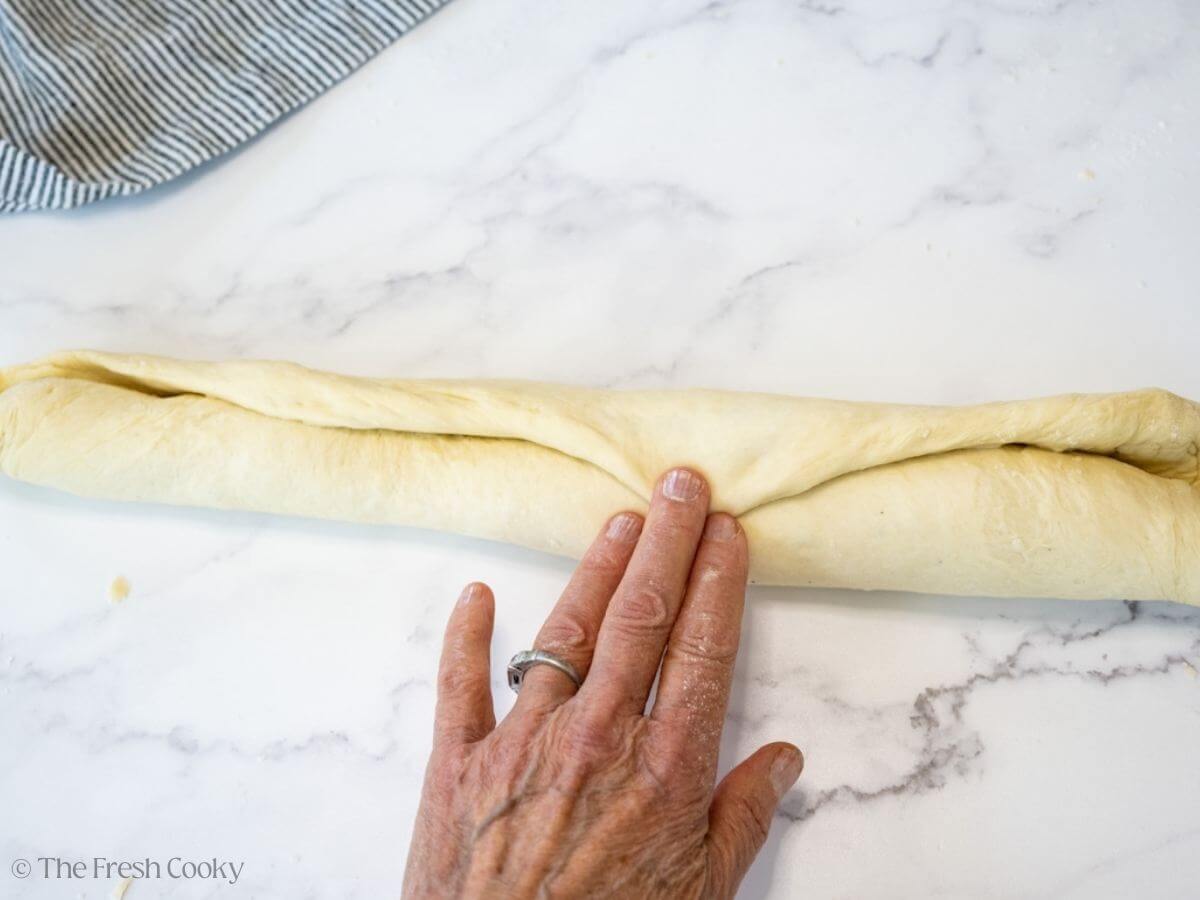
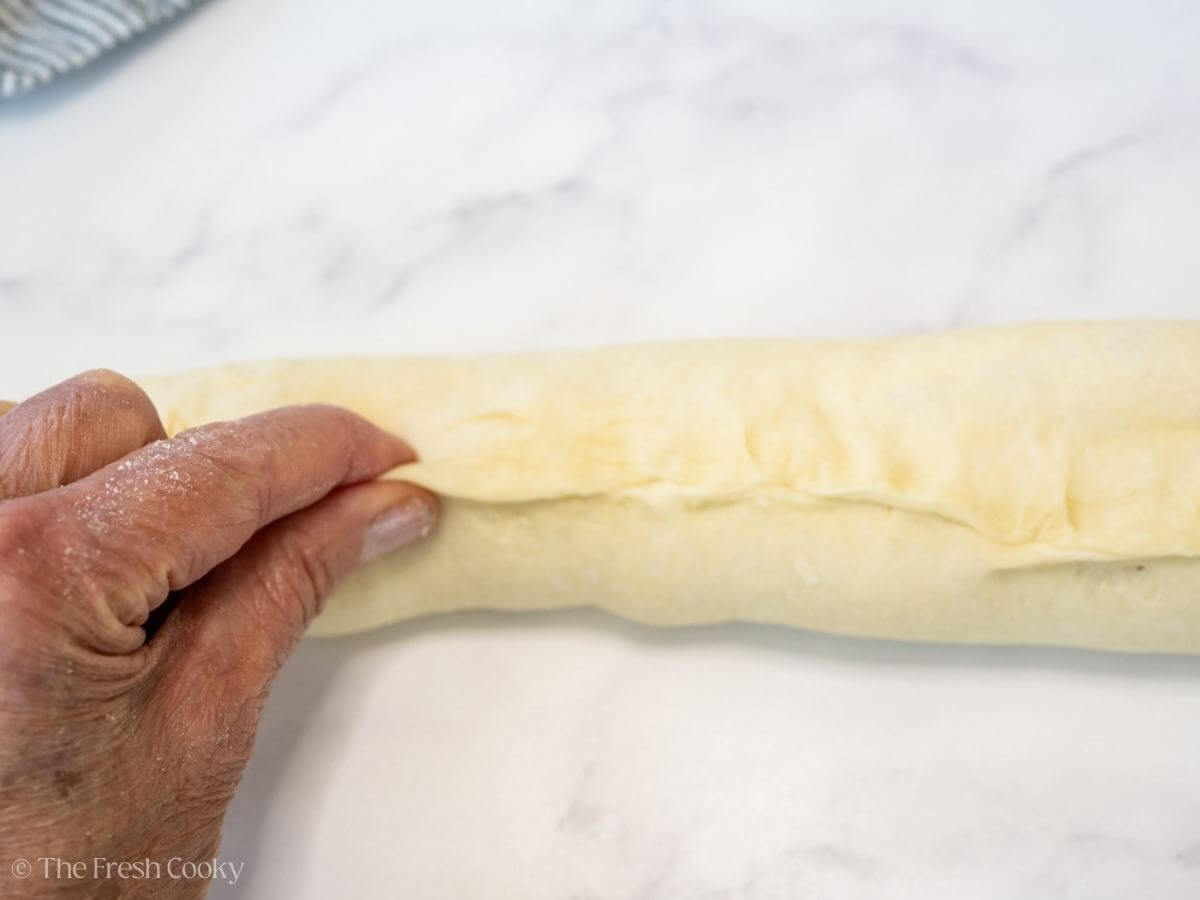
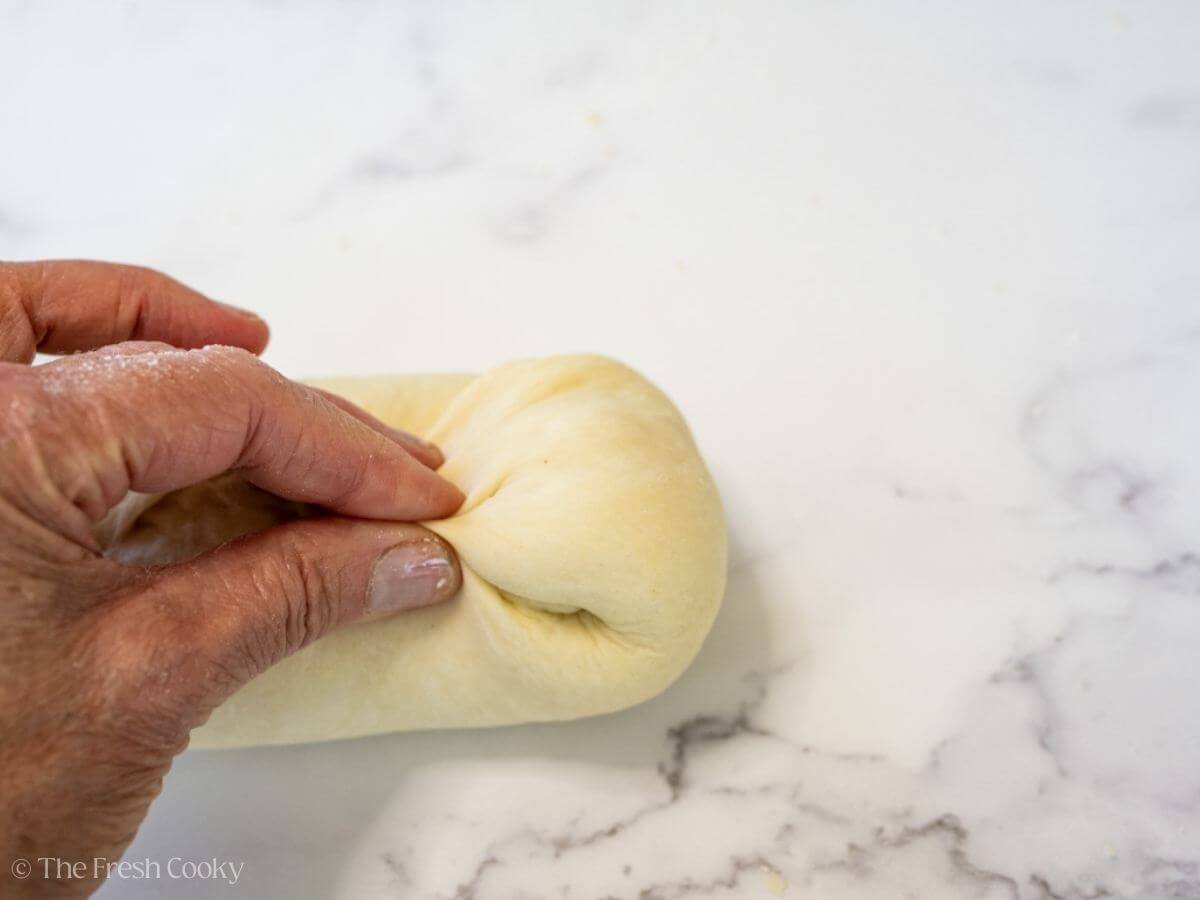
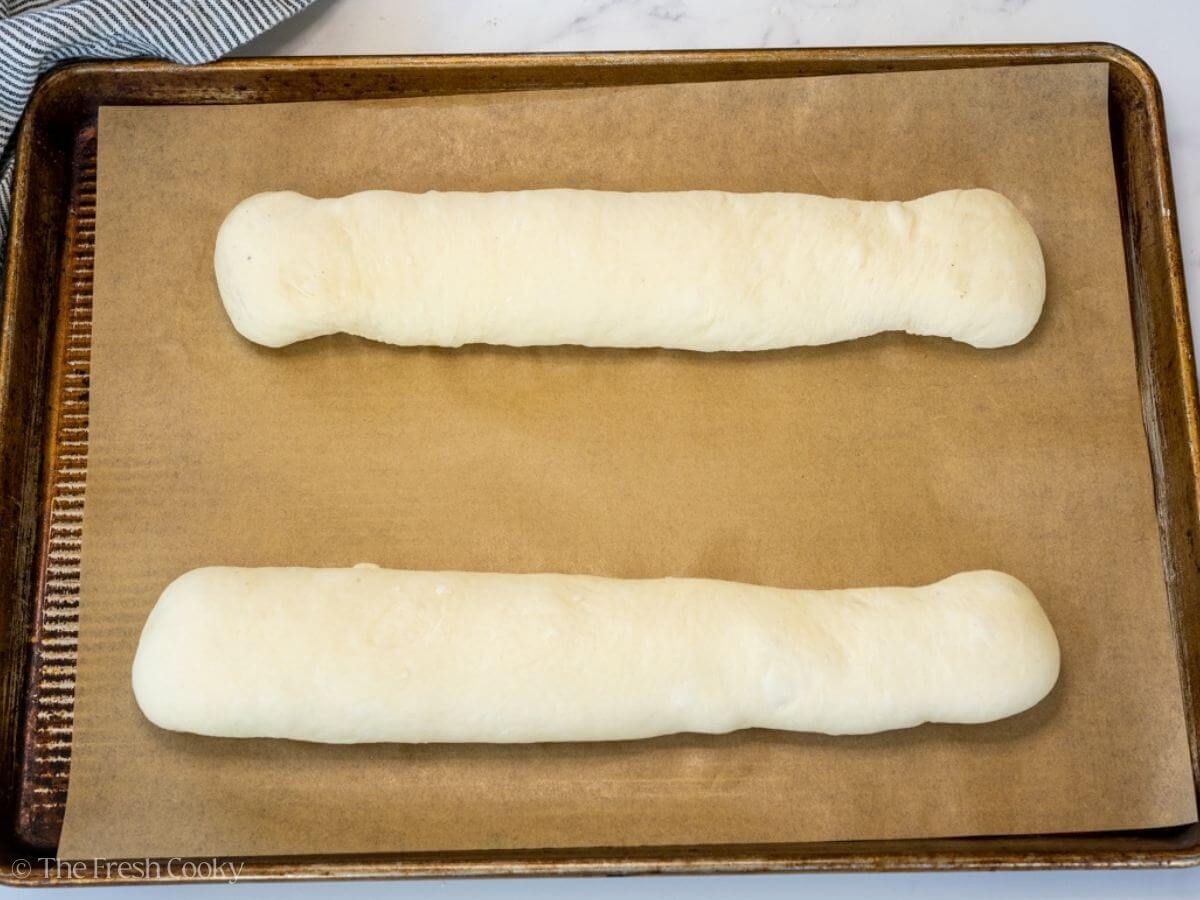
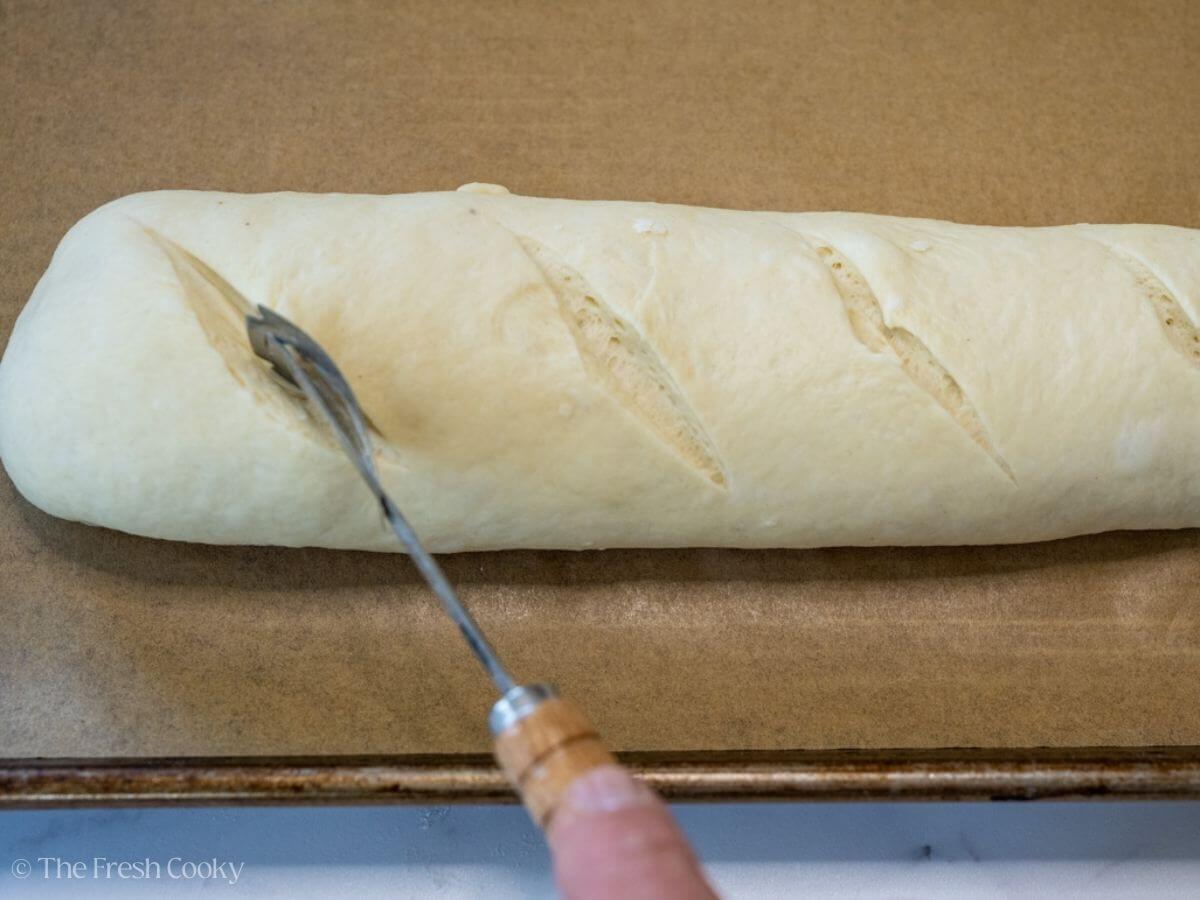
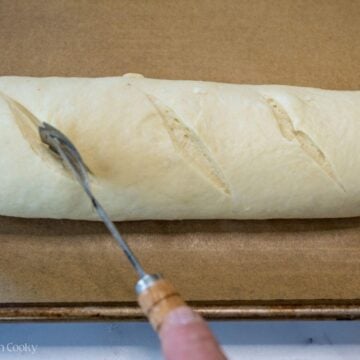
Starting from the long edge, roll it up tightly into a log, then tuck the ends under about an inch. Pinch the seams closed and place each loaf seam-side down on a parchment-lined cookie sheet. Use a sharp knife or lame (razor blade) to make 3–5 diagonal slashes across the top of each loaf.
It’s okay if the loaves are a little larger or smaller; adjust your baking time accordingly.
Step 5 – Second Rise
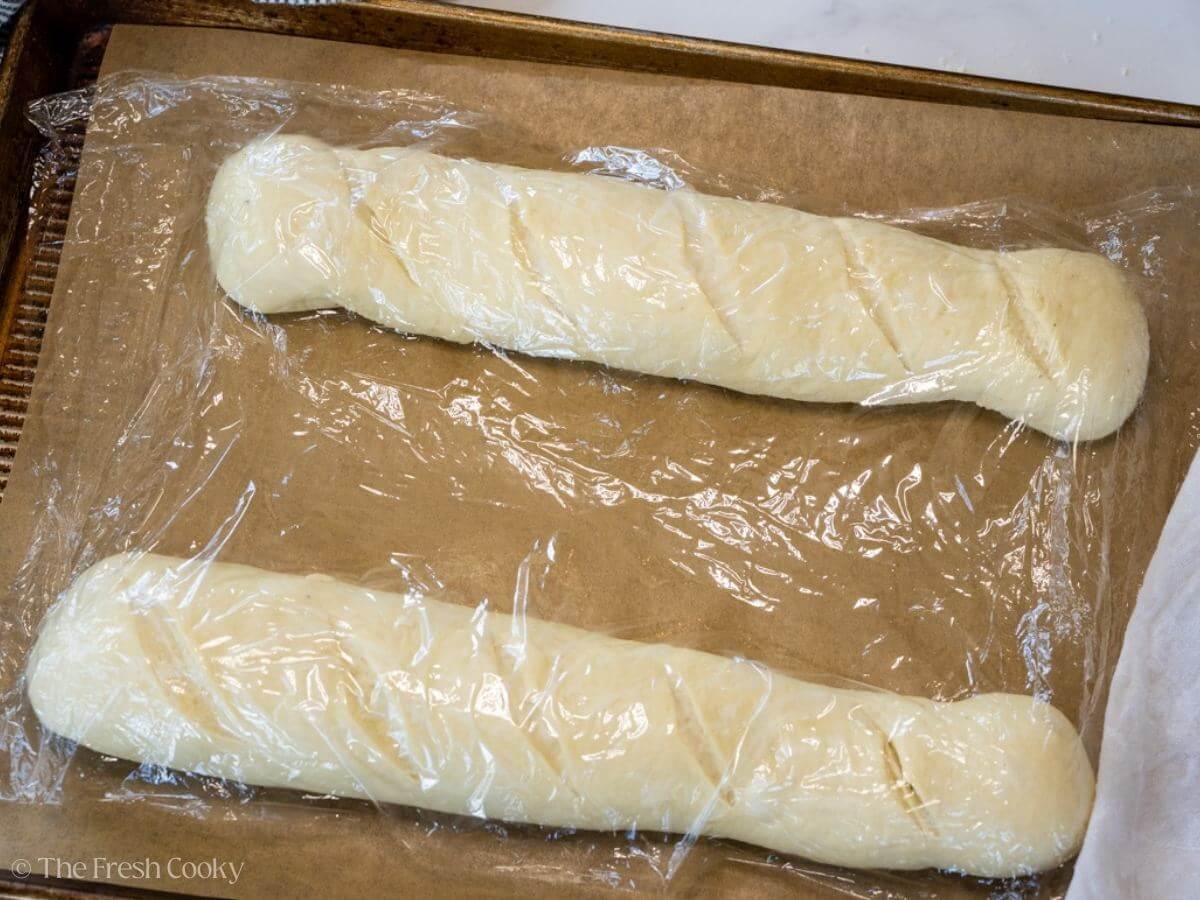
Cover the loaves lightly with the plastic wrap you used earlier and a damp tea towel, and let them rise for another 30 minutes while you preheat your oven to 375°F (190°C).

Kathleen’s Pro Rising Tips:
The best place for bread to rise is a warm, draft-free spot in your kitchen. Aim for a space around 75°F to 85°F, similar to the temperature inside a turned-off oven, by using a proofing setting on your countertop oven or regular oven, placing it on top of the fridge, or near a sunny window. You can also place the covered bowl in the microwave (turned off) with a mug of hot water beside it to create a warm, humid environment. One of my recipe testers, Melanie, used a heating pad on the lowest setting under her bowl, and I love that tip! Avoid any spot that’s too hot or drafty, as this can dry out the dough or slow the rise.
Step 6 – Prep & Bake
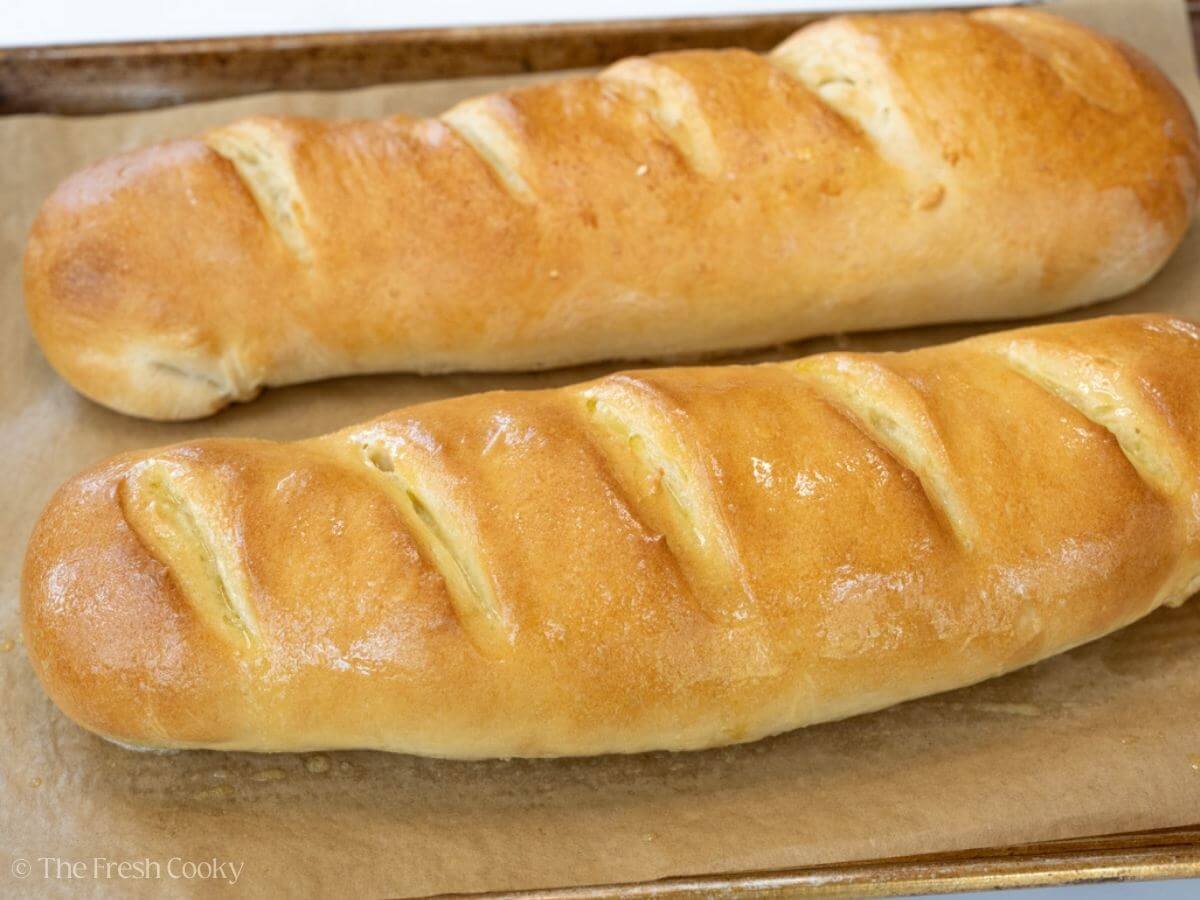
Optional: For a shiny, golden crust, gently brush the loaves with an egg white wash (1 egg white whisked with 1 tablespoon of water). Tip from my recipe tester Dawn: her loaves deflated a bit when brushing after the final rise, so to avoid that, apply the egg wash about 15 minutes before they’re fully proofed, giving them time to recover if they deflate slightly.
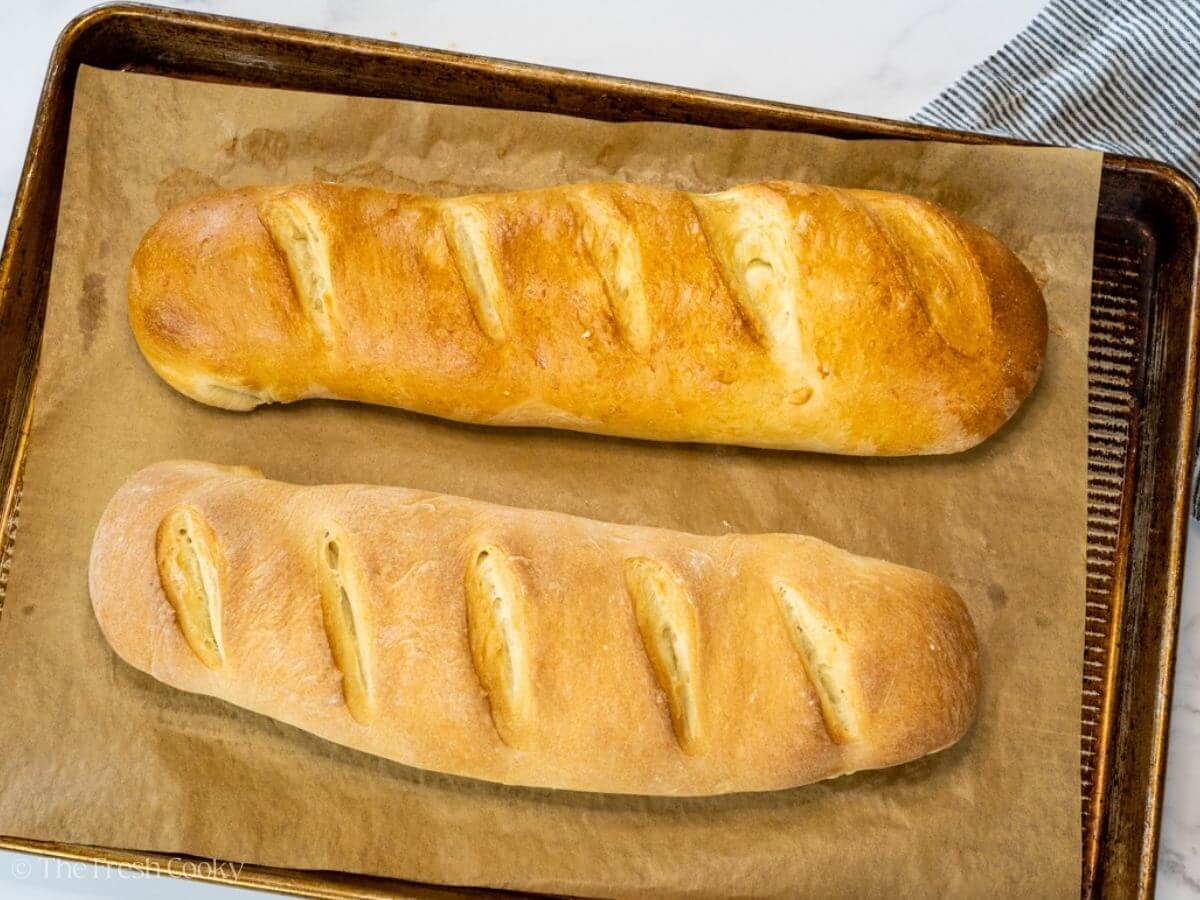
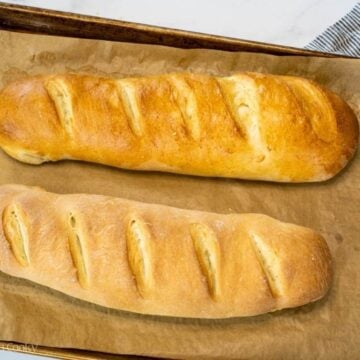
Bake the loaves for 22–26 minutes, rotating the pan halfway through for even browning, until the tops are golden and the loaves sound hollow when tapped on the bottom. (See notes for high altitude adjustments.) Want a deeper golden color? Increase the oven temperature to 400°F for the last 7 minutes of baking. For an extra soft crust, brush the loaves with melted butter as soon as they come out of the oven.

Step 7 – Cool & Enjoy
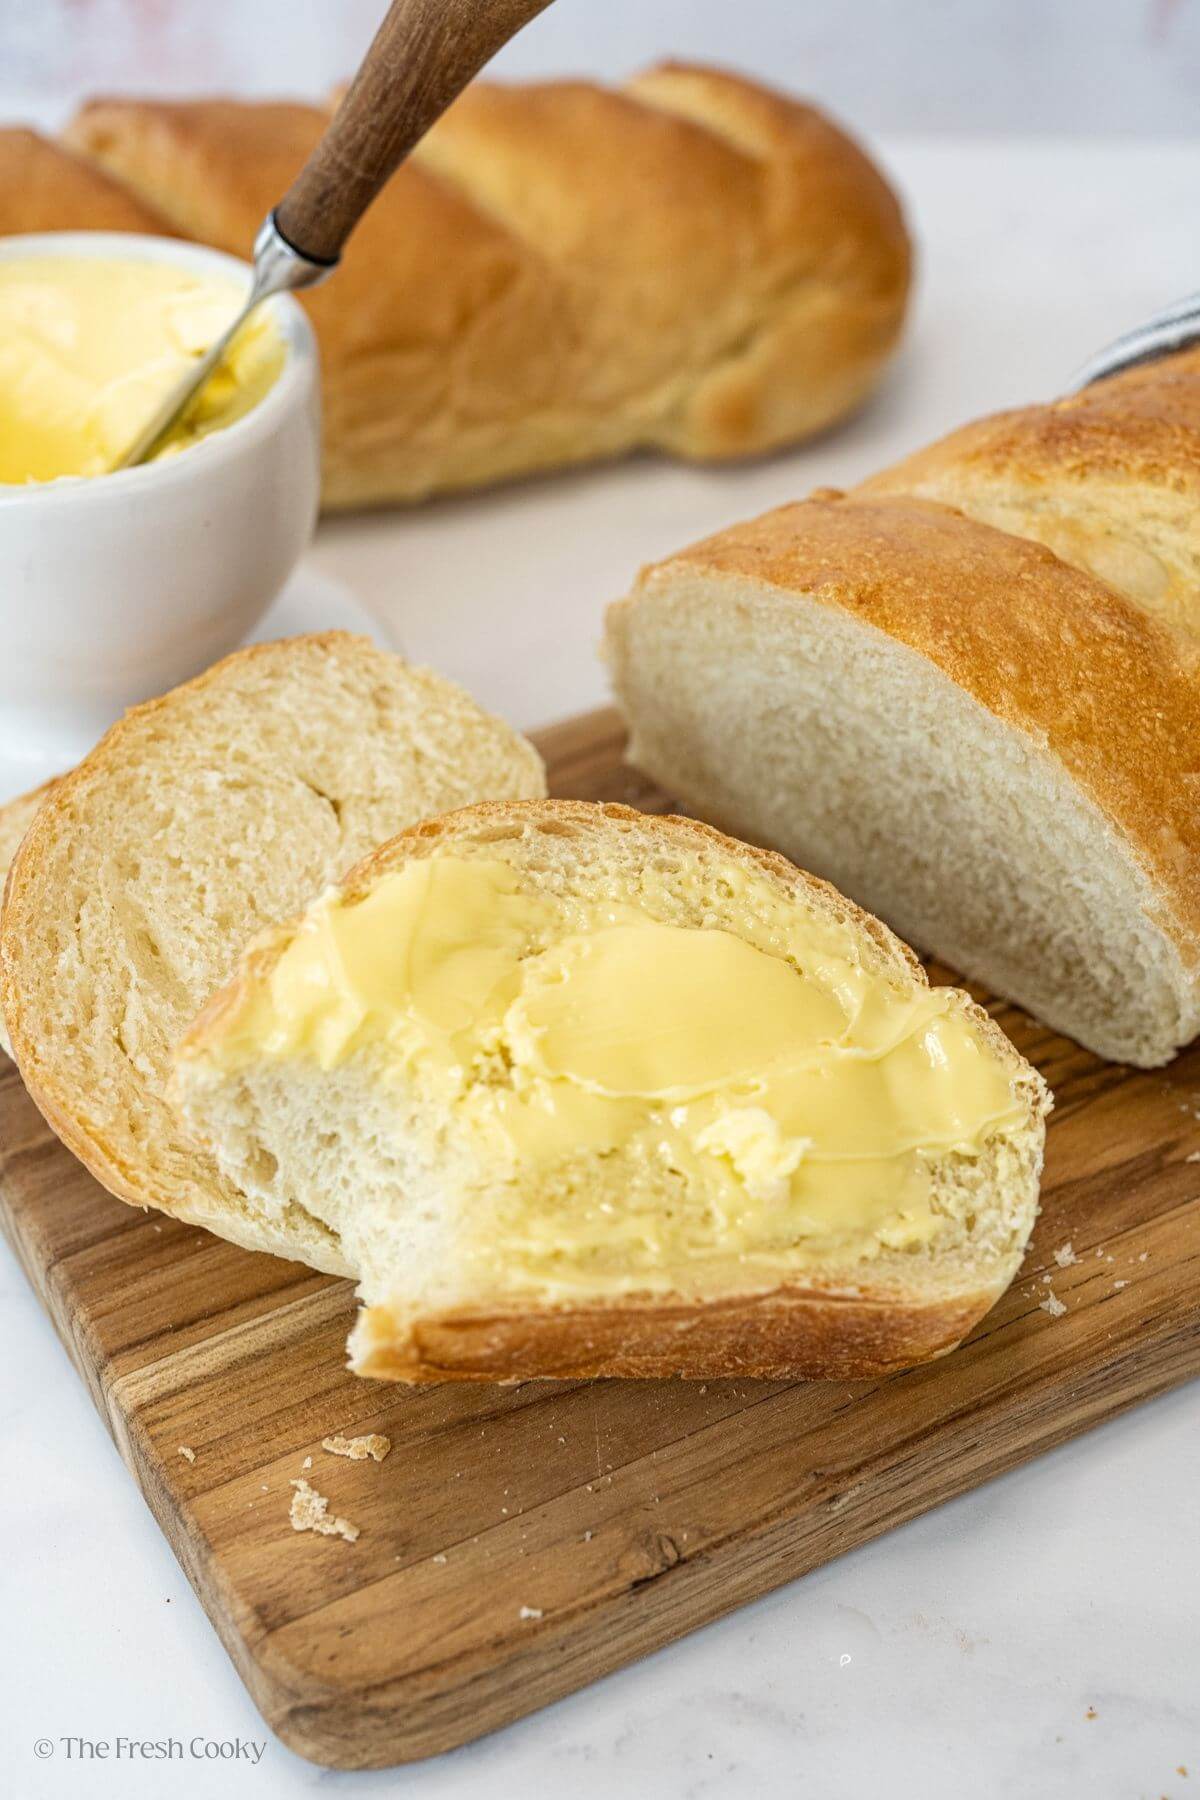
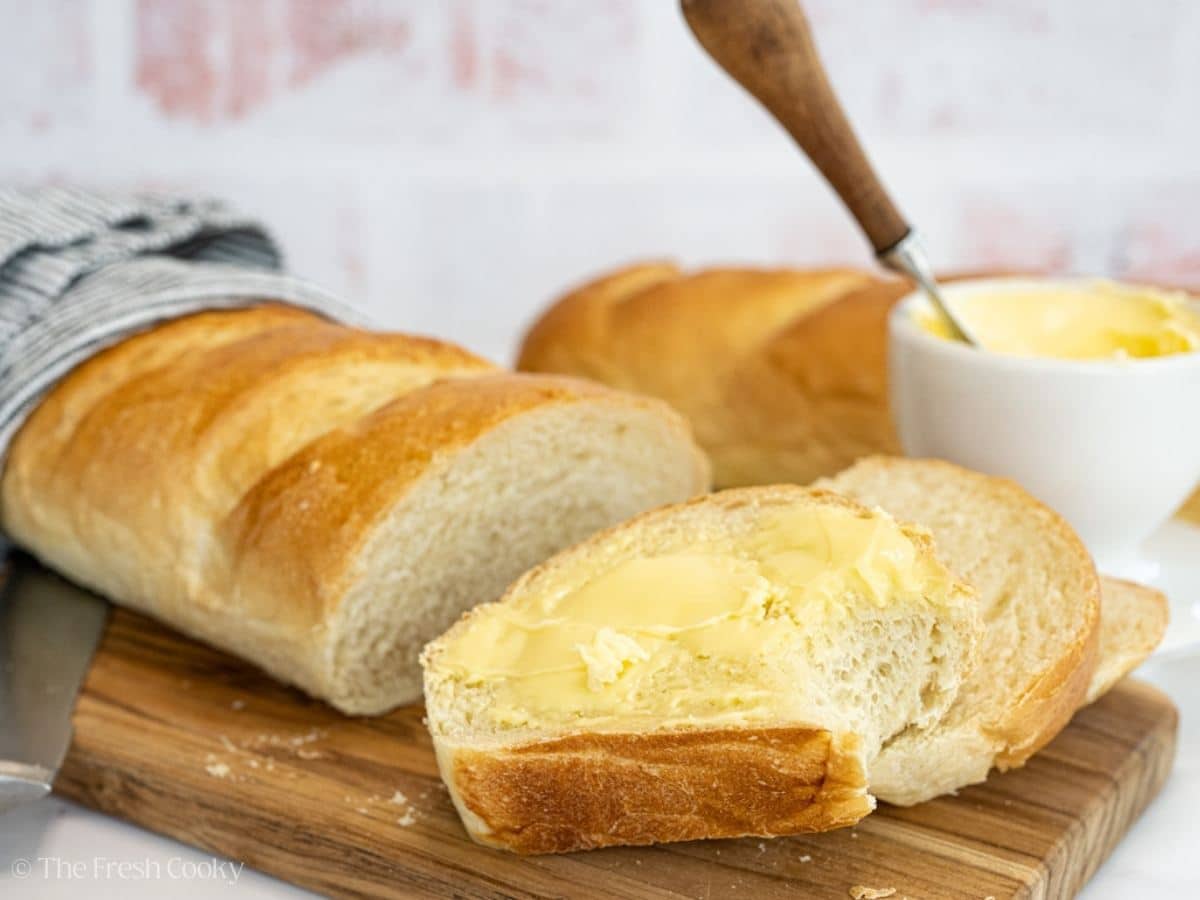
Let the bread cool on a wire rack for at least 15–20 minutes before slicing. This gives the bread time to finish baking internally and set properly—cutting too soon can make the inside gummy or doughy.
French Bread Recipe Variations
- Soft Whole Wheat French Bread: Replace 1 to 1 ½ cups of the bread flour with white whole wheat or regular whole wheat flour. Add 1–2 extra tablespoons of warm water, since whole wheat flour absorbs more moisture. The dough may rise a bit more slowly, but it will still bake up soft and flavorful.
- Garlic & Herb French Bread: Add 1 to 2 teaspoons of dried herbs to the dough; try Italian seasoning, rosemary, or thyme. For a garlicky kick, mix in ½ teaspoon garlic powder or one mashed roasted garlic clove. Just before baking, brush the top with melted butter and sprinkle with a little flaky salt for extra flavor.
- Cheesy French Bread: Sprinkle about 1 cup of shredded cheese, cheddar, mozzarella, parmesan, or your favorite combo onto the rectangle. Roll it up, shape into a loaf, and bake as usual. For extra cheesiness, sprinkle more cheese on top during the last 5 minutes of baking.
- Seeded Crust French Bread: After shaping the loaf, brush the top with egg wash and sprinkle with sesame seeds, poppy seeds, or everything bagel seasoning. This adds a tasty crunch and gives your bread that pretty, bakery-style finish.
- Use unbleached all-purpose flour in place of bread flour if needed; while you won’t quite get that bakery chewiness, it will be a little lighter in texture.
- For a Crispy Crust: Some bakers like to create steam in the oven to get a chewier, crisper crust by pouring hot water into a baking dish on the bottom rack. Just make sure to use a metal baking dish, never glass, which can shatter. Some also suggest tossing ice cubes directly into the oven, but I don’t recommend it, as it can damage your oven. I prefer to keep things simple and bake the bread as-is, but if you’d like to try steam, place a 9-inch baking dish (non-glass) on the lowest rack and carefully pour in about 2 cups of hot water as you place the bread in the oven.
- Cinnamon Swirl Bread: After the first rise, roll each dough half into a 9-inch by 12-inch rectangle. Mix ¼ cup brown sugar with 1½ teaspoons cinnamon (and 1 tablespoon softened butter, if desired). Sprinkle over the dough, leaving a ½-inch border. Roll up tightly, pinch the seam, and tuck the ends under. Place seam-side down on a baking sheet, rise, and bake as directed. Optional: Add raisins or chopped nuts before rolling.
- Loaf Pan French Bread: To bake in loaf pans, shape the dough after the first rise and place into two greased or parchment-lined loaf pans. Let rise until the dough crowns just above the rim, about 30–45 minutes. Bake at 375°F for 25–30 minutes, until golden and hollow-sounding when tapped. For a softer crust, brush with melted butter after baking. Shape similar to this whole wheat bread.
Tips for Making This Fresh French Bread Recipe
- Use fresh yeast: Old yeast won’t rise well. For active dry yeast, proof it in warm water with a little honey or sugar; if it foams in 5–10 minutes, it’s good to go.
- Be patient with rising: Let the dough double in size, but don’t over-proof or it may collapse or form large air pockets.
- Choose bread flour for the best texture: The higher protein content gives the bread a chewier, bakery-style crumb. All-purpose works too, but bread flour is ideal.
- Go light on the flour: Dough should be soft and slightly tacky. Adding too much flour can make your bread dense or dry.
- Cool before slicing: Let the bread rest at least 15–20 minutes so the crumb sets properly. Cutting too soon can make it gummy.
Ways to Serve Homemade French Bread
You can serve this homemade bread in endless ways! Here are some of my favorite ways to serve it:
- Sliced warm with butter or jam, try this honey butter and my freezer jam.
- As sandwich bread or sub rolls, bake into smaller sub-sized rolls.
- Toasted with garlic butter for garlic bread!
- Served alongside soups and stews
- Used in French toast or bread pudding
- My recipe tester Adrienne says it made killer French bread pizza!
How to Store French Loaf
Store cooled bread in a paper bag, bread box, or wrapped in a clean tea towel. If placed in a plastic bag, it may accelerate staleness. Store at room temperature for up to 3 days. If longer storage is required, freezing is preferred over refrigerating, as the fridge tends to dry out yeast breads.
Freezing: Once cooled, loaves freeze well. Wrap tightly in plastic wrap twice, then in foil, or place in a freezer bag for up to 2 months. Thaw at room temperature or warm gently in the oven.
To thaw: Remove from the freezer and let sit at room temperature, still wrapped, until fully thawed (about 1–2 hours).To reheat: Warm in a 300°F (150°C) oven for 10–15 minutes to achieve a fresh-baked feel.
How to Soften French Loaf
To soften the French bread after storing, wrap the loaf in foil and warm it in a 300°F oven for 10–15 minutes. You can also lightly mist the crust with water before warming to help restore softness!
Fresh French Bread Recipe FAQs
French bread typically has a crisp crust and soft, airy interior. It’s made with simple ingredients and shaped into long, narrow loaves like baguettes or batards.
Bread flour is best for French bread because it has a higher protein content, which gives the loaf better structure and chew. All-purpose flour works too, but the texture will be softer and less chewy.
For a shiny, golden crust, brush with an egg white mixed with water. For a rustic look, skip the wash! It’ll still be delicious.
Store it in a paper bag or wrapped in a clean kitchen towel at room temperature for up to 2 days. For longer storage, freeze it tightly wrapped for up to 2 months. Avoid storing it in plastic at room temp, it softens the crust and speeds up staleness.
Yes, this recipe can easily be halved to make just one loaf. Use 1 ⅛ teaspoons of instant or active dry yeast (a heaping 1 teaspoon works in a pinch), ¾ cup plus 2 tablespoons of warm water, and 2¼ teaspoons of honey or sugar. Add 1 teaspoon of salt, 1 tablespoon of olive oil, and between 2¼ to 2¾ cups of bread flour (about 325 grams), adding more as needed until the dough is soft and slightly tacky. Proceed with the recipe.
Yes, since this recipe does not contain any animal products, it is vegan and dairy-free. Be sure to leave off the optional egg wash and melted butter.
⛰️ High Altitude French Bread Tips
I bake at 5,280 feet above sea level, and this French bread recipe has been tested not just here, but also at sea level and other elevations across the U.S.
For 5,000–7,000 ft:
- Use 2 teaspoons instant yeast (instead of 2¼ tsp), yeast works faster at altitude.
- Keep a close eye on rise times; your dough may double in 30–45 minutes on the first rise and 20–25 minutes on the second. On cooler days, it may still take closer to 60 minutes.
- Add 1–2 tablespoons of warm water if your dough feels dry; flour dries out faster at elevation.
- Increase baking temperature to 400°F (205°C).
- Begin checking the bread around 25 minutes—it may bake slightly faster.
Above 7,000 Feet: At higher elevations, yeast dough tends to rise much faster, so I recommend using 1¾ teaspoons of instant yeast to slow it down a bit. Your dough may double in just 20–30 minutes, so keep a close eye on it. If the dough feels dry, add 1–2 extra tablespoons of warm water. You can also increase the salt slightly to 2¼ teaspoons to help moderate yeast activity. Start checking your loaves around 18–20 minutes into baking, as they may brown more quickly.
More Easy Bread Recipes
More Popular Recipes from The Fresh Cooky
Like this recipe?
Don’t forget to give it a ⭐️⭐️⭐️⭐️⭐️ star rating and leave a comment below the recipe!
Video
Ingredients
- 2 ¼ teaspoon instant yeast or proof if using active dry yeast, 1 packet (see Note 1 for High Altitude)
- 1 ¾ cups warm water about 110°F
- 1 ½ tablespoons honey or sugar
- 2 teaspoon kosher salt
- 2 tablespoon olive oil or neutral oil like avocado or canola
- 4 ½ – 5 ½ cups (about 650 g) bread flour (see note 2 below for all-purpose substitution)
- 1 egg white + 1 tablespoon water optional for egg wash
Instructions
- In a large mixing bowl or stand mixer, combine warm water, instant yeast, and honey. Stir briefly. Yeast: Rapid Rise Yeast – You can use it just like instant yeast, with no changes needed. Active Dry Yeast – Proof it first by mixing it with warm water and honey. Let it sit for 5–10 minutes until it becomes foamy before adding the rest of the ingredients. Rise times may be a little longer.2 ¼ teaspoon instant yeast, 1 ¾ cups warm water, 1 ½ tablespoons honey

- Add salt, oil, and 3 cups of bread flour. Stir or mix until combined, then slowly add more flour—½ cup at a time—until the dough pulls away from the sides and is just slightly sticky. Only adding more flour (a tablespoon or two at a time) as needed, you don’t want the dough to be dry, just tacky. It shouldn’t stick to the sides of the bowl, but will stick to the bottom. You may use your dough hook on a stand mixer, a sturdy hand mixer, or mix by hand using a wooden spoon or dough whisk.
- Knead for 5–6 minutes using a dough hook or by hand on a floured surface until smooth and elastic. The dough should be soft but not overly sticky. If kneading by hand, dust a surface with flour, knead for 7-8 minutes until smooth and elastic. Form into a ball.
- Place the dough in a lightly oiled bowl, cover with a clean towel or plastic wrap, and let it rise in a warm spot until doubled in size, about 45–60 minutes.
- Punch down the dough and divide it into two equal pieces. On a lightly floured surface, shape each piece into a rough 9×12 to 15-inch rectangle (by hand or with a rolling pin).
- Starting from the long edge, roll it up tightly into a log, then tuck the ends under about an inch. Pinch the seams closed and place each loaf seam-side down on a parchment-lined baking sheet. It's okay if they aren't the same size.
- Use a sharp knife or razor blade to make 3–5 diagonal slashes across the top of each loaf.
- Cover the loaves lightly with the plastic wrap you used earlier and a damp tea towel, and let them rise for another 30 minutes* while you preheat your oven to 375°F (190°C).
- Optional: *15 minutes before they are ready to bake, brush loaves gently with an egg white wash (1 egg white whisked with 1 tablespoon water) for a shiny, golden crust.
- Bake for 22–26 minutes, rotating the pan halfway through. Bake until golden brown and the loaves sound hollow when tapped on the bottom. See notes if baking at high altitude. If you want it browner on top, increase oven to 400°F for the last 7 minutes or so.
- If a softer crust is desired, brush with melted butter while the bread is still hot out of the oven.
- Let the bread cool on a wire rack for at least 15–20 minutes before slicing. This gives the bread time to finish baking internally and set properly—cutting too soon can make the inside gummy or doughy.


Notes
Store cooled bread in a paper bag or wrapped in a clean kitchen towel at room temperature for up to 2 days. For longer storage, wrap tightly in plastic wrap, then foil, and freeze for up to 2 months. Thaw at room temperature and reheat in a 300°F oven for 10–15 minutes if desired. High Altitude Adjustments (5,000–7,000 ft):
- I bake at 5280 feet above sea level, but this recipe has been tested at sea level and a range of other altitudes, ensuring you can be confident it will turn out correctly.
- Use 2 teaspoons instant yeast instead of 2¼ teaspoon (yeast works faster at higher elevations).
- Watch your rise times closely—dough may double in 30–45 minutes on the first rise and 20–25 minutes on the second rise. On a cooler day, mine still took about 60 minutes to rise.
- Increase oven temperature to 400°F (205°C)
- Add 1–2 extra tablespoons of warm water if the dough feels dry, as flour tends to dry out faster at higher altitudes.
- Start checking the bread at 22 minutes during baking—it may finish a bit faster.
All other ingredients and instructions remain the same. - Above 7,000 feet: Use 1¾ teaspoon instant yeast to slow the rise, and keep a close eye—dough may double in 20–30 minutes. Add 1–2 extra tablespoons of warm water if the dough feels dry. You can also increase salt slightly to 2¼ tsp to help control yeast activity. Start checking the loaves around 18–20 minutes during baking, as they may brown more quickly.
- Yeast: Use 1 ⅛ teaspoons instant yeast (or active dry), which is half of one packet. You can eyeball it as a heaping 1 teaspoon if needed.
- Water: Use ¾ cup + 2 tablespoons warm water (about 110°F).
- Honey or Sugar: Use 2¼ teaspoons (approximately 1 tablespoon).
- Salt: Use 1 teaspoon.
- Olive Oil: Use 1 tablespoon.
- Bread Flour: Use 2¼ to 2¾ cups bread flour (about 325 grams), adding more or less as needed for dough texture.
- Egg Wash (optional): Beat an egg white with 2 teaspoons water, or just skip it entirely if you prefer a rustic look.
- Follow the how-to as described above.
Nutrition


Piper
This bread was amazing! It was easy to make and turned out perfect! It was a big hit and will be made again real soon. I’ve already shared the recipe.
Awe Piper, thank you for those sweet words!! You made my day-month!!! 😃
Elizabeth
Sounds Anazing!
It’s soo good, Elizabeth!! Thank you!