


Ever wonder the secret to achieving those perfect nooks and crannies in homemade English muffins? While most recipes rely solely on yeast, this Sourdough Discard English Muffins recipe uses sourdough discard to create an extraordinary texture and tang that’s impossible to achieve any other way!

Why These Discard English Muffins Work
As someone always looking for creative ways to use sourdough discard, these English muffins have become my favorite solution. The discard adds a subtle tanginess and contributes to that signature chewy texture that makes English muffins so irresistible! What’s even better is that this recipe transforms what might otherwise be food waste into something spectacular – and trust me, once you try these, you’ll never want to buy store-bought again.
Just like most bread recipes, the key to the perfect English muffins lies in the careful balance of ingredients and technique – the combination of milk and water creates the perfect moist environment for gluten development. At the same time, the honey works with both the yeast and sourdough cultures to create that distinctive English muffin texture. The stretch-and-fold technique is what builds the structure needed for those beloved nooks and crannies that catch every drop of butter!
Sourdough discard English muffins are super versatile, perfect for a simple schmear of butter and jam for breakfast or to pair with Eggs Benedict! They can be used as sandwich bread for lunch boxes or made into mini pizzas that your family can customize.

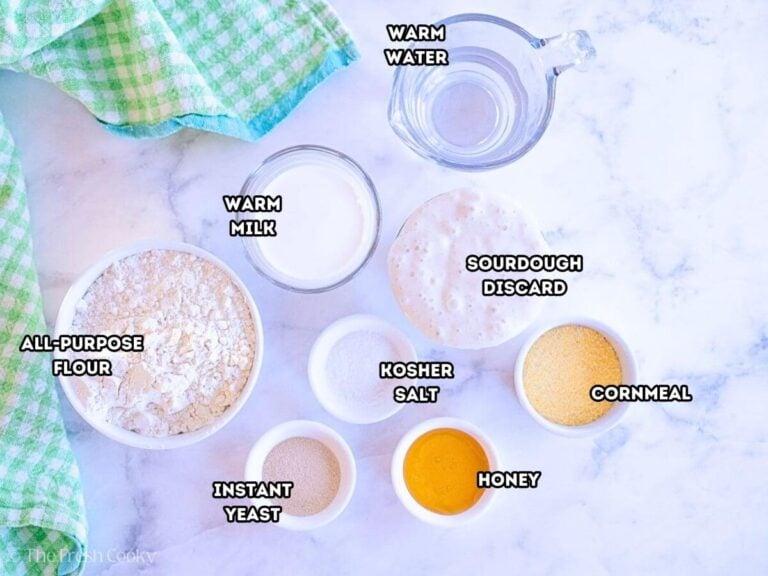
Sourdough Discard English Muffins Ingredients
- Sourdough Discard: Your discard should be at 100% hydration (equal parts flour and water by weight) and at room temperature for best results. It adds complex flavor and helps create the perfect texture! Need a sourdough starter, try making one of your own!
- Honey: While any sweetener works, honey adds moisture and creates a beautifully tender crumb. It also helps achieve that golden-brown crust during cooking.
- Warm Water & Warm Milk: The combination provides both tenderness from milk proteins and the right hydration level. Using warm liquids (95-100°F) ensures proper yeast activation.
- Unbleached All-Purpose Flour: I recommend using unbleached for better flavor and texture.
- Kosher Salt: Essential for flavor development and controlling the fermentation rate!
- Instant Yeast: Provides reliable rise while working in harmony with the sourdough discard. If using Active Dry Yeast, you will need to proof it before using. I’ll tell you how below.
- Cornmeal or Semolina Flour: Creates that distinctive crunchy bottom and prevents sticking!
Get the full recipe in the recipe card below.

Recommended Tools
How to make English Muffins with Sourdough Discard
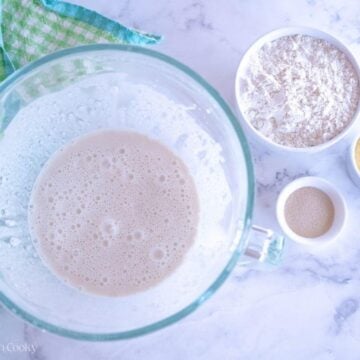
Step 1 – Mix Wet Ingredients
In a large bowl or bowl of a stand mixer, whisk together the sourdough discard, honey, warm water, and milk until smooth.

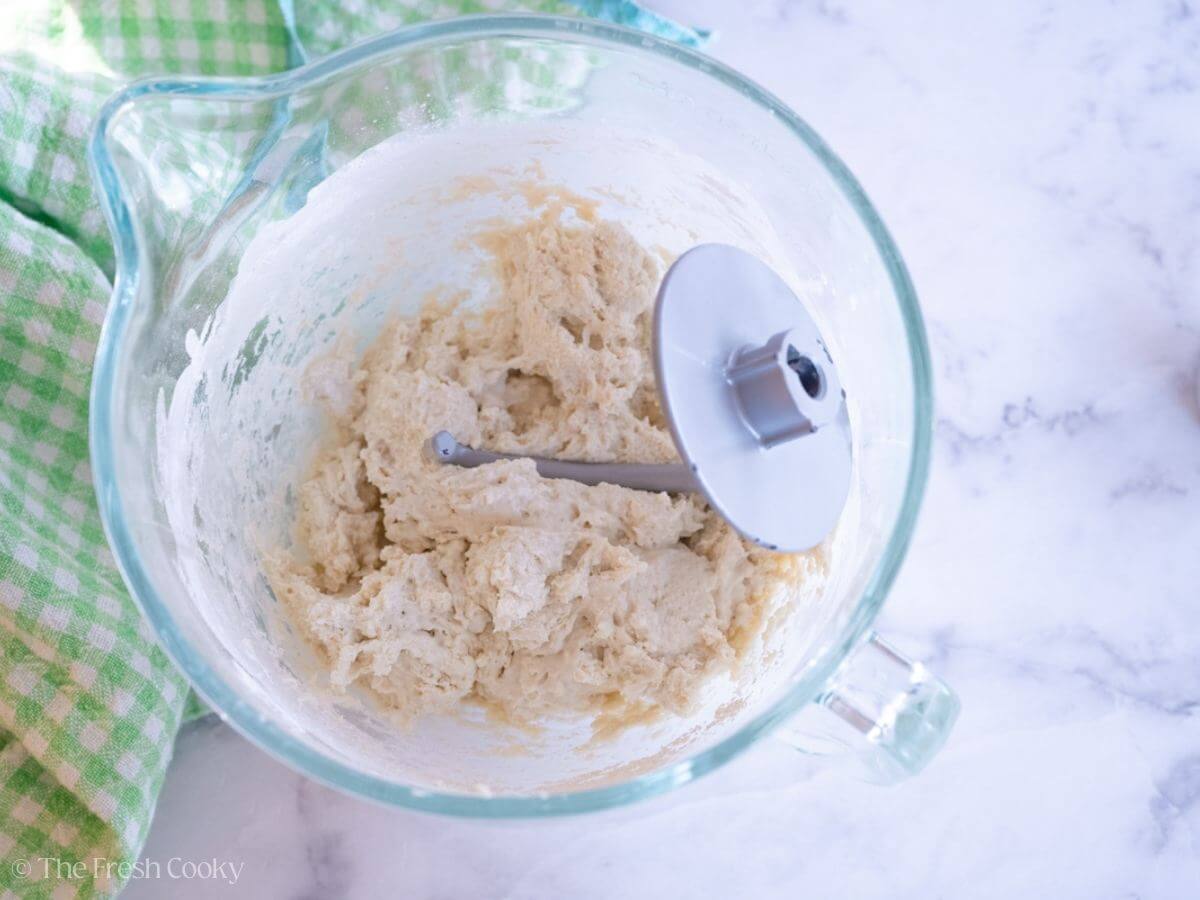
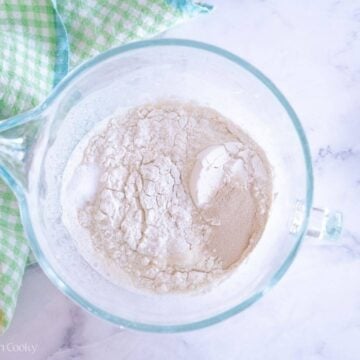
Step 2 – Form the Dough
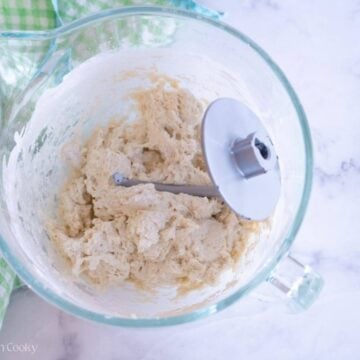
Add the flour, salt, and yeast to the wet mixture. Stir with a wooden spoon or dough hook until a sticky dough forms.
- If using a stand mixer: Use the dough hook and mix on low for 5–6 minutes.
- If mixing by hand: Knead on a lightly floured work surface for 8–10 minutes until soft and elastic. If the dough feels too sticky, add extra flour, 1 tablespoon at a time.


Proofing Active Dry Yeast
If using packaged, active dry yeast you will need to proof it first, or activate it.
Add ¼ cup warm water, yeast, and a teaspoon of honey to a small bowl, stir it, and allow it to sit until foamy and yeasty smelling, about 5-8 minutes. If it doesn’t do anything or doesn’t dissolve, your yeast is no good, go grab some new yeast.
Step 3 – Stretch and Fold
Perform 3–4 stretch-and-folds every 30 minutes over 1 hour:
- Wet your hands to prevent sticking.
- Grab one side of the dough, stretch it upward, and fold it over the center.
- Rotate the bowl and repeat 2–3 more times.
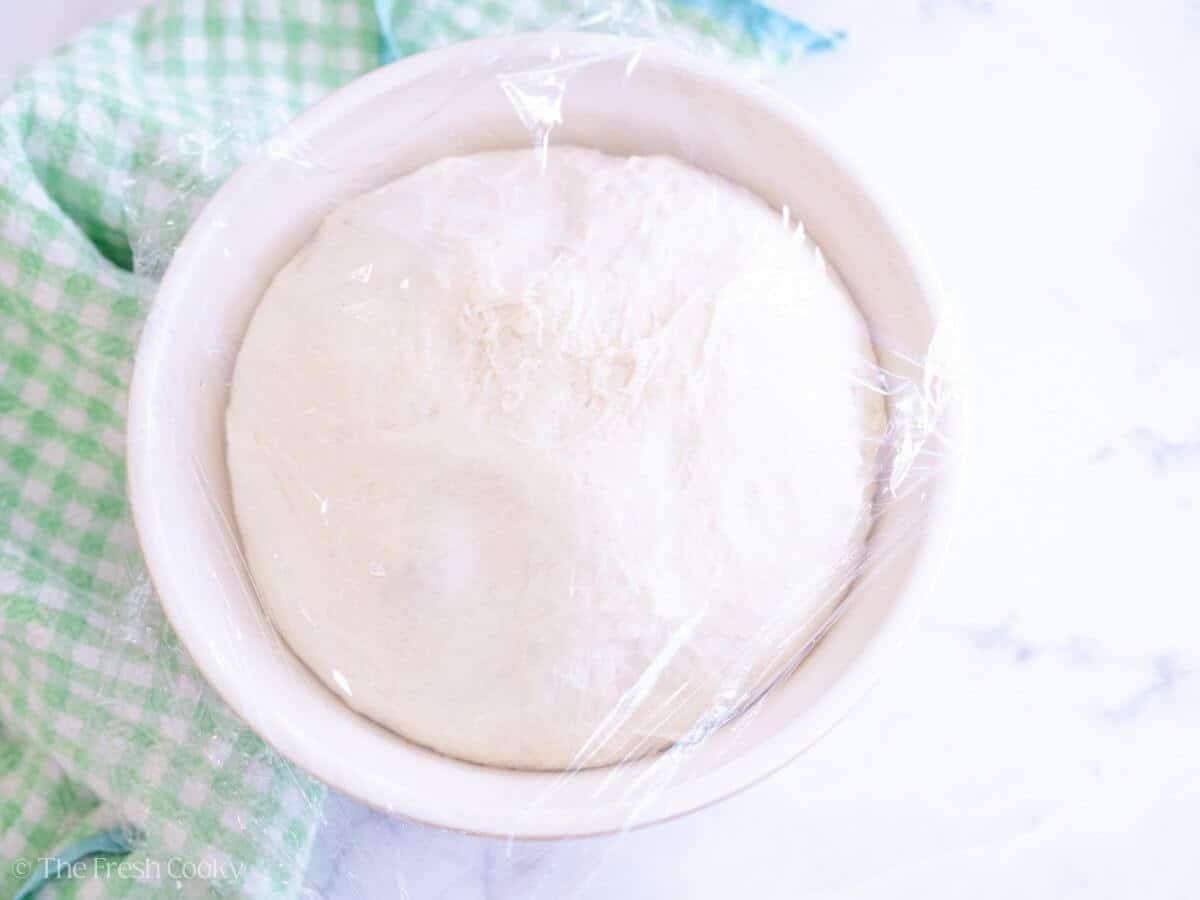
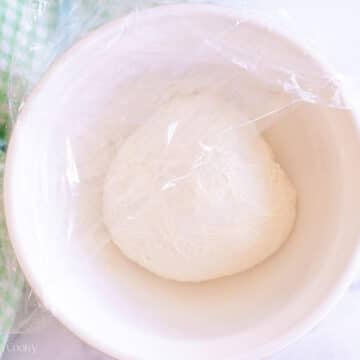
- Cover and let the dough rest between folds. After the last fold, let the dough rise until it doubles in size, a total of 1–2 hours.
Alternatively, you could choose a cold ferment (this will slow down the fermentation process) by placing the dough in the fridge overnight and finishing the process the next day.

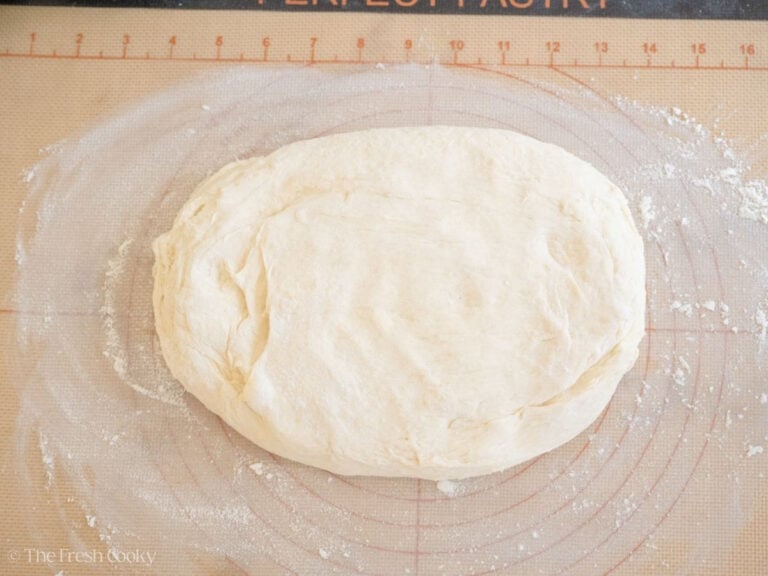
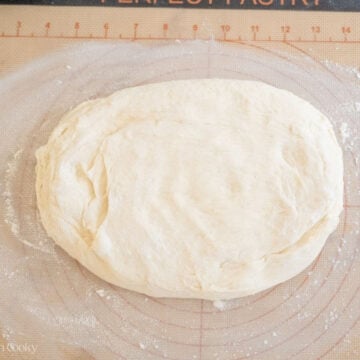
Step 4 – Roll Out the Dough
Turn the risen dough onto a lightly floured surface. Gently roll or press it out to ½–¾-inch thickness.
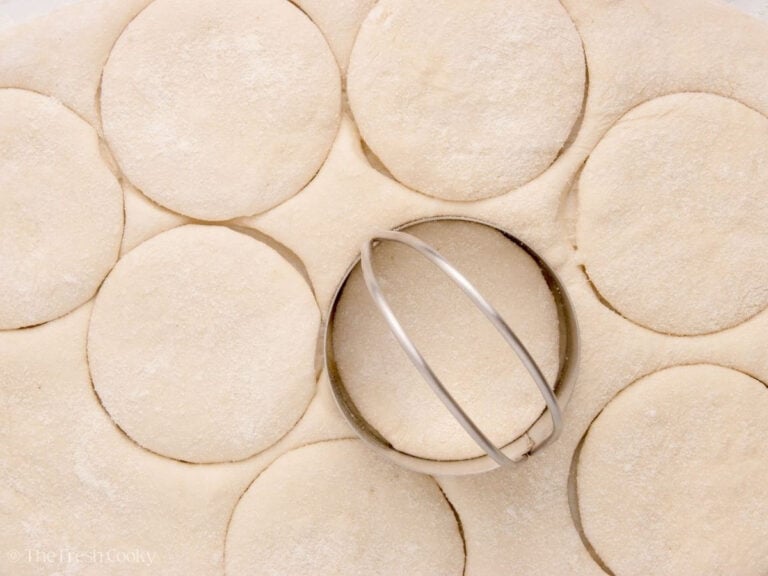
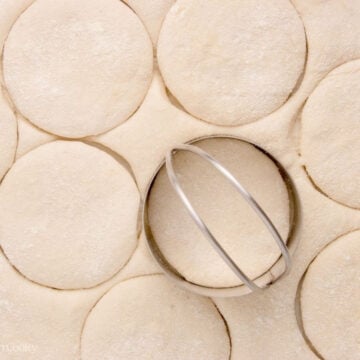
Step 5 – Cut Muffins
Use a 3-inch biscuit cutter to cut out rounds. Place each round on a baking sheet with parchment paper and lightly dusted with cornmeal. Gather scraps, reroll, and cut more.
For less waste, cut the dough into squares instead of rounds.
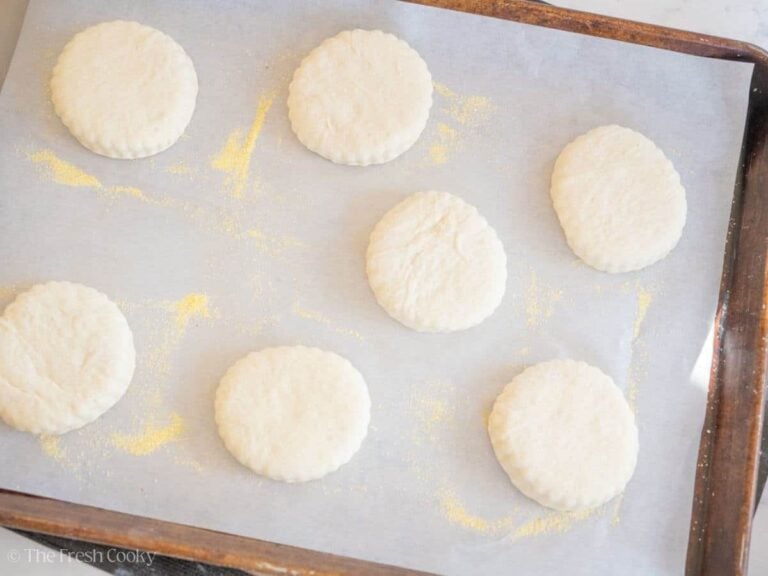
Step 6 – Prepare for Cooking
Sprinkle the tops with more cornmeal, cover with a towel, and let rise for 30 minutes. They should feel light and puffy.
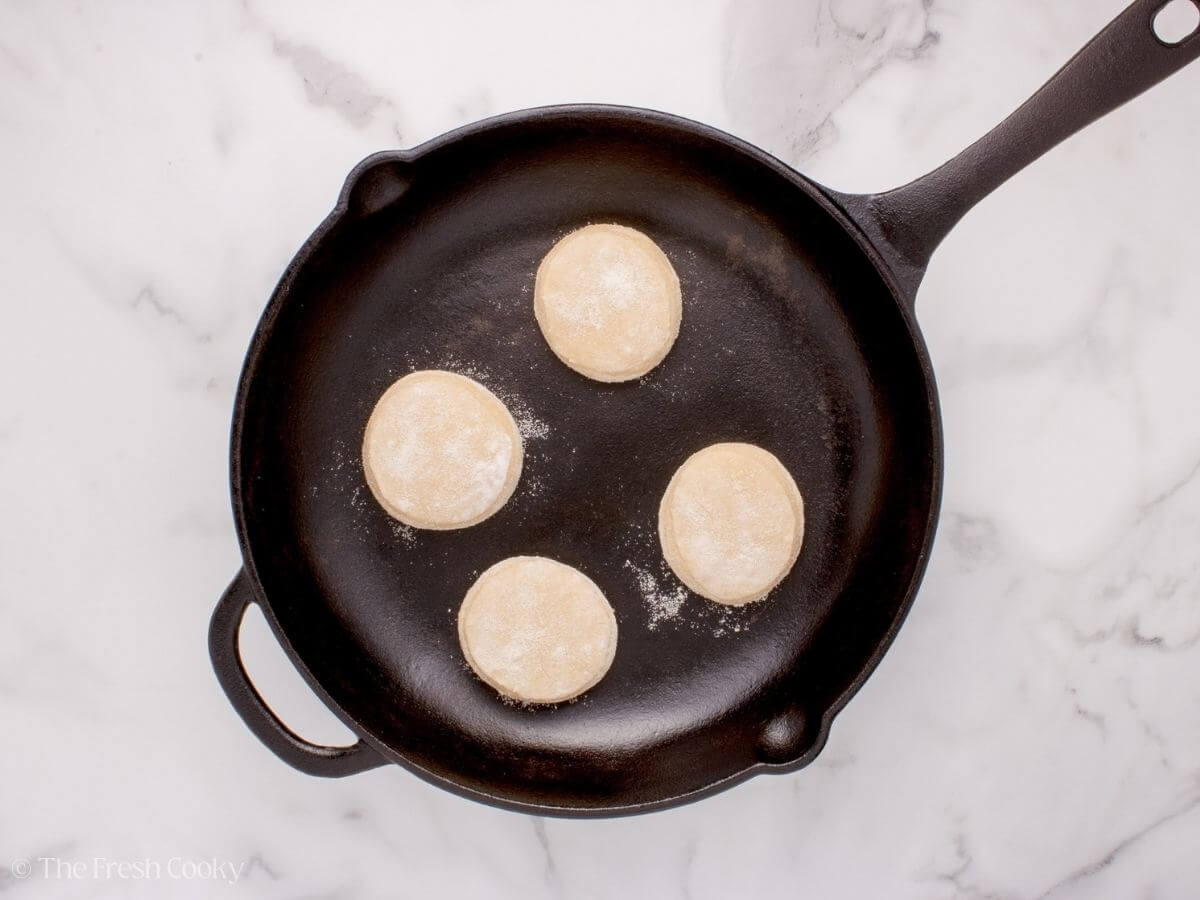
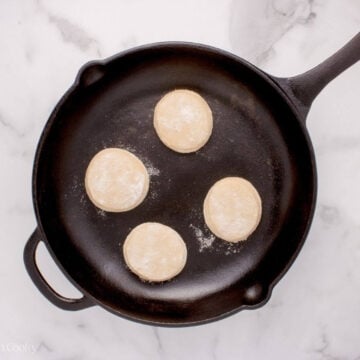
Step 7 – Cook on Skillet
Heat a cast iron skillet or electric griddle to low to medium-low heat (325-350°F).
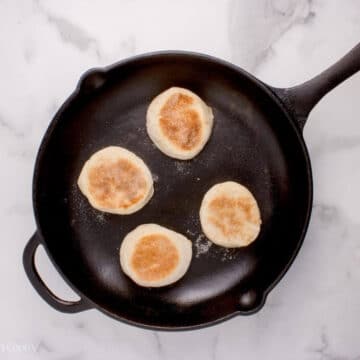
Place muffins on the skillet, leaving 2 inches between them. Cover and cook for 4–6 minutes on each side until golden brown.
Check the internal temperature (190–200°F). Thicker muffins may take longer to cook.

Step 8 – Finish Cooking (Optional)
If the centers are still undercooked, transfer the muffins to a preheated 350°F oven for 5–10 minutes.
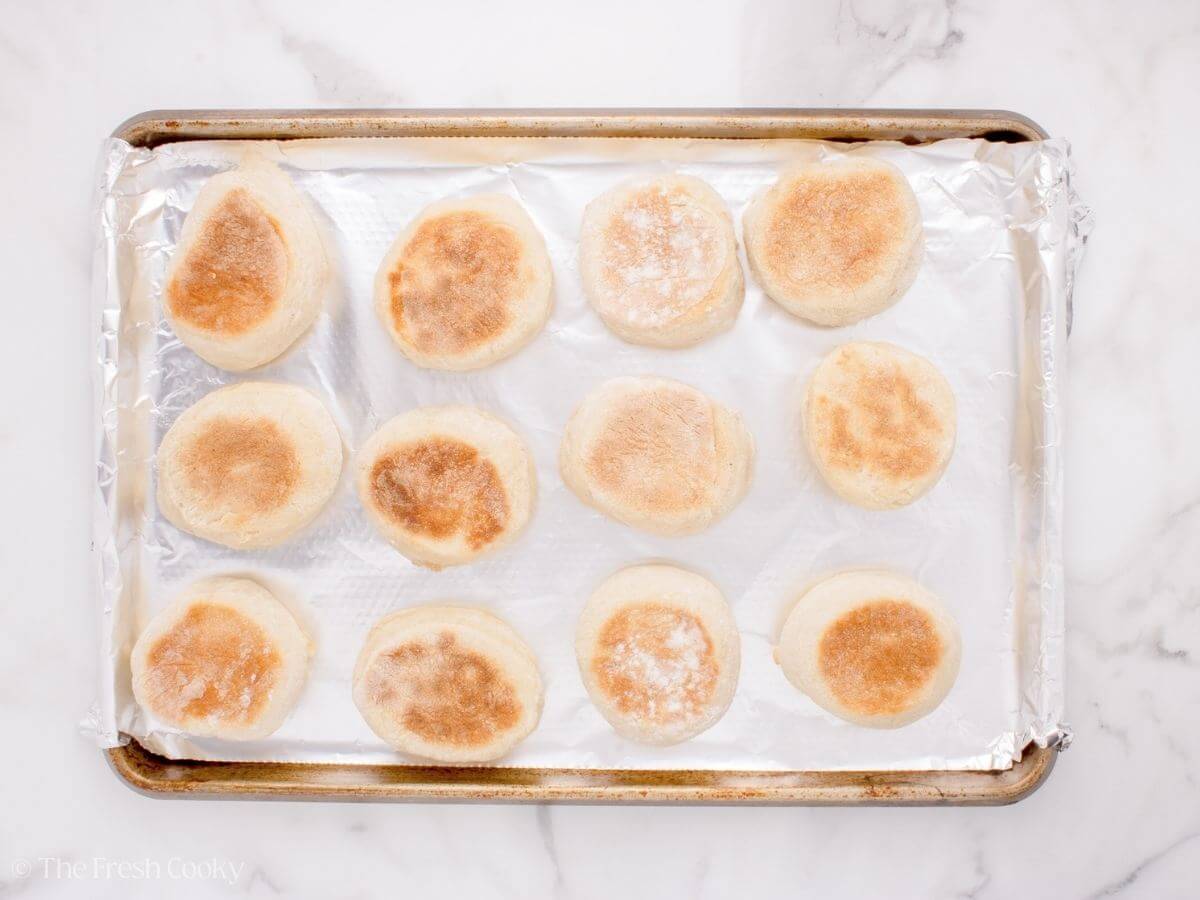
Step 9 – Cool and Serve
Cool muffins completely on a wire rack. Split with a fork for nooks and crannies. Toast and serve with butter, jam, or cream cheese.

How to make Sourdough English Muffins recipe with active sourdough starter:
If using a bubbly, active starter, you can skip the yeast, but rising times will be longer! Follow the recipe as written, but allow the dough to rise until it has doubled in size. If needed, you can cover it and allow it to rise in the fridge overnight!
Sourdough Discard English Muffin Recipe Tips for Success
- Temperature Control: Keep your pan or griddle at 325-350°F consistently. Too hot, and you’ll end up with burnt outsides and raw centers. Use an infrared thermometer if you have one for precise control.
- Dough Handling: Treat the dough gently during shaping to preserve the air bubbles that create those cherished nooks and crannies. Less is more when it comes to handling the dough after it has risen!
- Cold Fermentation: For enhanced flavor, try the overnight refrigeration method. This slow fermentation develops a complex, tangy flavor and improves texture.
- Proper Thickness: Roll the dough to ½-¾ inch thickness. Too thin, and you’ll miss out on the fluffy interior; too thick, and they may not cook through properly.
- Steam Control: When cooking, the lid traps steam, which helps create the perfect texture. Don’t skip this step, but check occasionally to ensure they’re not getting too moist.
- Internal Temperature: Always check that the internal temperature reaches 190-200°F using an instant-read thermometer. Making sure they are fulling cooked without becoming dry.

How to serve Sourdough Discard English Muffins
The best way to enjoy these English muffins is to split them with a fork (never a knife!) to create the maximum number of nooks and crannies for catching melted butter. Hence, the whole fork split English muffins! Toast them until golden brown and serve immediately.
They’re perfect with classic toppings like butter and strawberry jam, but also shine when used for eggs Benedict or breakfast sandwiches. For a special treat, try them with homemade lemon curd or whipped honey butter. They freeze beautifully for up to three months – just split them before freezing for easy toasting later.
Storing Discard Sourdough English Muffins
- Refrigeration: Store in an airtight container for 5–7 days.
- Freezing: Freeze cooled muffins in a freezer bag with parchment paper between layers (up to 3 months).
- Reheating:
- Toaster: Split and toast until warm.
- Oven: Heat at 350°F for 3–5 minutes.
- Skillet: Warm for 30–60 seconds per side.

Sourdough English Muffin FAQs
No, English muffins are American! They were created by Samuel Bath Thomas, an English immigrant, in the late 1800s. He called them “toaster crumpets.”
Sourdough discard is the portion of starter removed during feeding. It’s unfed but works perfectly in this recipe since the yeast handles the rise with the discard, providing all the flavor.
Stretching and folding are gentle techniques for building a gluten structure in your dough. Simply stretch one side of the dough upward, fold it over itself, and repeat on all sides. This strengthens the dough without traditional kneading, which is ideal for sourdough and soft dough.
They are fully cooked with a golden brown top and bottom, and their internal temperature is around 200°F.
It means the discard contains equal parts flour and water by weight, resulting in a smooth, pancake-batter-like consistency.
Add extra flour one tablespoon at a time until the dough is soft and elastic, but avoid adding too much to keep the muffins tender.
No, but they help prevent sticking and create the classic muffin texture. You can use rice flour, fine cornmeal, or all-purpose flour instead.
Yes, you can let Sourdough Discard English Muffins rise overnight! This is called cold fermentation, and it enhances the flavor by developing a more profound, tangy sourdough taste. I wouldn’t recommend leaving the dough on the counter overnight for sourdough muffins, as it would probably overproof.
Homemade Sourdough English Muffins with Whole Wheat Flour
Yes, you can use whole wheat flour to make these Sourdough Discard English Muffins, but the texture will be denser and not as airy. To help with softness, try these adjustments:
Use a mix of flours: Substitute up to 50% of all-purpose flour with whole wheat flour for flavor and texture. Add more hydration: Whole wheat flour absorbs more liquid so add 1-2 tablespoons of water or milk if the dough feels too stiff. Increase the rise time: Whole wheat dough takes longer to ferment so let it rise for an extra 30-60 minutes for better texture.


More Popular Recipes from The Fresh Cooky
Equipment
Ingredients
- 1 cup (250 g) sourdough discard or ½ cup active starter (room temperature, 100% hydration) See Note 1.
- 1 tablespoon (21 g) honey or sugar, coconut sugar, or maple syrup.
- ½ cup (120 g) warm water 95-100°F, See Note 3.
- ½ cup (120 g) warm milk 95-100°F, See Note 3.
- 2 ½ cups (300 g) unbleached all-purpose flour
- 1 ¼ teaspoons (7 g) kosher salt
- 2 teaspoons (6 g) instant yeast See Note 2
- ¼ cup cornmeal or semolina flour, for dusting
Instructions
- In a large bowl, or bowl of a stand mixer whisk together the sourdough discard, honey, warm water, and milk until smooth.1 cup (250 g) sourdough discard, 1 tablespoon (21 g) honey, ½ cup (120 g) warm water, ½ cup (120 g) warm milk

- Add the flour, salt, and yeast to the wet mixture. Stir with a wooden spoon or dough hook until a sticky dough forms.If using a stand mixer: Use the dough hook and mix on low for 5–6 minutes.If mixing by hand: Knead on a floured surface for 8–10 minutes until soft and elastic. If the dough feels too sticky, add extra flour, 1 tablespoon at a time.2 ½ cups (300 g) unbleached all-purpose flour, 1 ¼ teaspoons (7 g) kosher salt, 2 teaspoons (6 g) instant yeast
- Do a stretch-and-fold*, then cover and rest the dough for 30 minutes. Repeat one more time. Cover and let the dough rest between folds, *Stretch & Fold: Wet your hands to prevent sticking, grab one side of the dough, stretch it upward, and fold it over the center, then rotate the bowl and repeat 2–3 more times.
- After the last fold, let the dough rise until it doubles in size, a total of 1–2 hours.Alternatively, you could choose a cold ferment (this will slow down the fermentation process) by placing the dough in the fridge overnight and finish the process the next day.
- Turn the risen dough onto a lightly floured surface. Gently roll or press it out to ½–¾-inch thickness.
- Use a 3-inch biscuit cutter to cut out rounds and place each round on a baking sheet with parchment paper and lightly dusted with cornmeal. Gather scraps, reroll, and cut more.For less waste, cut the dough into squares instead of rounds.¼ cup cornmeal
- Sprinkle the tops with more cornmeal, cover with a towel, and let rise for 30 minutes. They should feel light and puffy.
- Heat a cast iron skillet or electric griddle to low to medium-low (325-350°F). Place muffins on the skillet, leaving 2 inches between them. Cover and cook for 4–6 minutes on each side until golden brown. Check the internal temperature (190–200°F). Thicker muffins may take longer to cook.
- If the centers are still undercooked, transfer the muffins to a preheated 350°F oven for 5–10 minutes.
- Cool muffins completely on a wire rack. Split with a fork for nooks and crannies. Toast and serve with butter, jam, or cream cheese.


Notes
Proofing Active Dry Yeast
If using packaged, active dry yeast you will need to proof it first, or activate it. Add ¼ cup warm water, yeast, and a teaspoon of honey to a small bowl, stir it, and allow it to sit until foamy and yeasty smelling, about 5-8 minutes. If it doesn’t do anything or doesn’t dissolve, your yeast is no good, go grab some new yeast.Storage Tips
- Refrigeration: Store in an airtight container for 5–7 days.
- Freezing: Freeze cooled muffins in a freezer bag with parchment paper between layers (up to 3 months).
- Reheating:
- Toaster: Split and toast until warm.
- Oven: Heat at 350°F for 3–5 minutes.
- Skillet: Warm for 30–60 seconds per side.
Nutrition


Billy D
Easy to make and taste great. Ive used the cold retard and same day cooks. The flexibility is there to put off the bake if desired.
Thank you for that tip, Billy! So glad you liked them !
Diane
Very tasty, and time consuming. Be sure to read the recipe and note the times it rises. But they are lovely.
Thanks Diane! Yes with rise times that does impact the timing. I thought I had the total time on the top of the recipe card. I’ll double check that.
Jami
I have made your recipe twice now with success — tasty and just right chewiness.
Second time I hand “kneaded” longer and air holes were bigger. I also used skim milk for all the liquid and added extra flour to enable “kneading” with a hand dough hook. Both times dough rose very high.
I discovered for my stove and iron skillets to cook at medium-low 4 minutes per side and then turn to lowest setting and give them another 5-10 minutes covered all or partly (checking and turning propped up on sides as needed to continue cooking).
Excellent recipe! Great taste and texture!
Thank you! Will check your other recipes!
Thank you so much, Jami! I love all your tips!
Jami
Haven’t made yet, but looks good. Question about instruction “ Perform 3–4 stretch-and-folds every 30 minutes over 1 hour:” Every 30 min S&F would total 1.5-2 hours, not 1 hour.
Thanks for catching that Jami, I’ve made adjustments to the recipe card to better clarify!