
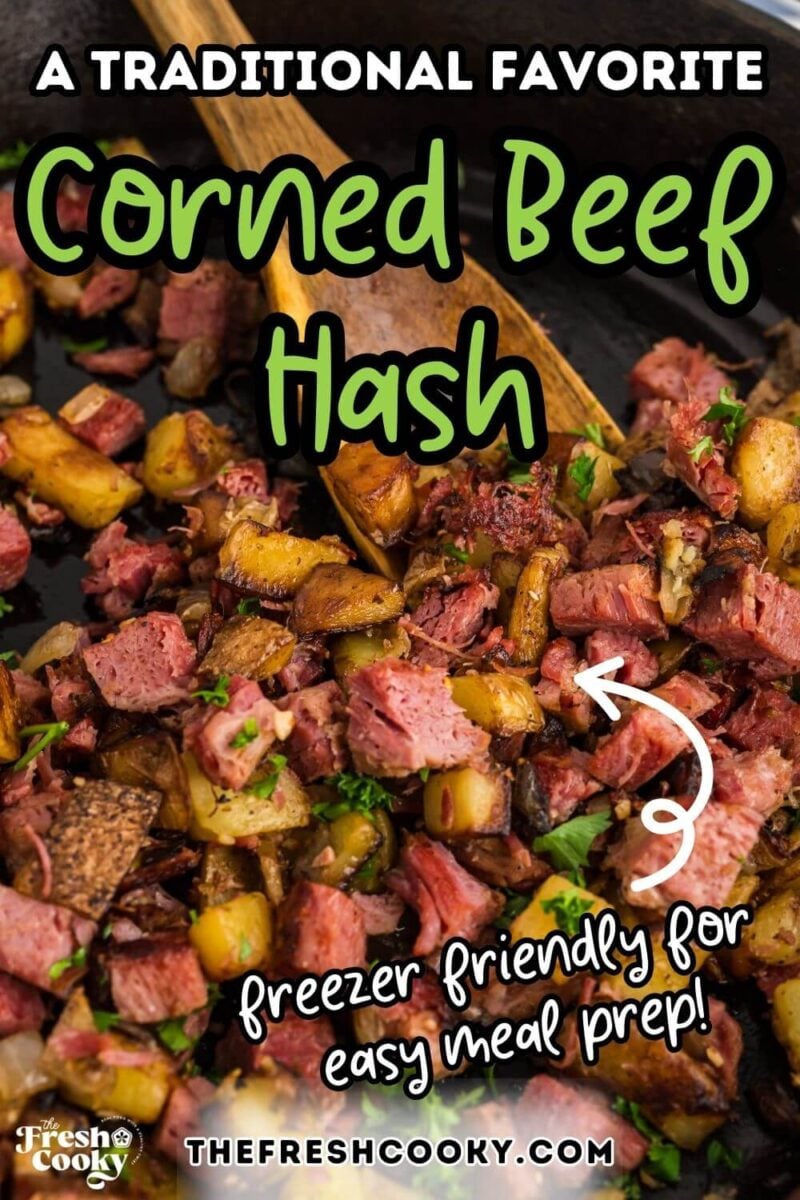


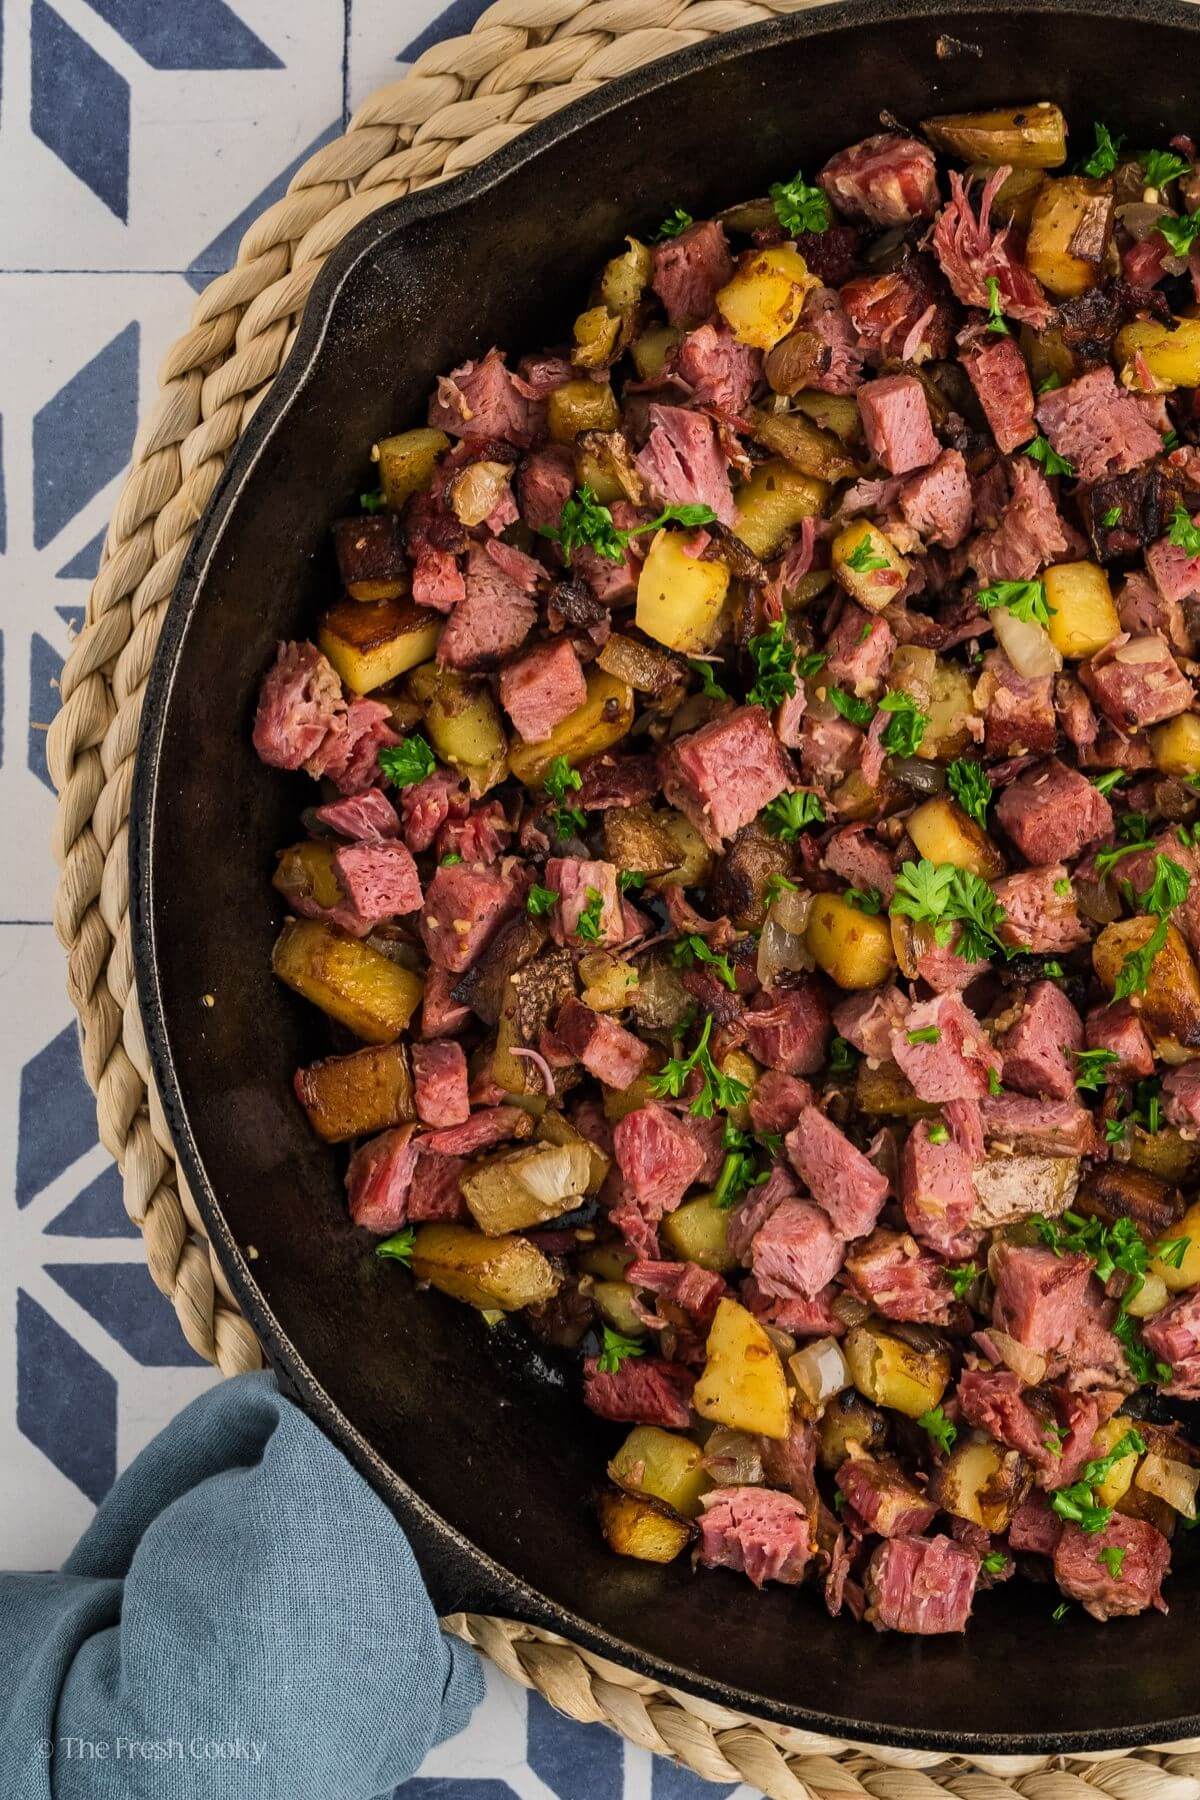
The perfect Corned Beef Hash combines crispy potatoes, tender meat, and just the right seasonings to create breakfast (or dinner) magic! This comprehensive guide will show you how to master this classic dish using simple ingredients and proven techniques that guarantee success every time.
The Quick Dish on Corn Beef Hash
Prep: 15 minutes | Cook: 20 minutes | Total Time: 35 minutes
Cuisine Inspiration: Classic Irish-American Comfort Food
Primary Cooking Method: Stovetop Skillet (Cast Iron Preferred)
Dietary Info: Gluten-Free, Dairy Optional
Key Flavor: Savory, Crispy, and Hearty with a Hint of Garlic
Skill Level: Easy – Perfect for Beginners and Home Cooks!
There’s so much to love about Corned Beef and Hash
Corned beef hash is a simple recipe that’s easy to master! It’s all about crispy potatoes, savory corned beef, and sweet caramelized onions. The secret? Using a mix of butter and olive oil, adding ingredients at the right time, and letting the hash develop that golden crust.
After making my Slow Cooker Corned Beef and Cabbage (so good, btw!), I had plenty of leftover corned beef—perfect for this hash! And let’s be honest, when you have leftover corned beef, you have to make hash or a classic sandwich. Amen!
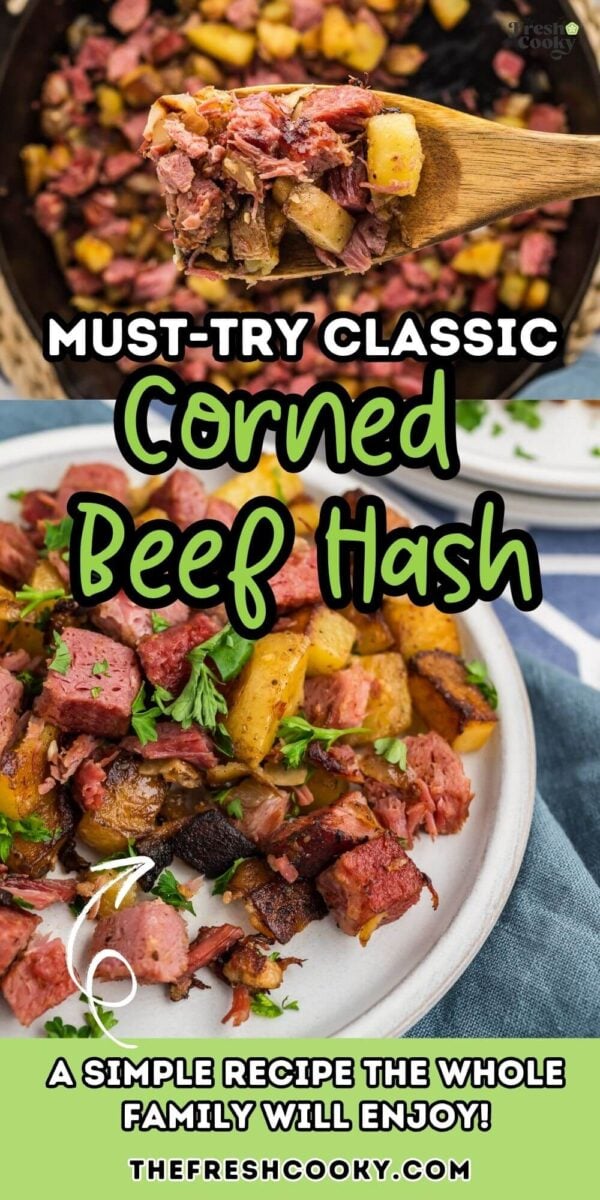
This homemade hash is super flexible—serve it for breakfast, brunch, or dinner, topped with a fried egg or enjoyed solo. Plus, after your St. Patrick’s Day feast, this recipe ensures those leftovers never go to waste!

What is Corn Beef Hash?
Corned beef hash is a hearty comfort food that was originally created as a way to use up leftover corned beef (which is beef brisket that has been brined). It’s made by combining chopped or shredded corned beef with crispy diced potatoes, onions, and simple seasonings. Cooked in a large skillet until golden and crispy, it’s often served with a fried egg on top—because let’s be honest, everything’s better with a fried egg!
While its roots are in resourceful, no-waste cooking, corned beef hash has earned its place as a beloved dish in its own right. It’s especially popular around St. Patrick’s Day when leftover corned beef is plentiful. But trust me, this classic is too good to save for just once a year!
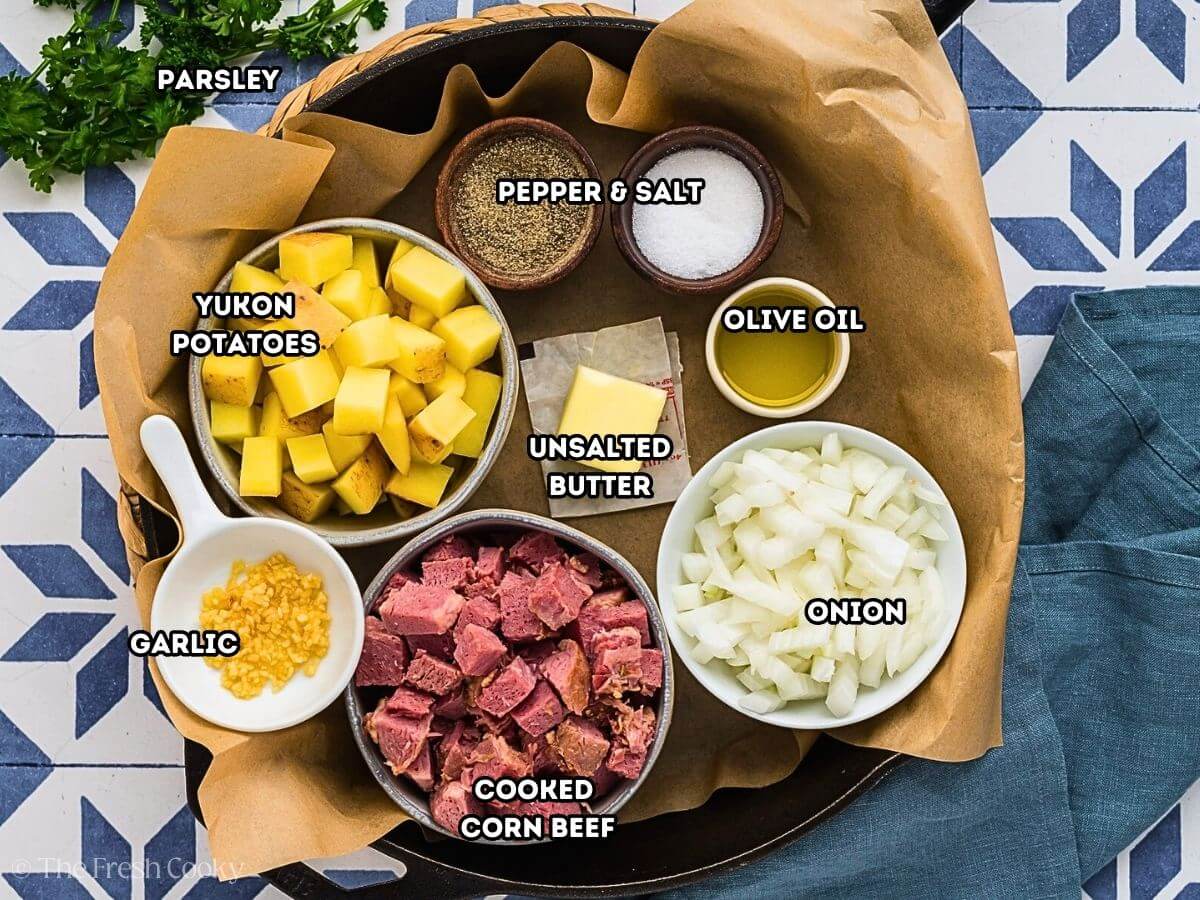
Homemade Corned Beef Hash ingredients
- Unsalted Butter & Olive Oil: I use a combination of butter and olive oil for maximum flavor and to make sure that everything gets crisped up nicely in the pan.
- Yukon Gold Potatoes: Feel free to keep the skin on or peel them! Dice them into evenly sized pieces for even cooking. Some recipes boil the potatoes, we go slow, cooking them perfectly and crisping beautifully!
- Kosher Salt & Black Pepper: To taste! Be careful with the salt, though, since corned beef is a cured meat, it already has lots of salt in it.
- Onion & Garlic: Onion and garlic cloves both add a deep savory flavor!
- Cooked Corned Beef: Ideal for leftover corned beef. If you don’t have any, you can make homemade corned beef, purchase from the deli counter or you can buy canned corned beef at the store.
- Parsley: This is optional, for a bit of color and bright flavor as garnish.
Get the full recipe in the recipe card below.
How to make Corned Beef and Hash
Step 1 – Cook the Potatoes
In a 12-inch cast iron skillet, heat the butter and olive oil over medium-high heat. Add the potatoes, salt*, and pepper, stirring to coat. Spread the mixture into an even layer and allow the potatoes to fry and brown, stirring occasionally, until fork tender—this should take about 6-10 minutes, depending on the size of your cubes.
Pro Tip: Salt Carefully!
Corned beef is brined, so it’s already salty. Lightly season the potatoes as they cook, but wait until the end to add more salt—taste first, then adjust if needed.
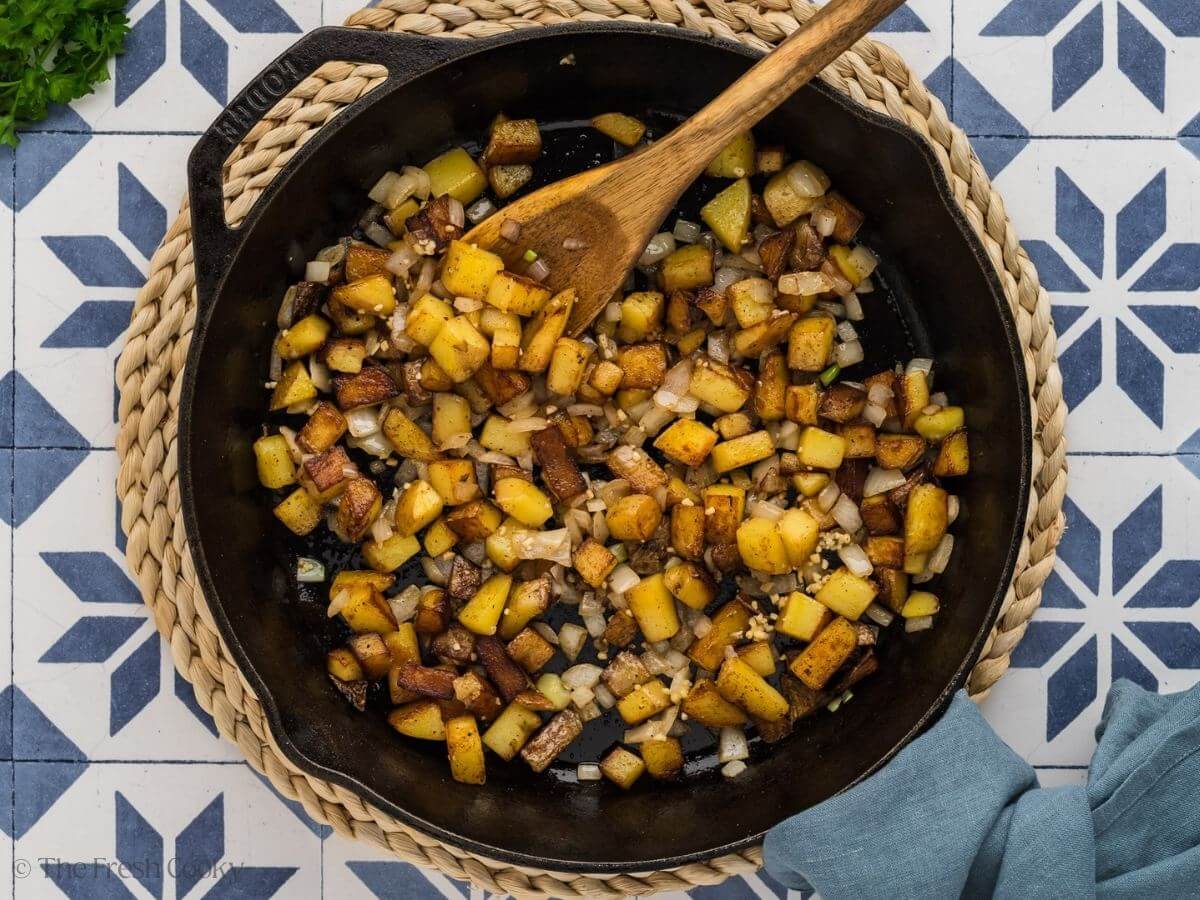
Step 2 – Add Additional Ingredients
Add the onions, stir them in, and cook until translucent, about 3 minutes. Then add the garlic and stirring until fragrant, 30-60 seconds.
Add in the corned beef and stir to combine. Spread into an even layer and using a spatula, gently press down to brown the meat. Leave it undisturbed for 3-5 minutes, and then flip sections over to continue browning the hash.
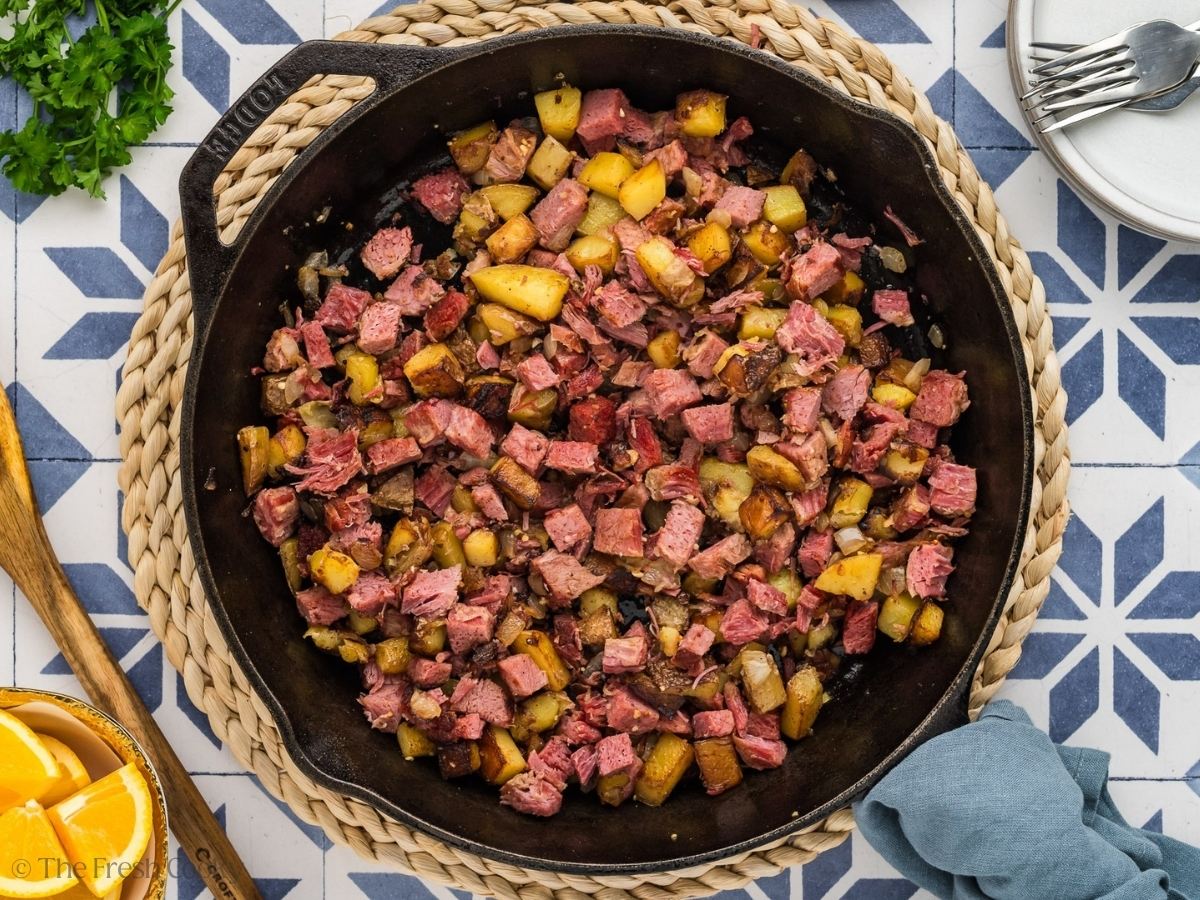
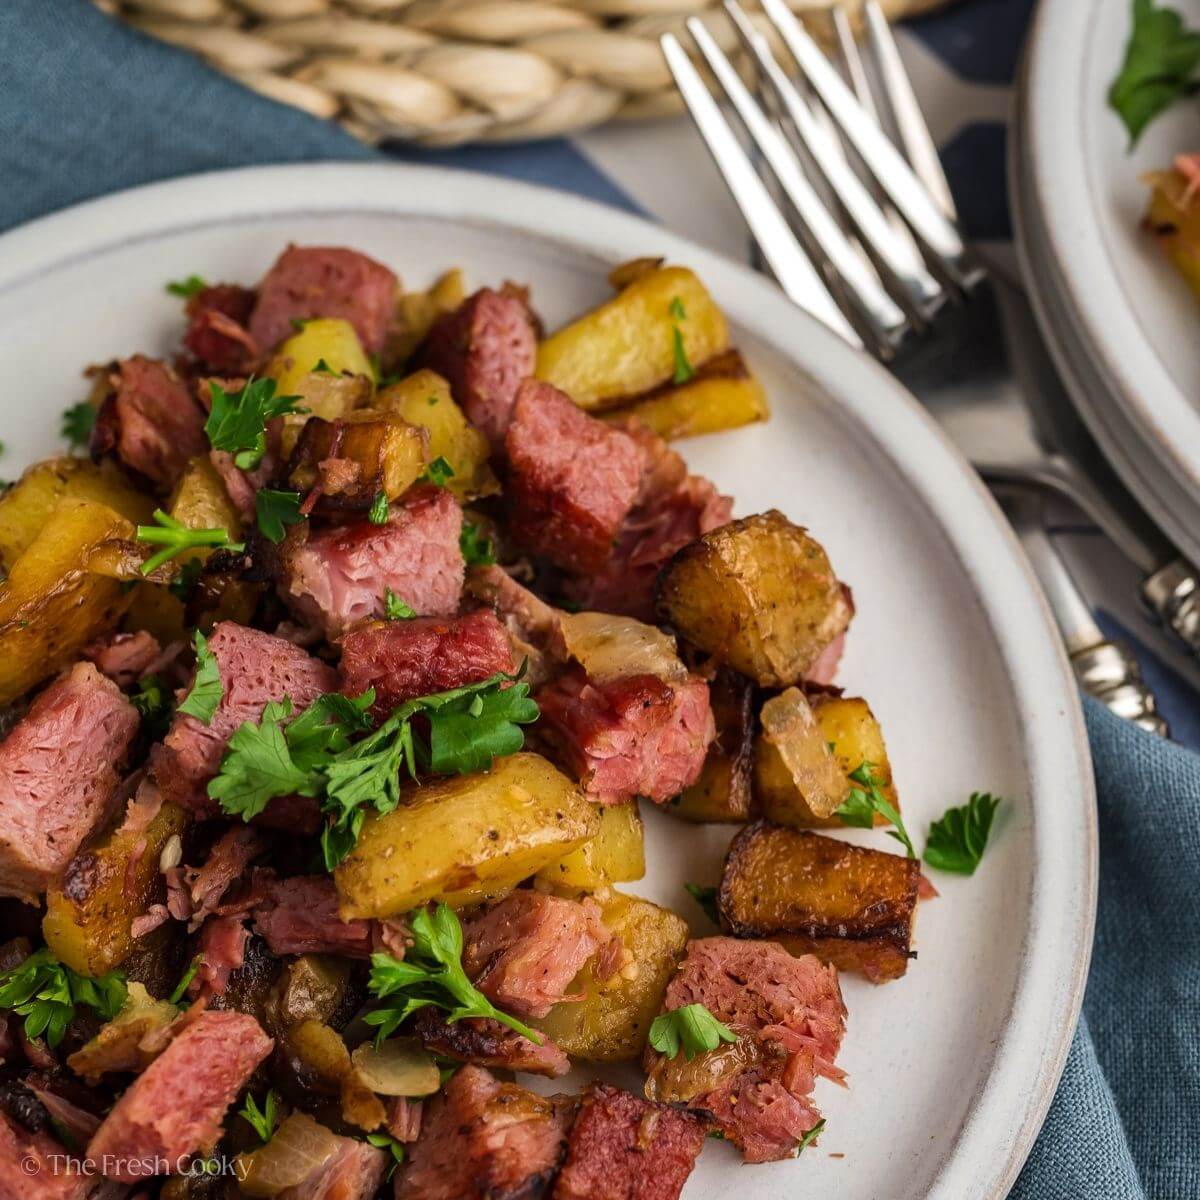
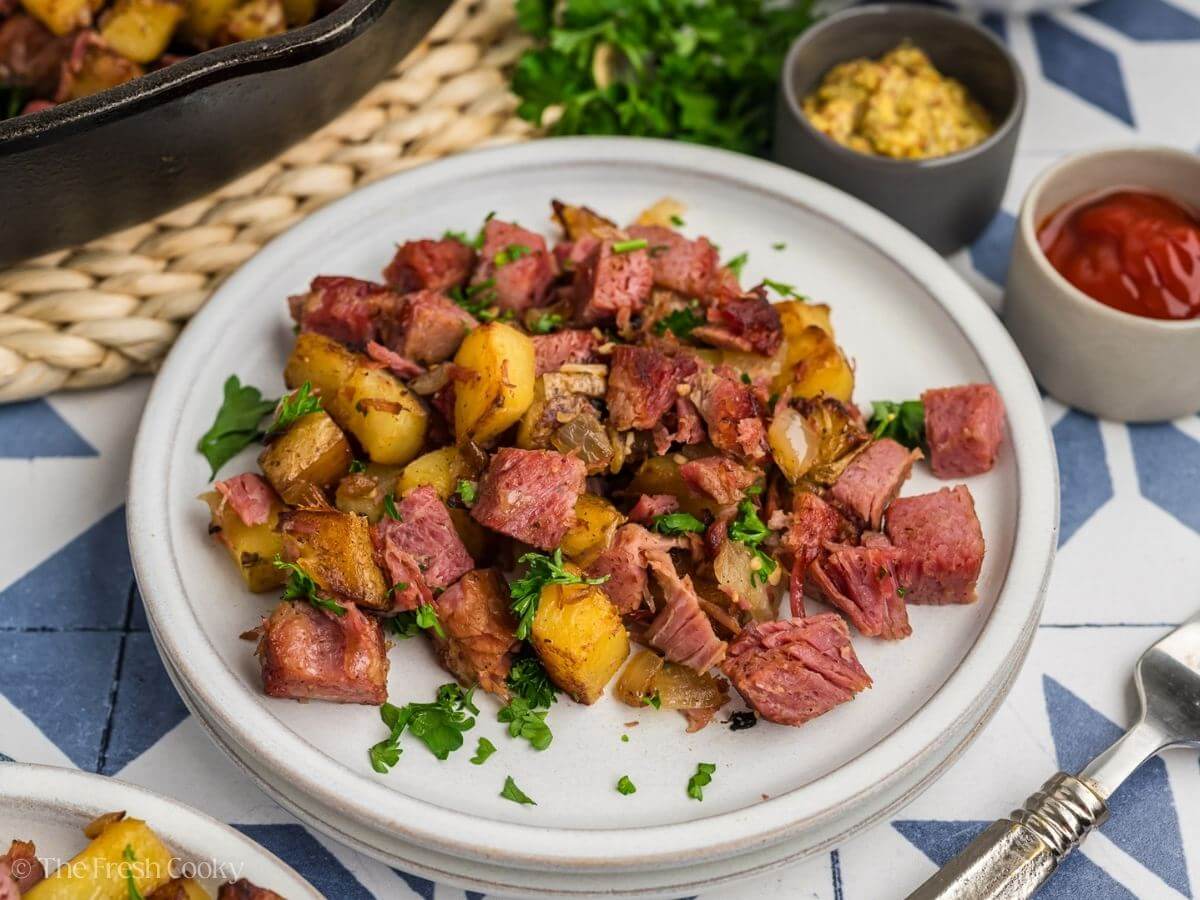
Step 3 – Serve
Serve garnished with fresh parsley and enjoy!
Tips for making this Traditional Corned Beef Hash Recipe
- Uniform Cubes: Cut potatoes evenly so they cook at the same rate. If they’re browning too fast, lower the heat.
- Don’t Overcrowd: Spread potatoes in a single layer—too many and they’ll steam instead of crisp.
- Hands Off: Resist the urge to stir too much! Let potatoes sit undisturbed to develop a crispy crust before flipping.
- Use the Right Pan: A heavy-bottomed skillet like cast iron or stainless steel gives you even heat and maximum crispiness.
Best Corned Beef Hash Recipe Variations & Substitutions
While some of these variations are not traditional, they would still make a delicious corned beef hash recipe!
- Add a chopped red bell pepper or other veggies. Add these when you add the onions.
- Add a pinch of smoked paprika or cayenne pepper for a bit of depth and/or heat.
- Fresh thyme or rosemary can add some aromatics. Either add when sauteeing the onions, or at the end.
- Add a handful of chopped kale or spinach for added nutrition.
- Try cheddar or Swiss cheese melted in at the end for cheesy goodness.
- A dollop of sour cream for extra richness.
- A drizzle of hot sauce for a spicy kick.
- Hash is delicious on its own, or go classic and serve with a fried egg.
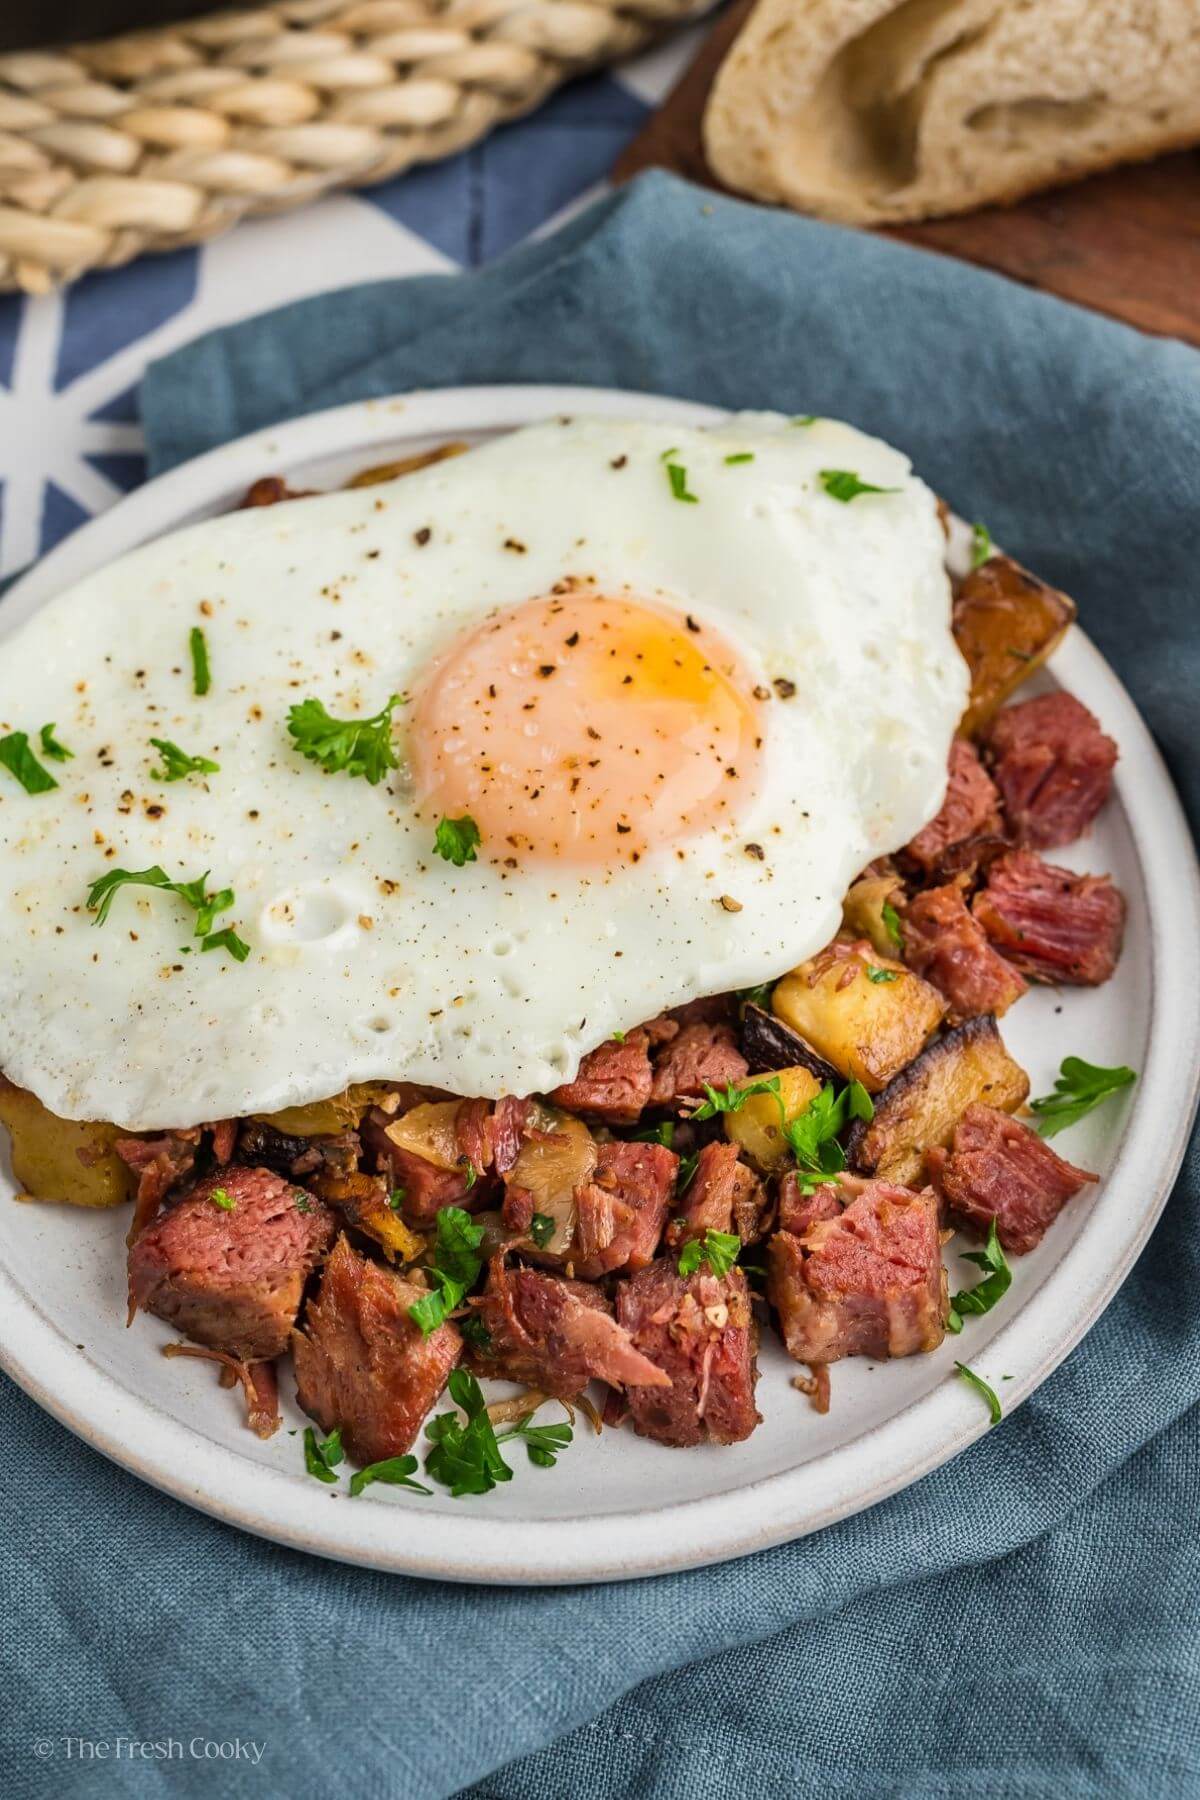
How are you supposed to eat corned beef hash?
While delicious on its own, corned beef hash truly shines when served with eggs—whether they’re sunny-side up, over-easy, or poached. The runny yolk creates a rich sauce that takes this dish to the next level!
What to serve with Corn Beef Hash
That being said, there are a lot of different things you can serve with with this traditional corned beef hash recipe! Here are some of my favorite things to eat with it:
- Eggs (any style)
- Toast or crusty bread; try my Basic Sourdough Bread (wowzers!)
- Fresh fruit, this Mexican fruit salad would be great!
- Hollandaise sauce
- Hot sauce or ketchup
- Sautéed greens, try these Southern collard greens.
How to store this Recipe for Corned Beef Hash
Store leftover hash in an airtight container in the refrigerator for up to 3-4 days. Let it cool completely before storing to avoid sogginess.
To reheat from the fridge, follow my recommendations:
- Skillet (preferred): Reheat over medium heat, stirring until hot.
- Air Fryer: Crisp at 350°F (175° C) for 4-5 minutes, shaking halfway.
- Microwave: Heat in 30-second intervals, stirring in between.
Can you freeze Corned Beef Hash?
Yes! Cool the hash completely, then portion it into freezer-safe containers or bags, removing excess air. Label and freeze for up to 2 months. When ready to eat, thaw overnight in the refrigerator, and then reheat according to my reheat instructions above.
To reheat directly from frozen, throw it into a skillet over low-medium heat, stirring often. Add a splash of water or broth if needed.
More Popular Old-Fashioned Recipes

Reader Favorites from The Fresh Cooky
The moral of the story is…don’t let leftover corned beef sit in the fridge—turn it into crispy, golden corned beef hash! This skillet classic brings together every day ingredients, all cooked to crispy perfection. And don’t skip the fried egg on top—it’s the cherry on top (but, you know, savory). Just watch the salt—corned beef’s already got that covered—and boom, you’ve got a hearty, no-fuss meal perfect for breakfast, brunch, or let’s-be-honest, dinner too!
Like this recipe?
Don’t forget to give it a ⭐️⭐️⭐️⭐️⭐️ star rating and leave a comment below the recipe!
Equipment
- Lodge 12 Inch Cast Iron Skillet. or similar
Ingredients
- 2 tablespoons unsalted butter if using salted butter, taste before adding any salt to the dish.
- 1 tablespoon olive oil extra virgin
- 3 cups Yukon gold potatoes cut into ½ inch cubes (see note 2)
- ½ teaspoon kosher salt see note 1
- ¼ teaspoon ground black pepper
- 1 cup onion diced small, about 1 medium-sized onion (see note 3)
- 2 cloves garlic minced or pressed
- 3 cups cooked corned beef cut into ½ inch cubes, or shredded
- ¼ cup fresh parsley chopped, optional garnish
Instructions
- In a 12 inch cast iron skillet, heat the butter and olive oil over medium-high heat. Add the potatoes, salt* and pepper and stir to combine. Spread the potatoes into an even layer and allow them to brown and cook, stirring occasionally, until tender. This should take about 6-8 minutes – this will take more or less time based on the size of your cubes.2 tablespoons unsalted butter, 1 tablespoon olive oil, 3 cups Yukon gold potatoes, ½ teaspoon kosher salt, ¼ teaspoon ground black pepper

- Add the onions, stir them in, and cook until translucent, about 3 minutes. Then add the garlic and stirring until fragrant, 30-60 seconds.1 cup onion, 2 cloves garlic
- Add in the corned beef and stir to combine. Spread into an even layer and using a spatula, gently press down to brown the meat. Leave it undisturbed for 3-5 minutes, and then flip sections over to continue browning the hash.3 cups cooked corned beef
- Serve garnished with fresh parsley.¼ cup fresh parsley


Notes
- If using salted butter, try waiting until you finish the skillet meal before seasoning with additional salt as the corned beef is salty and may be salty enough to season everything well. In general you may want to wait to season until the dish is done as everyone has different “salt” taste buds and this tends to be a saltier dish.
- 3 cups is about three medium-sized Yukon gold potatoes. I leave the skins on the potatoes but feel free to peel them if you like. You can also substitute red-skinned or peeled Russet potatoes. Just make sure to cook them long enough that they become tender.
- I used a sweet onion, but a yellow onion or white onion works just fine.
- Cast iron works great here, but you can use a stainless steel skillet if preferred.
- Be sure the pan is preheated and hot before adding the food, this prevents it from sticking.
- Keep an eye on the temperature when cooking the potatoes. Lower the heat if they are browning too quickly.
Storing and Reheating Corned Beef Hash
Refrigerate: Store leftover hash in an airtight container for up to 3-4 days. Let it cool completely before storing to prevent sogginess. Reheat:- Skillet (Best Method): Heat over medium, stirring until hot.
- Air Fryer: Crisp at 350°F (175°C) for 4-5 minutes, shaking halfway.
- Microwave: Heat in 30-second intervals, stirring between each.
Cool hash completely, portion into freezer-safe containers or bags, and freeze for up to 2 months. Thaw overnight in the fridge and reheat using any of the methods above. From Frozen:
Reheat directly in a skillet over low-medium heat, stirring often. Add a splash of water or broth if needed.
Nutrition


Chellie
Delicious! I love having a great way to use leftovers.
Thanks!!! 😊