

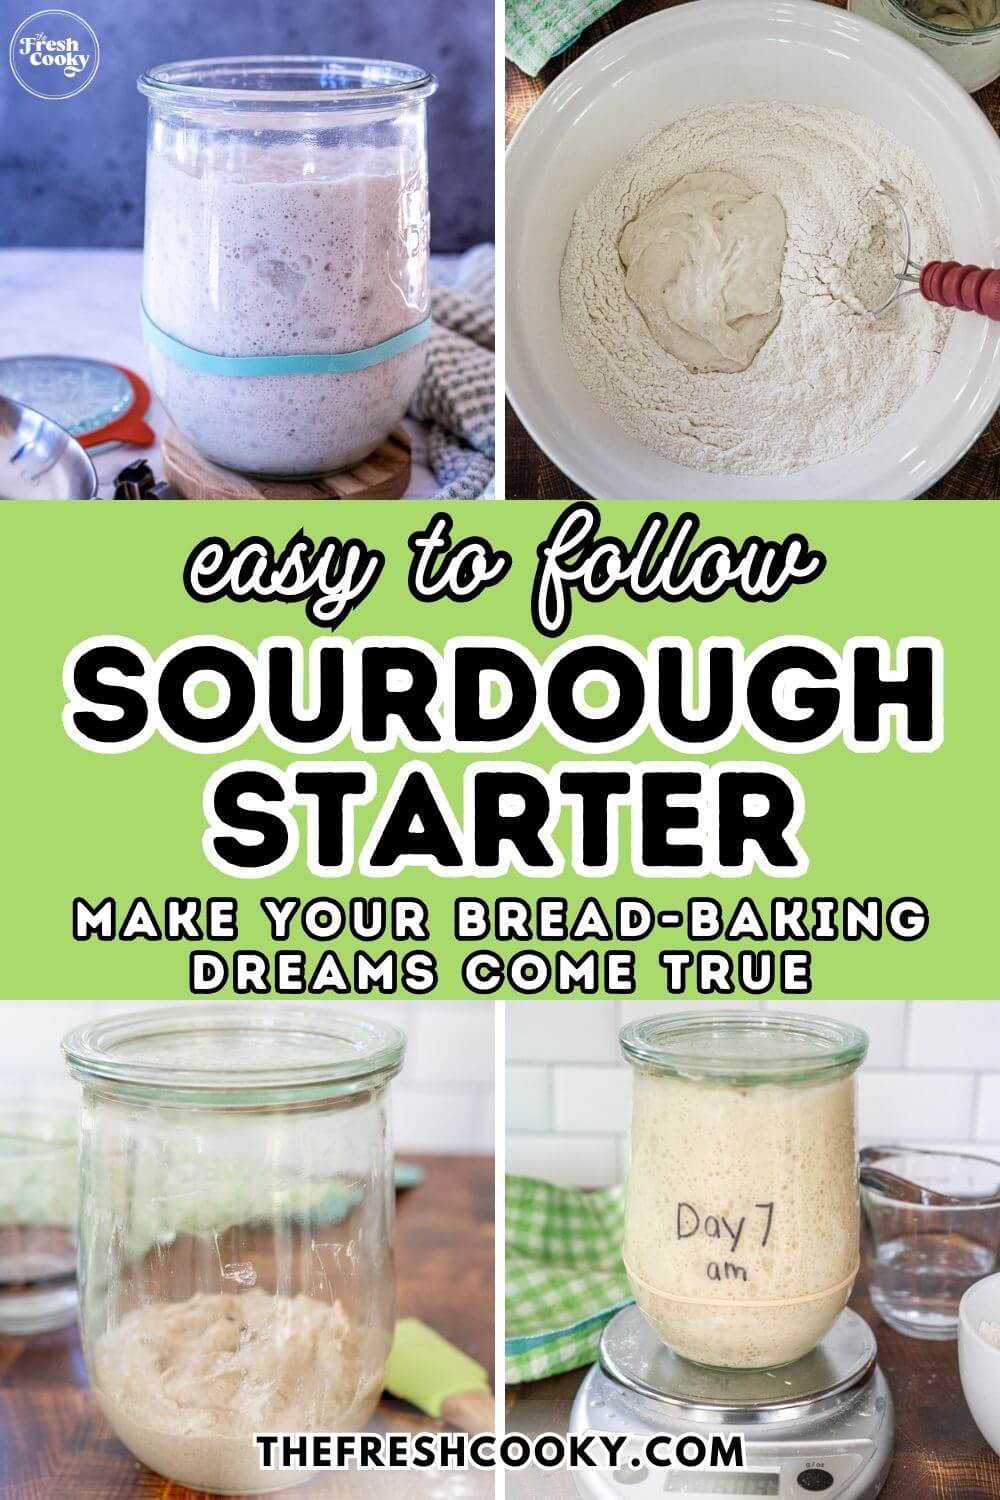
Want to learn how to make sourdough starter? You’re in the right place! In just a few minutes a day and with only 2 ingredients (flour and water), you can create a living, bubbling culture. Before you know it, you’ll be making authentic sourdough bread that’s just as good—if not better—than your favorite bakery!
This is the Best Sourdough Starter Recipe!
Like many others, I caught the sourdough bug in 2020 and started my starter from scratch. Over the years (and thousands of loaves later), I’ve refined a method that’s simple, reliable, and works. I use whole grain flours like rye or whole wheat in the early days because they’re packed with nutrients wild yeast loves—helping your starter get bubbly and active faster.
Whole grains also give your final loaf a richer flavor and a stronger structure. Once your starter is established, you can switch to all-purpose flour if you’d like.
Another key I’ve learned? Water quality. Reverse osmosis water can actually slow your starter down. Regular tap water, or a mix of tap and filtered, usually works best. If your water is highly chlorinated, let it sit out overnight or boil and cool it before using. Small choices like these—flour and water—make a big difference in your starter’s success.
My brother and his kids, who are gluten-sensitive, can enjoy my sourdough without issue. That’s the beauty of a strong starter—it helps break down gluten, making sourdough easier to digest and full of flavor. Ready to bake? Try my easy-peasy Homemade Sourdough Bread, which includes a free printable step-by-step cheatsheet!
What is Sourdough Starter?
A sourdough starter is a fermented mixture of flour and water that cultivates wild yeast and beneficial bacteria, mostly from the flour itself (and a little help from the environment). Over time, it becomes a living, breathing culture that replaces commercial yeast in your bread baking. The result? A loaf with that tangy flavor and chewy texture we all love. Think of it as a delicious science experiment you get to eat!
What You’ll Need for Sourdough Bread Starter
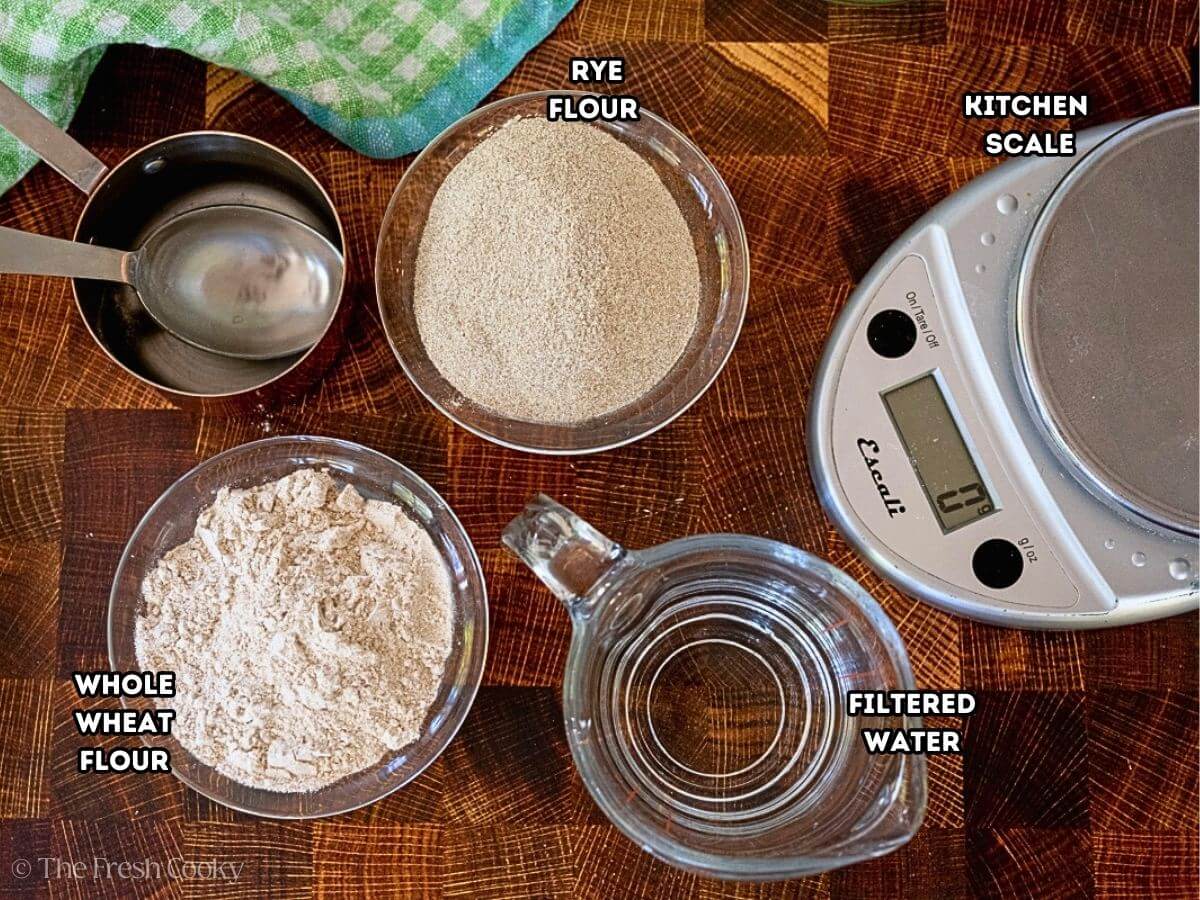
- Flour: I use a combination of rye flour and whole wheat flour, you can opt for just unbleached all-purpose flour or bread flour if that is easier! But be patient, it might take a day or two longer. Einkorn may also be used.
- Water: Use filtered water! Just don’t use RO (reverse osmosis) filtered water. If you only have RO (as I do) allow your tap water to dechlorinate by sitting out for 24 hours. I do a ½ gallon and store it in a glass jar for this use.
Get the full recipe in the recipe card below.
Success Tips for the Best Sourdough Starter
- Be Patient! Starters are like kids—they don’t always behave, but with love and regular feedings, they’ll do amazing things for you.
- Use Quality Ingredients. Opt for unbleached flours and filtered (but not reverse osmosis) water. These small details can make a big difference.
- Be Aware of Your Environment. Temperature and humidity affect your starter. Keep it in a warm spot (70-75°F) and adjust as needed based on the seasons.
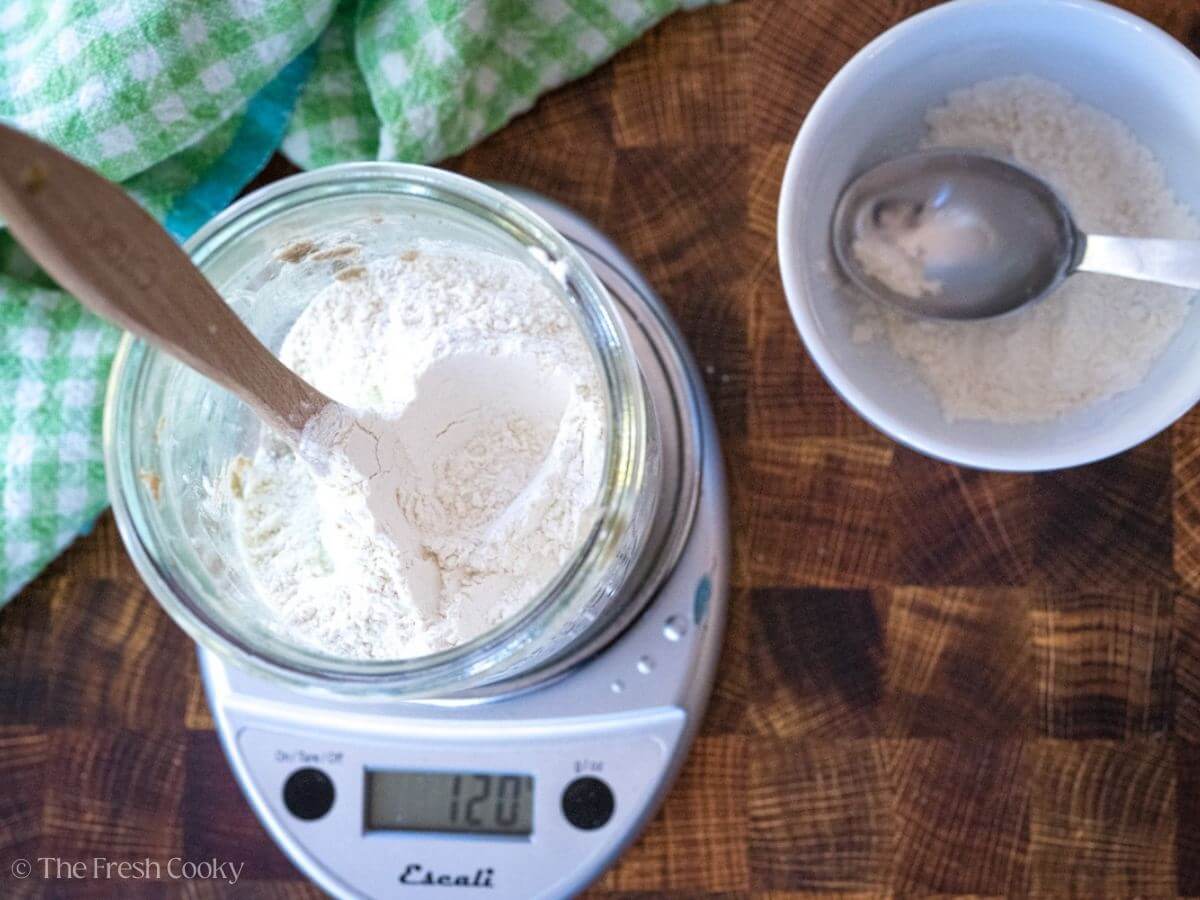
- Use the Right Tools. A kitchen scale is a game-changer for accurate measurements, especially when working with sourdough. Consistency is key.
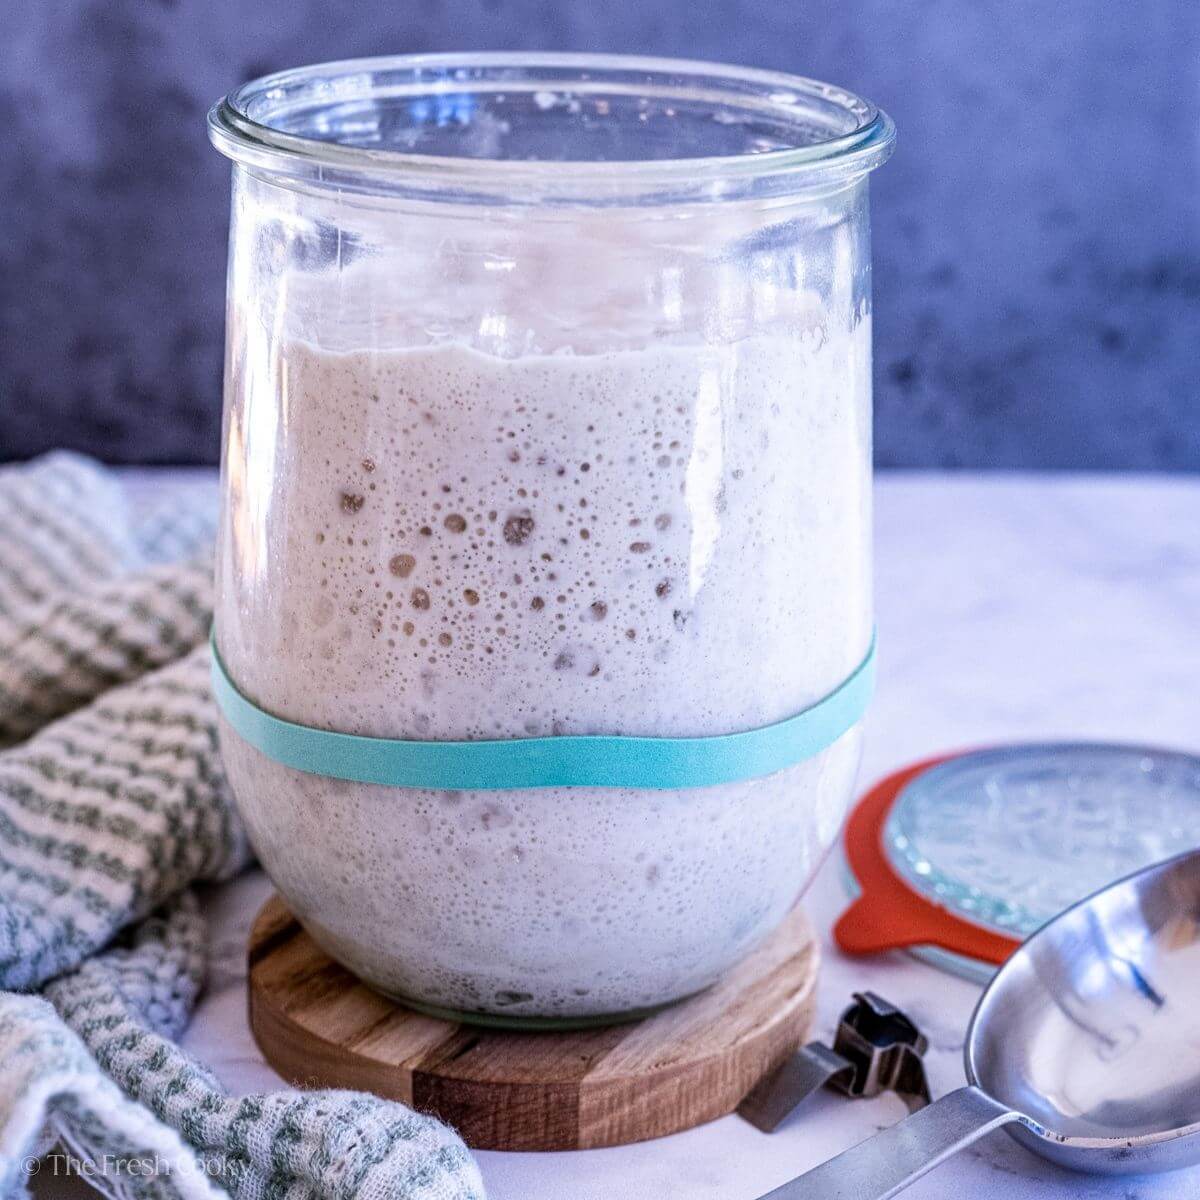
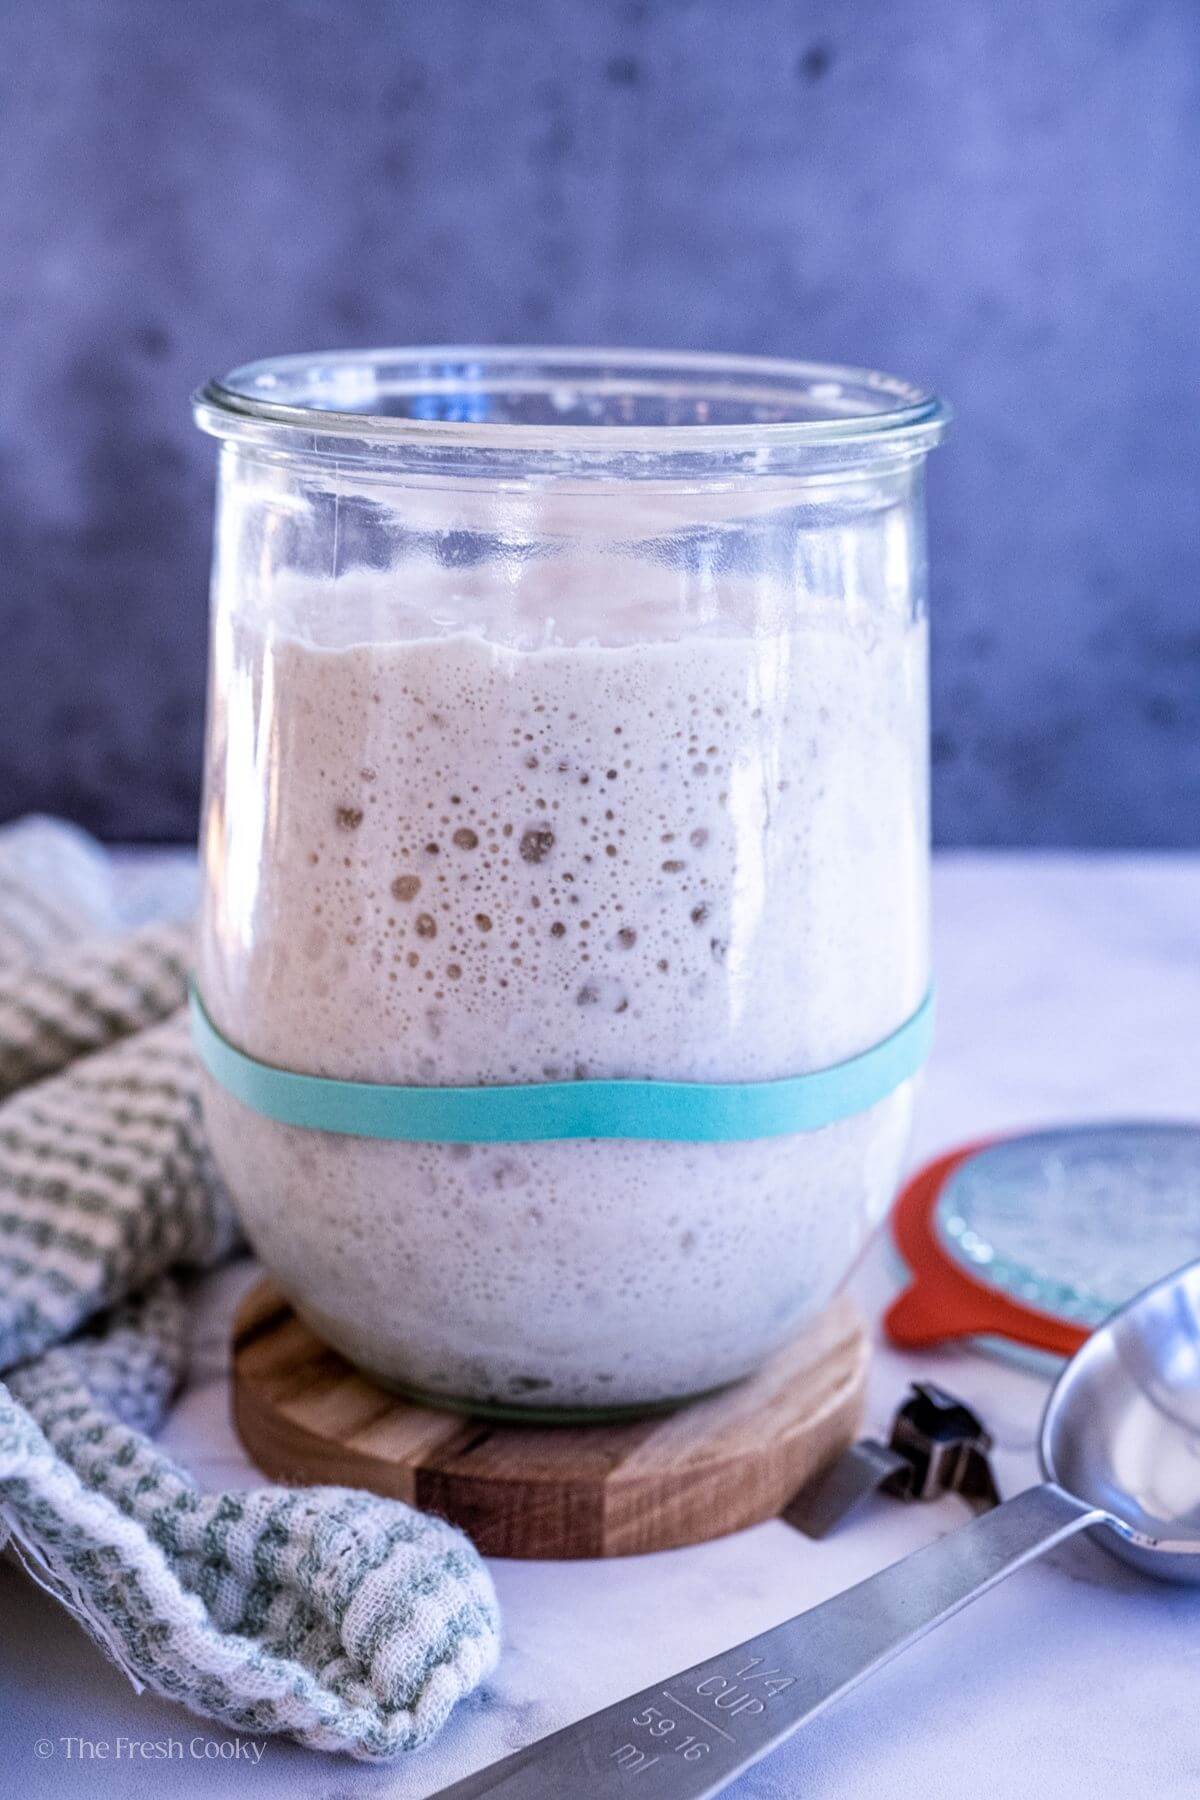
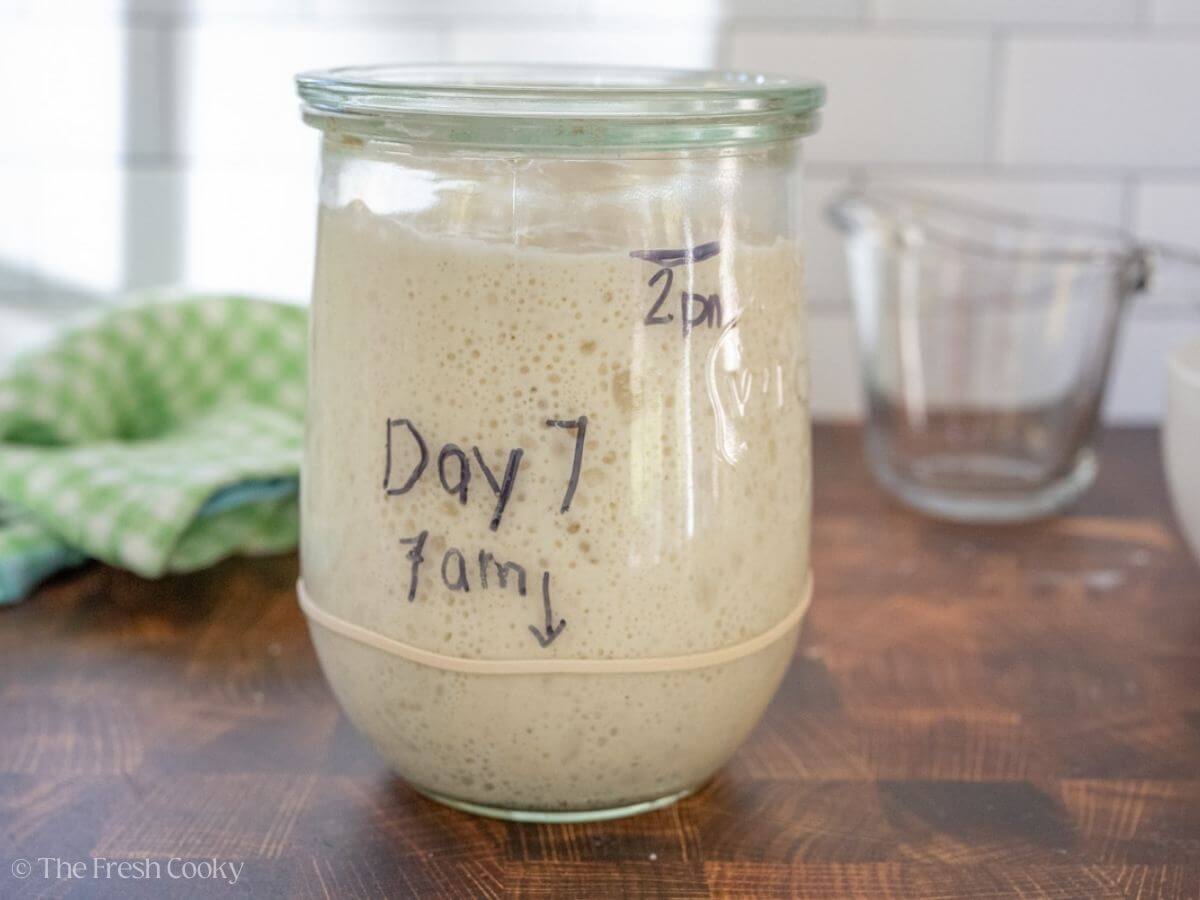
- Track Growth with a Rubber Band. Place a rubber band around the jar at the starter’s initial level after feeding. This makes it easy to see when it has doubled in size.
- Name Your Starter! Since starters are living organisms, naming them adds a fun personal touch. I named my first two Lucy and Ethel—because they’re a gas (get it?)!
- Stir Regularly During Early Days. In the first few days, stir your starter once or twice between feedings to distribute yeast and bacteria evenly and encourage activity.
- Feed Consistently. Stick to a regular feeding schedule to keep your starter happy and healthy. It’s better to underfeed than overfeed in the beginning.
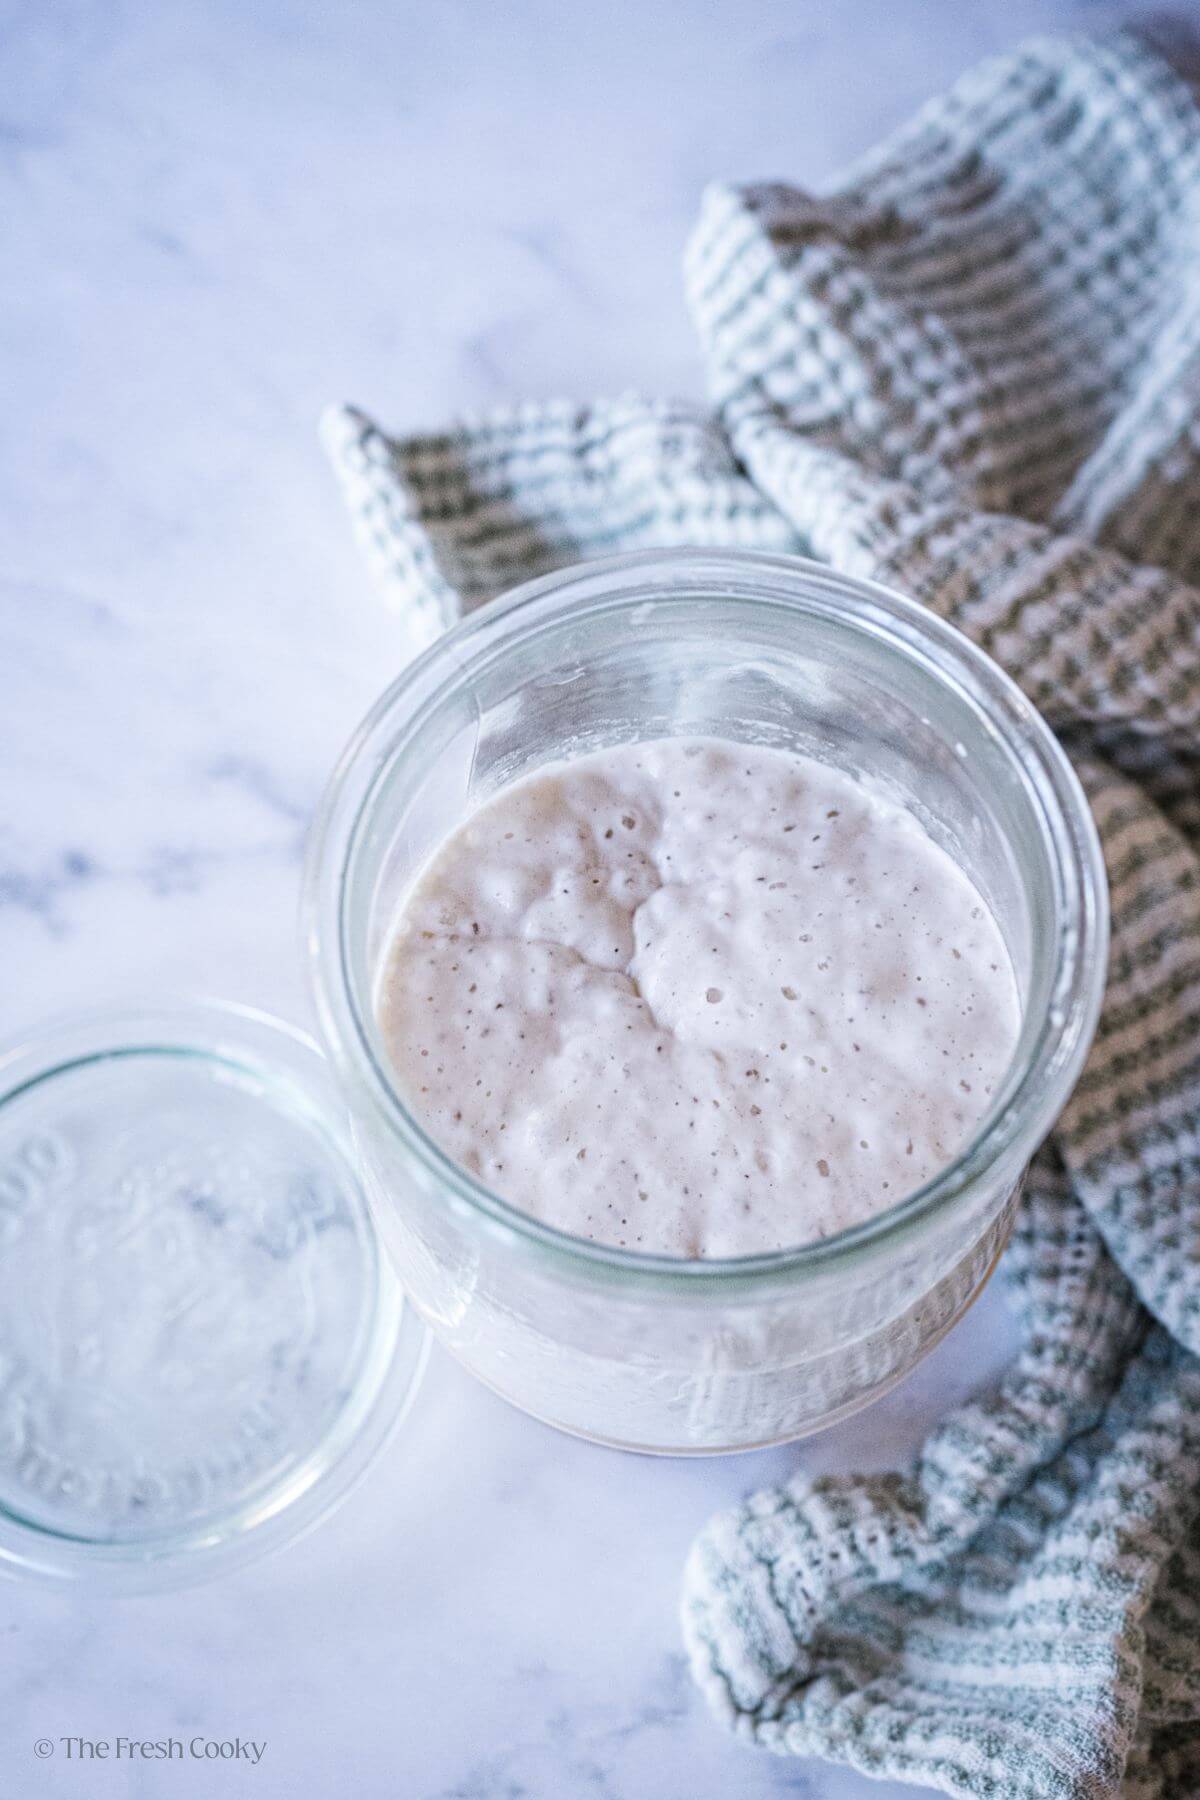
- Watch for Visual Cues. Bubbles, doubling in size, and a pleasant tangy smell are good indicators of a thriving starter. If you see hooch or it smells very sour, it’s just hungry!
- Store Correctly. If you’re not baking often, store your starter in the fridge and feed it weekly. For frequent bakers, keep it on the counter and feed every 12 hours.
- Learn to Adapt. No two starters are exactly the same. Pay attention to how yours responds to different flours, water amounts, and temperatures, and adjust as needed.
- Don’t Worry About Perfection. Sourdough is forgiving, and small variations won’t ruin your starter. Relax and enjoy the process!
Best flour for Sourdough Starter
Use the best flour you can find. Regular unbleached all-purpose flour, bread flour, Whole Wheat Flour, Einkorn, Rye Flour or a combination of whole wheat flour, rye flour, and bread flour – make this your own!
You may need to adjust the amount of liquid based on the flour you use; while sourdough is science, it’s also a bit of art, so play with it; you may have a few flops along the way, but I’ll coach you through to develop your bread mastering skills. I have even used imported Italian 00 flour!
If you’re thinking about switching up the flour you use for your starter, make the change gradually. Mix a little of the new flour with the old flour over a few feedings. This gives your wild yeast and bacteria time to adjust to their new “diet.”
Can you use bread flour for a sourdough starter?
Yes, you can use bread flour for your sourdough starter! The high protein will feed the wild yeast and bacteria, and your starter will thrive. Bread flour produces a thicker, more elastic dough than all-purpose flour, which is easier for many bakers to work with. If you prefer a looser starter, just add a little more water.
For an extra boost, consider mixing bread flour with whole wheat or rye flour during the first few feedings. These flours have more nutrients and microbes to help start fermentation. Once your starter is active, bread flour alone will work beautifully. After years of baking sourdough, I’ve found bread flour to be a reliable, consistent choice whether you’re a beginner or experienced baker!
Supplies needed
- Breathable lid or loose fitting cover
- Favorite kitchen scale – Since sourdough is more of a science, it’s important to weigh your ingredients for the best results, a kitchen scale will be a long time favorite!
- Large wide-mouth jar or sourdough starter jar
- Skinny Spatula for stirring the starter
- Small flexible spatula for scraping down the jar
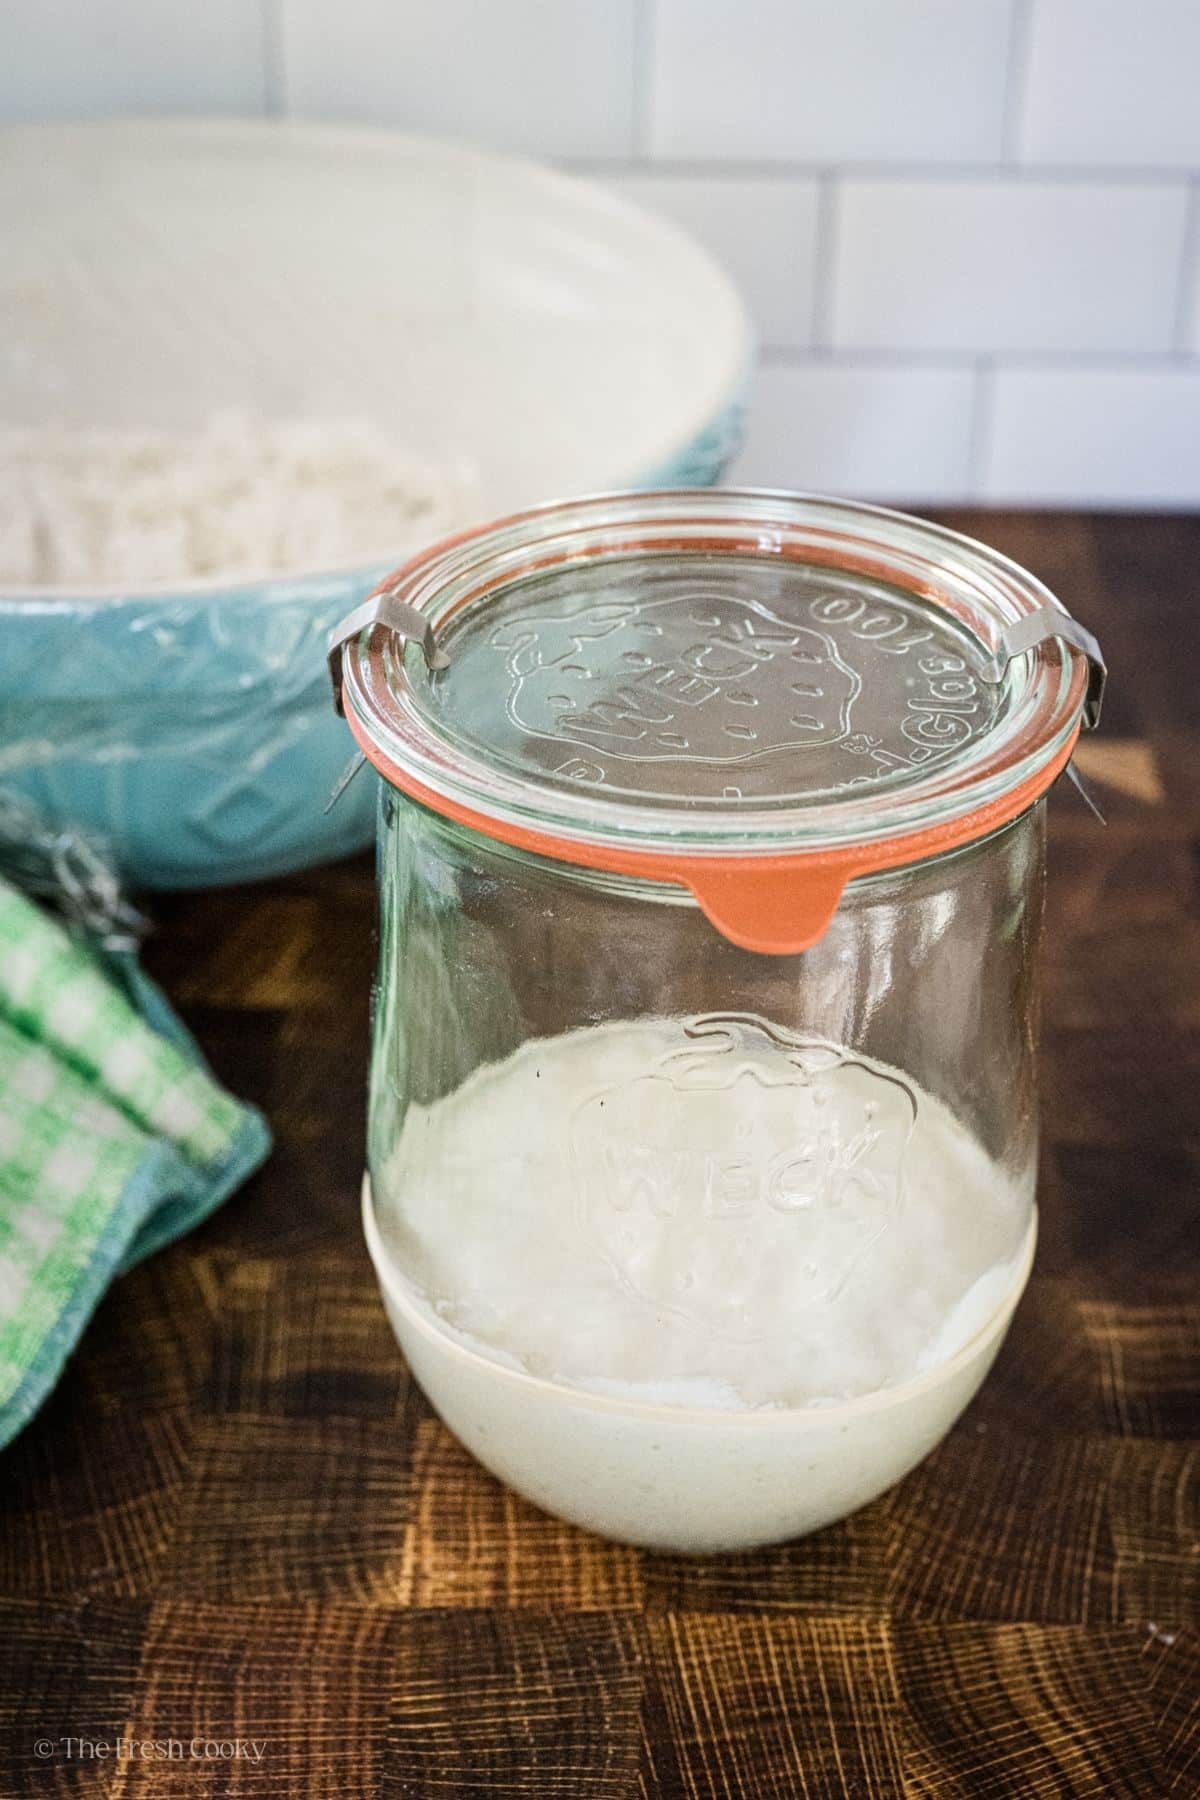
Best container for Sourdough Starter
Choosing the right container for your sourdough starter is more important than you think. The right vessel will help your starter thrive and make the process easier for you. After years of playing with sourdough, I’ve figured out what works and why.
- Why Glass Glass jars are my top choice for sourdough starters. They’re non-reactive, so they won’t interfere with the fermentation process. Plus, you can see exactly what’s going on with your starter—bubbles, rise, and all! A wide-mouth jar makes stirring and scooping easy and cleaning up a breeze. This is my favorite jar by far!
- What Size? A 1 quart (4 cups or 1 liter) container is perfect for most home bakers. It gives your starter room to grow without overflowing. If you bake frequently or have a large starter, a 2-quart container might be better. If possible, look for straight-sided jars; they make it easier to measure the rise of your starter.
- Other Options If glass isn’t an option: Food-grade plastic containers are a safe alternative as long as they’re scratch—and stain-free. Just avoid metal, which can react with the acids in your starter and affect fermentation.
- My Experience: I’ve tried all sorts of containers—from repurposed jars to specialty crocks—and always return to simple glass jars. They’re versatile, easy to find and get the job done. I’ve helped countless friends and family set up their starters and every success story starts with the right container. With the right tools you’ll be making sourdough in no time!
How to Make a Sourdough Starter
Making a sourdough starter is super easy! You’ll feed it every 24 hours for the first 5 days, then switch to every 12 hours to build strength. It doesn’t have to be exact—give or take an hour or two, and your starter will be fine. Here’s the step by step:
Step 1: Day 1
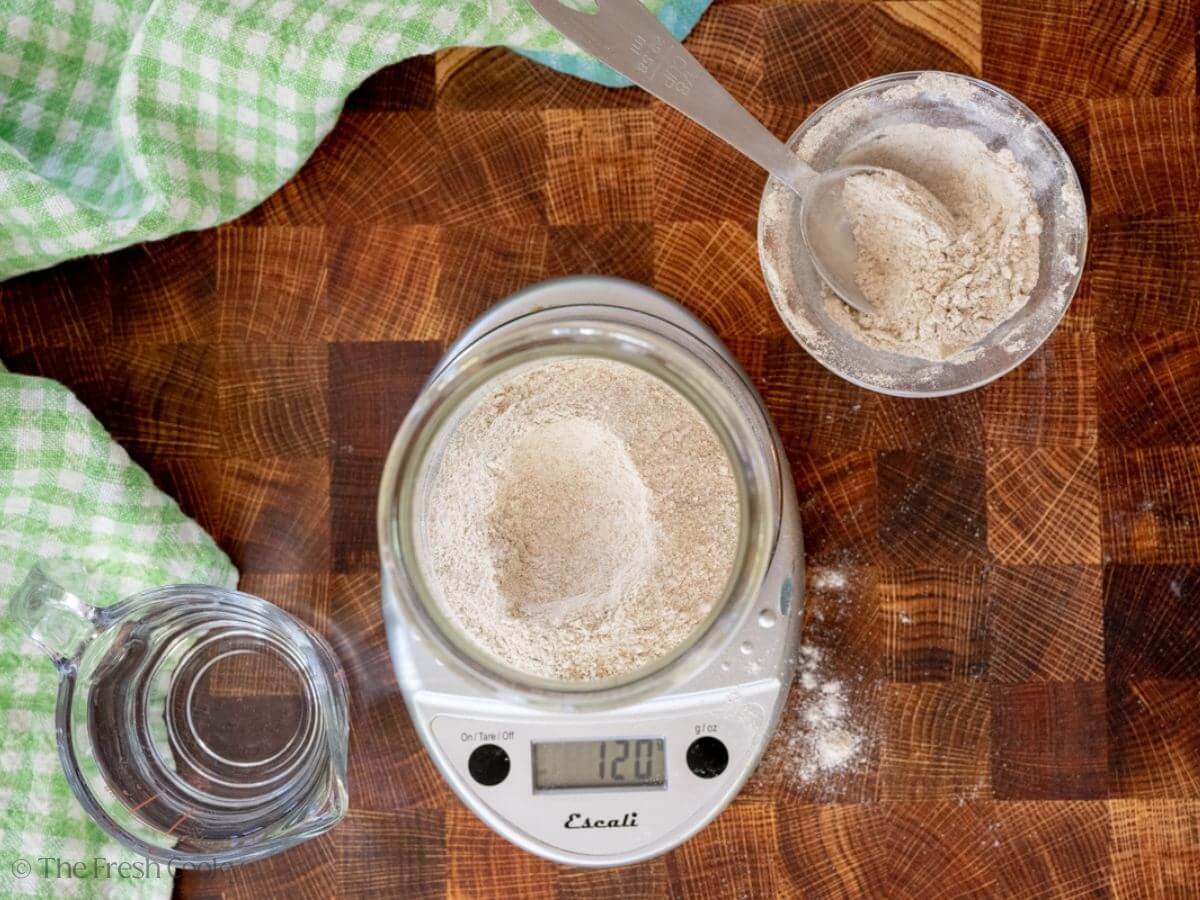
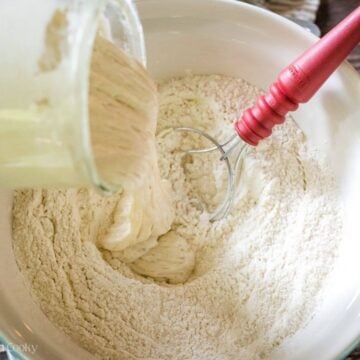
In a clean, wide-mouth jar, combine 120 grams of flour (I mix whole wheat and rye flour) with 100 grams of water. You can also use a mix of whole wheat flour and unbleached all-purpose flour.
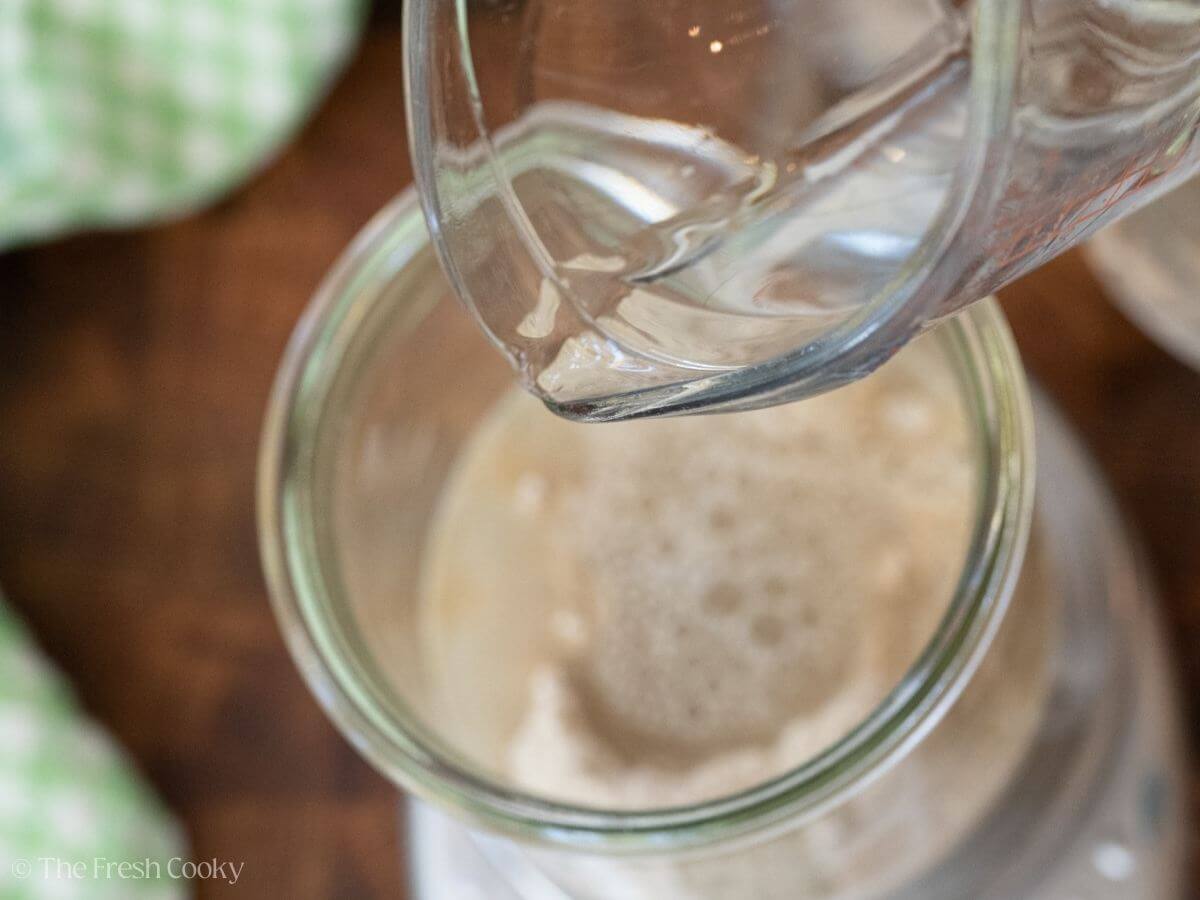
Stir vigorously to mix, scraping down the sides and bottom. Cover loosely with a clean tea towel or a lid that’s not airtight and place it in a warm spot (70-75°F) for 24 to 48 hours.
For US measurements, while it’s not exact, for your starter, it will work. Use 1 cup flour (spooned and leveled) and ½ cup of lukewarm filtered (not RO) water.
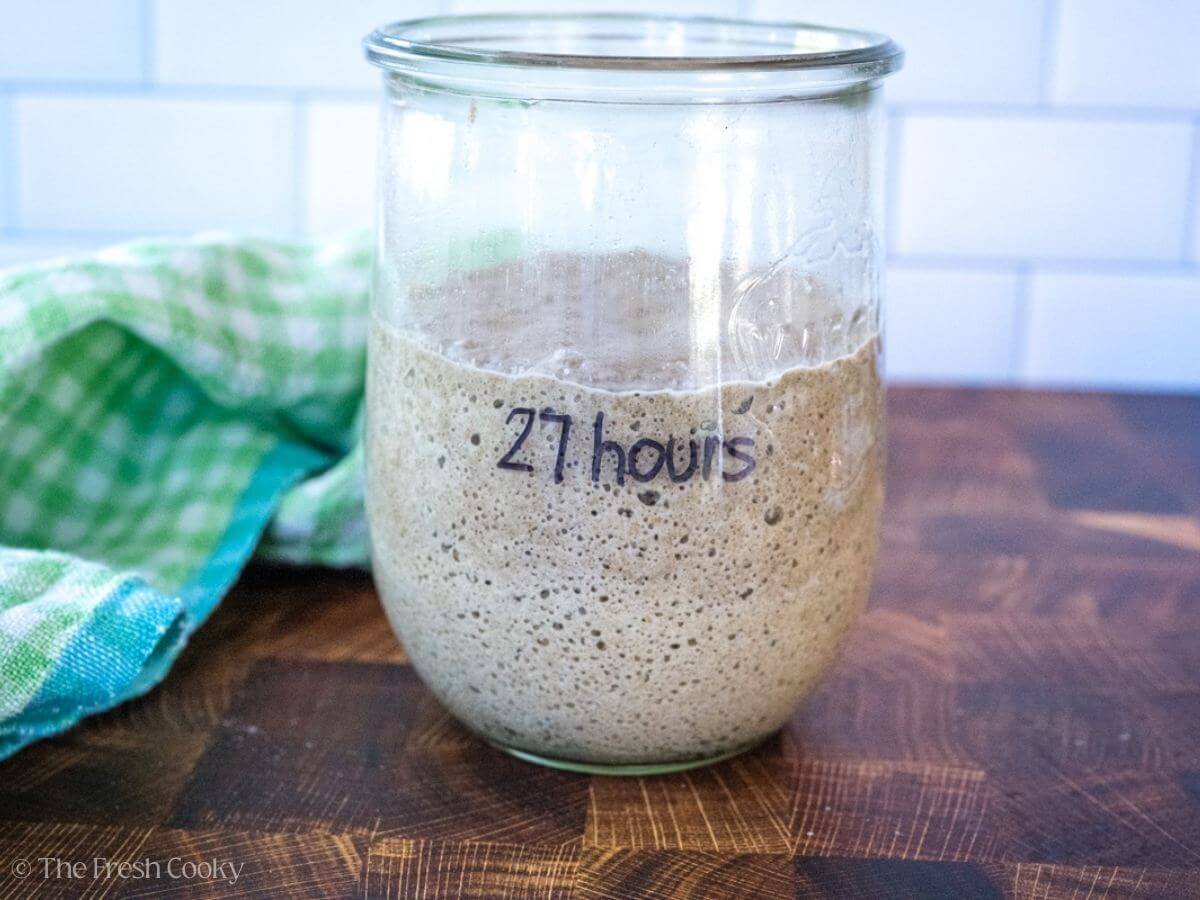
Step 2: Day 2 – Can take up to 48 hours
Once your starter starts to get some bubbles and growth, you can start your day 2, sometimes it takes up to 48 hours the first day.
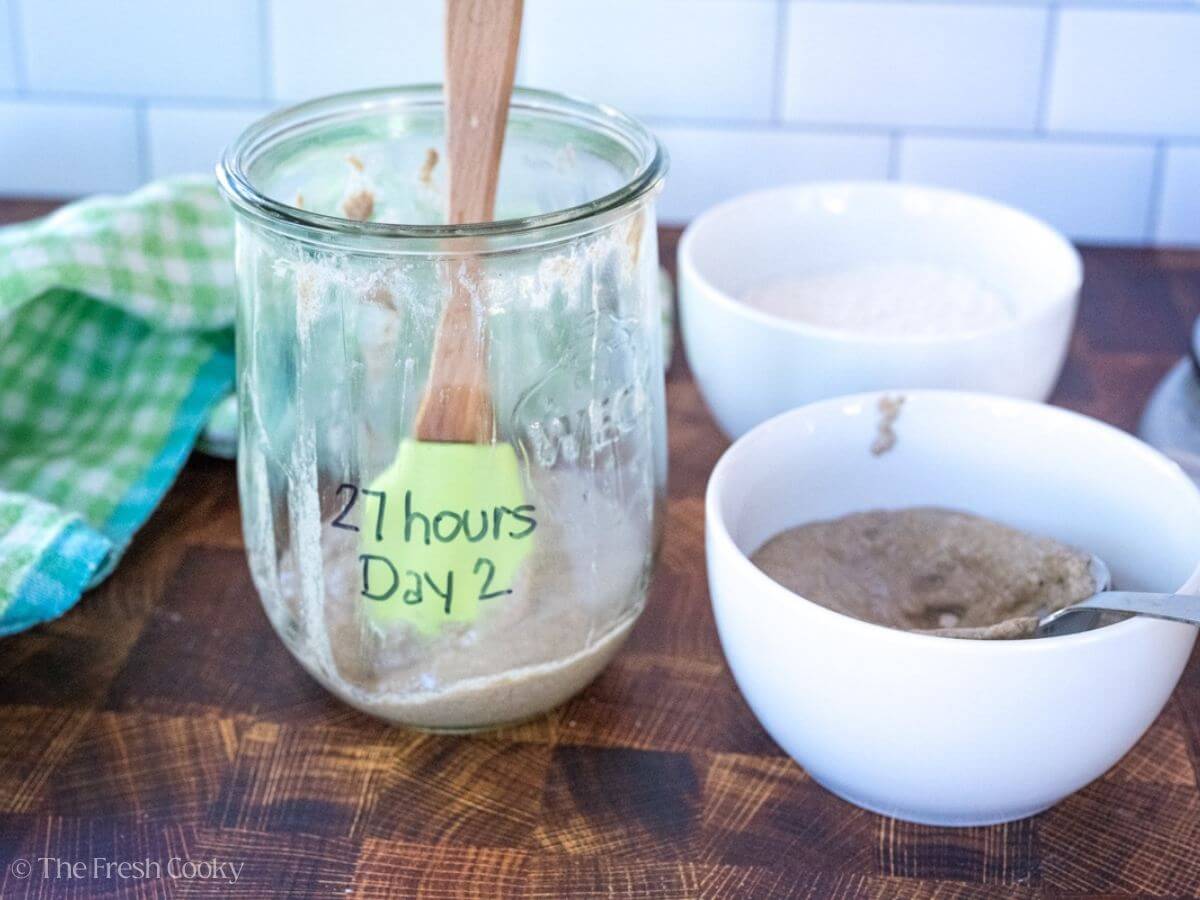
Discard half of the starter (this prevents it from getting too big too fast). Add 120 grams of flour and 100 grams of water and stir well. Cover and put it back in the warm spot for 24 hours.
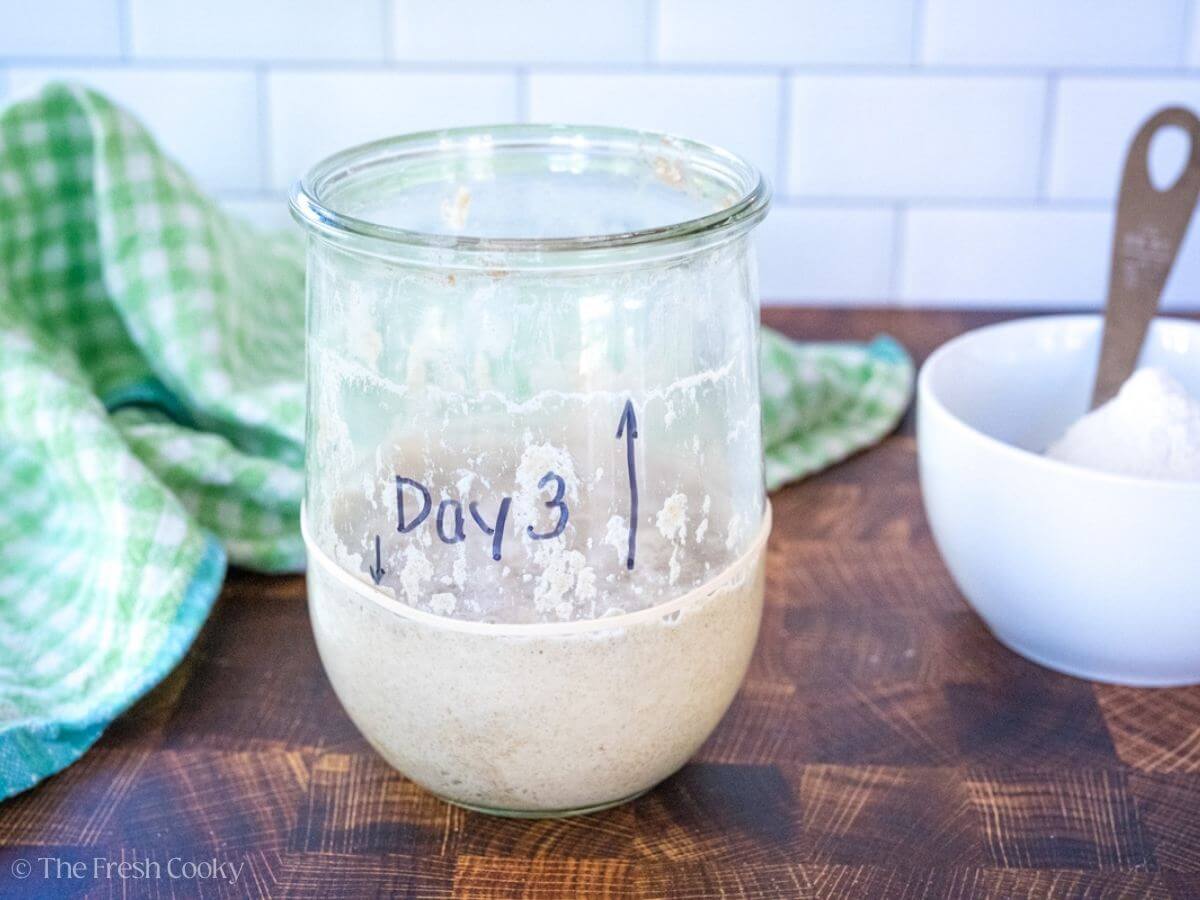
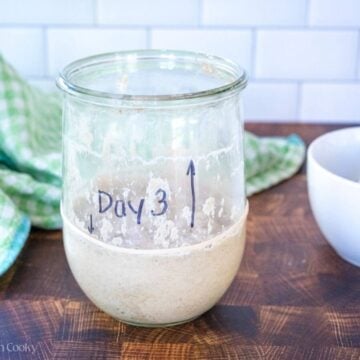
Step 3: Day 3
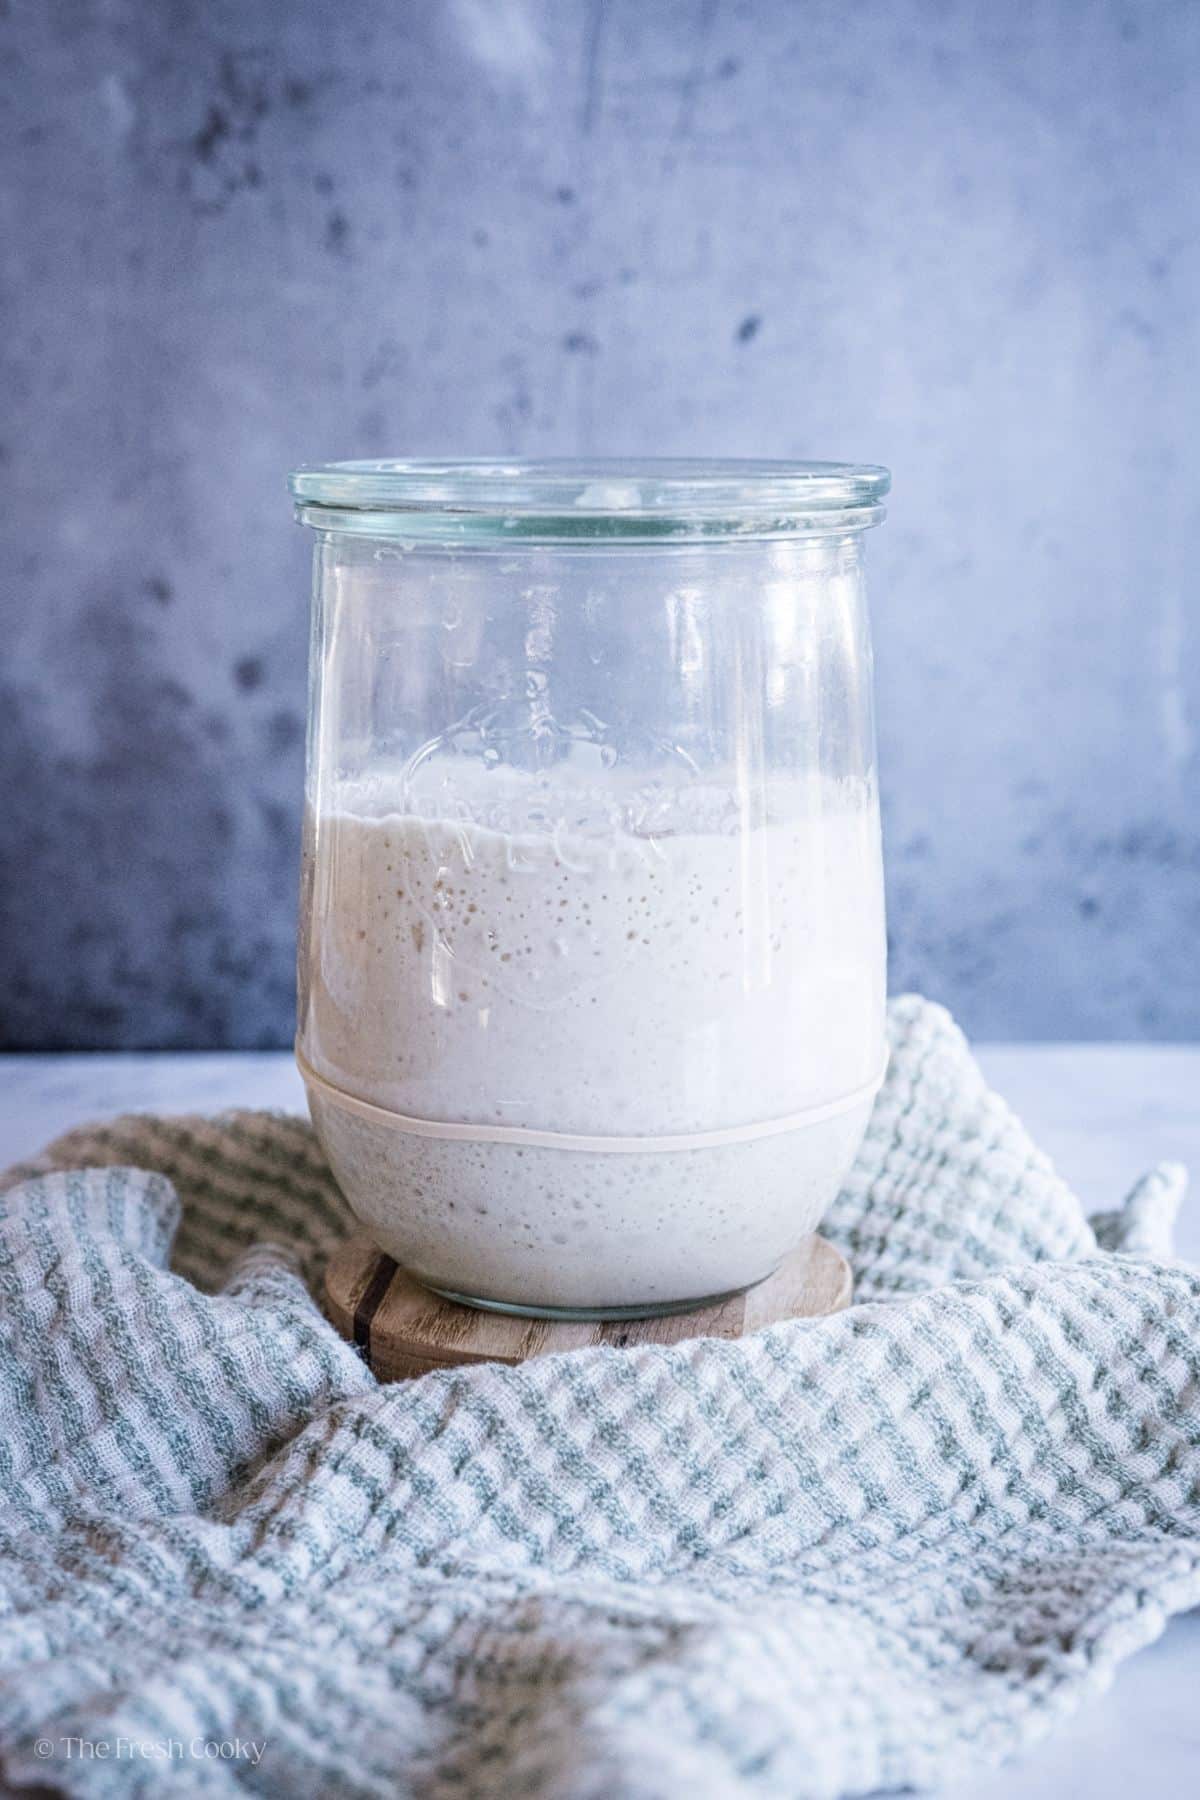
By now, you should see some good bubbles, but don’t worry if they’re not super obvious. Discard half of the starter again, add 120 grams of flour and 100 grams of water and stir well. Cover and let it rest for 24 hours in a warm place between 70-75°F.
By day 3 or 4 it will probably rise and fall, that’s a good sign!
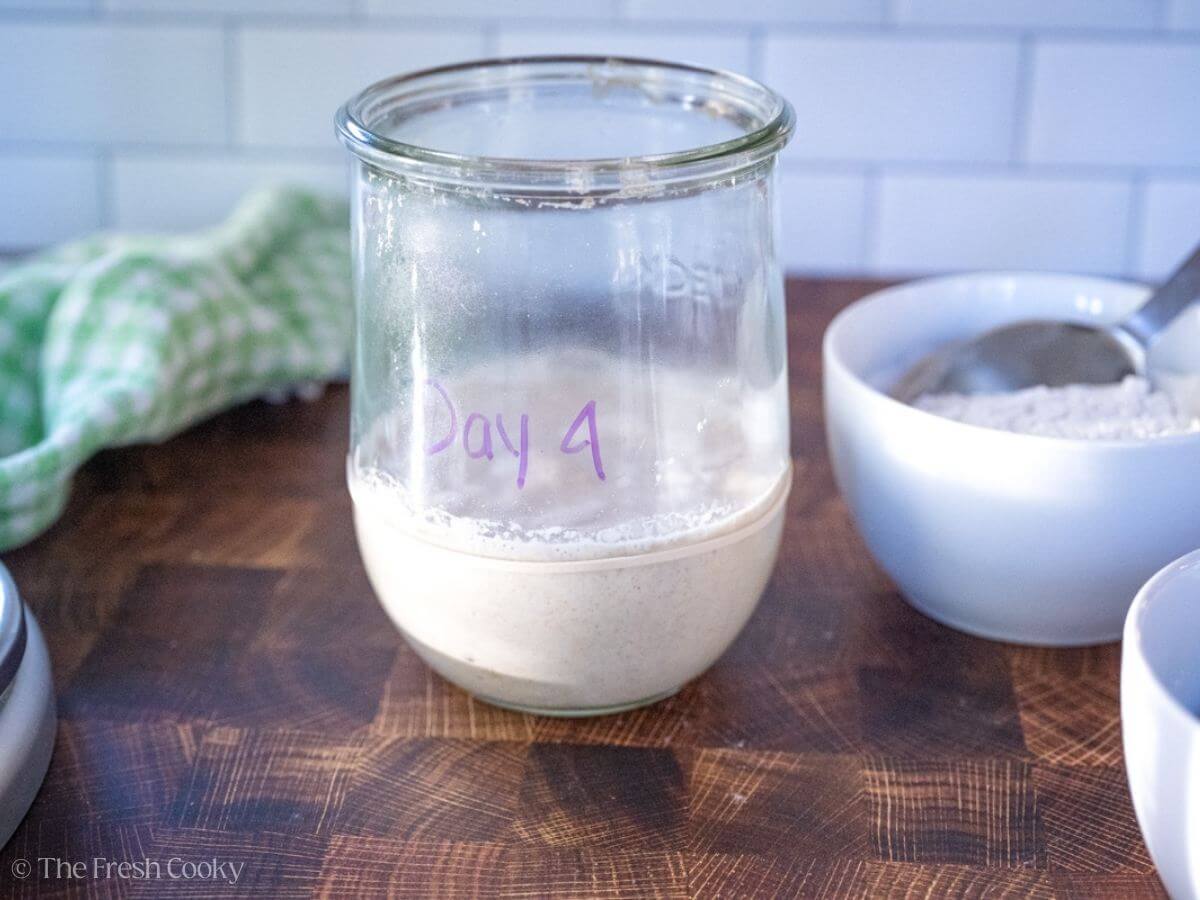
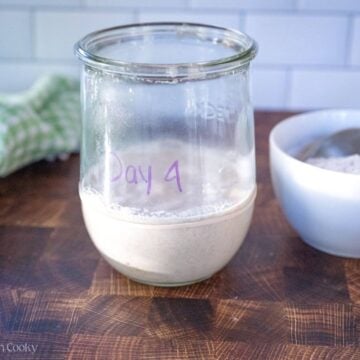
Step 4: Day 4
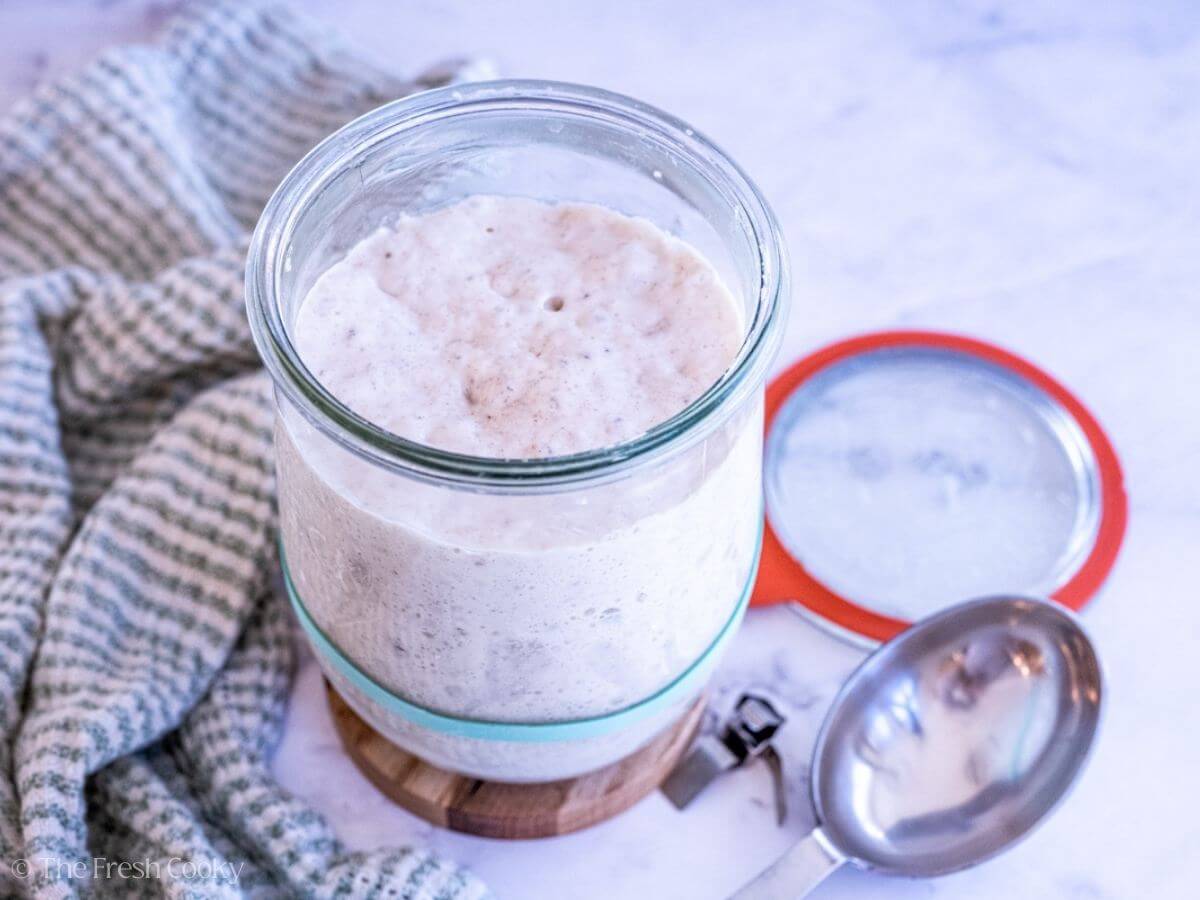
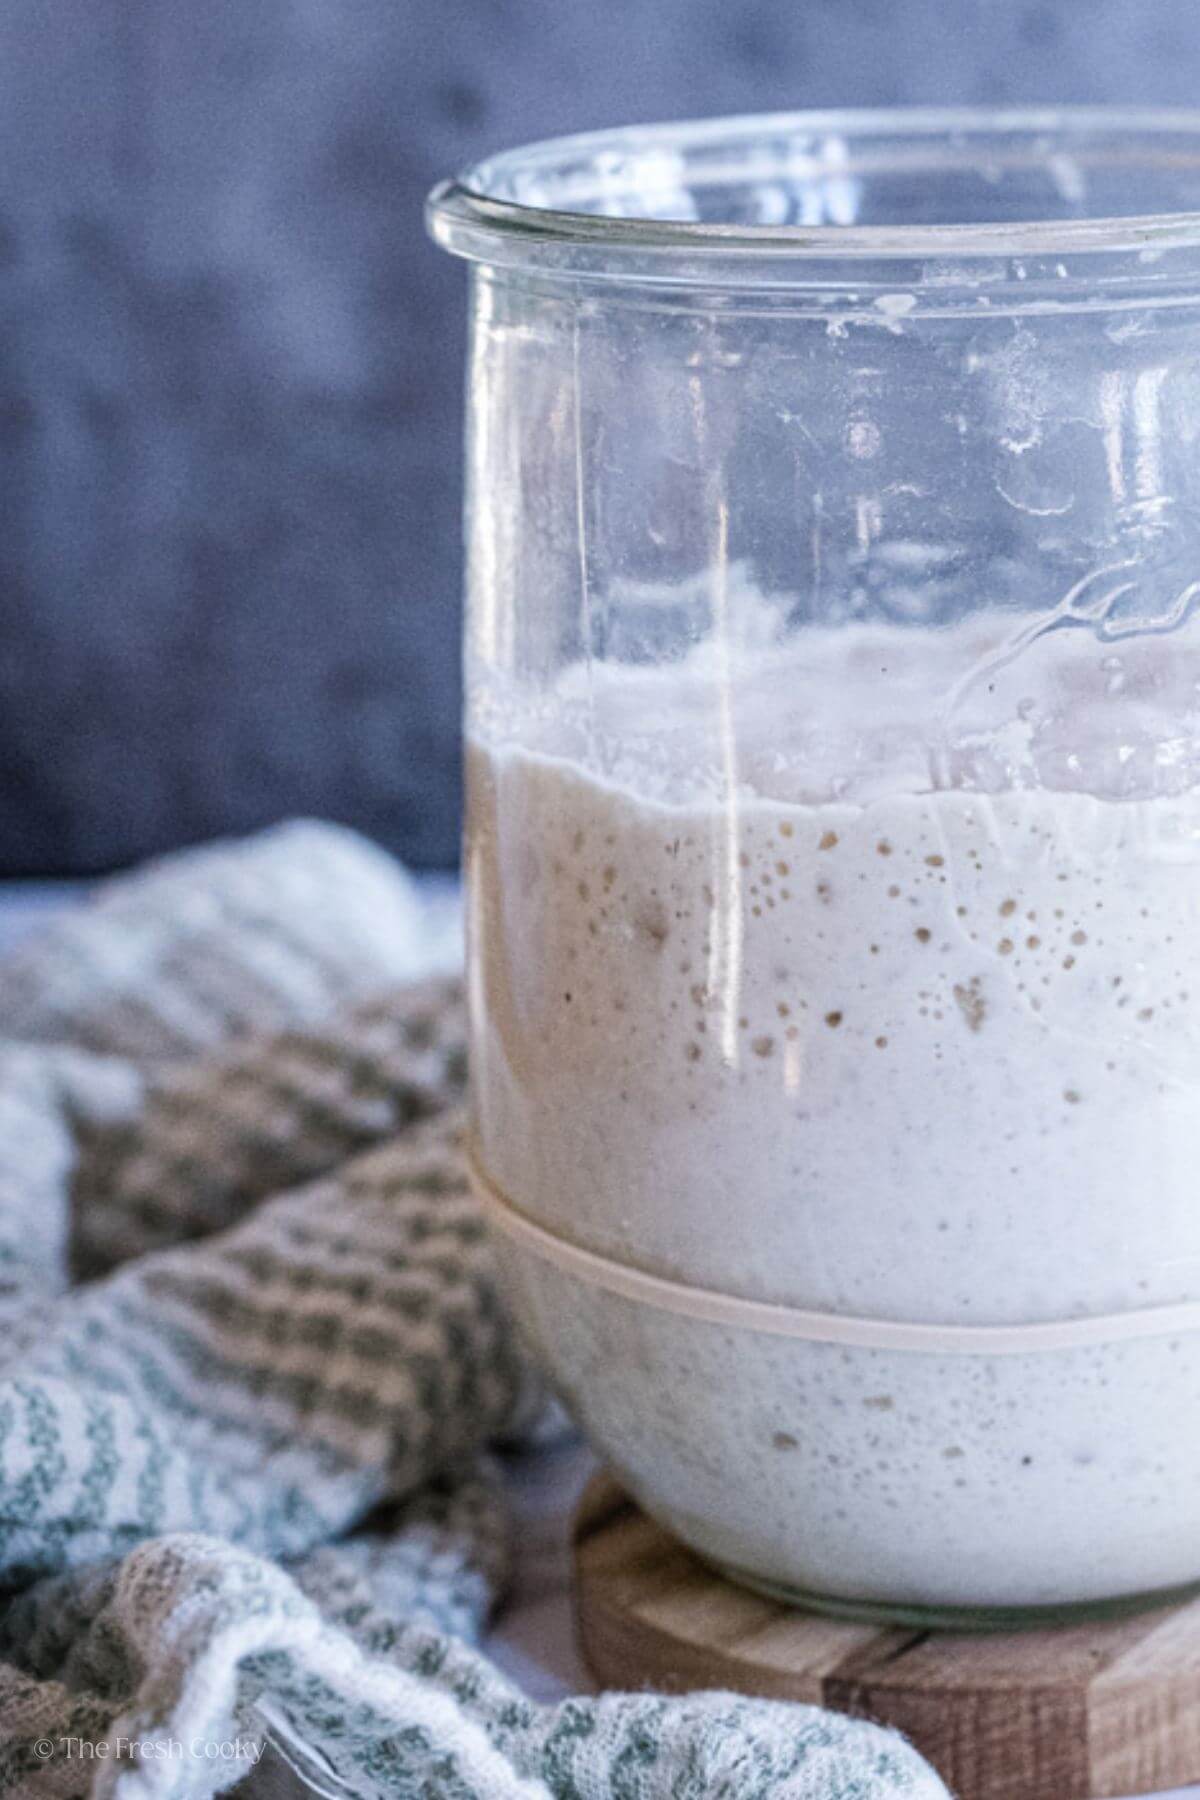
Repeat the same process as Day 3. The bubbles should be more noticeable and your starter should have a tangy smell. But sometimes the starter stalls a bit, like mine did below, I waited a few extra hours and then discarded and fed my starter.
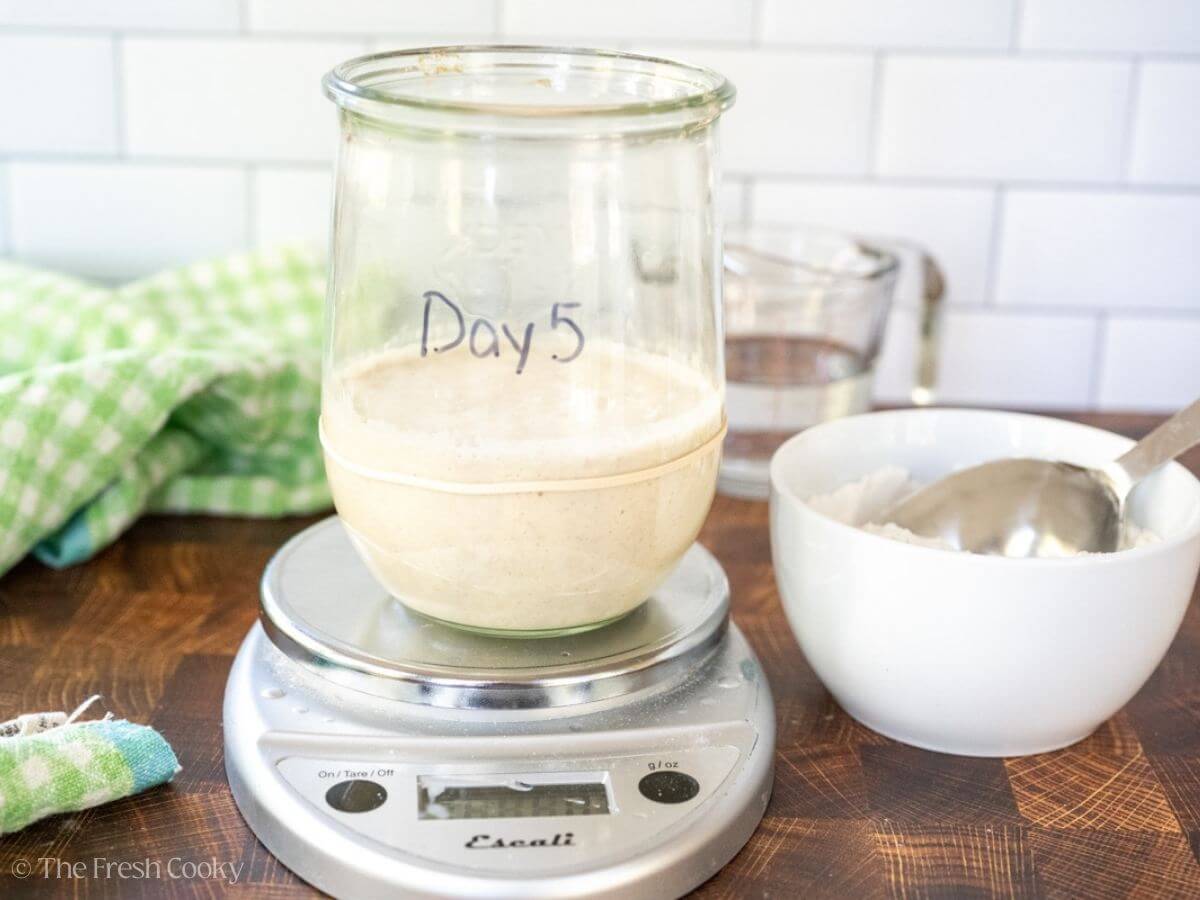
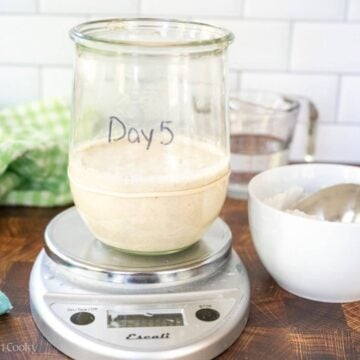
Step 5: Day 5
One more 24 hour feeding cycle! Discard half of the starter, feed it 120 grams of flour and 100 grams of water, stir and cover. Tomorrow you’ll be feeding it every 12 hours so plan your schedule accordingly.
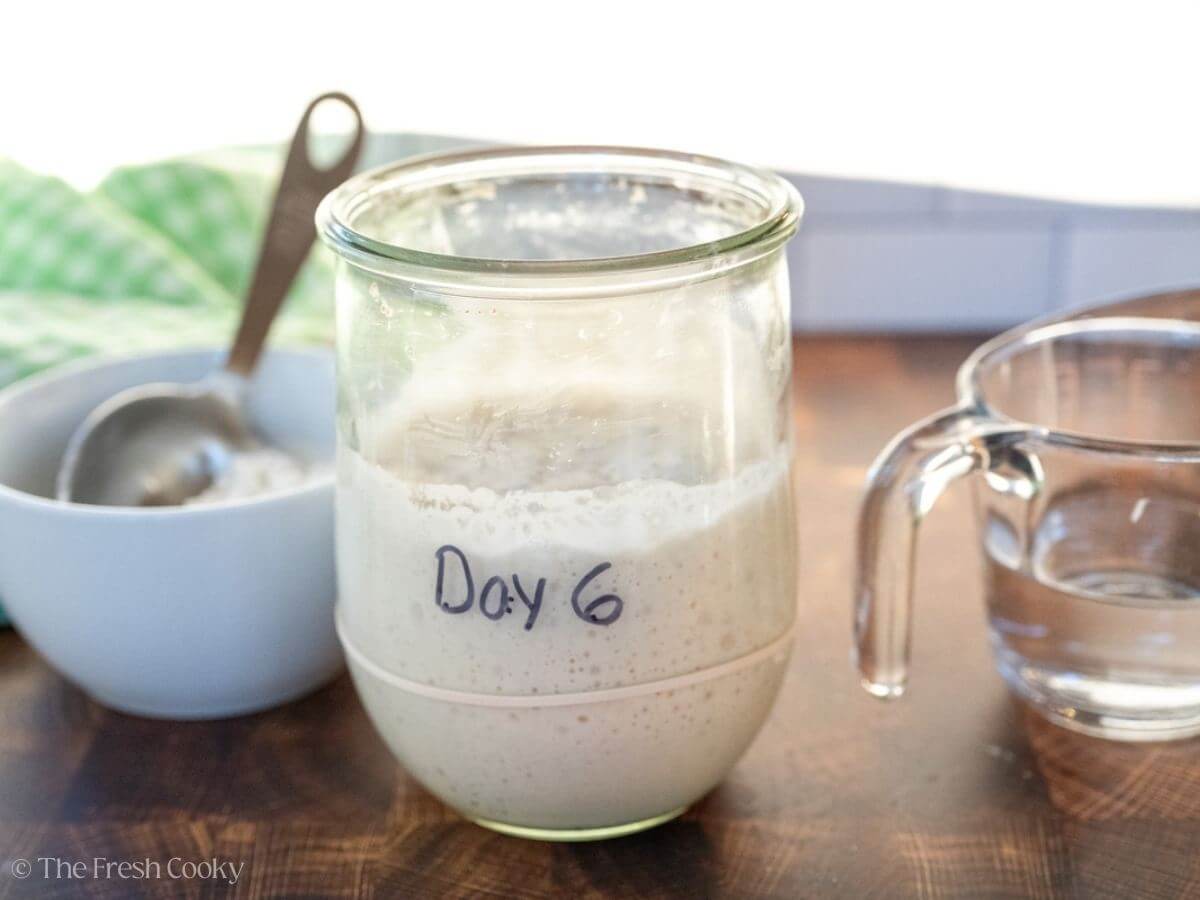
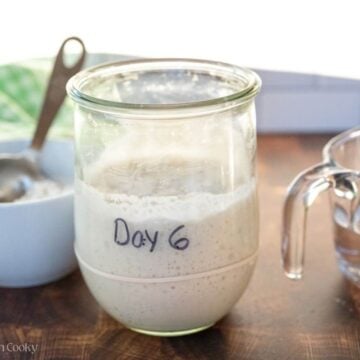
Step 6: Day 6
Now, you can feed your starter every 12 hours. Morning and evening feedings are a good rhythm—discard half, feed it 120 grams of flour and 100 grams of water, stir well and cover loosely.
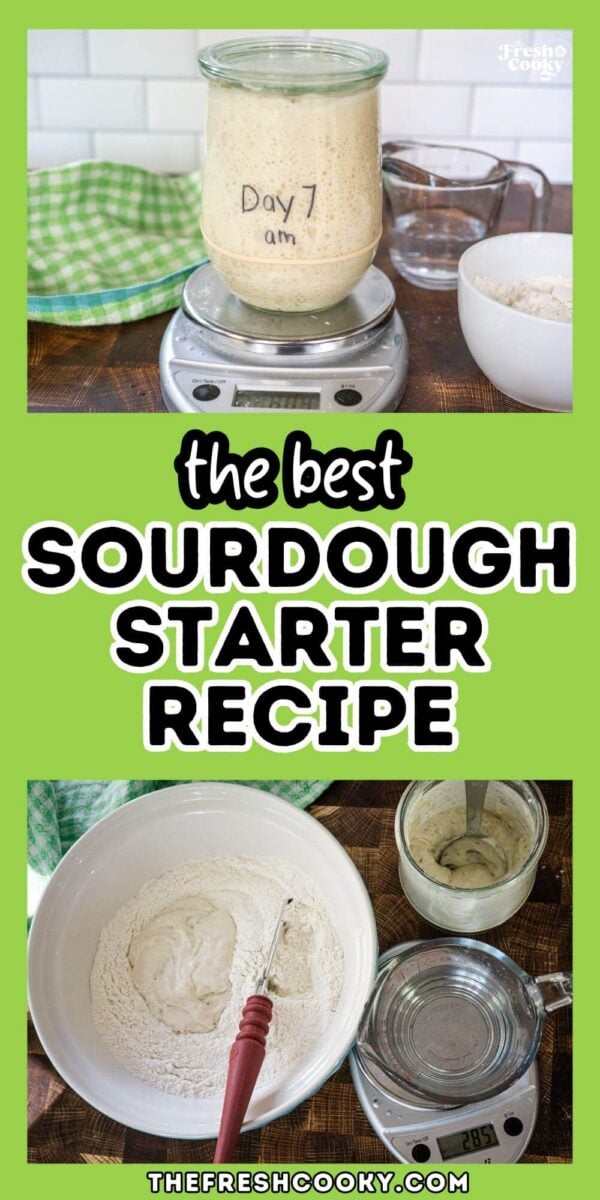
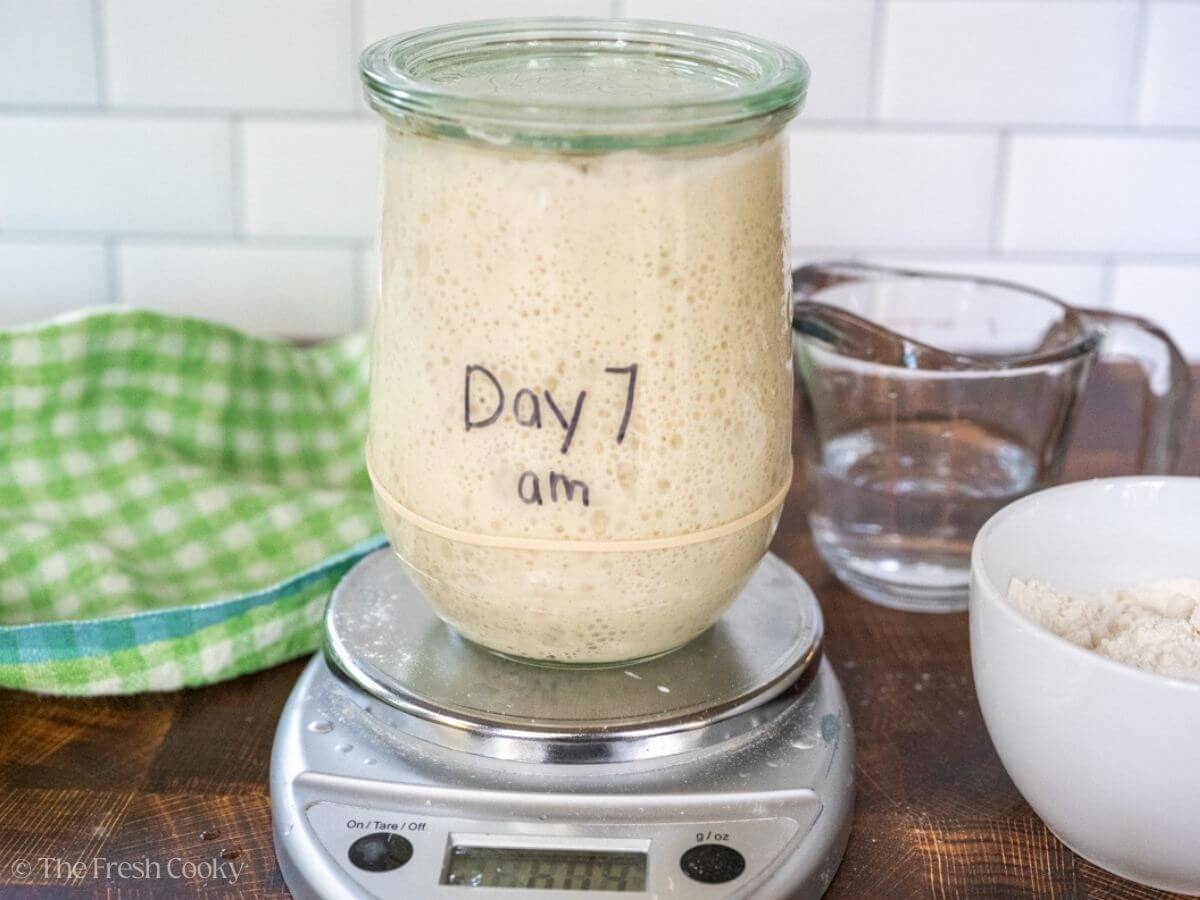
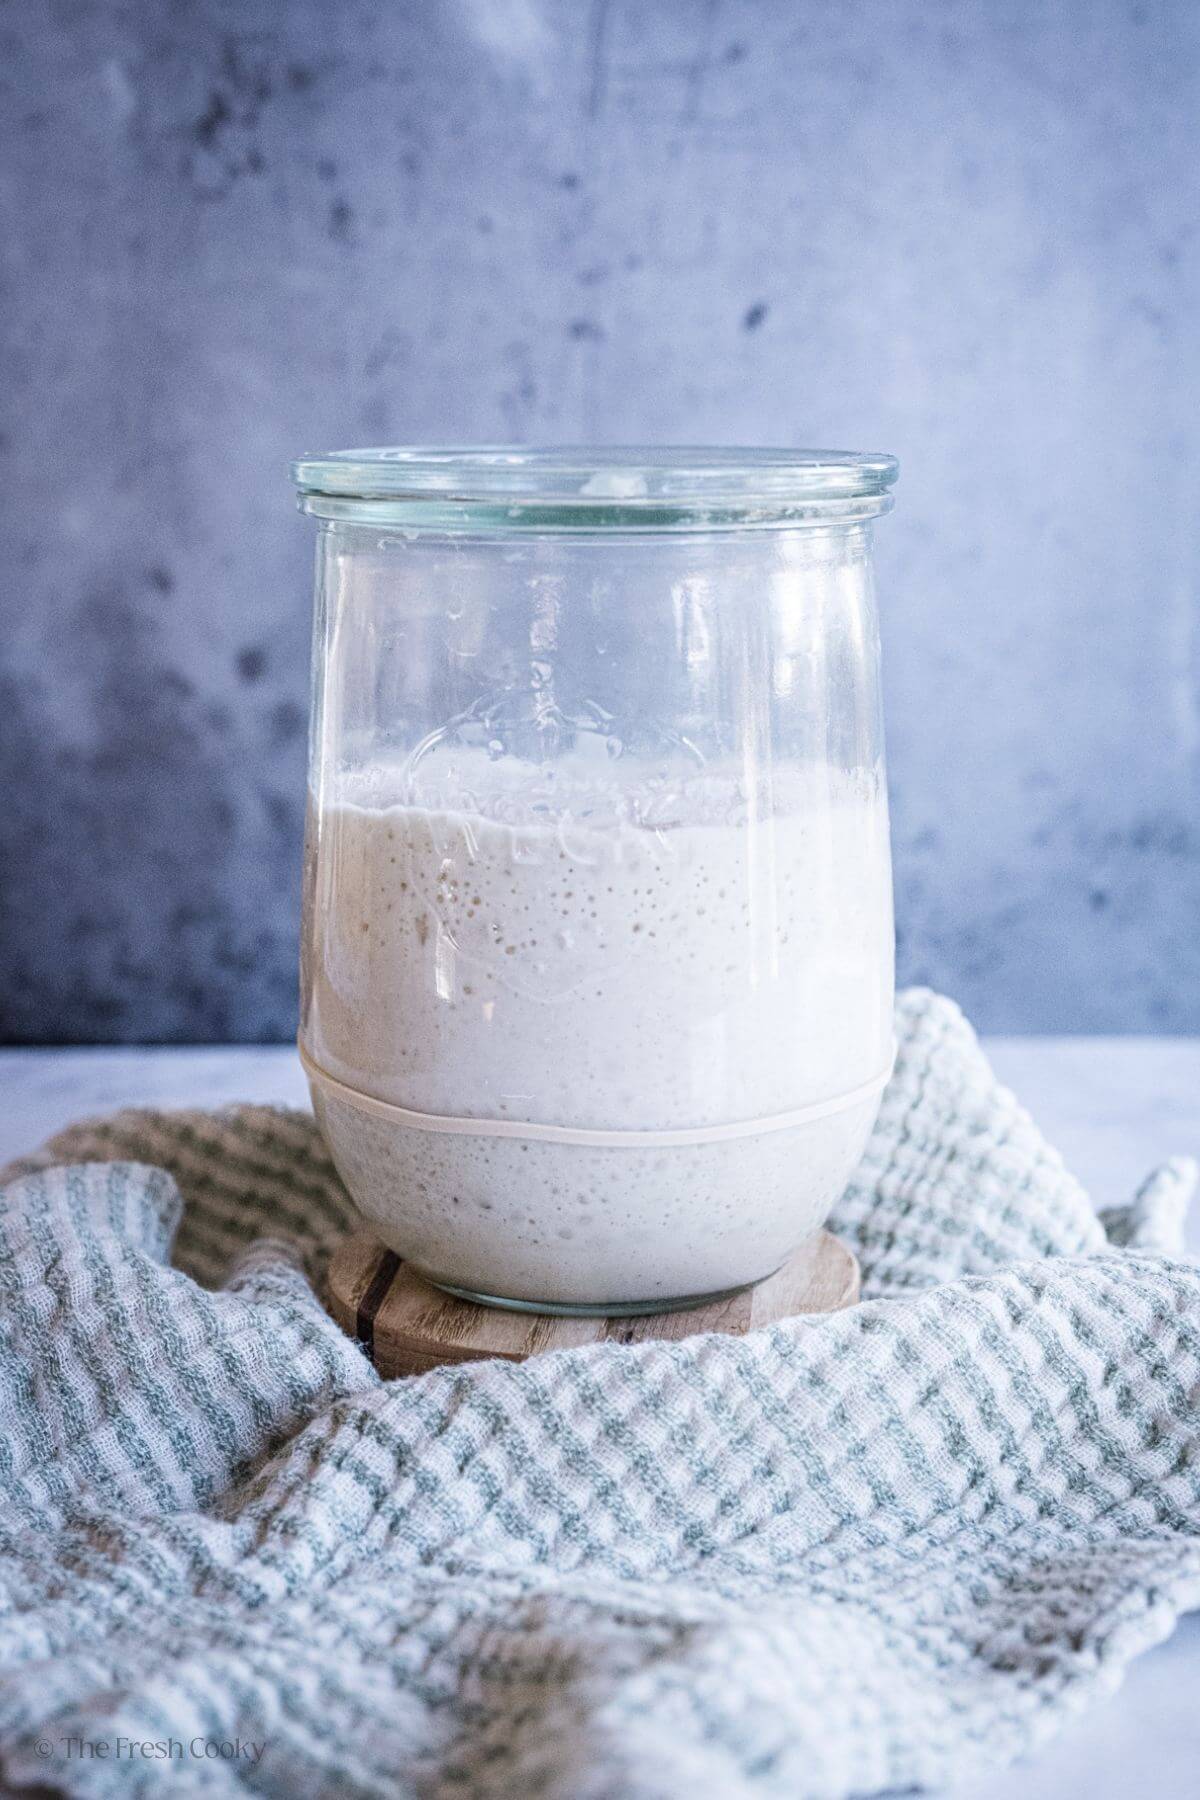
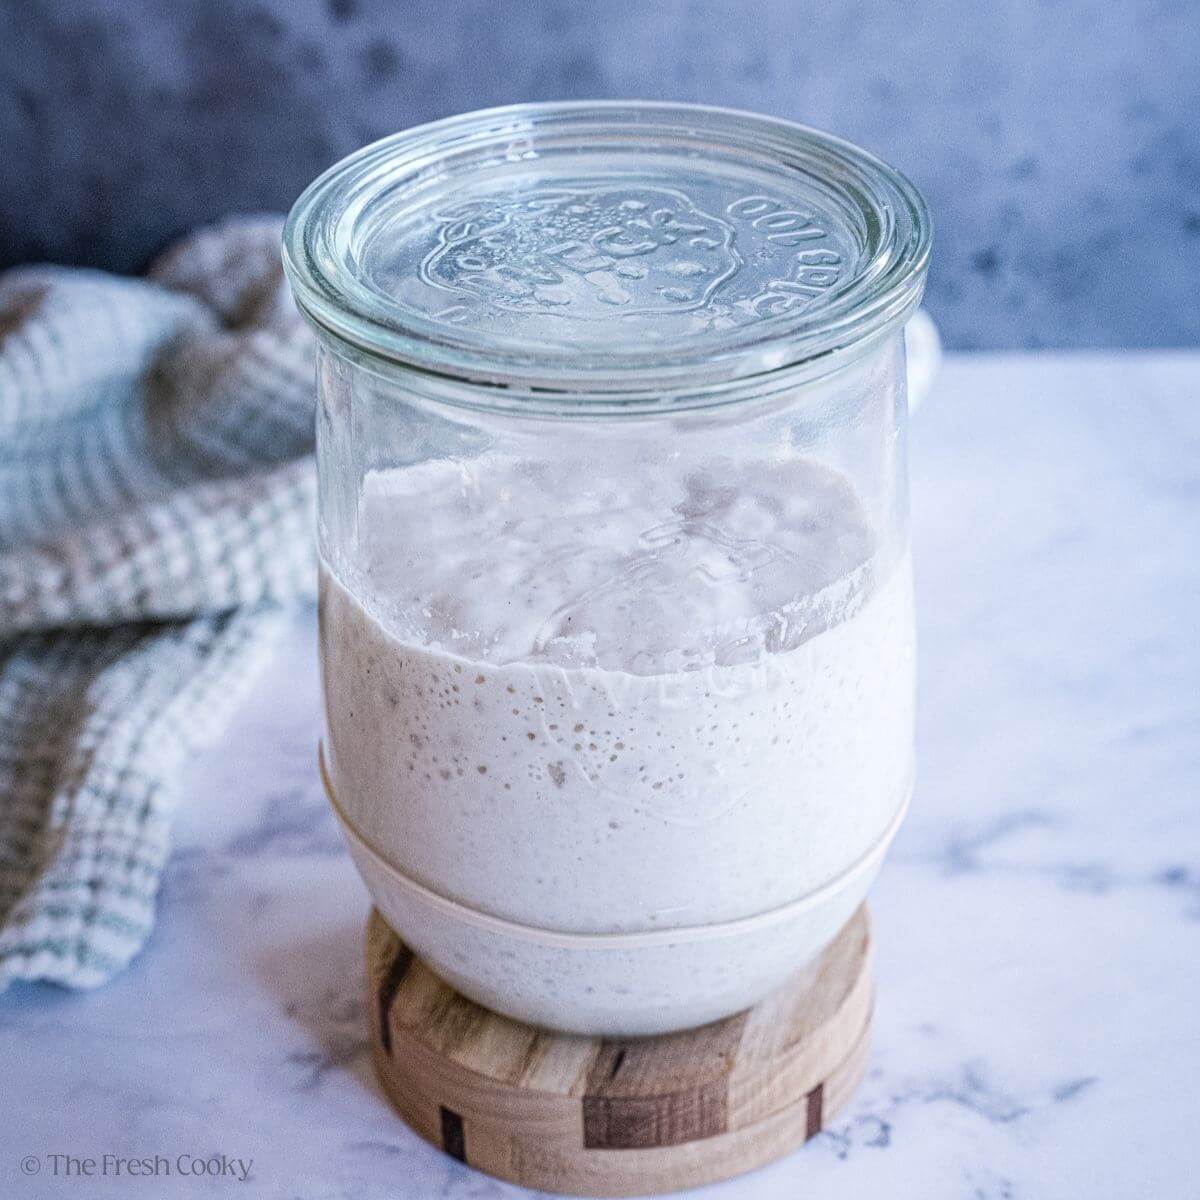
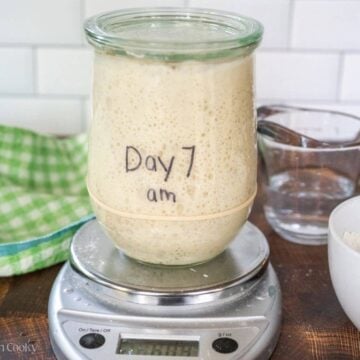
Step 7: Day 7 – Ready to go!
Your starter should be bubbly, tangy, and doubling in size between feedings—it’s ready to bake! Give it one more feeding before you start your sourdough adventures. If it’s still sluggish, don’t worry! Keep up the feeding process and have patience—it’s a living thing and sometimes needs more time. It could take up to two weeks.
Now you have a sourdough starter to make your bread-baking dreams come true.
How to feed Sourdough Starter
Once your starter is established, feeding your sourdough starter is easy and keeps it alive and healthy for baking. Here’s how:
- Discard: Remove about half of your starter. You can discard it, use it in recipes (like pancakes or crackers), or share it with a friend.
- Measure: Add equal parts (by weight) of flour and water to the remaining starter. For example, I add 100 grams of flour and 100 grams of water to revive my starter.
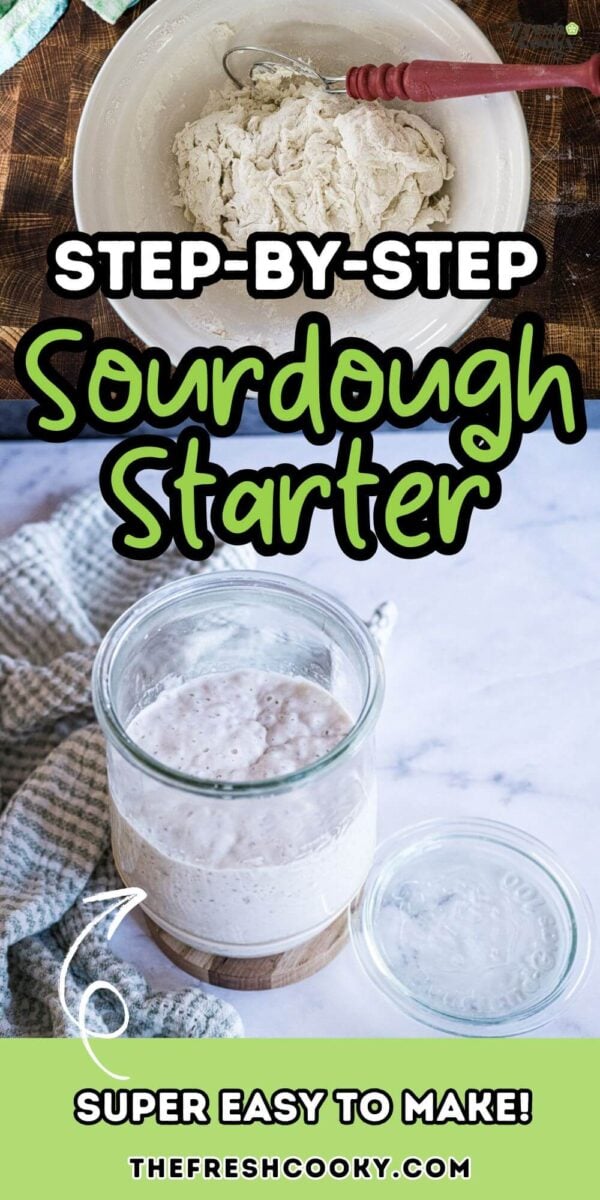
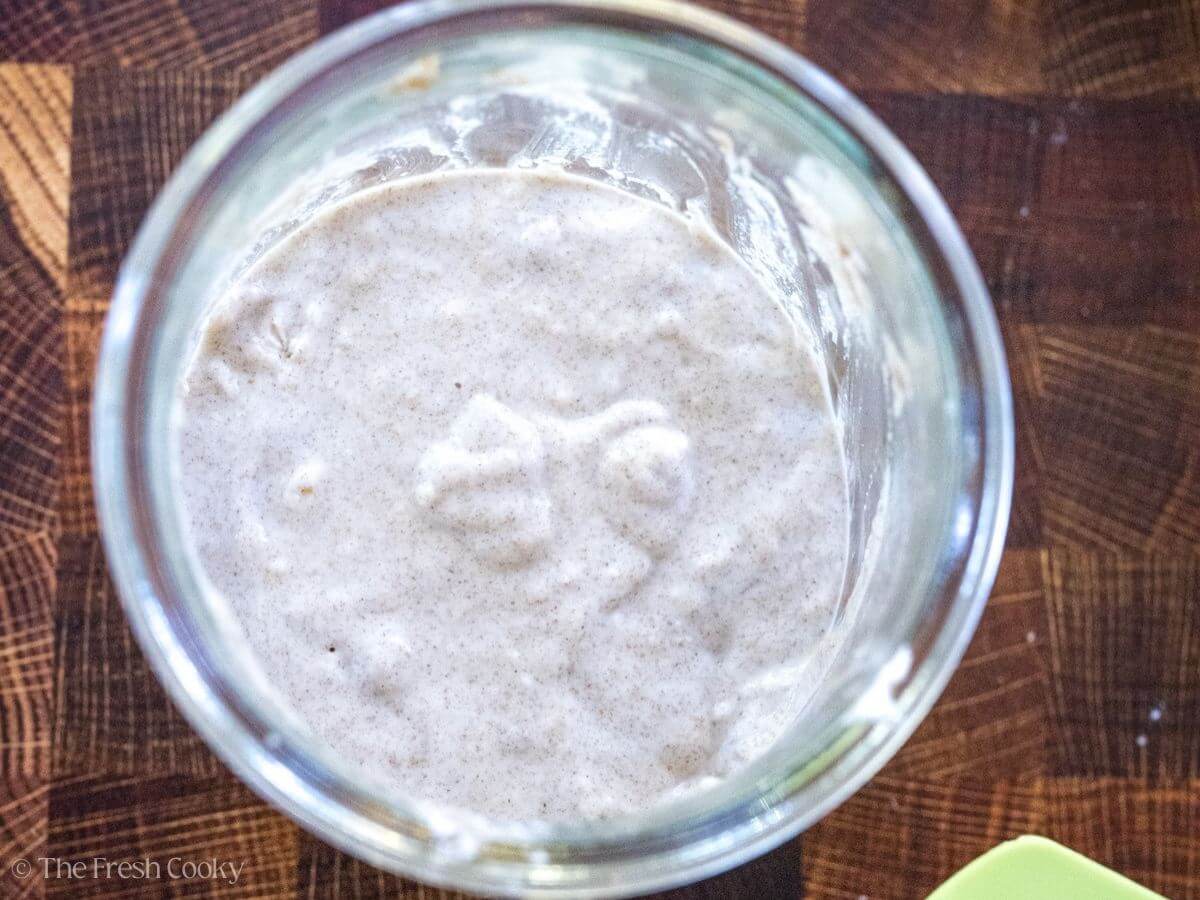
- Mix: Stir the flour and water into the starter vigorously until combined. The mixture should be like a thick pancake batter. Adjust the water as needed.
- Mark and Cover: Use a rubber band or marker to mark the level. Cover with a lid or clean tea towel.
- Wait: Let the starter sit at room temperature (70-75°F) for 4-12 hours, depending on the temperature. It’s ready when it’s doubled and bubbly.
- Refrigerate or Repeat: If you’re not baking right away, store the fed starter in the fridge. If you bake often, keep on the counter and feed every 12 hours to keep it active.
How often to feed Sourdough Starter
When you start a brand new sourdough starter, you’ll feed it once a day for the first 5 days to allow it to develop its natural yeast and bacteria. Once you see consistent bubbling and a little rise by Day 6 you can switch to feeding it every 12 hours. This will give your starter the fresh food it needs to become active and strong. Timing may depend on your flour, house temperature, and more, be patient.
Once your starter is established, you can adjust its feeding schedule to fit your baking habits. If you bake regularly, keep it at room temperature and feed it every 12 hours. If you bake less often, store your starter in the fridge and feed it weekly. When you want to bake, bring it out, and feed it once or twice a day for a day or two, and it’ll be good to go. I’ll cover long-term storage, dormancy, and what to do if your starter appears to die below! FYI – it’s really hard to kill your starter!
Pro Tips on Making Sourdough Starter
Making a sourdough starter is easier than you think, but following these tips can make it even smoother and more successful.
- Use Whole Grain Flour to Start: Whole wheat or rye flour is rich in nutrients and natural yeast, making it the ideal base for fermentation. Even if you switch to all-purpose flour later, starting with whole grains often ensures quicker results.
- Filtered Water is Best: Tap water’s chlorine can hinder fermentation. Use filtered or dechlorinated water, you can dechlorinate water by allowing tap water sit out for 24 hours. Reverse Osmosis (RO) is not recommended as it strips a little too much from the water to benefit the bacteria in the starter.
- Consistency is Key: Mix your starter to a thick pancake batter-like texture. Too thick, and the yeast struggles; too thin, and it won’t trap bubbles. Adjust with small amounts of flour or water as needed.
- Keep it Warm but Not Hot: For optimal fermentation, maintain a temperature of 70-75°F. Use warm spots on top of the fridge or in a turned-off oven, but avoid direct sunlight or temperatures above 80°F. Or use a proof setting on your oven.
- Be Patient and Watch: Fermentation takes time, especially early on. Look for subtle signs like a tangy smell or slight rise, and trust the process—every starter develops at its own pace.
- Use a Clear Jar: A glass jar lets you easily track the rise and bubbles, taking the guesswork out of monitoring your starter.
How to strengthen sourdough starter
- Feed It More Often: If your starter is slow, try feeding it every 8-12 hours for a few days. This will give it a constant supply of fresh food. If you see “hooch” (a grayish liquid on top) it’s hungry and may need more food; more frequent feedings.
- Add Whole Grain or Rye Flour: Rye flour is one of the most fermentative flours. Try substituting half of your usual flour with rye for a few days to give your starter a nutritional boost. Even if you started with white flour, this “big meal” will really perk it up.
- Adjust the Hydration: If your starter is too wet, feed it just flour for one or two feedings to firm it up. A lower-hydration starter will be spongy and not pourable which often leads to better rise and strength.
- Make Sure It’s Breathing: Starters need oxygen to live. When you are actively feeding it, don’t screw the lid on your jar too tight, instead, use a clean tea towel with a rubber band or loosely place the lid on top. Stir your starter between feedings also helps to introduce more oxygen to the mix.
- Keep It At The Right Temperature: 70-75°F is the sweet spot for fermentation. Too cold and it slows down, too hot and it can weaken the yeast.
- Let It Peak Before Feeding: Wait for your starter to rise to its highest point before the next feeding. This allows the yeast to fully multiply and build up your culture over time.
Troubleshooting
Why is my sourdough starter not rising?
A sourdough starter that won’t rise can be a bit of a diva, but don’t worry—it’s probably just missing something simple. Let’s troubleshoot together:
- It’s Too Cold: Starters love a cozy environment around 70-75°F. If your kitchen feels like a fridge, your starter might be hibernating. Try moving it to a warmer spot—on top of the fridge, near an appliance, or inside a turned-off oven with the light on. Keep it snug, and it should wake right up.
- It’s Hungry: Feed me! If “hooch” (a grayish liquid) is showing up, your starter is screaming for food. Either feed it more frequently—every 12 hours—or give it a bigger meal. A happy, well-fed starter bubbles like a champ.
- It Needs Oxygen: Your starter needs to breathe. If you’re sealing the jar tight, loosen up! A clean tea towel or a loose-fitting lid works wonders. Stir it between feedings for an oxygen boost—it’s like giving your starter a little exercise.
- Flour Matters: White flour is fine, but whole wheat or rye is like a gourmet meal for your starter. Adding some rye flour for a few feedings is like hitting the gas pedal—it’s nutrient-rich and will have your starter bubbling like crazy.
- It’s Too Runny: If your starter is soup-like, it won’t hold bubbles well. Feed it more flour or even skip the water for a feeding to thicken it up. Think peanut butter consistency—thicker starters rise better and trap air beautifully.
- It Just Needs Time: New starters take a little time to find their rhythm. They’re like kids learning to walk—every starter grows at its own pace. Be patient, keep feeding it, and you’ll see progress soon.
Your starter isn’t broken; just a little confused. With these tweaks, you’ll have it rising and thriving quickly!
How to revive sourdough starter
It’s easier to revive a sourdough starter than you think. Discard most of the old starter and leave about 1-2 tablespoons. Feed it with equal parts flour and water by weight (a 1:1:1 ratio of starter, flour, and water works great). Use whole wheat or rye flour for a boost and keep it at room temp, around 70-75°F.
Feed it every 12 hours for a few days and watch for bubbles, tangy smell and rise. If it’s still sluggish, thicken it with more flour or reduce the amount of starter you keep each feeding to dilute any built up acidity. With a little care and consistency, your starter will be back to its bubbly self!
How to store Sourdough Starter
Refrigerator Storage (Low-Maintenance Option)
Storing your starter in the fridge is the easiest option if you don’t bake often (like me, just once every 7-10 days). After feeding your starter, let it sit at room temperature for 1-2 hours to get active, then place it in the fridge. Feed it once a week to keep it healthy—discard half of it, give it a fresh feeding, and pop it back in the fridge.
Counter Storage (For Frequent Use)
If you bake multiple times a week, keeping your starter on the counter at room temperature is more convenient. Feed it every 12 hours to keep it active and bubbly. This method requires more regular care but ensures your starter is always ready for action.
Choose the method that best fits your baking routine—whether you’re a weekend sourdough baker or making bread daily, your starter can adapt!
How long does sourdough starter last?
Forever! As long as you take care of it, a sourdough starter can live forever. Some have been around for over 100 years, passed down through families like a treasured family heirloom. My family had one that lasted over 50 years, handed down from my German grandparents. Unfortunately, during one of many moves it was neglected it and it didn’t make it—I was heartbroken!
The beauty of sourdough starter is its ability to bounce back. Even if you forget about it for weeks or months in the fridge, it can often be revived with a few consistent feedings. Unless it develops mold or an off smell (anything bad or funky—beyond its usual tangy aroma), it’s probably still alive and needs a little love.
Treat it like a living being that likes attention but can survive neglect. With proper care and storage, it can last for centuries and become part of your family’s baking history!
Can sourdough starter go bad?
If neglected for too long or expose it to the wrong conditions, your starter can go bad. Don’t worry, it takes a lot to kill a starter. Let’s break it down:
Signs It’s Gone Bad:
- Mold: If you see colorful mold—green, black, pink, or orange—it’s time to say goodbye. Mold is a no-go for starters.
- Terrible Smell: A healthy starter smells tangy or yeasty, but if it smells rancid, rotten or like stinky socks, it’s not good.
- Weird Colors: A grayish top layer (hooch) is normal, but funky colors like bright pink or orange mean it’s time to toss it.
- When It’s Just Neglected: If your starter looks sad but doesn’t have mold or a bad smell, it might just be hungry.
- Starters are pretty tough! Even if it’s been hiding in the back of your fridge for months, you can often revive it. Just discard most of it, feed it fresh flour and water and give it a few days of discarding and feeding to come back to life.
Can you freeze sourdough starter?
Absolutely! Freezing sourdough starter is a fantastic option if you’re taking a break from baking or need long-term storage. You have two ways to freeze your starter, depending on how much effort you want to put in.
Option 1: Freeze It Fresh
Feed your starter so it’s bubbly and active, then scoop out about ½ cup and pop it into an airtight container or a freezer-safe zip-top bag. Label it with the date (because let’s be real, we forget!) and freeze.
When you’re ready to use it, thaw the starter in the fridge or at room temperature, then give it a good feeding with equal parts flour and water by weight. It might need a few feedings to fully wake up, so be patient. Fresh-frozen starter lasts several months, but try to use it within 3-6 months for the best results.
Option 2: Dry It First
For longer storage, drying your starter is the best option:
- Spread a thin layer of active starter on parchment paper.
- Let it dry completely at room temperature or in an unheated oven.
- Once dry, break it into flakes and store them in a freezer-safe container or bag.
Dried starter can last indefinitely in the freezer (seriously, forever!). To revive it, soak the flakes in warm water until they dissolve, then start feeding it equal parts flour and water over a few days. It takes a little longer to bring it back to life, but it’s worth it for the longevity. Check out this post from King Arthur Flour on how to dry your starter.
Either way, your starter will be ready and waiting for whenever inspiration (or your craving for fresh sourdough) strikes. Starter saved, crisis averted! 😉
How to use Sourdough Bread Starter
- Make Sure It’s Alive: Before you use your starter, it should be bubbly, doubled in size, and smelling tangy. If it’s been in the fridge, feed it 1-2 times over a day or two to wake it up. At its peak (usually 4-6 hours after feeding), it’s ready to go.
- Measure It Out: Most sourdough recipes will call for a certain amount of starter, like 100 grams. Remove the amount you need from your active starter. If you’re running low, feed the rest immediately to keep it going.
- Mix and Wait: Once added to your recipe, your starter starts working, fermenting the dough, developing flavor, and that lovely rise. Make sure you give your dough plenty of time to rest—often several hours or overnight—so your starter can do its thing.
- Don’t Forget to Feed It! After using your starter, remember to feed what’s left in the jar. Add fresh flour and water, and let it rest until bubbly again. Then put it back in the fridge or leave it on the counter, depending on how often you bake.
Your starter isn’t just for bread! You can make pancakes, waffles, English muffins, pizza dough, Banana bread, crackers and more. With some practice, your starter will become your new favorite baking buddy.
FAQs for this recipe for Sourdough Starter
A new sourdough starter typically takes 7-14 days to become fully active and ready for baking. Some may take longer depending on environmental conditions like temperature and humidity. The warmer your kitchen, the faster it will become active.
Your starter is ready when it consistently doubles in size between feedings and shows plenty of bubbles throughout. It should have a pleasant, tangy aroma and pass the float test. The float test is simple. Just fill a glass with water, and place a small amount of the starter in the water. If it floats, it is ready to use!
Not at all! While it requires attention and regular feeding, the process is straightforward. The key is consistency in feeding times and measurements.
A healthy starter should be light and bubbly when active. It will be creamy in color and have a smooth, thick consistency similar to pancake batter. If it’s runny it’s probably hungry.
A mature starter should smell pleasantly sour with fruity, yeasty, tangy, yogurt-like notes. Avoid starters that have an overwhelmingly unpleasant odor.
Don’t waste your discard, if possible! You can use it to make pancakes, waffles, crackers, pizza crust, or any number of delicious baked goods. The discard adds wonderful flavor and can be stored in the refrigerator until needed. Eventually you might have a lot of discard, though, and you can throw some of it away if you prefer.
Our favorite sourdough discard recipes
More Popular Recipes from The Fresh Cooky
Like this recipe?
Don’t forget to give it a ⭐️⭐️⭐️⭐️⭐️ star rating and leave a comment below the recipe!
Ingredients
- 60 grams Whole Wheat Flour See Note 1 (for day 1)
- 60 grams Rye Flour See Note 1 (for day 1)
- 4 – 5 cups Unbleached all-purpose flour See note 1 (or bread flour) for balance of days
- Filtered Water See Note 2, cool (if your house is warm), or lukewarm water (if your house is cool)
Instructions
- Making a sourdough starter is super easy! You’ll feed it every 24 hours for the first 5 days, then switch to every 12 hours to build strength. It doesn’t have to be exact—give or take an hour or two and your starter will be fine. Here’s the step by step:
Day 1: Begin the Starter (Equipment: Clean Large Jar, Kitchen Scale, Spatula)
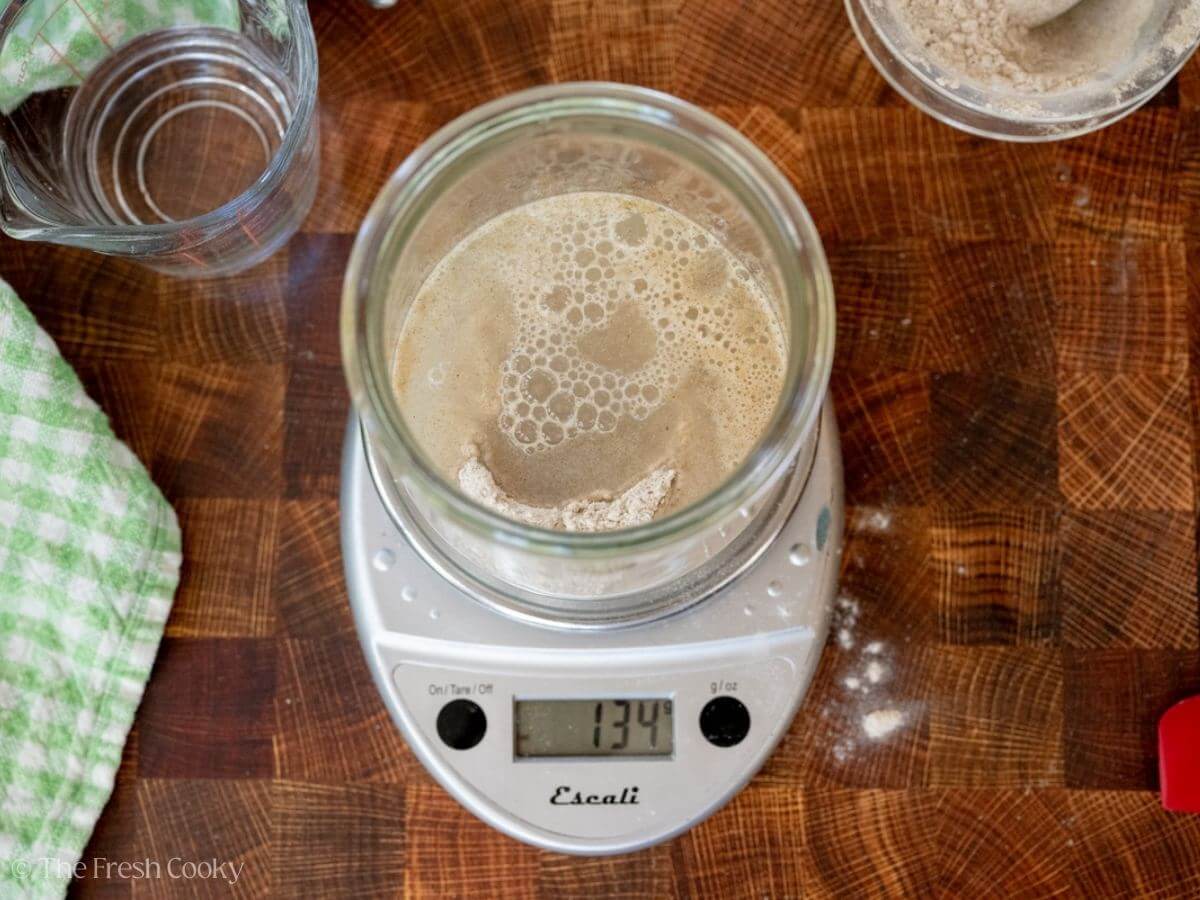
- Place a clean, wide-mouth jar (at least 4 cups/1L capacity) on your kitchen scale and press the "tare" button to zero out the jar's weight. Add 120 grams of flour (see Note 3 for US measurements and Note 1 for flour variations). I used a mix of 60 grams of whole wheat and 60 grams of rye flour, combined with 100-120 grams of water. Stir vigorously to fully combine, scraping down the sides and bottom of the jar. Cover loosely with a clean tea towel or a non-airtight lid, and place the jar in a warm spot (70-75°F) for 24 to 48 hours. You want to see a few bubbles before moving on to day 2, even if it takes 48 hours. If you don't see much activity, give the mixture a stir to incorporate some air, then let it rest again. (See note 4)

- WARM SPOT TIP: Place your starter on a sheet pan on the center rack of your (turned-off) oven with the light on for about an hour—but be careful, those oven lights can get HOT! Other great options include using a proofing setting on your oven, an Instant Pot, or a countertop oven set to the right temperature. You can also try a microwave with the door slightly ajar and the light on, or the top of your fridge.

Day 2: Feed starter every 24 hours
- Discard half of the starter (this prevents it from getting too big too fast). Add 120 grams of flour* and 100 grams of water and stir well. Cover and put it back in the warm spot for 24 hours.*At this point, you can switch to bread flour if desired.

Day 3: Feed Starter every 24 hours
- Discard half of the starter again, add 120 grams of flour and 100 grams of water and stir well. Cover and let it rest for 24 hours.By now, it might rise until doubled or more than doubled and then collapse, this is a sign your starter is becoming active and the wild yeast is growing. But don't be fooled, it's not ready to use yet, you need to build it's strength.
Day 4: Feed Starter every 24 hours
- Repeat the same process as Day 3. The bubbles should be more noticeable and your starter should have a tangy smell. Sometimes the starter stalls around day 4 or 5, this is normal, keep going.
Day 5: Feed Starter one more 24 hour feeding
- One more 24 hour feeding cycle! Discard half of the starter, feed it 120 grams of flour and 100 grams of water, stir and cover. Tomorrow you’ll be feeding it every 12 hours so plan your schedule accordingly.
Day 6: Feed every 12 hours
- Now you can feed your starter every 12 hours. Morning and evening feedings are a good rhythm.Discard half, feed it 120 grams of flour and 100 grams of water, stir well and cover loosely. I did 6 am and 6 pm which worked for my schedule.
Day 7: Feed your starter every 12 hours one last time
- Start by discarding half your starter and do one more round of feeding every 12 hours.Discard half, feed it 120 grams of flour and 100 grams of water, stir well and cover loosely. You'll do this twice a day, it should rise and fall throughout the day.Your starter should be bubbly, tangy and doubling in size between feedings—it’s ready to bake!
- Give it one more feeding before you start your sourdough adventures. If it’s still sluggish don’t worry! Keep up the feeding process and have patience—it’s a living thing and sometimes needs more time. Some have said it takes up to two weeks.
Ready to Use
- By the end of day 7, your starter should be ready to use! If you're ready to bake, go ahead and dive in. If not, store it covered in the fridge until you're ready. I recommend feeding it once a week if possible. The more often you feed your starter, the quicker and easier it will be to get it active and ready for baking when you need it.
Notes
- Using whole grain flours will give your starter a quicker, stronger start, but unbleached all-purpose or bread flour works too—it may just take a bit longer. If you’re using multiple flours, I typically mix equal parts, such as 60 grams of each.
- You might need to adjust the water slightly depending on your flour type. Aim for a consistency similar to thick peanut butter.
- Filtered water is best for your sourdough starter, but avoid reverse osmosis (RO) water—it removes too many minerals for a healthy starter or bread. If tap water is your only option, let it sit out uncovered for 24 hours to allow the chlorine to evaporate, as chlorine can harm your starter. Prepare a large batch in advance for the week and store it in a jar after dechlorinating.
- You can use US measuring cups to make your starter. Use 1 cup of flour (spoon and leveled) and about ½ cups of water. Be consistent as you feed, using the same method. But I highly recommend you invest in a kitchen scale at some point, as it’s much more accurate.
- Not Necessarily 7 Days: Every home environment is different, depending on the season, your location, and how warm or cool you keep your house. While many starters are ready in about 7 days, for some, it can take 10-14 days to bubble and double consistently, especially in cooler environments or when using flours like all-purpose. Watch for cues from your starter rather than sticking to a strict timeline. If it’s not ready yet, give it a stir and let it sit in a warm (70-75°F) spot a bit longer. Remember, sourdough is all about patience and paying attention to the process!
- Brown Liquid on Top: The liquid on top of your sourdough starter is called “hooch,” and it can sometimes smell extra sour—some even say “gym socks.” Don’t worry; it’s a normal sign that your starter is hungry. You can stir it back in for a tangier flavor or pour it off. Either way, it’s time to feed your starter! If you notice brown, green, orange, or red spots, that’s mold, and unfortunately, the starter needs to be discarded. That said, it’s quite hard to kill a starter unless it’s left unfed for weeks on the counter or your fridge loses power and gets too warm. With regular care, your starter will stay healthy and happy!
- How to Store Sourdough Starter
- Refrigerator Storage (Low-Maintenance): Perfect for occasional bakers (like me, baking every 7-10 days). Feed your starter, let it sit at room temperature for 1-2 hours, then refrigerate. Feed it weekly by discarding half, giving it fresh flour and water, and returning it to the fridge.
- Counter Storage (Frequent Use): Ideal if you bake multiple times a week. Keep your starter at room temperature and feed it every 12 hours to stay active and bubbly. This method requires more upkeep but ensures your starter is always ready.
- Share Your Starter! Every time you discard, you can share your sourdough journey. Double the amount you feed your starter, then pass the extra to a neighbor or friend. It’s a simple way to spread the love of sourdough baking!
- See the post for more information, troubleshooting tips, and indicators if your sourdough has gone bad.
Nutrition


Wendy
I had so much fun doing this. I felt like I was doing a science experiment! 😃 I can’t wait to do the next step and make bread…feel like Little Red Hen here. 😂😂
Yay! So glad you got inspired.