
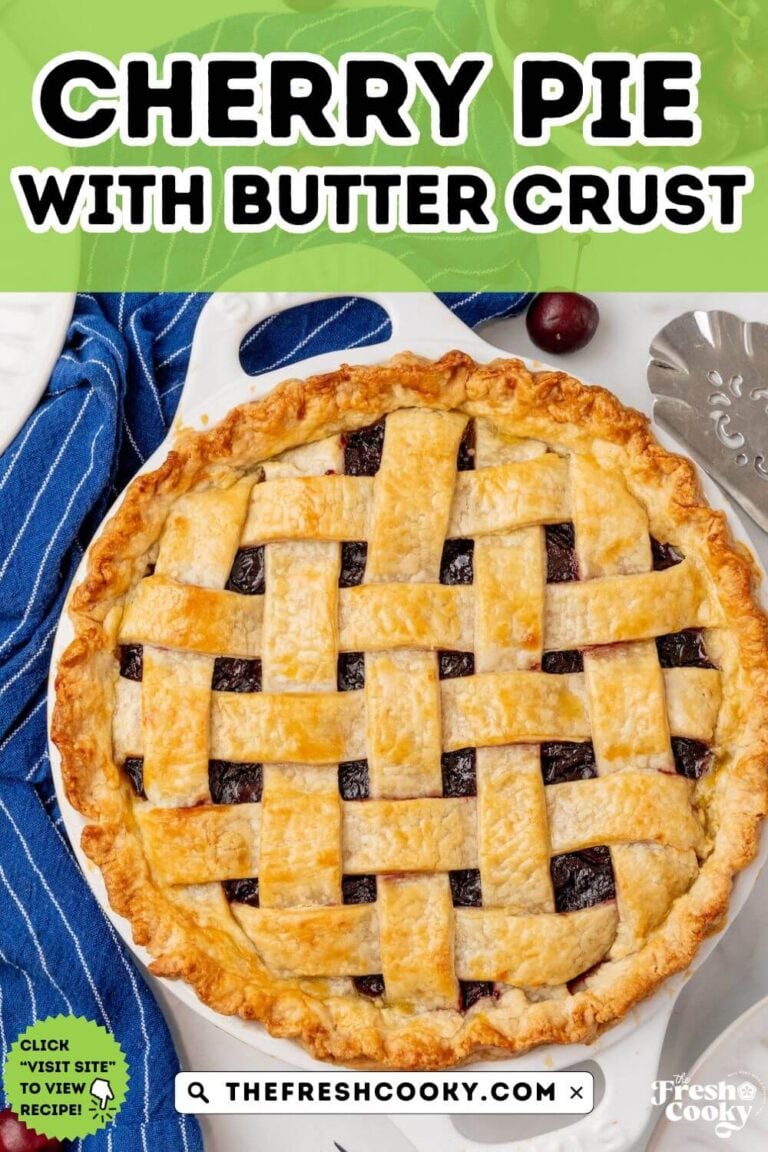


Homemade Cherry Pie is a classic summer dessert with juicy, sweet-tart cherries in a buttery, flaky crust topped with a beautiful lattice. Don’t be intimidated by the lattice! It looks impressive but is much easier than you think, especially with step-by-step photos and tips!
Why You’ll Love This Cherry Pie Recipe
For years, I was intimidated by lattice pie crust, especially on a cherry pie, where the filling shines so beautifully. But with my easy step-by-step guide (and video!), you’ll see just how simple it can be to make a show-stopping cherry pie with a woven top. I also love that the filling comes together quickly from scratch using fresh or frozen cherries, so you get big flavor without it being overly sweet. And while I’ll always encourage you to try my all-butter 3-ingredient pie crust for the best results, you can absolutely make this pie with store-bought dough too.
Cherry Pie Ingredients
- Cherries: Sweet or tart cherries both work, just adjust sugar as needed. I love to use fresh cherries, but frozen or even canned work as well. Use sour cherries or sweet cherries, adjusting the sugar to your liking.
- Granulated Sugar: Balances the tartness of the cherries without overwhelming their flavor. I like using all-natural cane sugar.
- Cornstarch : Thickens the filling so it sets properly when sliced.
- Water: Used to dissolve the cornstarch into a smooth slurry.
- Vanilla Extract: Adds warmth and depth to the filling.
- Almond Extract: A classic cherry pie flavor enhancer; it makes the cherries taste even more cherry-like.
- Kosher Salt: Balances the sweetness and brings out the natural fruit flavor.
- Lemon Juice: Brightens the filling and helps balance extra-sweet cherries.
- Pie Crust: Buttery, flaky, and perfect for both the base and the lattice top.
- Egg: Creates a golden shine on the lattice.
- Coarse Sugar: Adds sparkle and a subtle crunch.
Get the full recipe in the recipe card below.

How to Make Cherry Pie
Step 1 – Make the Cherry Pie Filling
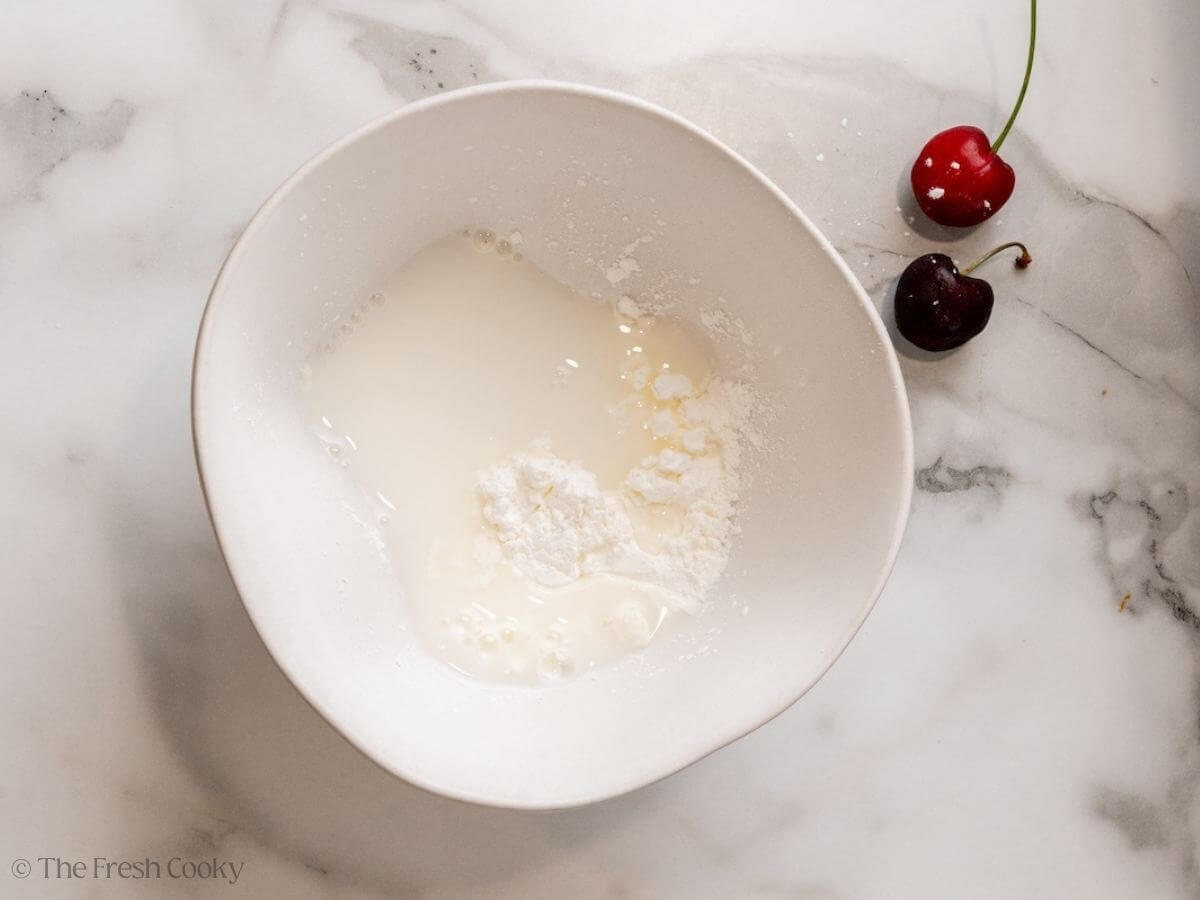
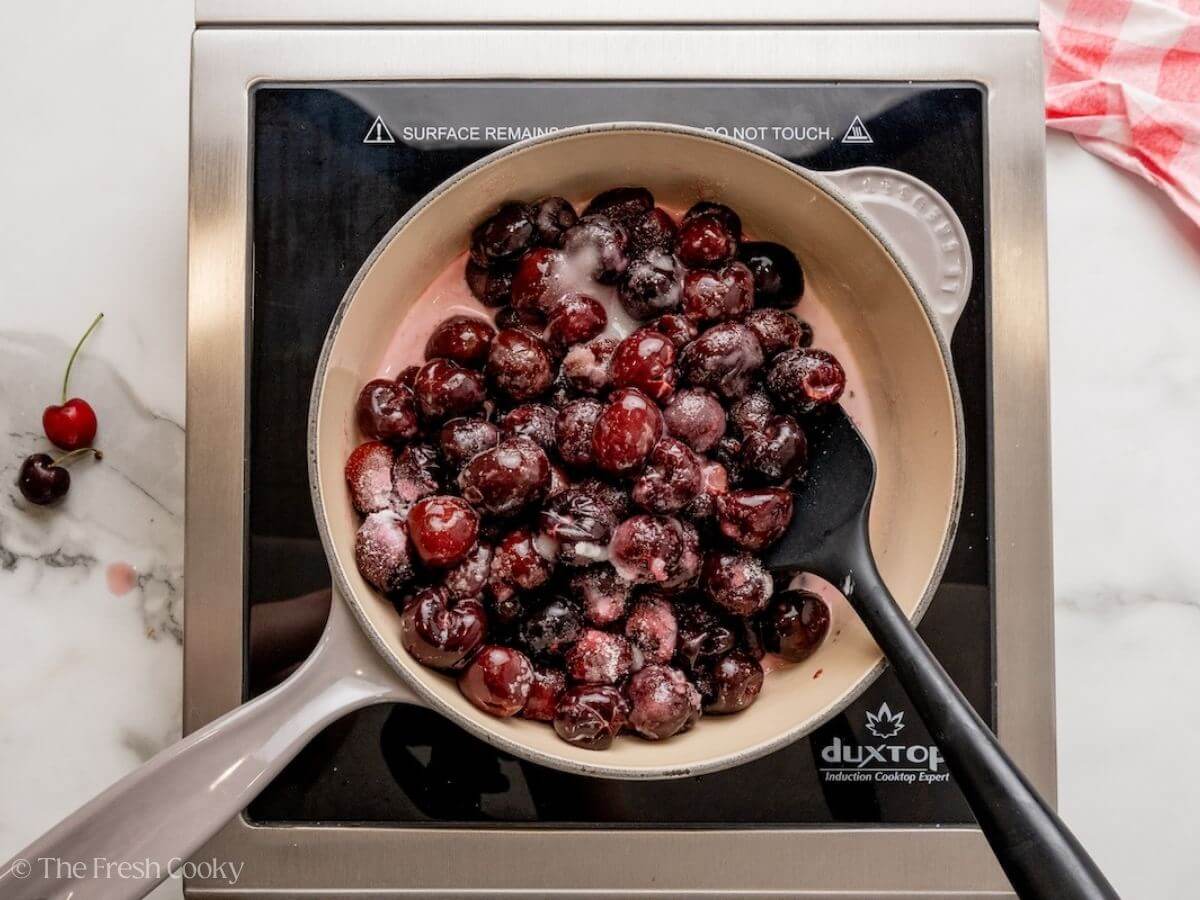
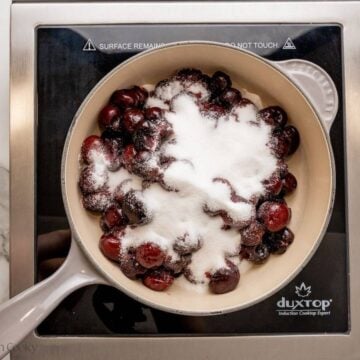
If using fresh cherries, pit them first, this is my favorite cherry pitter. Whisk cornstarch and water together in a small bowl. In a saucepan, cook cherries, sugar, salt, and lemon juice until juicy.
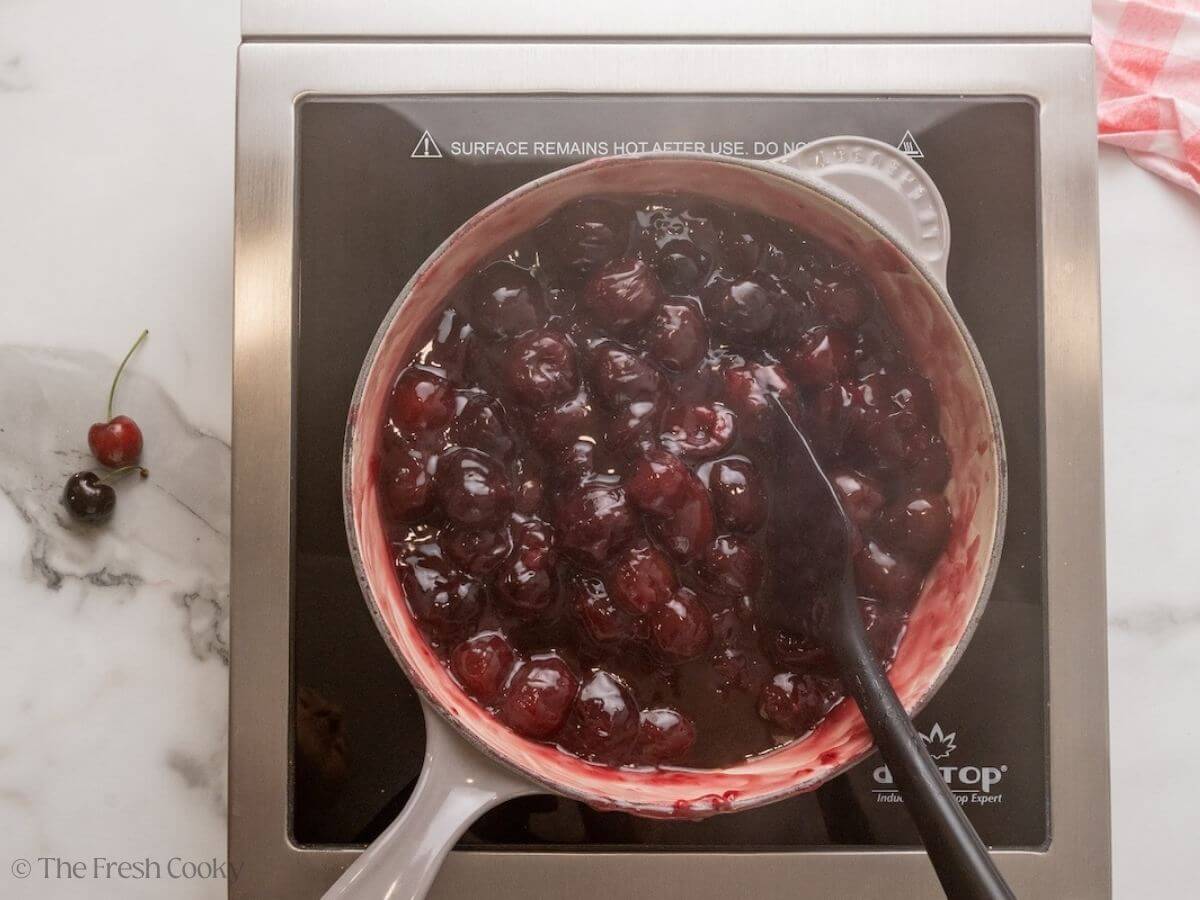
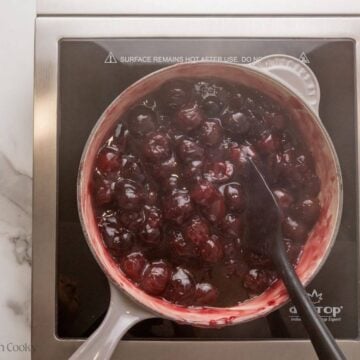
Stir in the cornstarch slurry and simmer until thickened, about 10 minutes. Remove from heat, stir in vanilla (and almond extract if using). Cool before filling the crust.
Step 2 – Prepare the Homemade Pie Crust
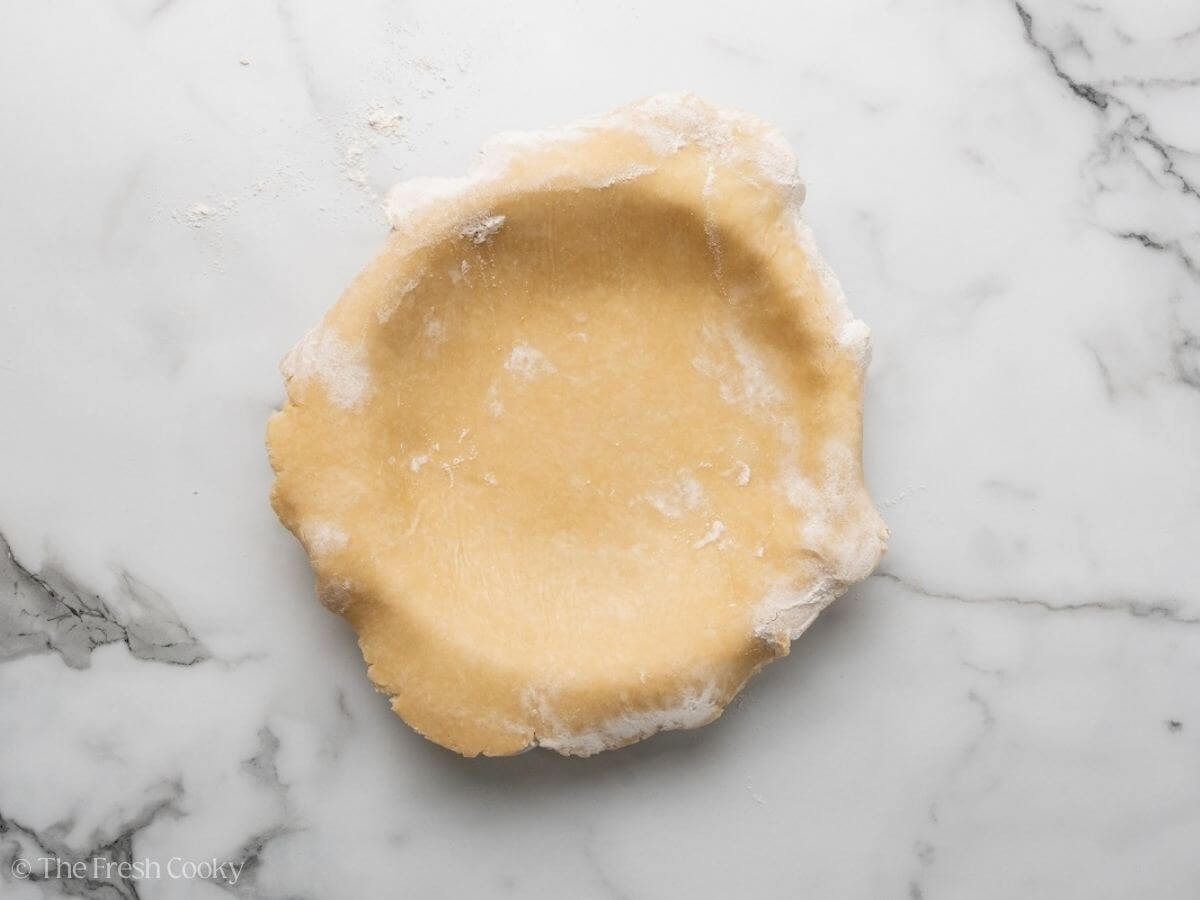
Roll out one crust and fit it into your pie plate. Chill while you prepare the lattice.
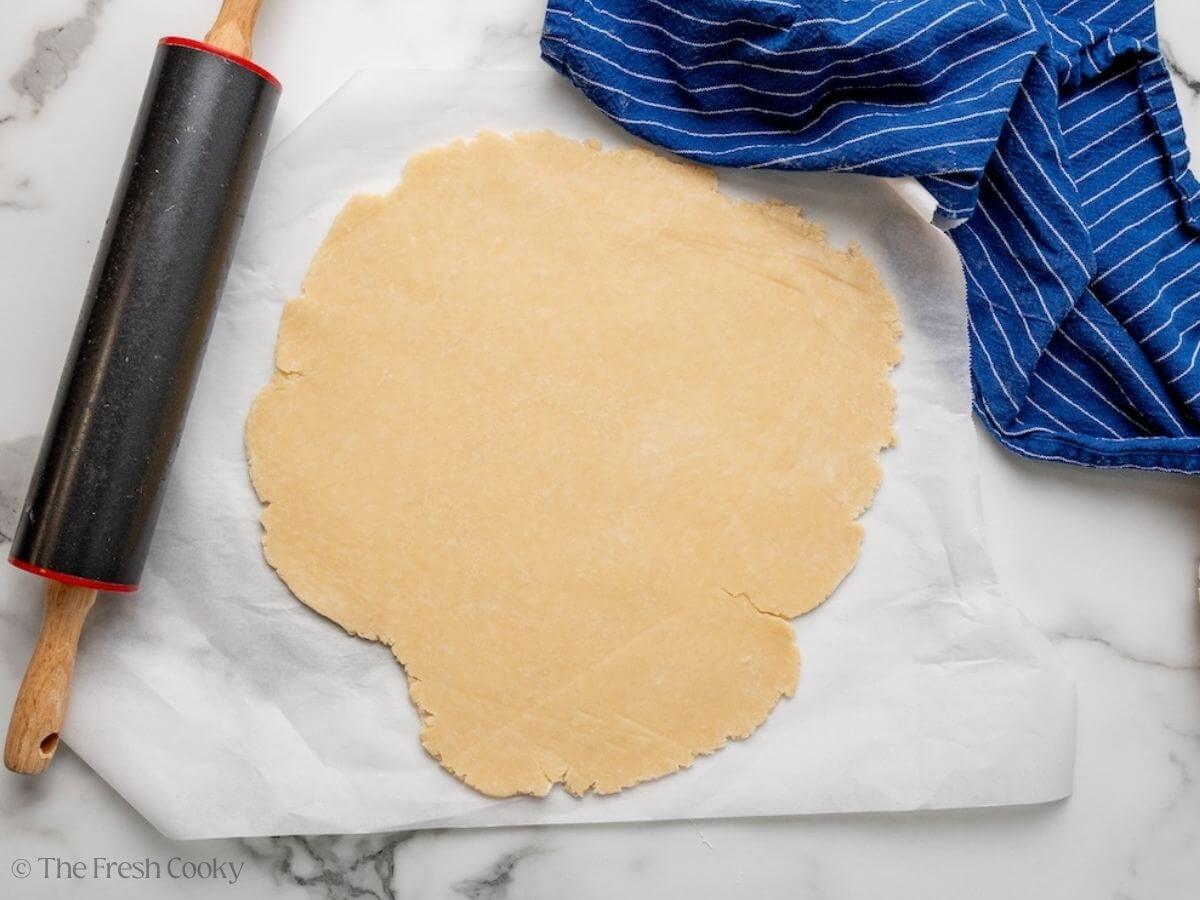
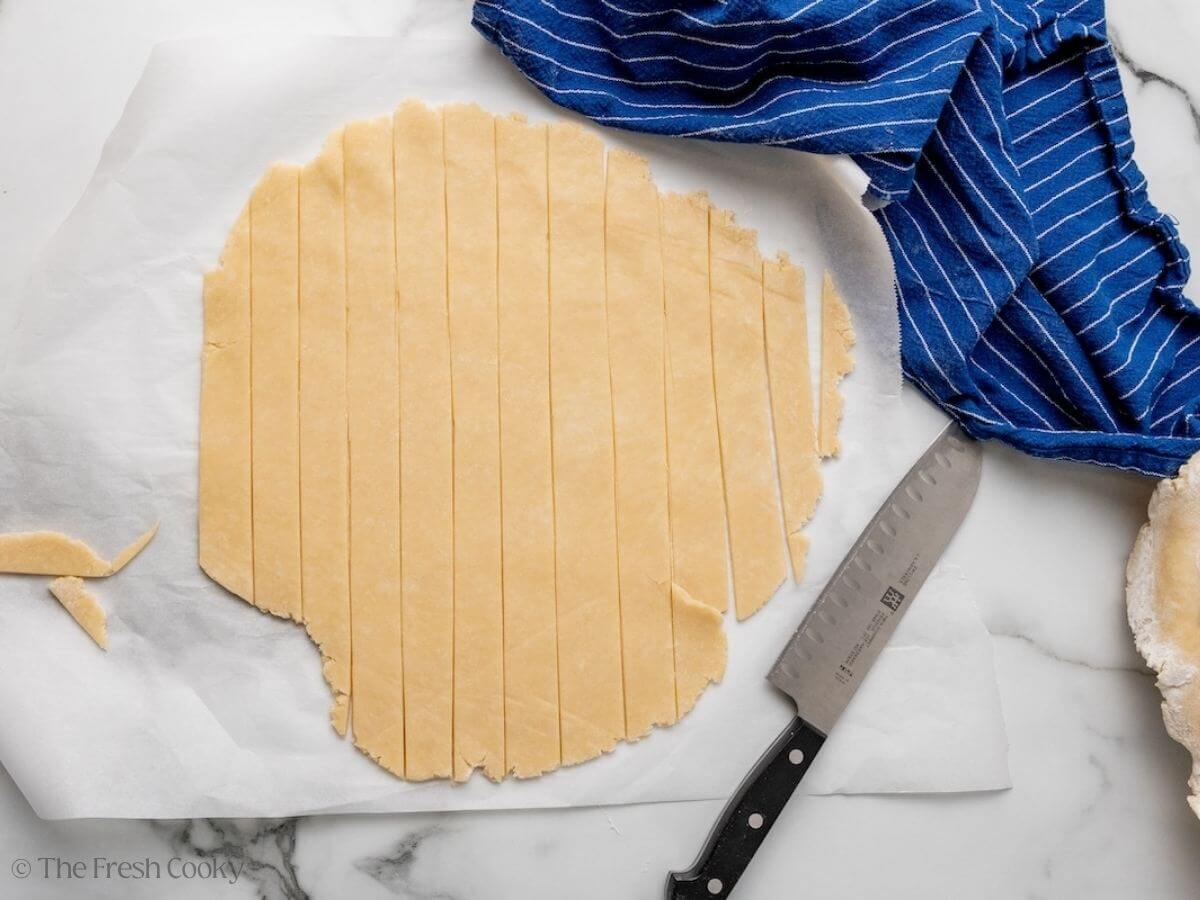
Prepare the top crust, roll out the second crust into a circle and cut into 10 even strips (about ¾–1 inch wide). Of course at this point you can just lay the crust on top, pinch the top and bottom together, cut some slits and bake it. But watch on for how to make a lattice top crust.

Step 3 – Assemble the Pie
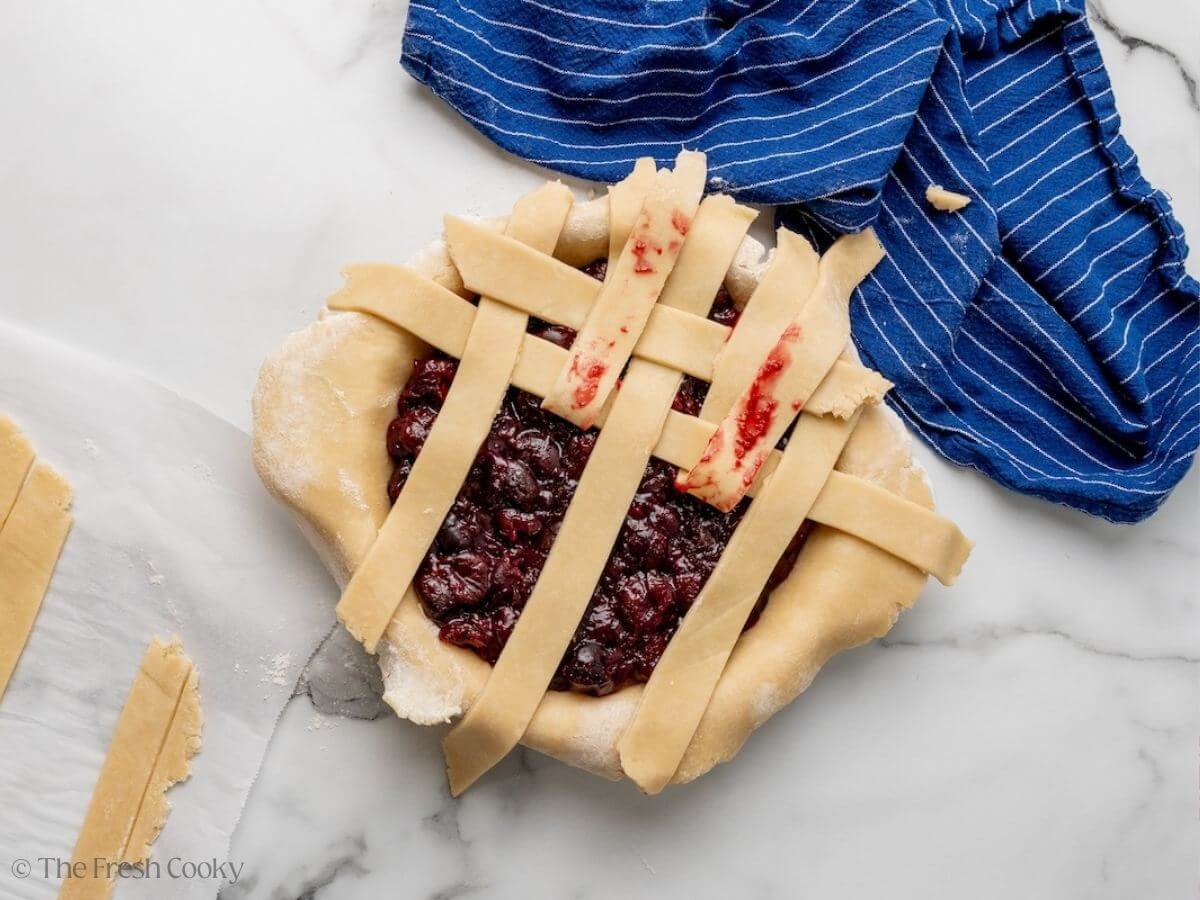
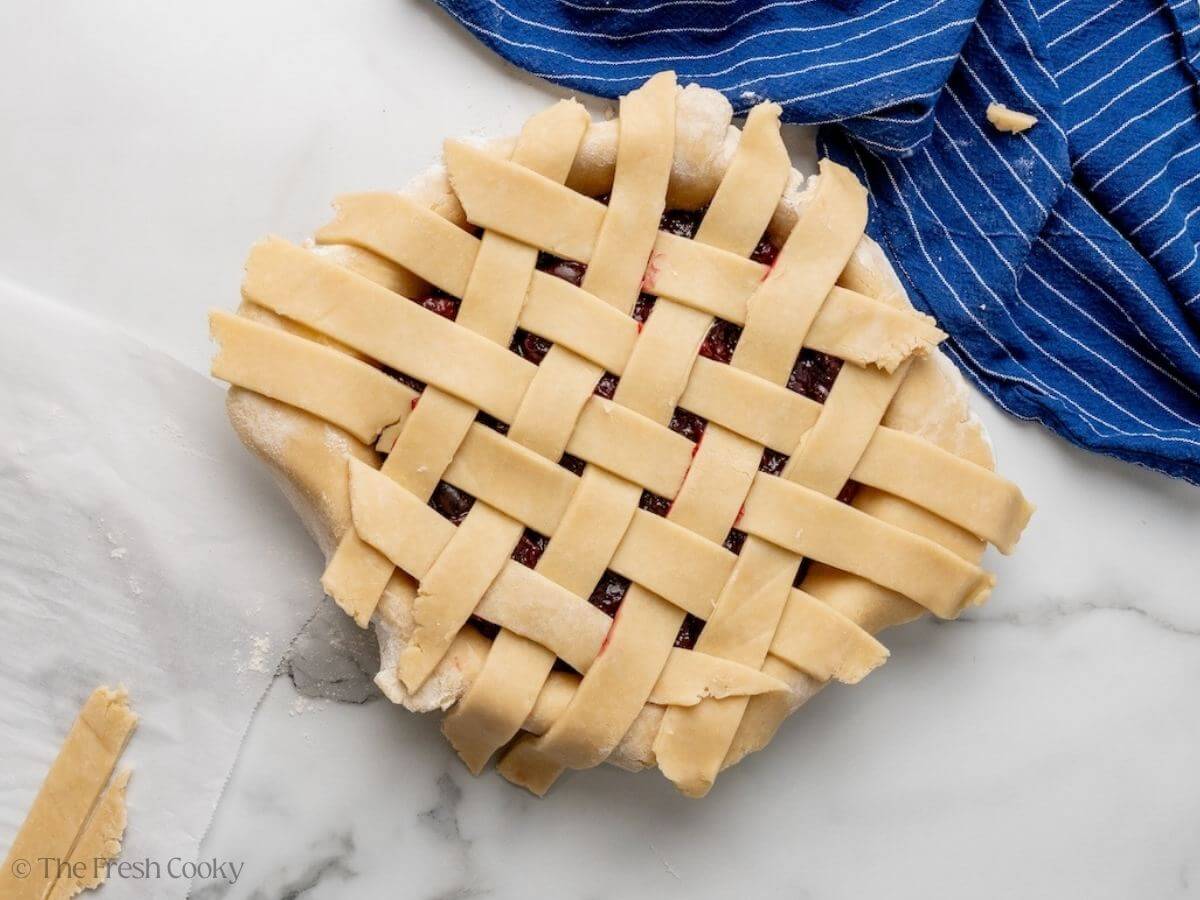
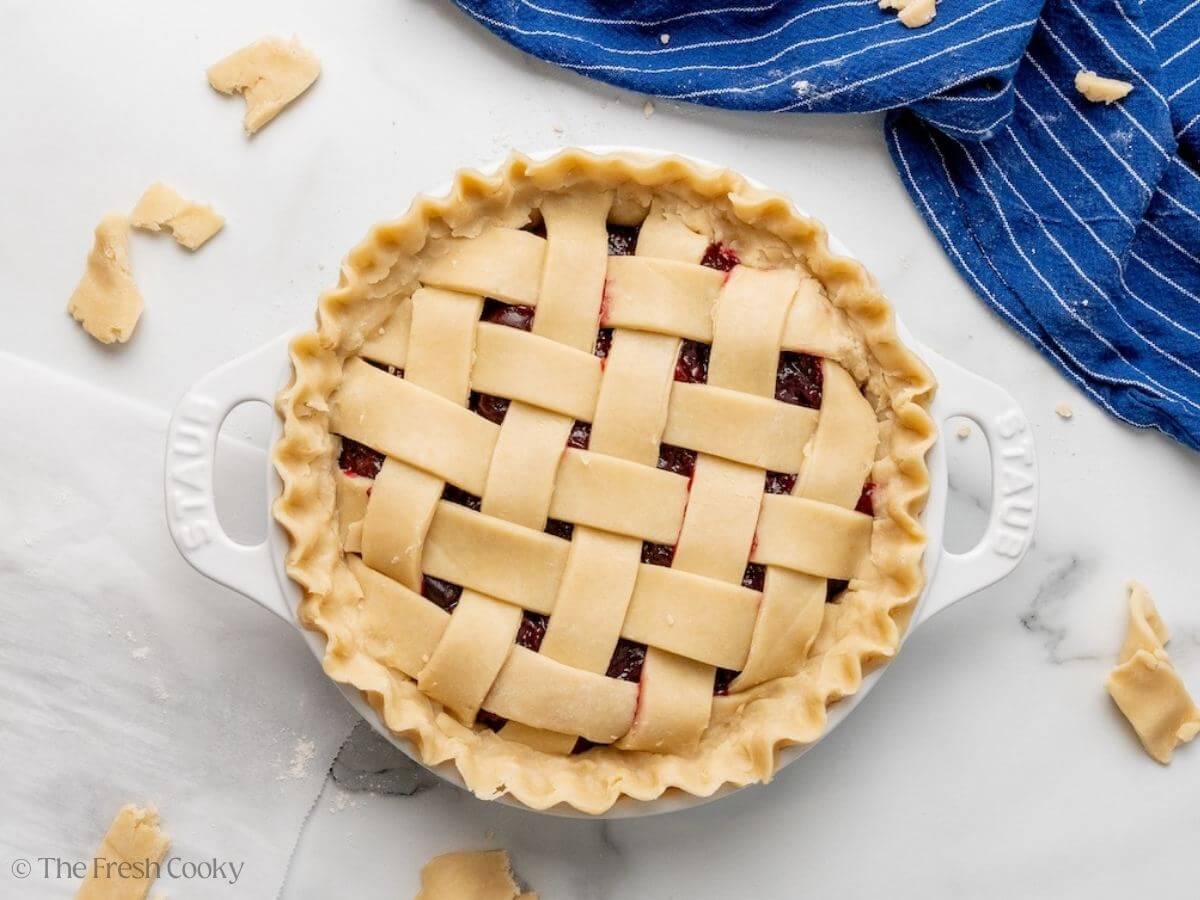
Pour the cooled cherry filling into the bottom crust. Arrange 5 strips vertically, then weave the remaining 5 horizontally to create a lattice. Trim, fold, and crimp the edges to seal.

Step 4 – Finish and Bake
Brush lattice and edges with egg wash. Sprinkle with sugar if desired. Bake at 400°F for 20 minutes, then reduce to 350°F and bake another 30–35 minutes until golden and bubbling.
Let pie cool for 2–3 hours so the filling can set before slicing.

How to Make Cherry Pie Recipe Ahead of Time
You can prepare the filling up to 3 days in advance and store it in the fridge. The pie crust can also be made ahead and refrigerated for 2–3 days or frozen for up to 3 months. Assemble the pie right before baking for the freshest results.
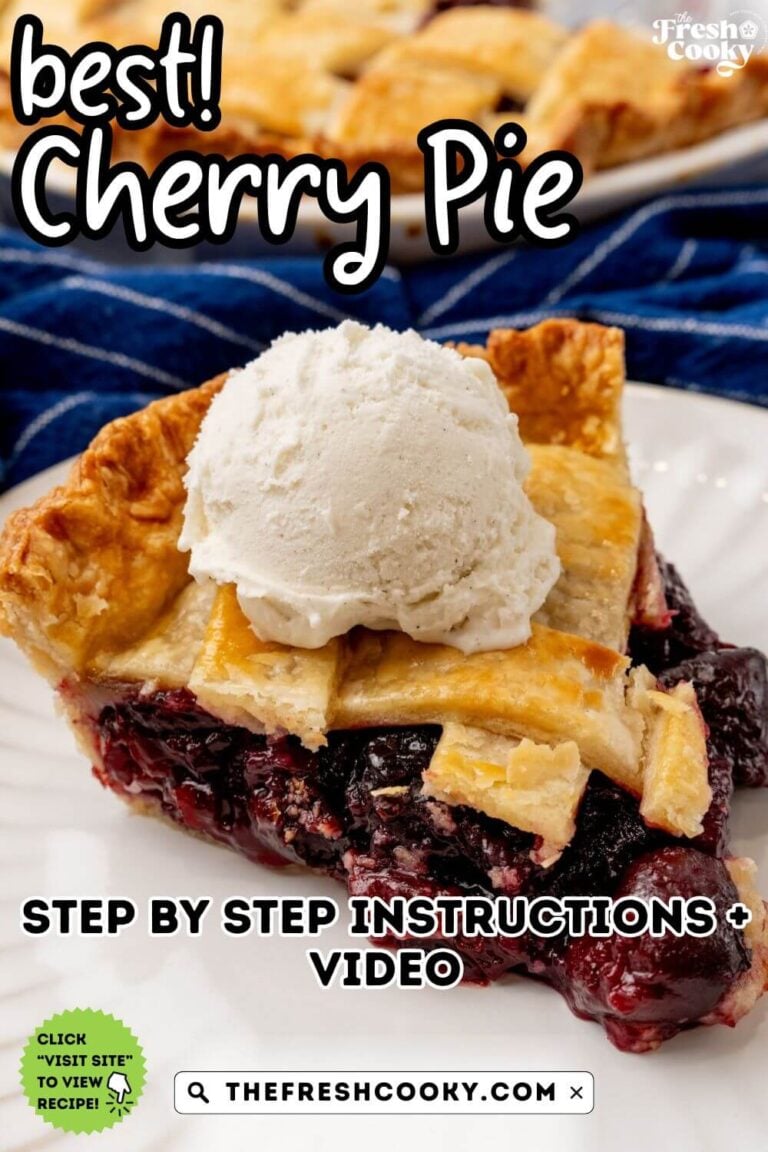
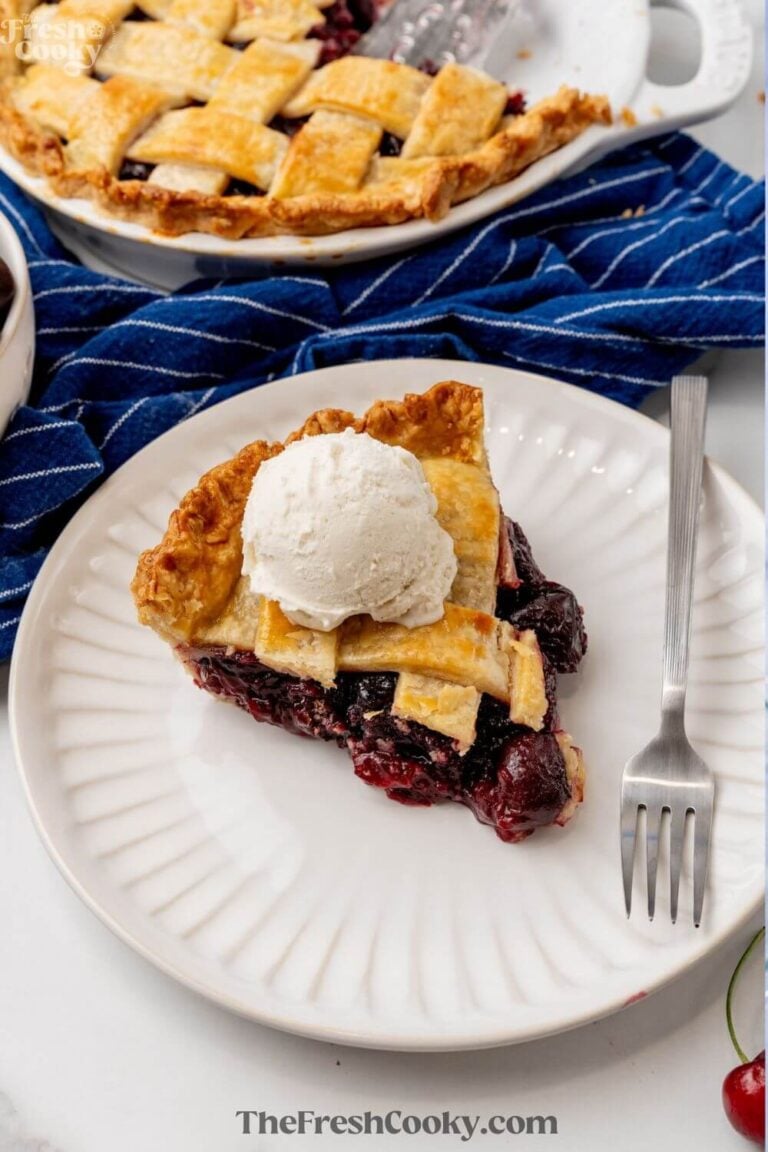
Serving Suggestions for Cherry Pie Recipe
Cherry pie is delicious on its own, but serving it with a scoop of vanilla ice cream makes it downright irresistible. Freshly whipped cream or your favorite whipped topping is another classic pairing that keeps things light and creamy!

Best Cherry Pie FAQs
Yes, once cooled, it’s best to refrigerate cherry pie to keep the filling safe and fresh!
Properly stored, cherry pie keeps for 4–5 days in the refrigerator.
Absolutely! You can freeze it baked or unbaked (see storage tips below for how to bake from frozen).
Soggy bottoms happen when the crust isn’t baked fully or the filling is too wet. Be sure to drain thawed cherries, preheat your oven properly, and bake the pie on a lower rack so the bottom crust crisps.

Storage tips for Homemade Cherry Pie
At room temperature, cherry pie will keep loosely covered for about a day. For longer storage, refrigerate for up to 5 days, or freeze tightly wrapped for up to 2 months.
Freeze: If desired, assemble the pie (do not add egg wash), then place it on a baking sheet and freeze for 1–2 hours until firm. Once the crust is solid, wrap tightly in plastic wrap, then a layer of foil, or place in a large freezer-safe bag if it fits. Freeze up to 2 months.
How to bake from frozen
No need to thaw; bake your frozen cherry pie straight from the freezer!
- Preheat your oven to 400°F (200°C).
- Unwrap the frozen pie and place it on a baking sheet to catch any drips.
- Brush the crust with egg wash (1 beaten egg + 1 teaspoon water), and sprinkle with coarse sugar if you’d like.
- Bake at 400°F for 25 minutes, then reduce heat to 350°F and bake another 40–50 minutes, until the crust is golden and the filling is bubbling in the center.
- Cool for at least 2–3 hours before slicing so the filling sets.
💡 Tip: If the edges are browning too fast, cover them loosely with foil or use a pie shield during the last part of baking.
Variations on Cherry Pie
- Different Berries: Combine cherries with blueberries, blackberries, or raspberries or even rhubarb for a different filling.
- Spices: Add cinnamon or cardamom to the filling for warmth.
- Chocolate: Mix in mini chocolate chips for a Black Forest-inspired version.
- Streusel Topping: Skip the lattice and top with buttery streusel instead.
More of our favorite pie recipes:
More popular recipes from The Fresh Cooky
Like this recipe?
Don’t forget to give it a ⭐️⭐️⭐️⭐️⭐️ star rating and leave a comment below the recipe!
Equipment
Ingredients
Cherry Pie Filling (Makes 3½–4 cups)
- 6 cups pitted cherries fresh, frozen, or canned – see notes
- ⅓ to ½ cup granulated cane sugar adjust based on sweetness of cherries
- ¼ cup cornstarch
- ¼ cup water
- 1 teaspoon vanilla extract or bourbon vanilla
- ¼ teaspoon almond extract optional
- ¼ teaspoon kosher salt
- 1-2 tablespoons fresh lemon juice optional, for balance
Pie Crust
- 1 batch Butter Pie Crust makes 2 crusts: bottom + lattice
- OR
- 2 store-bought roll-style pie crusts not the pre-shaped kind in pans
For Finishing (Optional)
- 1 egg + 1 teaspoon water for brushing crust
- 1 tablespoon coarse sugar optional
Instructions
Make the Cherry Pie Filling
- You can make this up to 3 days in advance. Cool before using in the pie.
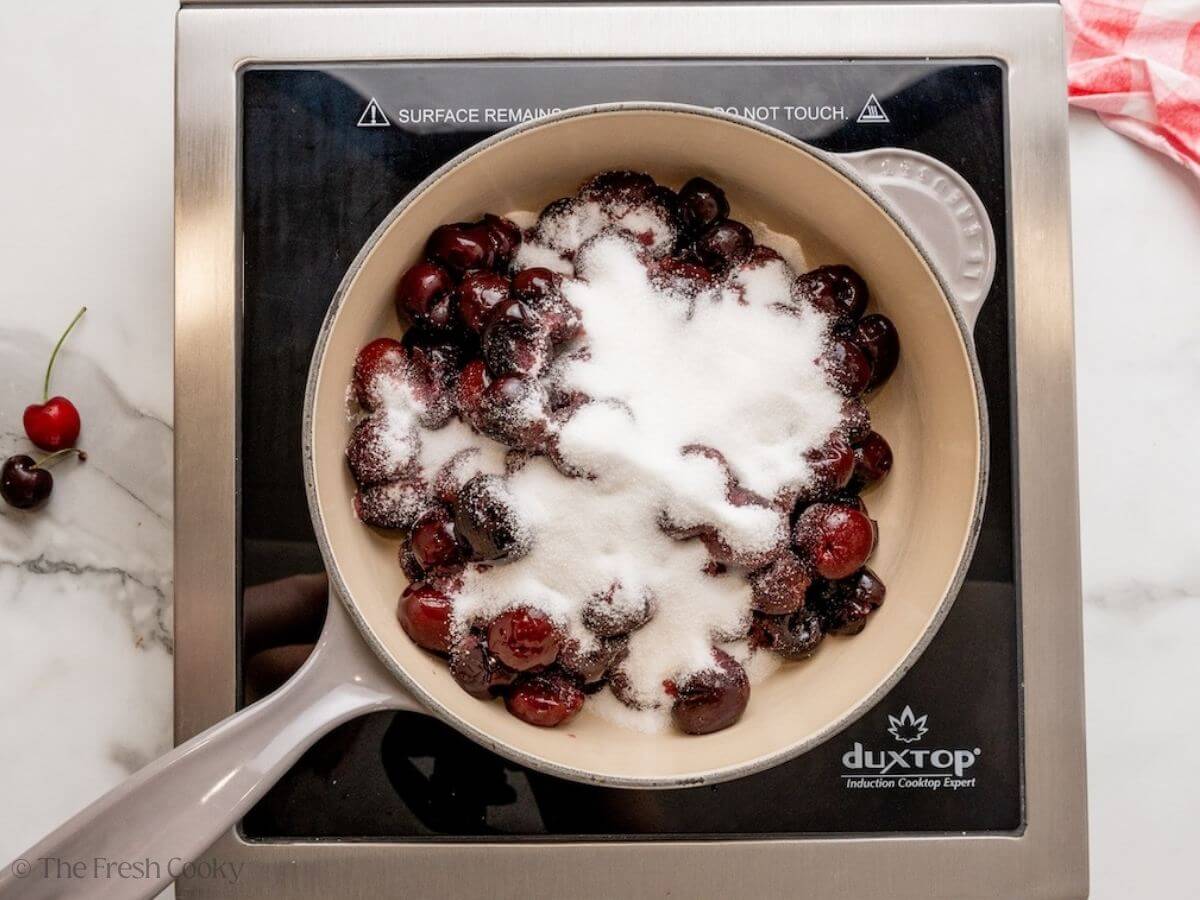
- In a small bowl, whisk together ¼ cup cornstarch and ¼ cup water until smooth. Set aside. In a large saucepan over medium heat, combine 6 cups cherries, ⅓–½ cup sugar, ¼ teaspoon kosher salt, and 1 tablespoon lemon juice.Note: Frozen cherries: thaw and drain excess liquid. Canned cherries: drain, reduce sugar to ¼ cup, omit salt, and use only 1 teaspoon lemon juice.6 cups pitted cherries, ⅓ to ½ cup granulated cane sugar, ¼ cup cornstarch, ¼ cup water, 1 teaspoon vanilla extract, ¼ teaspoon almond extract, ¼ teaspoon kosher salt, 1-2 tablespoons fresh lemon juice

- As the cherries begin releasing juice, stir in the cornstarch slurry. Bring to a gentle simmer and reduce heat to low. Cook about 10 minutes, stirring occasionally, until thickened and cherries are soft.
- Remove from heat and stir in 1 teaspoon vanilla extract and ¼ teaspoon almond extract, if using.Taste and adjust with more sugar or lemon juice if needed. Let cool 20–30 minutes before assembling pie.
Prepare the Pie Crust
- Roll out one crust to fit a standard 8- or 9-inch pie plate. Gently press into dish and trim edges, leaving a slight overhang. Chill while you prep the lattice. Tip If you roll on parchment paper, you can easily transfer to the pie plate by turning pie plate upside down onto the crust, then flipping.1 batch Butter Pie Crust, 2 store-bought roll-style pie crusts
- Roll out the second crust into a 12-inch circle. Use a sharp knife or pastry wheel to cut into 10 even strips, about ¾–1 inch wide.


Assemble the Pie
- Preheat oven to 400°F (200°C). Rack in middle of oven. Pour cooled cherry filling into the chilled bottom crust and spread evenly.
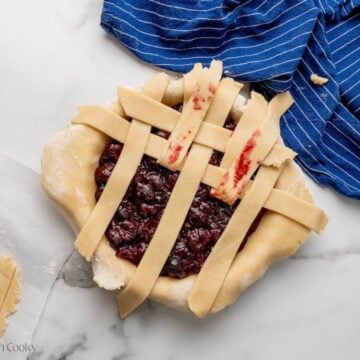
Make the lattice top:
- Lay 5 strips vertically across the pie, evenly spaced.
- Fold back every other vertical strip halfway and place 1 horizontal strip across the center.
- Unfold the vertical strips back over the horizontal strip.Continue alternating the strips to form a woven lattice.
- Trim any excess dough. Fold the edges under and crimp or flute to seal.


Finish and Bake
- In a small bowl, beat 1 egg (add 1 teaspoon of water if desired). Brush the egg wash over the lattice and edges. Sprinkle with coarse sugar, if using.1 egg + 1 teaspoon water, 1 tablespoon coarse sugar
- Place pie on a baking sheet to catch drips and bake at 400°F for 20 minutes
- Then reduce the temperature to 350°F and bake another 30–35 minutes, until the crust is golden and filling is bubbling.
- Tip: If the crust edges begin browning too quickly, cover them with foil or a pie shield during the last 15–20 minutes.

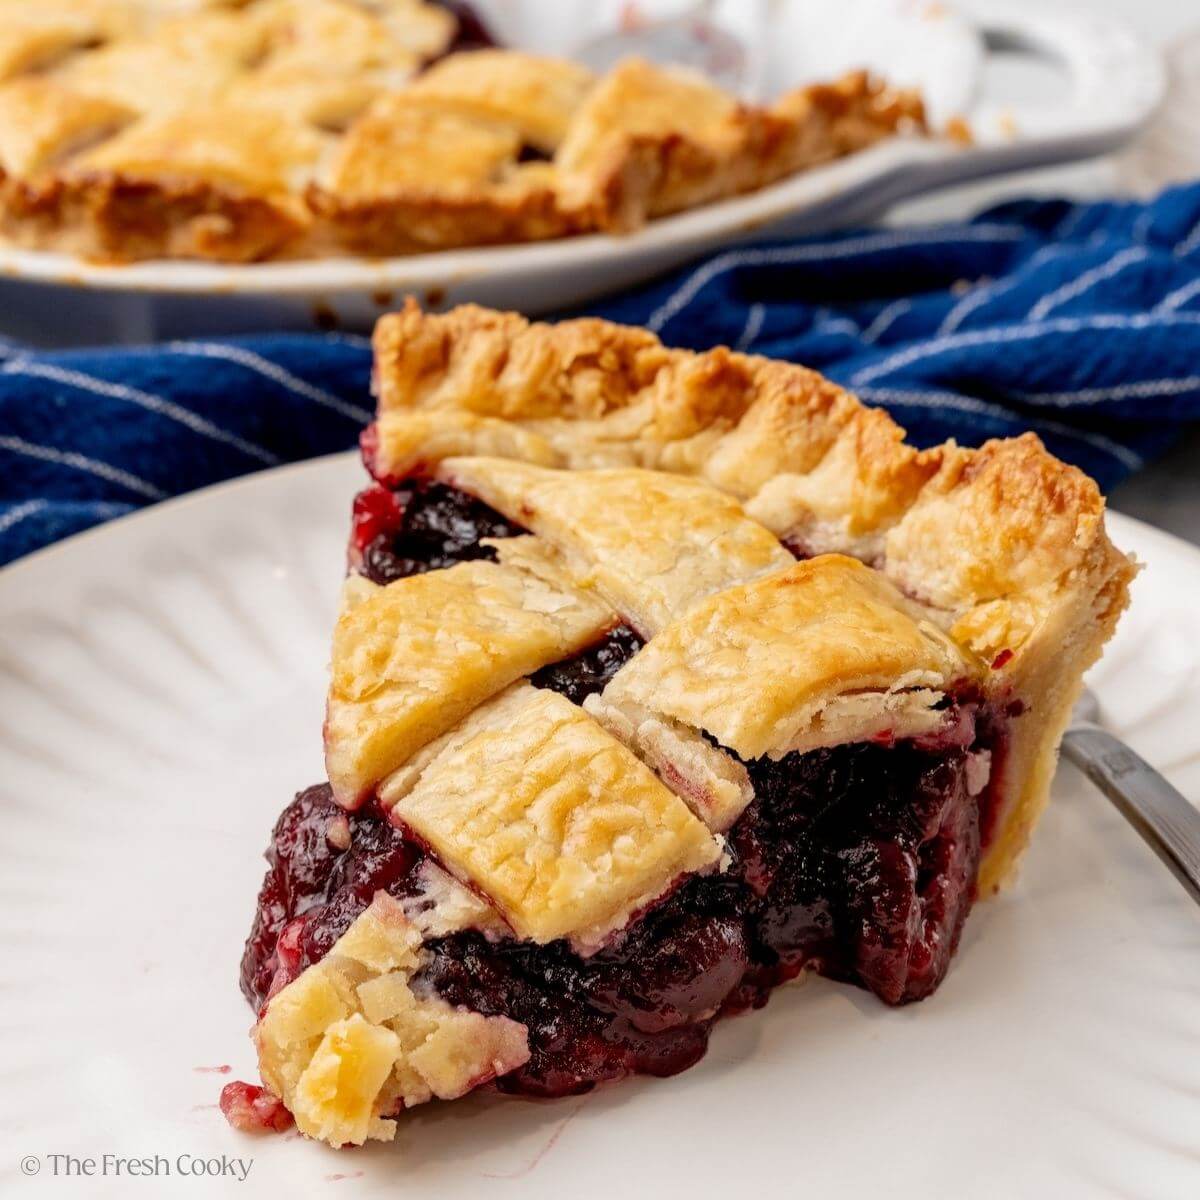
Cool and Serve
- Let pie cool on a wire rack for at least 2–3 hours before slicing to allow the filling to fully set.
Notes
- Lay 5 strips vertically over the pie, evenly spaced.
- Fold back every other strip halfway. Lay 1 horizontal strip across the middle.
- Unfold the vertical strips back over the horizontal one.
- Now fold back the other vertical strips and place the next horizontal strip.
- Continue this over-under pattern until all 5 horizontal strips are woven through.
- Trim excess dough and seal edges with the bottom crust. Crimp as desired.
- Room temperature: Keep loosely covered up to 1 day.
- Refrigerator: Store covered for 4–5 days.
- Freezer: Wrap well and freeze up to 2 months. Thaw overnight in the fridge, then warm at 300°F if desired.
To Freeze (Before Baking):
- Assemble the pie fully, but don’t add the egg wash yet.
- Place the whole pie in the fridge for 1-2 hours to firm up.
- Wrap the pie tightly in plastic wrap, then cover it with a layer of foil and if it will fit, place it into a ziplock plastic bag.
- Freeze for up to 2 months.
To Bake From Frozen:
- Preheat oven to 400°F.
- Unwrap the pie and place it on a baking sheet.
- Brush with egg wash (1 beaten egg + 1 teaspoon water) and sprinkle with sugar if using.
- Bake at 400°F for 25 minutes, then reduce heat to 350°F and bake another 40–50 minutes, until the crust is golden and the filling is bubbling.
- Cool for 2–3 hours before slicing.
Nutrition


Tom
Easy, easy and delicious.
So glad you loved it, Tom!
natalie
the pie baked up perfectly!
I’m so happy to hear that, it’s a family fave!