

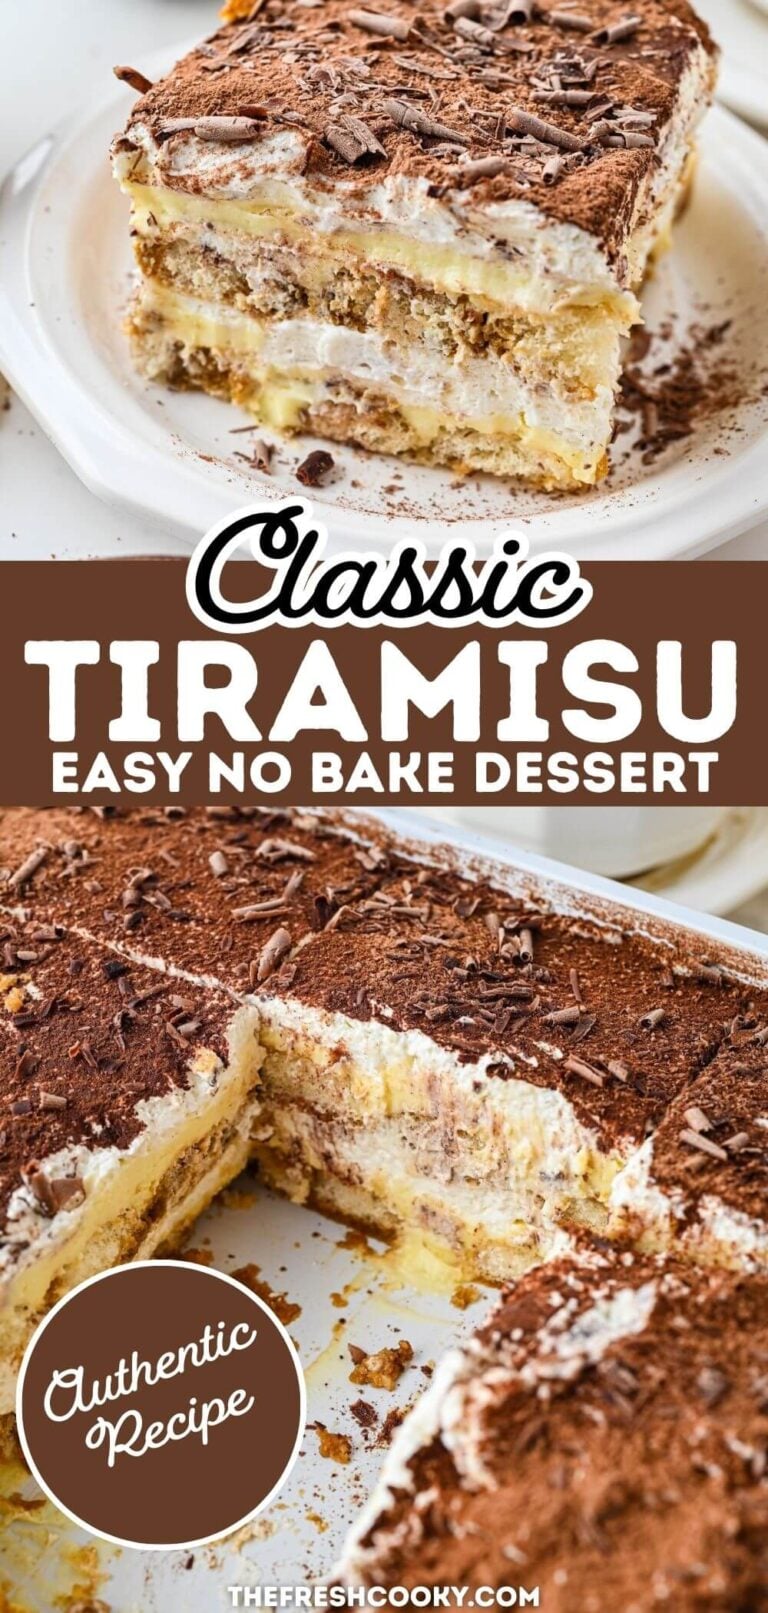
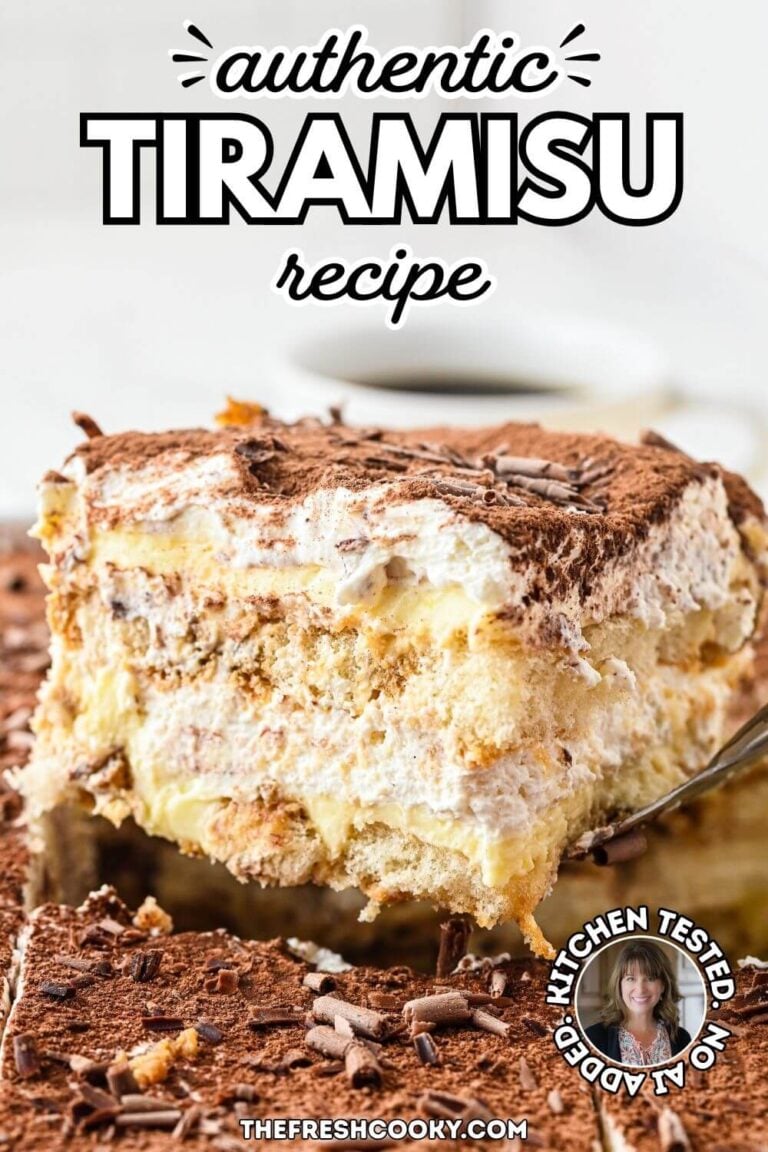
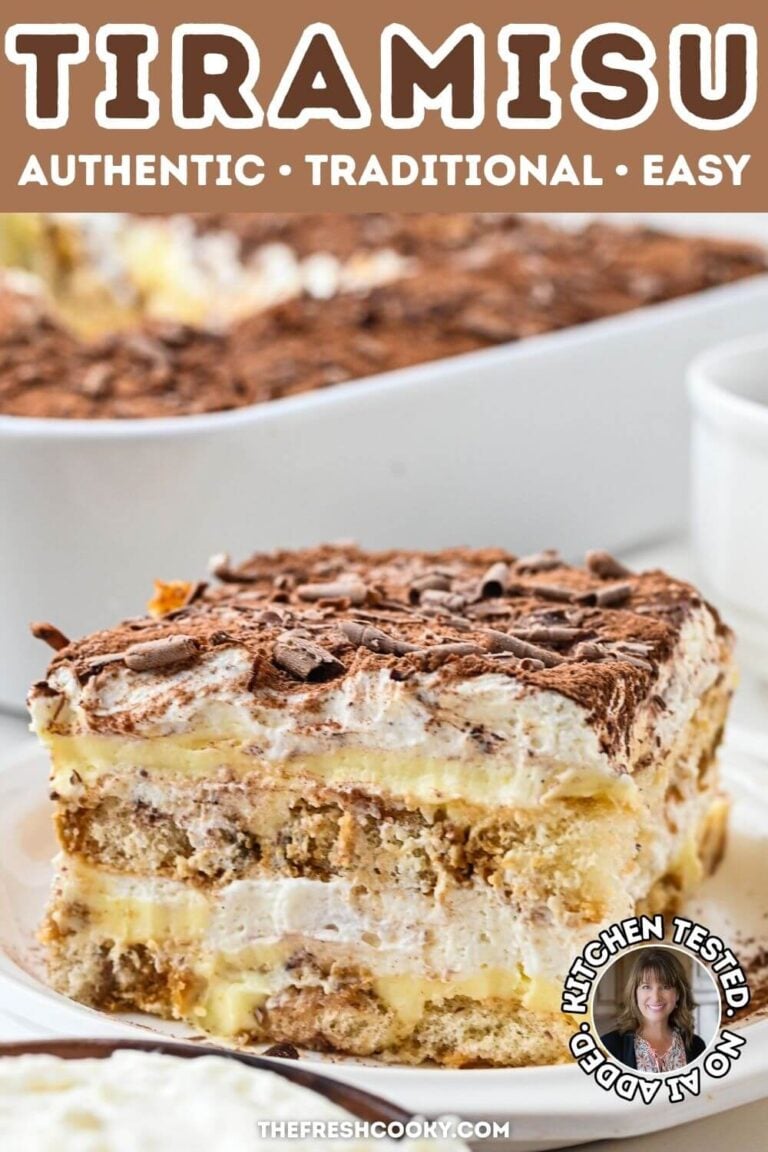
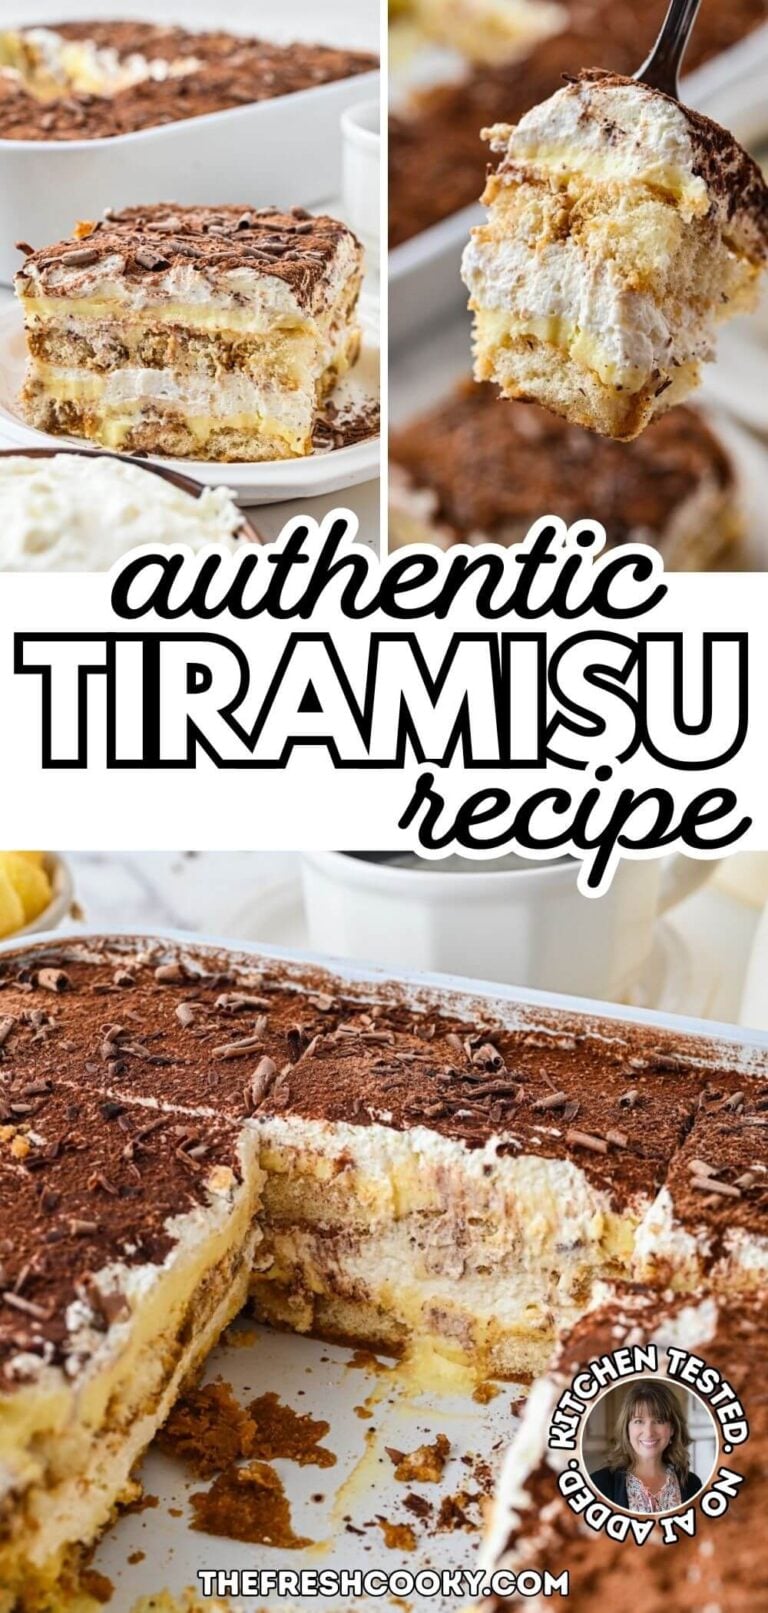
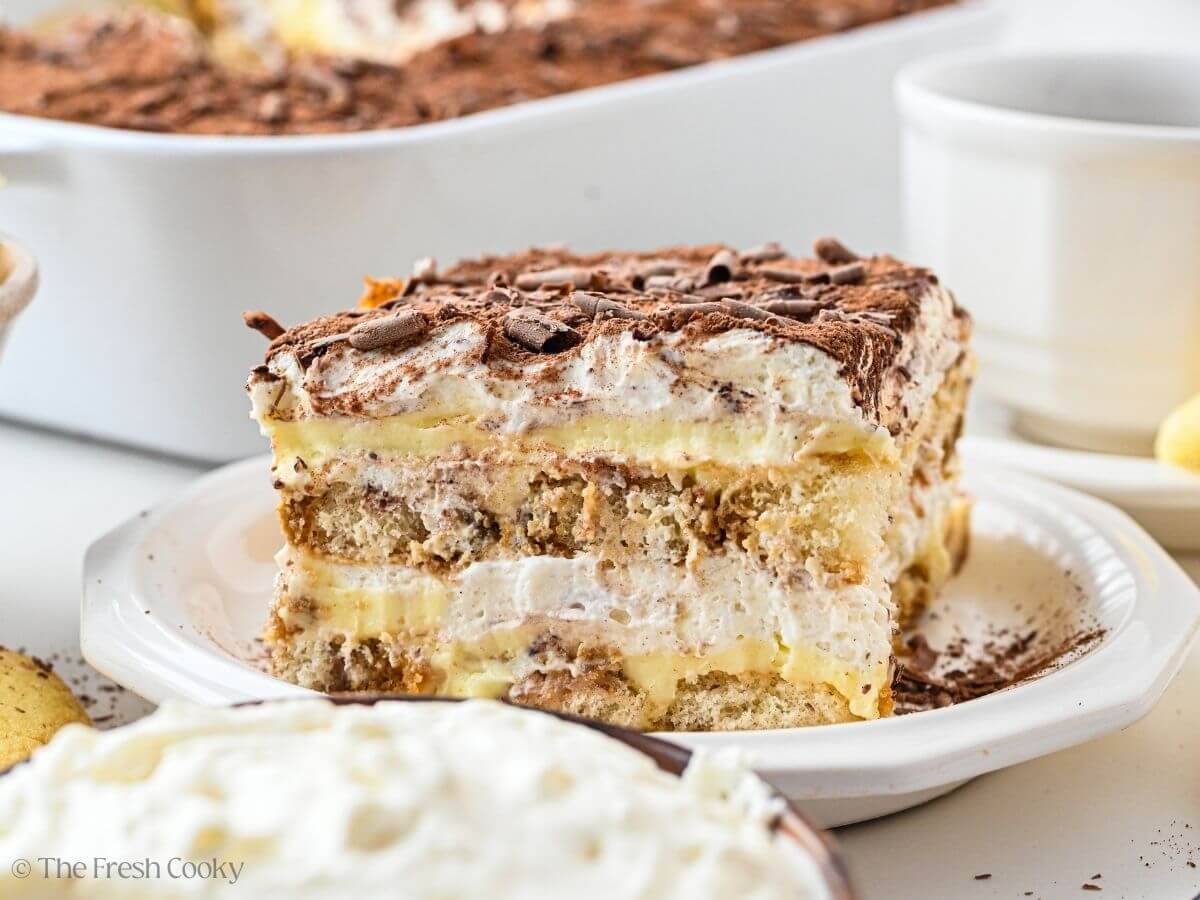
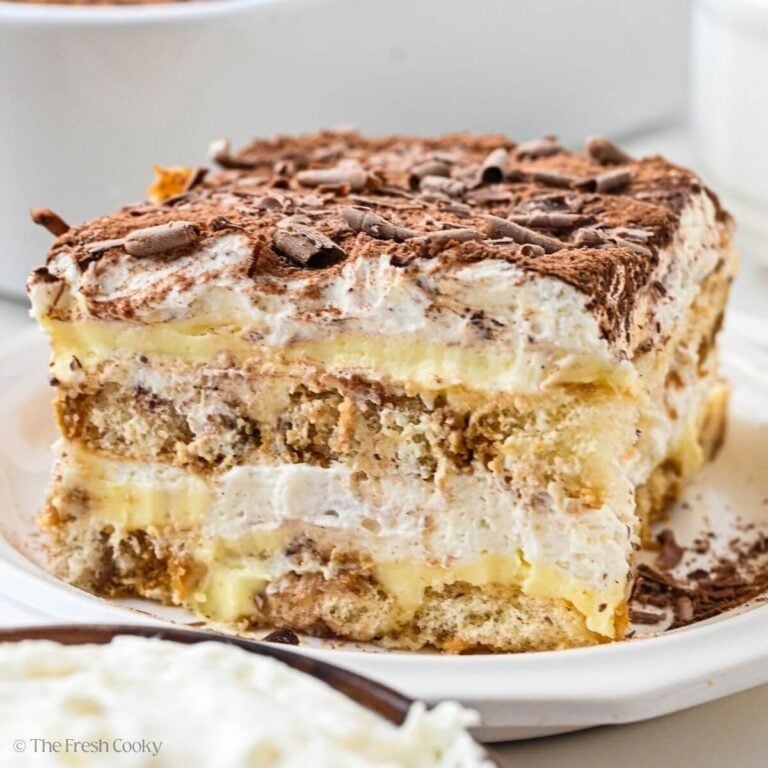
This classic tiramisu recipe, made with a cooked mascarpone custard, is the one I make for birthdays, dinner parties, and anyone who tells me it’s their favorite dessert. It’s layered with vanilla whipped cream and ladyfingers soaked in espresso and rum. No baking, and it’s even better made a day ahead. Bellissimo!
⭐️⭐️⭐️⭐️⭐️ Margaret raved: “It was my son-in-law’s birthday and he said tiramisu was his favorite, so I tried it, and it was delicious. I couldn’t believe I made it! Don’t hesitate to try it. Great recipe and directions!”
A Tiny Italian Village, and the Tiramisu I Never Forgot
I still remember my first real bite of tiramisu.
I was in my twenties, working as an au pair in Germany. I went to visit a friend’s family in a tiny village in the Udine area, way up in the northeast corner of Italy. I couldn’t tell you the village’s name now. We took the train into Venice, so in my memory it was practically next door.

The people were so warm, and the food was fresher than anything I’d had back home. Somewhere in that trip, somebody set a plate of tiramisu in front of me, and one bite was all it took.
I only learned later that this corner of Italy claims tiramisu as its own. In 2017, Italy officially named it a traditional food of Friuli, the region Udine sits in. Treviso, over in the Veneto, has been grumbling about it ever since.
This isn’t that recipe. I doubt anybody could recreate that exact plate, but this one gets close.
My friend Natalie brought it to a Favorite Things Party years ago, and I kept going back for more. Turns out her teenage son Bendor made it first, as a Mother’s Day surprise. Pretty great kid.
I’ve made it more times than I can count since, tweaking as I go, and kept a few of Natalie’s changes because she was right.
The photos are brand new, too. My old ones were from 2019, and this recipe deserved photos as good as it tastes.


What is Tiramisu?
Tiramisu is a no-bake Italian dessert made of ladyfingers soaked in espresso, layered with sweet mascarpone cream, and dusted with cocoa. The name means “pick me up” in Italian.
It’s easier than it looks. When tiramisu goes wrong, it’s usually runny cream or ladyfingers that turned to mush, and this recipe is built to avoid both.
- The yolks get cooked into a thick custard first, which makes a sturdier cream with no raw eggs.
- A deep 8×8 pan gives you taller layers, so slices stand up instead of slumping.
- Firm Italian ladyfingers get drizzled, not dunked, so they soak up the coffee and rum without falling apart.
If your cream goes runny anyway, don’t toss it. The fixes are in the FAQs at the bottom.
Classic Tiramisu Ingredients
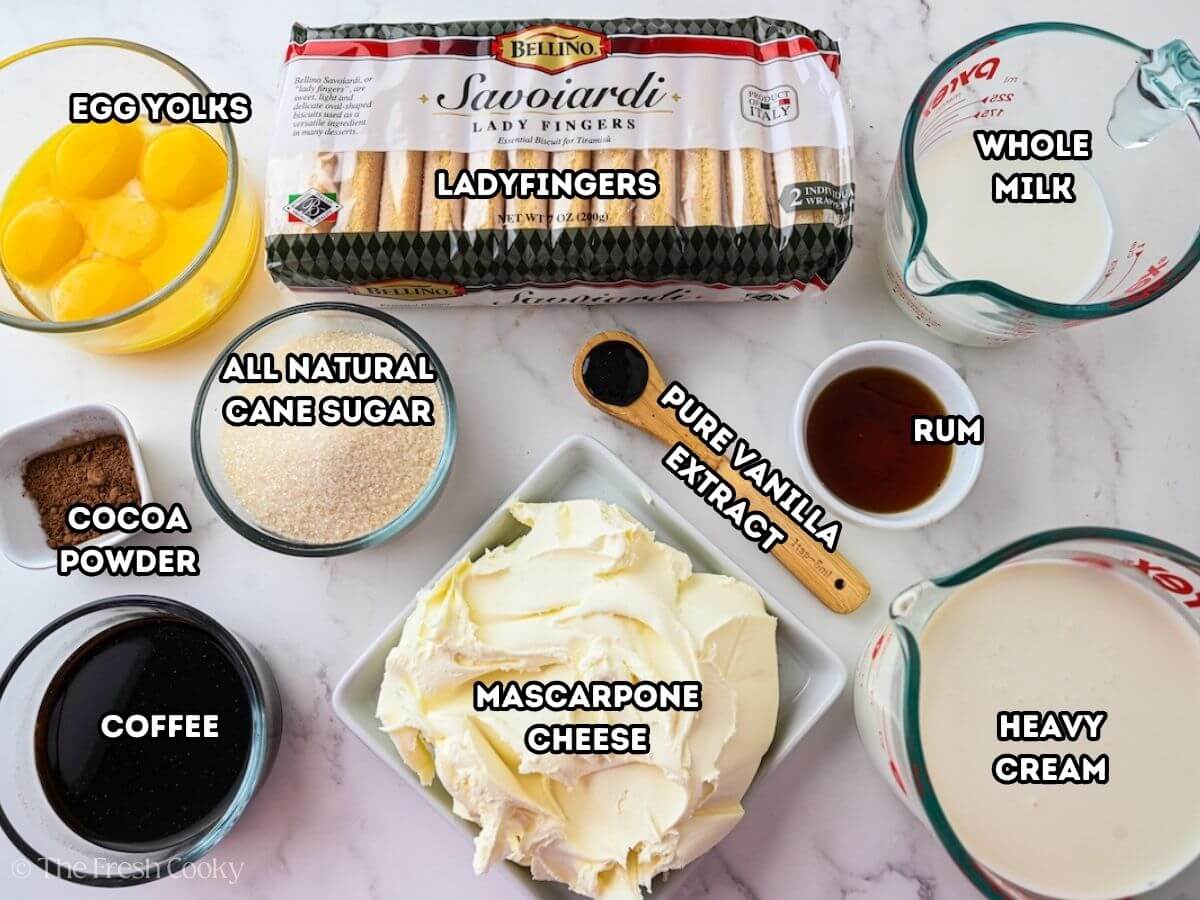
- Egg yolks: Separate them while the eggs are cold; it’s easier. Then let them sit at room temperature for 10 minutes. Save the whites for an egg-white omelet, and you’ll feel better about eating this dessert. HA!
- Granulated sugar: I use natural cane sugar, but regular white sugar works just fine.
- Whole milk: I use organic. Skip low-fat here, it makes a thinner custard.
- Heavy cream: The real, full-fat kind. No substitutions on this one.
- Pure vanilla extract: Homemade or a good store-bought bottle.
- Mascarpone cheese: Look in the deli section near the fresh mozzarella. You’ll need two tubs. Let it soften on the counter so it whisks in smooth.
- Strong brewed coffee: Cooled to room temp, or a shot of espresso.
- Rum: Light or dark. For other options, or to skip it, see the variations section.
- Ladyfingers: Go for firm Italian ladyfingers, not the soft ones. They hold up to the coffee and rum soak and give you that perfect spongy bite. My favorite brands are in the FAQs, and the variations include a gluten-free option.
- Cocoa powder: For the classic dusting on top. Unsweetened, the darker the better.
- Optional: Chocolate drizzle and chocolate curls, if you want to dress it up. All you need for the curls is a chocolate bar and a vegetable peeler. See Step 5.
Get the full recipe in the recipe card below.
How to Make Tiramisu
Step 1: Cook the Custard
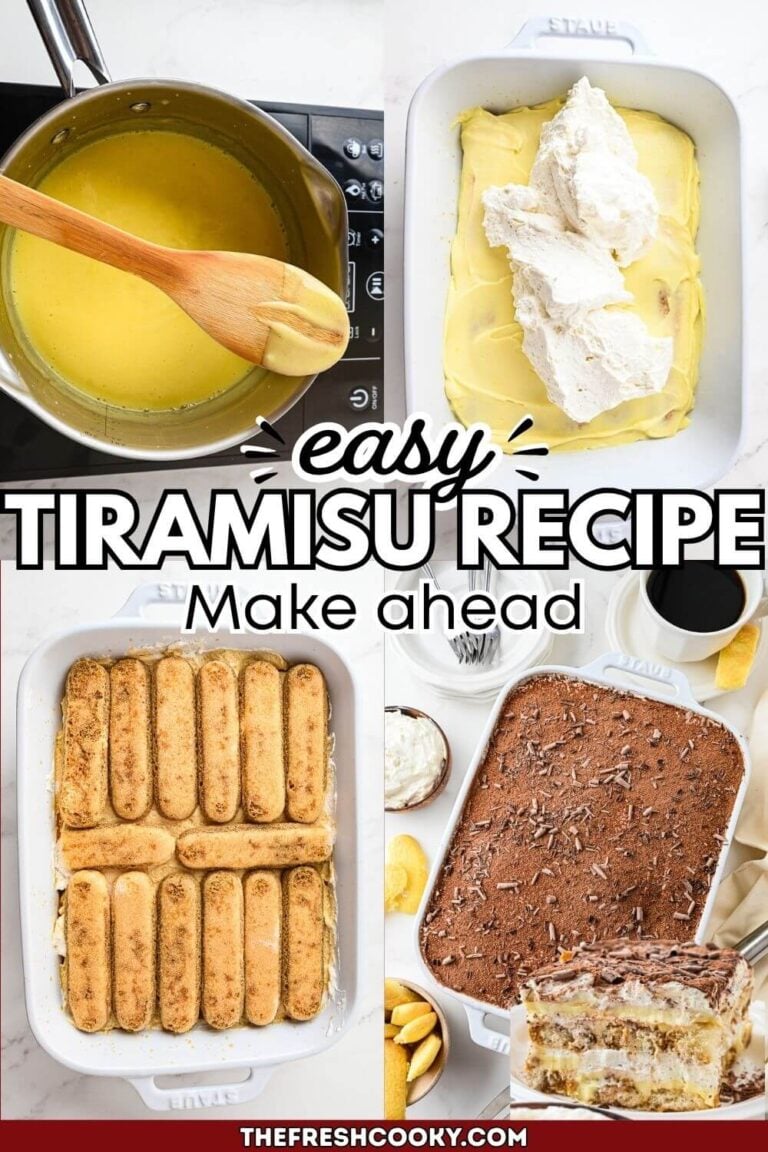
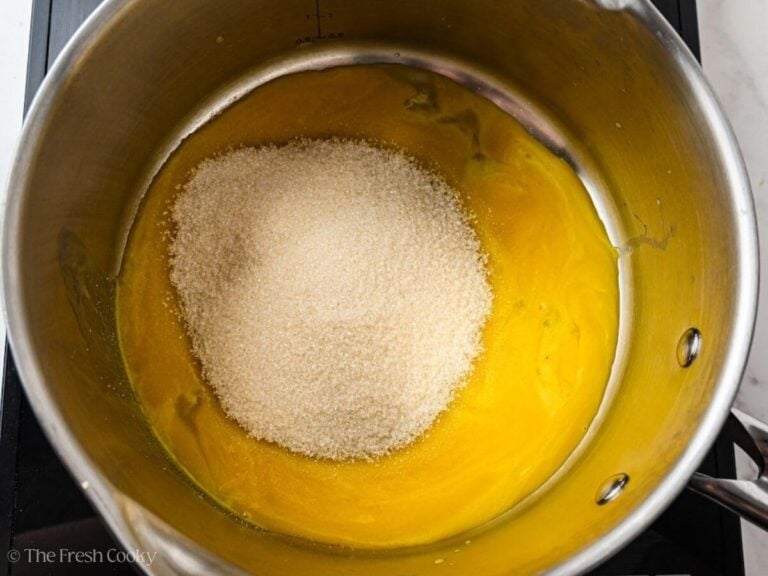
Whisk the egg yolks and sugar together in a medium saucepan until well blended. If you’re using natural cane sugar, whisk a little longer so the coarser crystals dissolve.
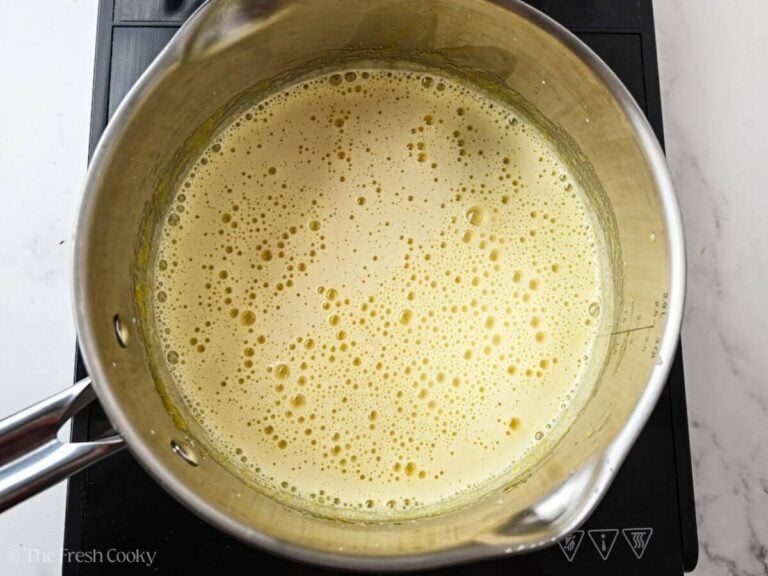
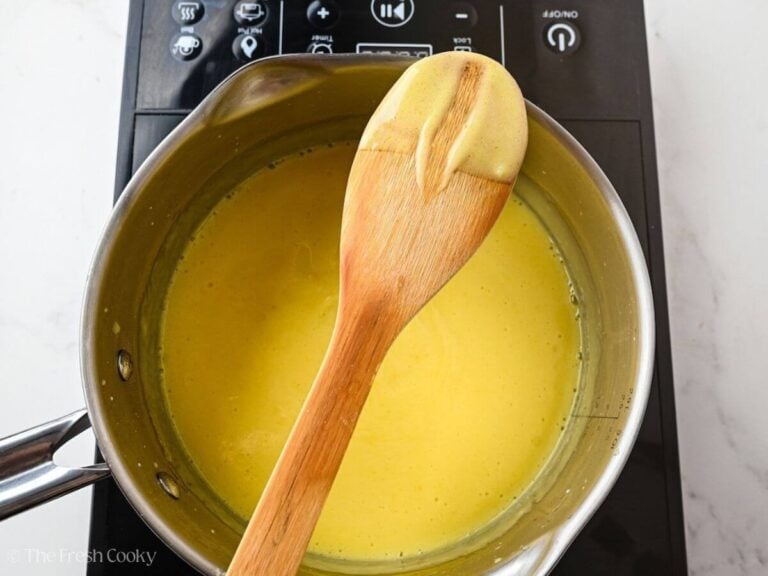
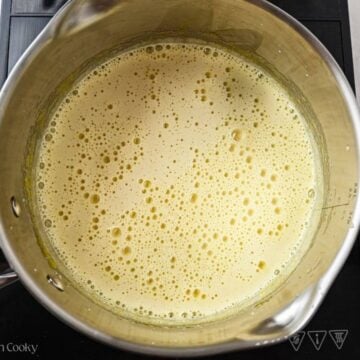
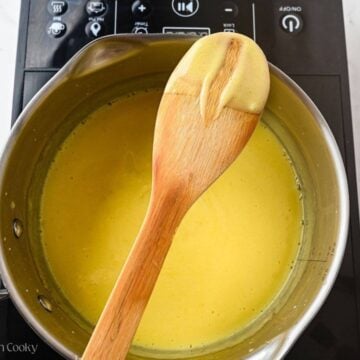
Whisk in the milk. Cook over medium heat, stirring constantly, until it comes to a gentle boil. Let it bubble gently for 1 minute. It should be thick, like pudding.
Take it off the heat and let it cool for 5 to 10 minutes. Press plastic wrap right onto the surface so it doesn’t form a skin. Refrigerate at least 1 hour, until completely cold.
Step 2: Whip the Cream
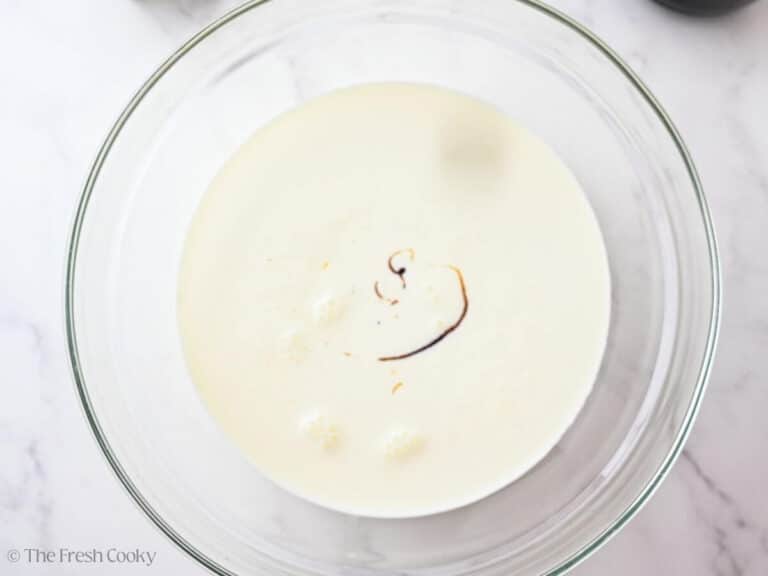
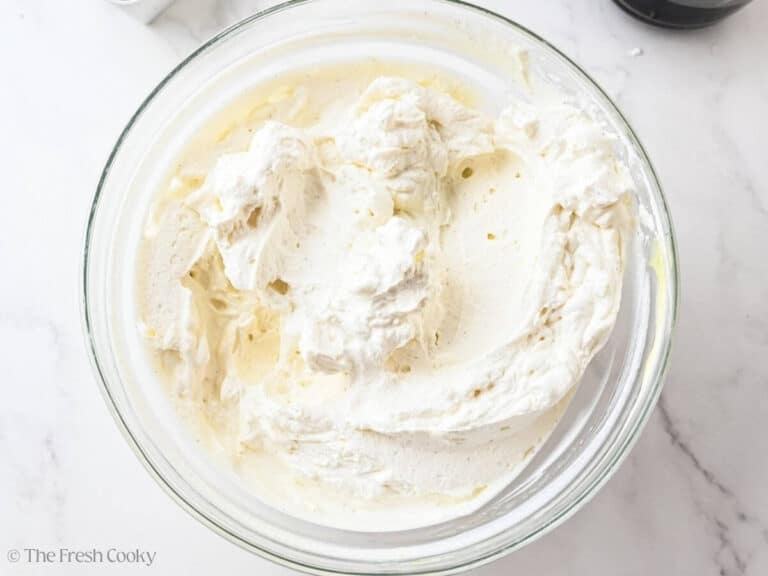
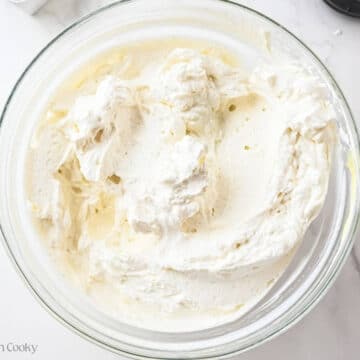
Beat the cold heavy cream and vanilla until stiff peaks form, using a stand mixer with the whisk attachment or a hand mixer and a large bowl. Pop it in the fridge until you need it.
Natalie bumped the cream up to a full pint, and I’m with her. No half-used carton hanging around in the fridge.
Step 3: Mix the Mascarpone Custard
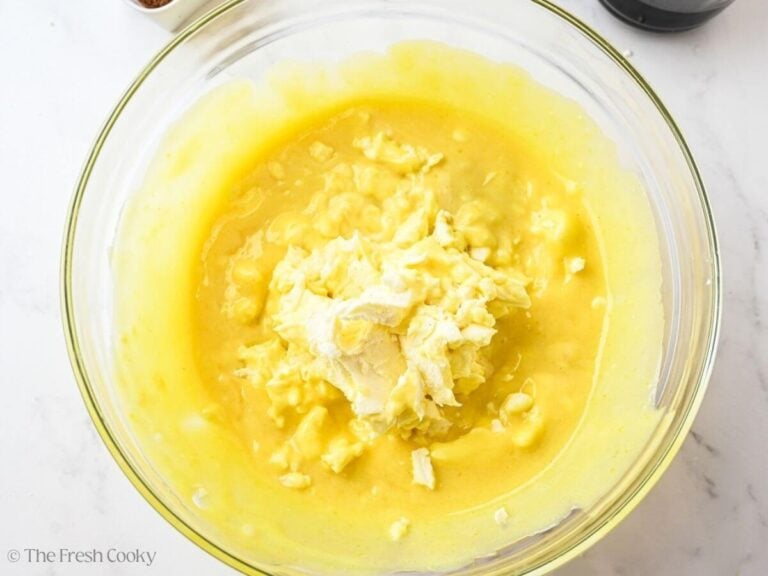
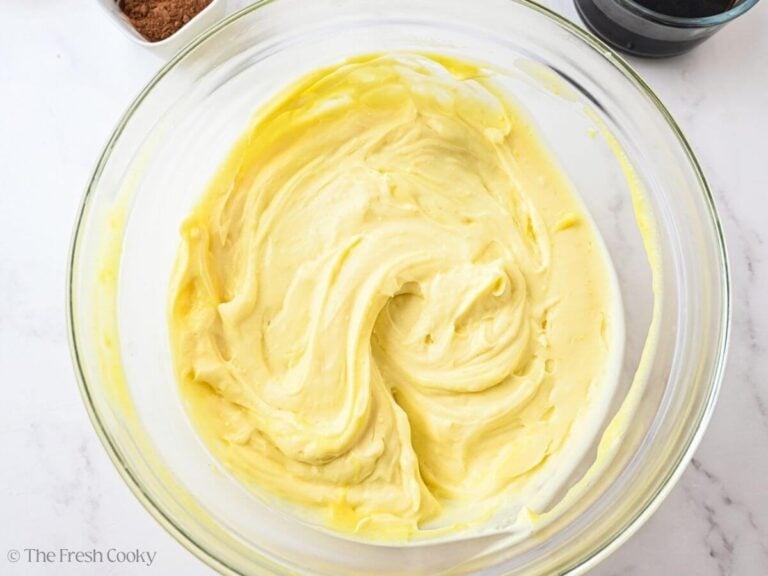
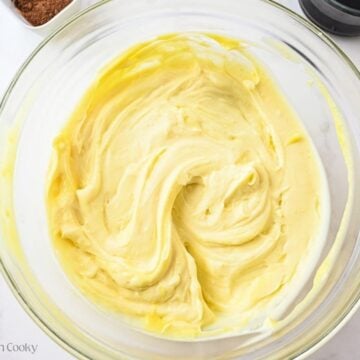
Once the custard is completely cold, whisk in the softened mascarpone just until smooth. Don’t overbeat it.
Pro Tip: If your cream turns runny, don’t panic. The fixes are in the FAQs at the bottom.
Step 4: Layer the Tiramisu
The original recipe calls for a 7×11 dish. Natalie and I both like a deep 8×8 or 9×9 better, because you get thicker, creamier layers. Either one works.
Stir the coffee and rum together in a 1-cup measuring cup. Natalie doubled the original amount, and she was right.
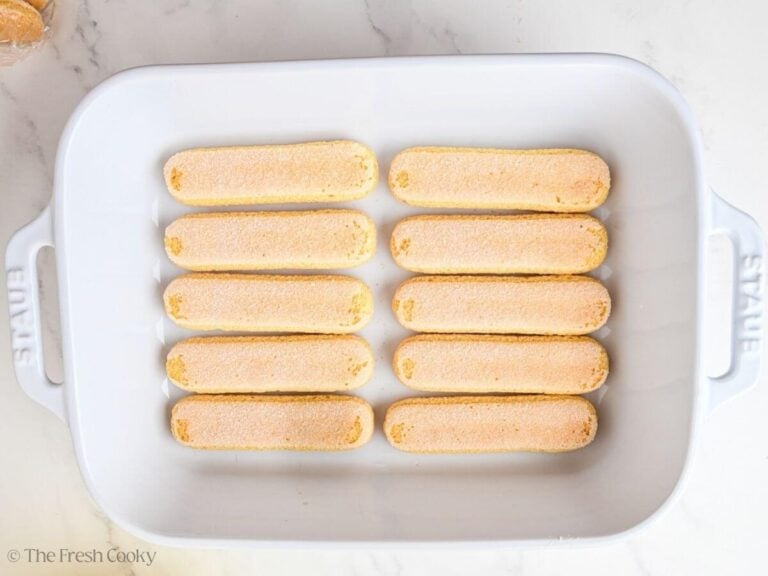
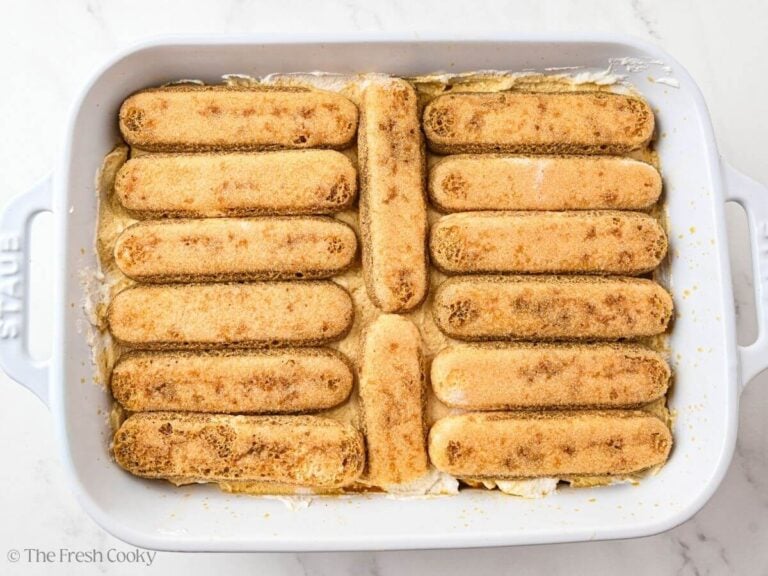
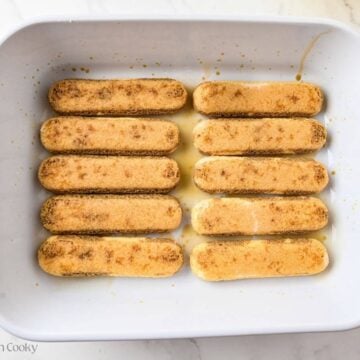
Lay ladyfingers in a single layer across the bottom of the dish. Drizzle half the coffee mixture over them. They don’t need to be soaked through, just evenly covered. I usually add a couple extra tablespoons of coffee here.
Tilt the dish gently so the liquid reaches every ladyfinger.
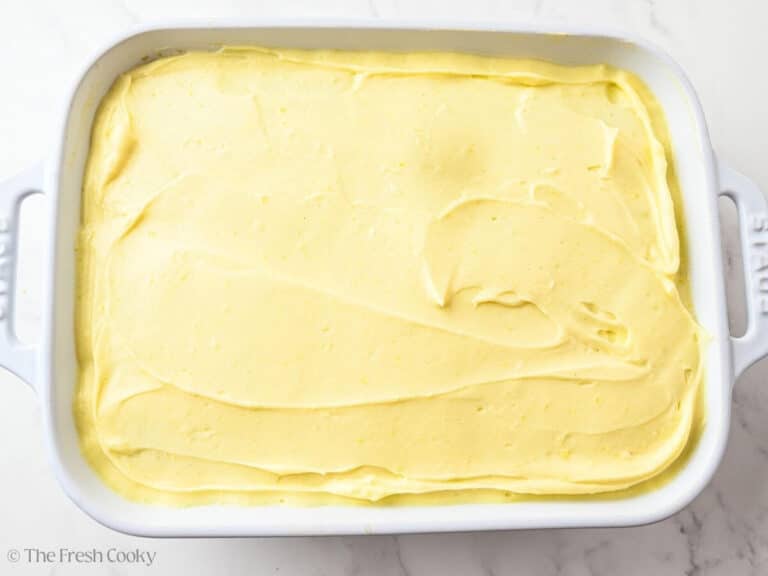
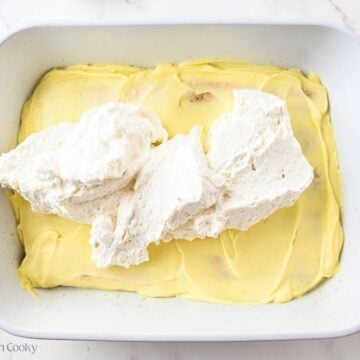
Spread half the mascarpone custard over the top. Give the dish a gentle tap on the counter so it settles into the gaps.
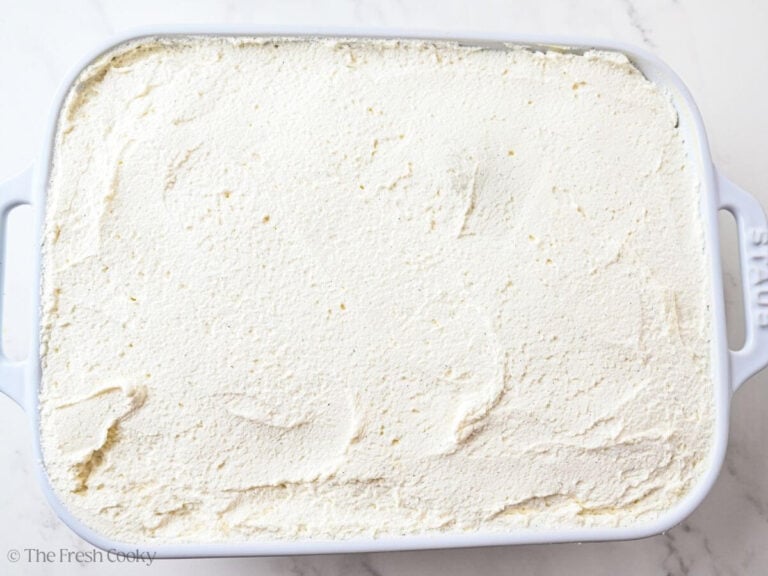
Spread half the whipped cream over the custard. An offset spatula makes this go a lot faster.
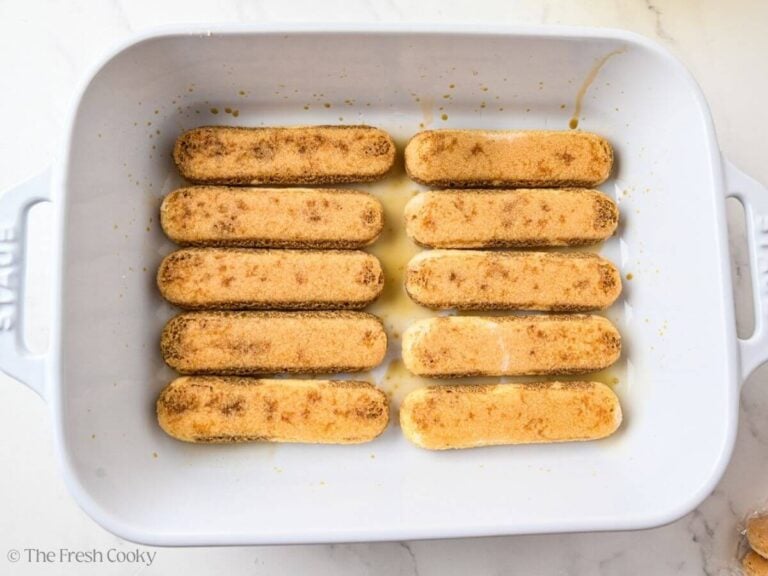
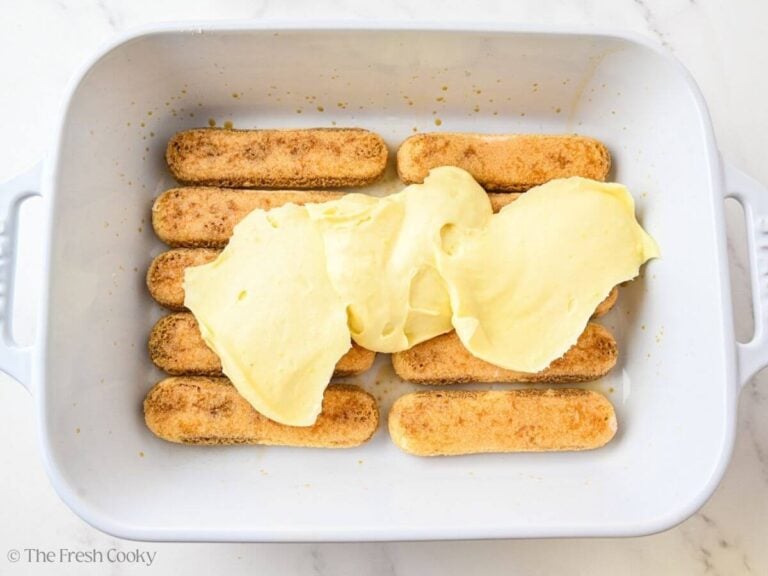
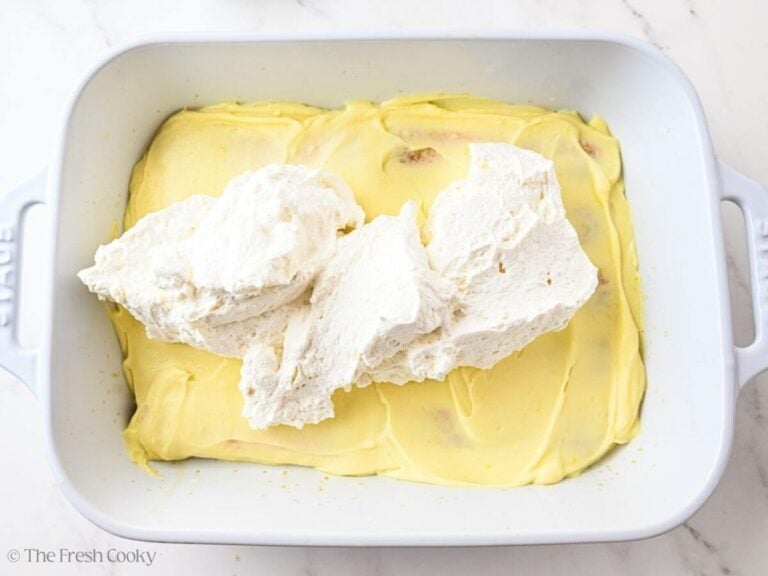
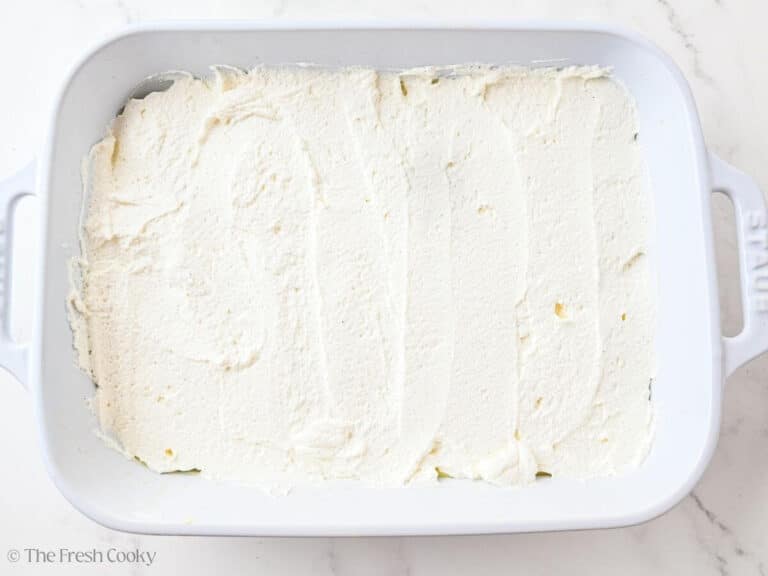
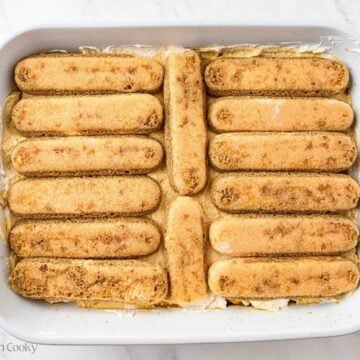
For the second layer, lay the remaining ladyfingers in a shallow dish and drizzle the rest of the coffee mixture over them. That’s much easier than drizzling them on top of the cream.
Set them gently on the whipped cream. A couple of mine always end up a little soggy, and it never hurts a thing.
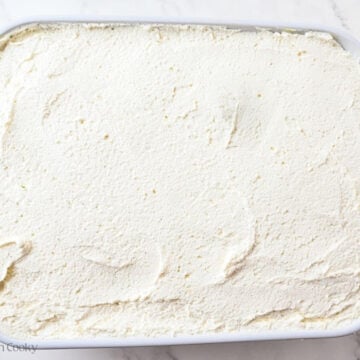
Finish with the rest of the custard, then the rest of the whipped cream.
Step 5: Chill and Dust
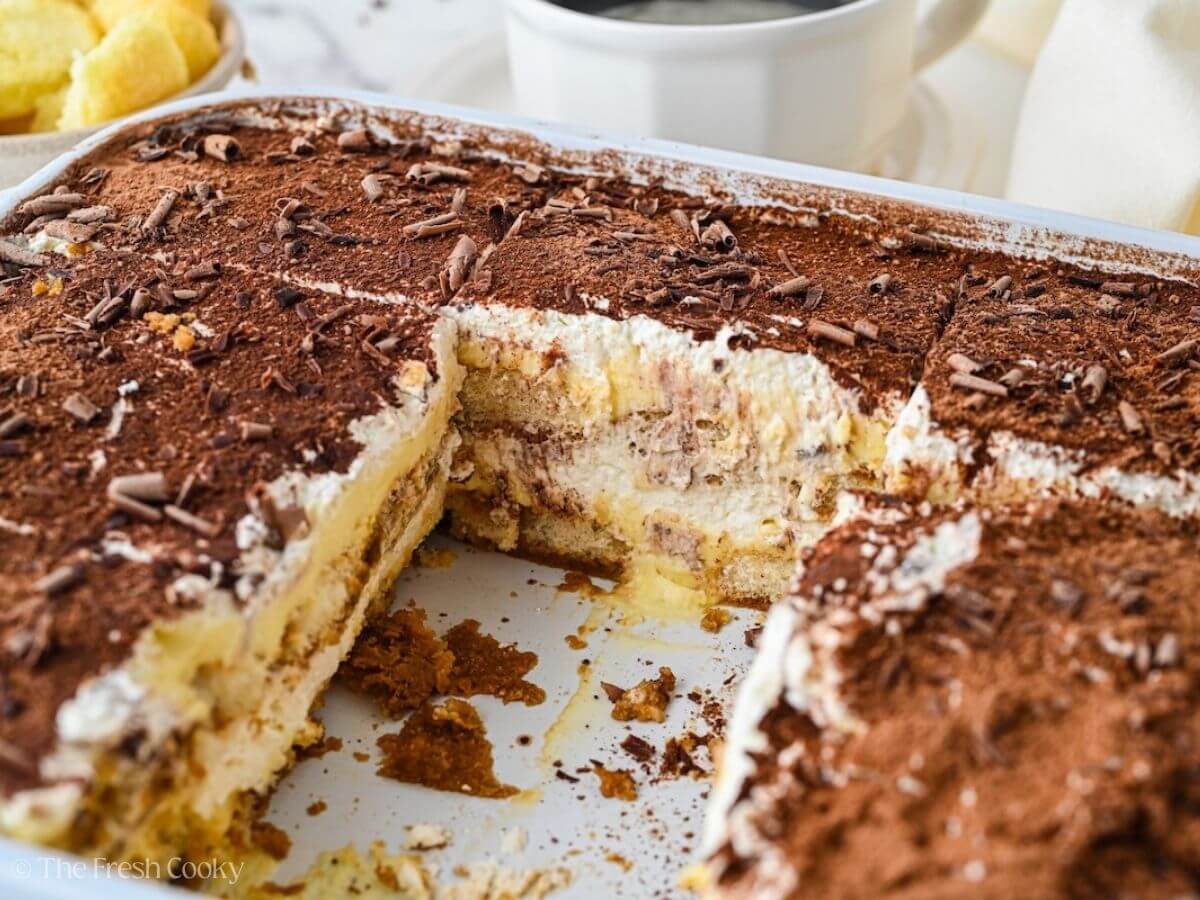
Cover and refrigerate for 4 to 6 hours, or overnight. It’s even better the next day.
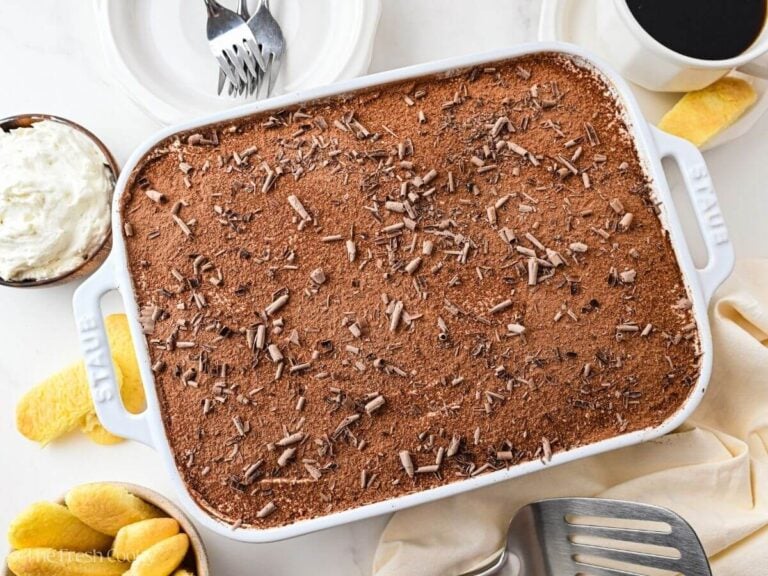
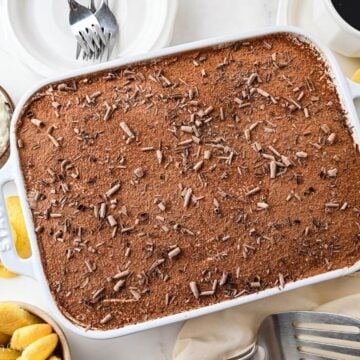
Dust with cocoa powder right before serving so it stays dry and pretty.
For clean slices, use a mini spatula. I have three and use them for everything from brownies to cornbread.
Dress it up with a chocolate drizzle or homemade chocolate curls, if you like. They’re easier than they look. Grab a thick bar of chocolate and let it sit at room temperature, or microwave it for about 5 seconds. Run a vegetable peeler along the edge in long, steady strokes. Pop the curls in the fridge to firm up, then lift them onto the tiramisu with a toothpick so your fingers don’t melt them. Milk chocolate makes the prettiest curls because it’s softer. Dark chocolate tends to break into shavings instead, which still look great on tiramisu.
Authentic Tiramisu Recipe Variations
- Classic zabaglione method | This is the old-school way, and it replaces Steps 1 through 3. Separate your eggs. Whip the yolks with the sugar until pale, thick, and creamy, about 3 to 5 minutes. In another bowl, whip the whites to soft peaks. Gently fold the whites and the mascarpone into the yolks. You’ll get a lighter, airier tiramisu than my cooked custard version. It does use raw eggs, though, so use pasteurized eggs if you’re serving anyone pregnant, very young, elderly, or with a weakened immune system.
- Gluten-free tiramisu | Swap in gluten-free ladyfingers. I’ve made it with [these], and honestly, nobody could tell. They soak up the coffee and rum just like regular ladyfingers and hold their shape in the layers. Everything else in this recipe is naturally gluten-free, but double-check the labels on your cocoa and liquor to be safe.
- Other liquors | Rum is my go-to, but Marsala, Madeira, or a tawny port all taste wonderful here. So do amaretto and coffee liqueurs like Kahlúa. Irish cream, orange liqueur, and chocolate liqueur pair nicely with the coffee and cocoa. Change it up and make it yours. See the FAQs if you are skipping the alcohol.
- Individual tiramisu cups | Pick your glasses or jars and layer away. You may have to trim the ladyfingers to fit, but that’s half the fun. Tiramisu in a cup!
- Cream cheese instead of mascarpone | It’s not a perfect swap. Cream cheese is tangier and has less fat, so the cream won’t be quite as rich. In a pinch, beat together 8 ounces of full-fat cream cheese, ¼ cup heavy cream, and 2 tablespoons softened butter until just blended. That makes about 10 ounces, or 1 ¼ cups. This recipe needs 16, so make a batch and a half. (This tip comes from Source.)
- No ladyfingers? | Use a plain or vanilla sponge cake. Slice it into finger-sized pieces, then bake at 350°F for about 10 minutes, until dry and crisp. You can also let them air-dry on a wire rack for a day or two. Either way, they’ll soak up the coffee without falling apart. Or try making homemade ladyfingers.
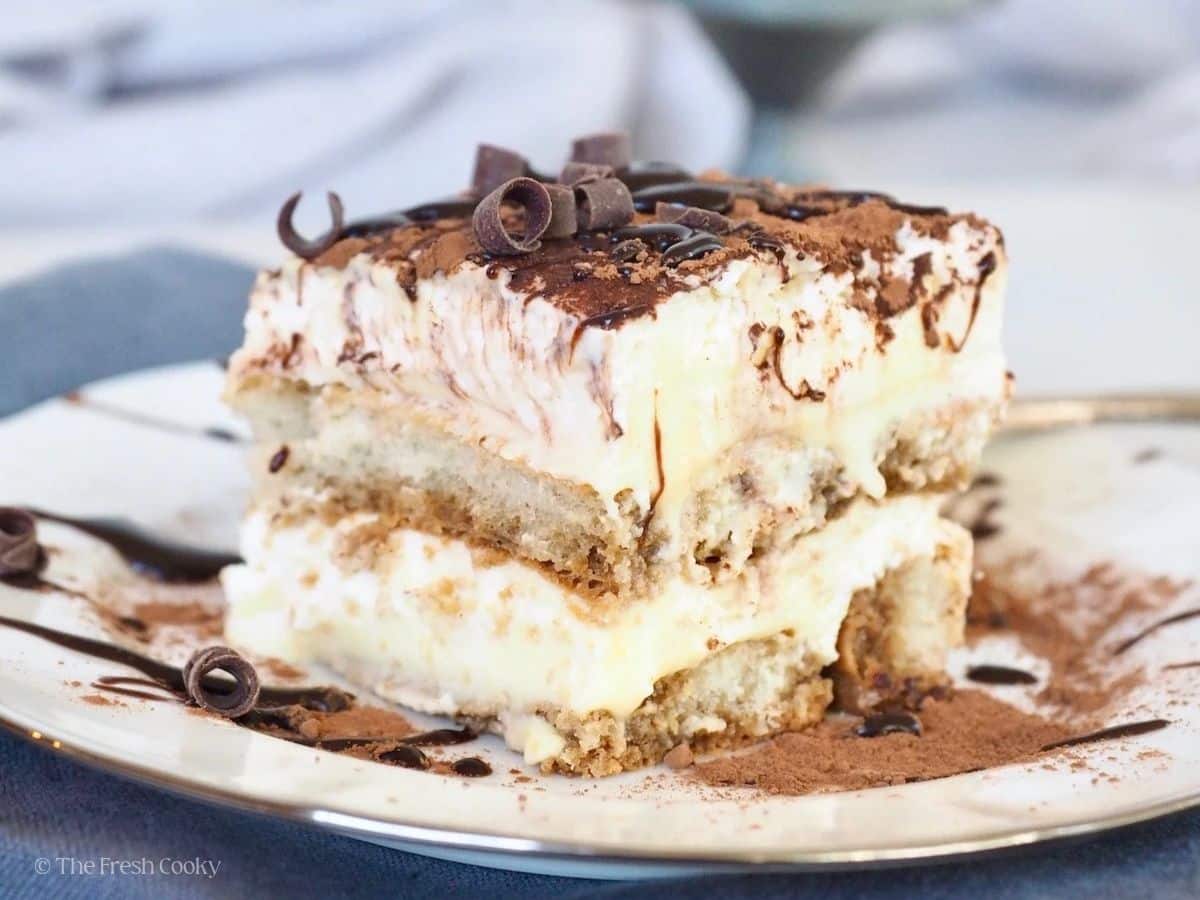
How to Make Ahead and Store Tiramisu
Make ahead | Tiramisu is a great make-ahead dessert. I think it’s even better the next day, once the ladyfingers have had time to soak up the coffee. If you’re serving it the same day, give it at least 4 to 6 hours in the fridge.
Refrigerator | Keep it covered tightly in the fridge, since it’s made with mascarpone, cream, and egg custard. It keeps up to 4 days, but it’s at its best on days 1 and 2.
Freezer | Tiramisu freezes well for up to 3 months. Wrap it tightly in two layers of plastic wrap, then a layer of foil. Small portions are handy, so you can pull out just a slice or two.
Thawing | Thaw it overnight in the fridge. The texture gets a little softer, but it still tastes great.
The cocoa won’t look quite the same after thawing. It soaks up moisture and turns darker and a little muddy, with damp, blotchy spots instead of that soft, dusty finish. It tastes just fine. If you want it pretty again, give it a fresh dusting right before serving. If you’re freezing it ahead, skip the cocoa and add it after it thaws.
Tiramisu Recipe FAQs
Up to 4 days, covered tightly. It tastes best on days 1 and 2.
Yes, for up to 3 months. Wrap it well, thaw it overnight in the fridge, and add a fresh dusting of cocoa before serving.
Traditional tiramisu is often made with a zabaglione method, whipping raw egg yolks with sugar until pale and creamy, then folding in whipped raw egg whites for a light, airy texture. Mine doesn’t use raw eggs at all. My yolks get cooked into a custard on the stovetop first, so you get that same traditional flavor with none of the raw egg concern. If you’d rather make it the classic zabaglione way, I’ve included that method in the variations section above.
Yes. Leave out the rum and add more coffee, or a splash of water, so you still have the same amount of liquid.
Usually it’s one of these four things:
1. Low-fat mascarpone. It has more water, so stick with [full-fat].
2. Overbeating the mascarpone. It can separate, so whisk just until smooth.
3. Undercooked custard. It should be thick like pudding when it comes off the stove.
4. Warm custard. Let it chill completely before you add the mascarpone.
Chill it. Runny tiramisu usually sets up in the fridge. If you haven’t layered it yet, pour off any separated liquid and refrigerate the cream for a couple of hours. If it’s already assembled, let it sit longer in the fridge; the ladyfingers will soak up the extra moisture. Even runny, it’ll still taste amazing.
Firm, crisp Italian ladyfingers, also called savoiardi. They’re light, dry sponge cookies shaped like a big finger. Skip the soft, cakey ones from the bakery section, because they turn to mush. These are my favorites, but I usually grab mine at our local Italian Gourmet store. At a regular grocery store, look for DeLallo. They’re baked in Italy and easy to find. Need gluten-free? See the variations.
Separate them while they’re cold, it’s easier. I use the shell-to-shell method: crack the egg and pass the yolk back and forth between the shell halves, letting the white drip into a bowl. You can also pour the egg into your clean hand and let the white slip through your fingers. If both of those gross you out (I get it), these handy yolk separators work great.
Not technically. It’s a no-bake layered dessert. But it slices and serves just like cake, so I won’t argue if you call it one. If you want the real cake version, try my Tiramisu Cake.
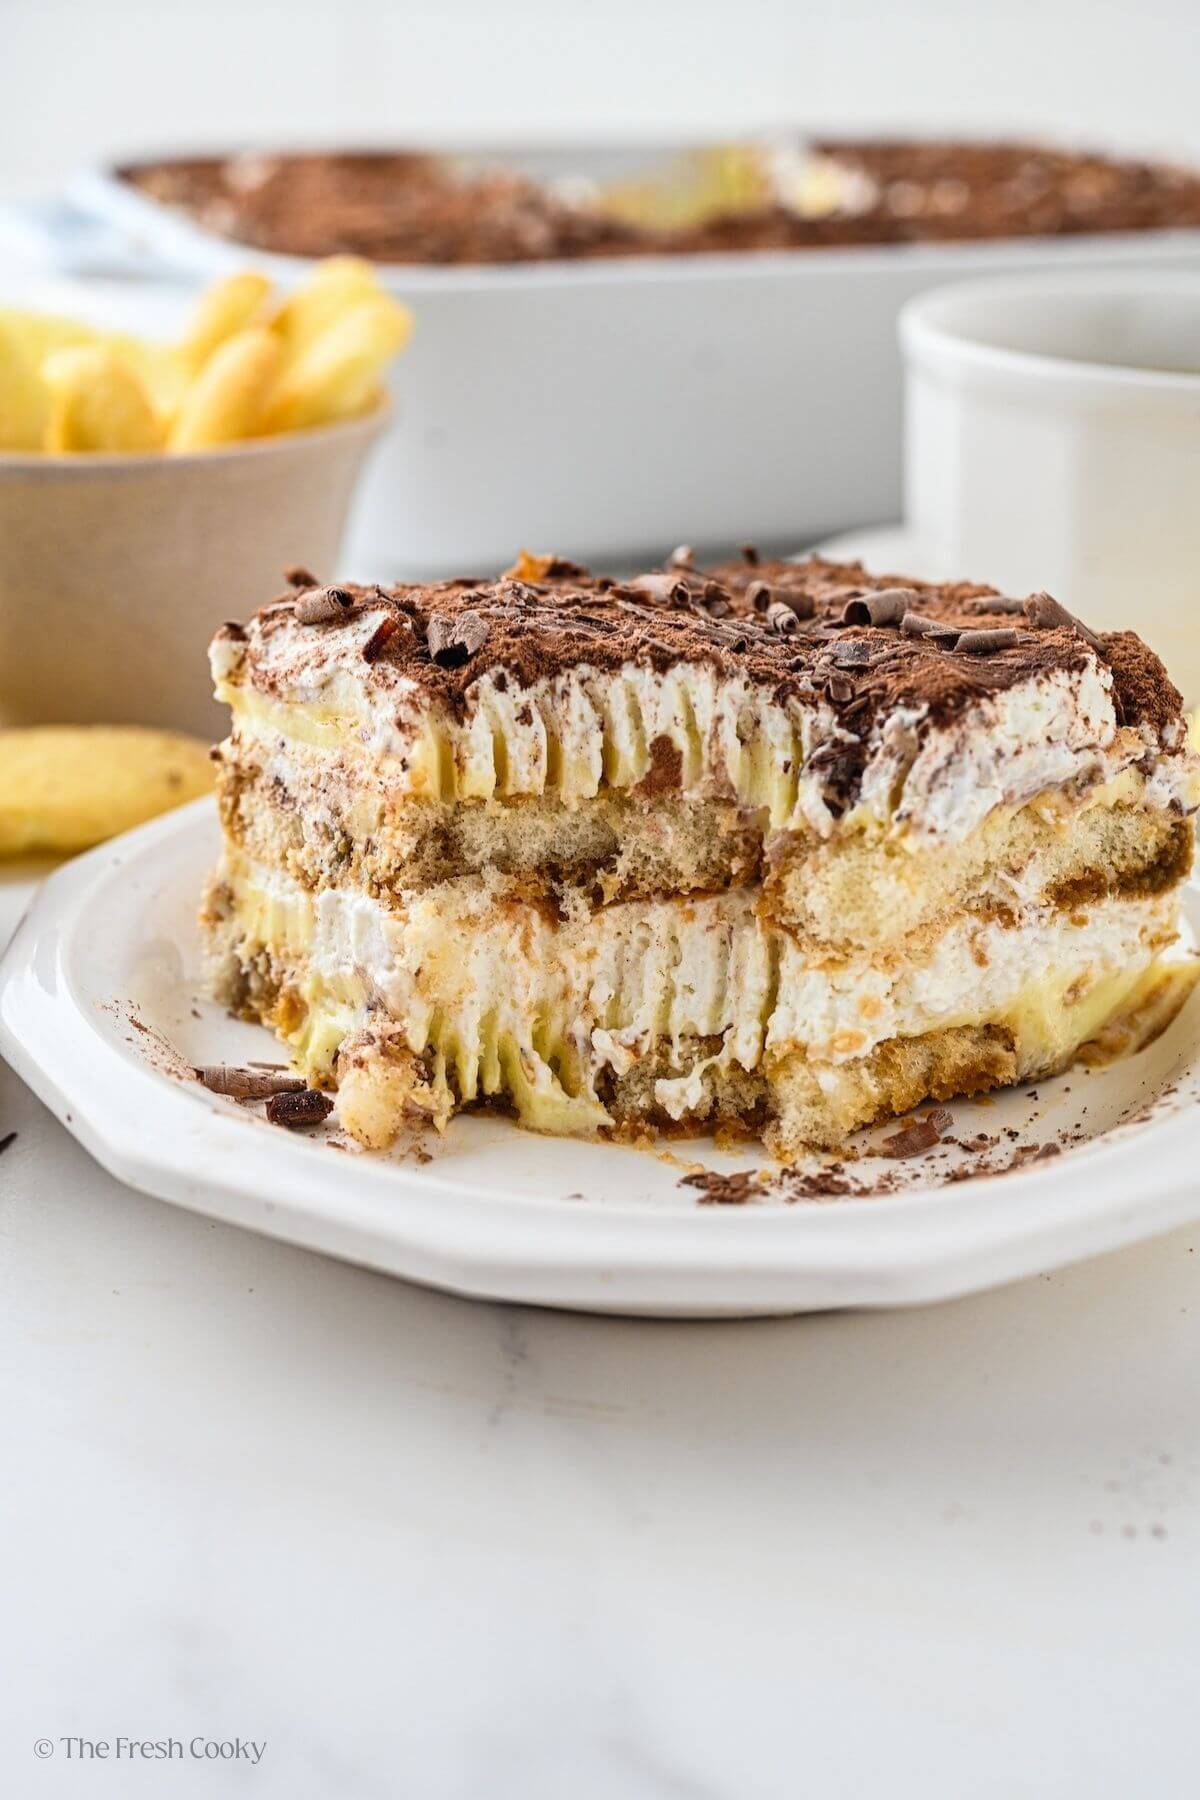
This tiramisu is one of my blog’s most popular recipes, and it’s easy to see why. It looks fancy, but it really isn’t.
More Italian Recipes
More Italian Desserts
If tiramisu is your kind of dessert, these Italian sweets belong on your list too.
Make It a Full Italian Dinner
Here’s a whole Italian dinner to serve before the tiramisu, starting with my Grandpa Frank’s spaghetti sauce. Mangia!
Like this recipe?
Don’t forget to give it a ⭐️⭐️⭐️⭐️⭐️ star rating and leave a comment below the recipe!
Updated October 2026: This recipe has been a reader favorite for years, so I gave it some love. New photos, a tested gluten-free version, tips for making it ahead and freezing it, and answers to your most-asked questions, like how to fix runny cream.
Video
Equipment
Ingredients
- 6 large egg yolks Separate whiel cold, then let them sit at room temperature for 10 minutes. Save the whites for an egg-white omelet, and you’ll feel better about eating this dessert. HA!
- ¾ cup all natural cane sugar refined white sugar may be substituted
- ⅔ cup whole milk
- 2 cups heavy cream cold
- 1 ½ teaspoons pure vanilla extract or vanilla bean paste
- 1 pound mascarpone cheese softened at room temperature (two 8-ounce tubs)
- ½ cup coffee strong, brewed at room temp (make ¾ cup or so, you may need a little extra)
- 4 tablespoons rum light or dark (or see notes below for alternative alcohol options or to omit entirely)
- 1 7 oz package ladyfingers or two 3 oz packages
- 1 tablespoon unsweetened cocoa powder for dusting
- Optional chocolate drizzle and chocolate curls Chocolate curls: Warm a thick chocolate bar slightly, then run a vegetable peeler along the edge. Chill the curls before using.
Instructions
Custard (Cool at least 1 hour in fridge)
- In a medium saucepan, whisk the egg yolks and sugar until well blended. If using cane sugar, whisk a little longer. They should thicken and become pale yellow.6 large egg yolks, ¾ cup all natural cane sugar

- Whisk in the milk. Cook over medium heat, stirring constantly, until it comes to a gentle boil. Boil gently for 1 minute, until thick like pudding.⅔ cup whole milk
- Remove from heat and cool 5 to 10 minutes. Press plastic wrap right onto the surface and refrigerate at least 1 hour, until completely cold.
Whipped cream and mascarpone
- Once custard is cooled, in a separate large batter bowl, beat heavy cream and vanilla extract until stiff peaks form, refrigerate until ready to use.2 cups heavy cream, 1 ½ teaspoons pure vanilla extract
- Whisk the softened mascarpone into the cold custard just until smooth. Don’t overbeat.1 pound mascarpone cheese
Assemble
- Stir the coffee and rum together.Arrange half the ladyfingers in a single layer in a deep 8×8 or 9×9 dish, 7×11 may also be used. Drizzle with half the coffee mixture, tilting the dish so every ladyfinger gets some.½ cup coffee, 4 tablespoons rum, 1 7 oz package ladyfingers
- Spread half the mascarpone custard over the ladyfingers, then half the whipped cream.
- Lay the remaining ladyfingers in a shallow dish, drizzle with the rest of the coffee mixture, and arrange them over the cream.
- Top with the remaining custard, then the remaining whipped cream.
Chill & Serve
- Cover and refrigerate 4 to 6 hours, or overnight.Dust with cocoa powder just before serving.1 tablespoon unsweetened cocoa powder , Optional chocolate drizzle and chocolate curls
Notes
- Make ahead: Make it up to a day ahead. It’s even better the next day.
- Storage: Refrigerate, covered, up to 4 days. Best on days 1 and 2.
- Freezing: Wrap twice in plastic wrap, then foil, and freeze up to 3 months. Thaw overnight in the fridge, then dust with cocoa.
- No alcohol: Replace the rum with more coffee or a splash of water.
- Other options: Swap the rum for Marsala or Madeira wine, tawny port, amaretto, or Kahlúa.
- Gluten-free: Use gluten-free ladyfingers. Everything else is naturally gluten-free, but check your cocoa and liquor labels.
- Runny cream: Use full-fat mascarpone, cook the custard until thick, chill it completely, and don’t overbeat the mascarpone.
- Pan size: A 7×11 dish also works, with thinner layers.
Nutrition







Robin
I thought I wasn’t a big tiramisu person, because I don’t care for coffee, but this recipe changed my mind!! Love the creaminess of all the layers and the coffee taste does not overwhelm. This is winner for my family!!
I’m so glad to hear that Robin!
Nichole
This is the best tiramisu recipe I’ve tried to date! I do wish I had beat a little more than just the two cups of heavy cream (just to cover the full second layer of my dish, perhaps I used too much on my first layer). Seriously, SO delicious!
Thank you so much, Nichole, so grateful you loved it!
Nita
I am gluten free. I just found some gluten free ladyfingers and can’t wait to try this recipe! Thank you!
I think another reader has down that too! You’ll love it! Make sure your rum is gluten free. Hope you love it!!
Heather Johnson
this is delicious – love all the tips thanks!
Thanks so much Heather!