


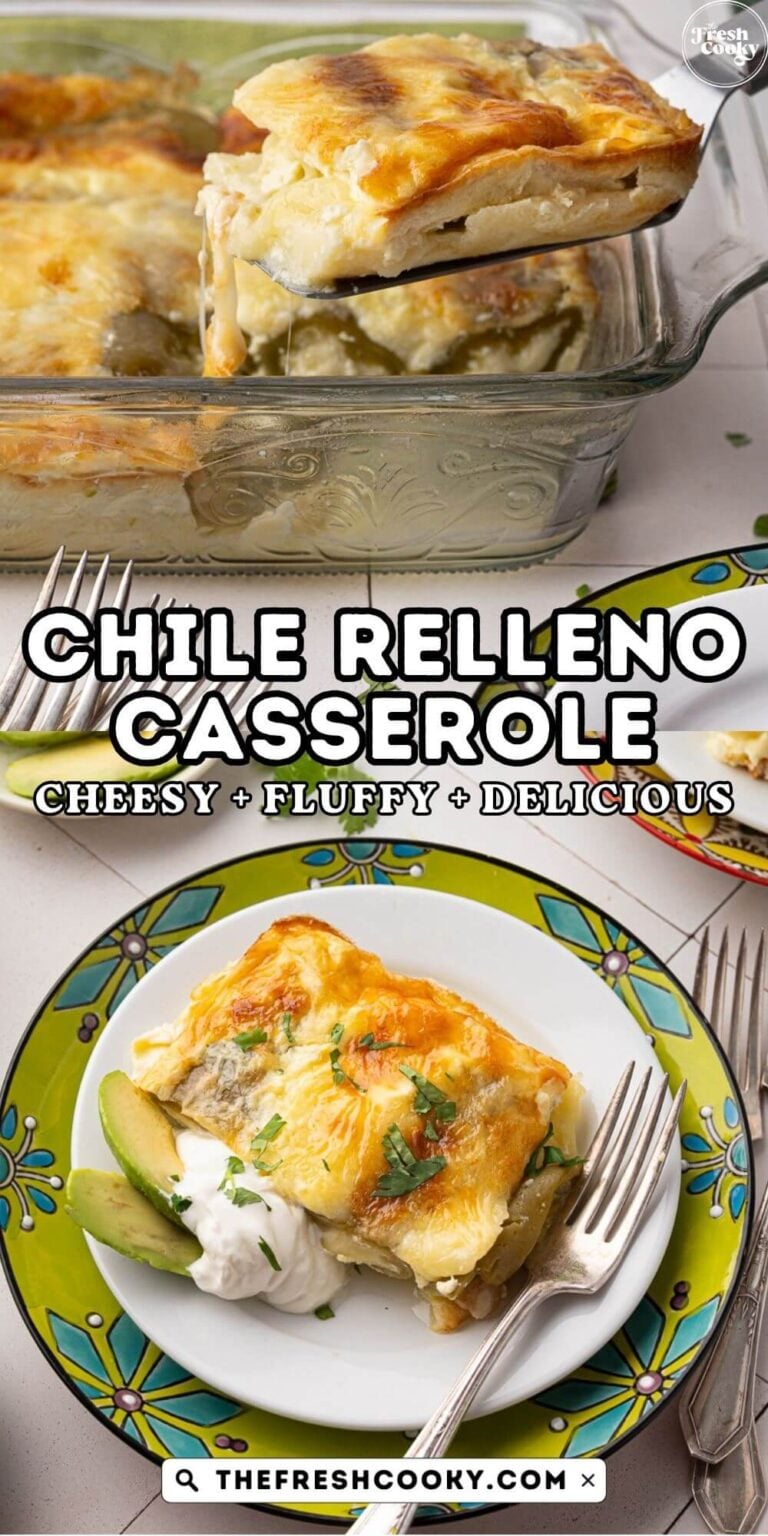

This 6-ingredient Chile Relleno Casserole is an easy take on the classic Mexican dish, made with green chiles, creamy cheese, and a light, fluffy egg batter. Perfect for breakfast, brunch, or dinner, it’s a delicious, low-carb meal that makes for delicious leftovers too!
⭐️⭐️⭐️⭐️⭐️ Reader Review: “5 stars! As I’m an old-school relleno maker. This was easy, delicious, and quick. No more frying rellenos. Will be great for big parties. Thank you.” – Rose
Originally published in 2020, this post has been updated with fresh photos and helpful tips in 2023 and 2026 for a better reader experience.
Why This Chile Relleno Casserole Is on Repeat at Our House
Growing up near the Mexican border in Southern California, I fell in love with the flavors of authentic chile rellenos. But if you’ve ever made them from scratch —stuffing and frying individual chiles is a labor of love that’s time consuming for a busy weekday. Years ago, I developed this Chile Relleno Casserole recipe from a friend’s family recipe, a much easier version that can be prepped in only 20 minutes before baking in the oven.

The best part? You get all the same cheesy flavors with no tedious frying! Instead, you’ll use canned green chiles (a pantry staple!) and stuff them with big hunks of Monterey Jack cheese. Whisk together a simple egg batter to pour on top and you’re ready to bake. Ta-da, baked chile rellenos!
It’s not just easy, it’s also versatile. I’ve served it for dinner, as well as brunch or lunch, and my boys find it so tasty. Whether you’re cooking for your family or friends, it’s a crowd pleaser that’s a cinch to make. Trust me once you try it you’ll be making it again and again! While not an authentic chile relleno recipe, it’s sure a close second!

⭐️⭐️⭐️⭐️⭐️ One Reader Raved: “My BF and I really loved this very simple recipe I made the other day. Took 90 mins to bake, but it was delicious and inexpensive. I just bought a big block of Monterey Jack on sale to save money and used 3 4-oz. cans of whole chiles. There were 3 in each can. I added an extra egg. We’ll (I mean I’ll) make again soon as we are still talking about it.” – Holly
Why You Will Love this Recipe
- Easy with 6 Ingredients | If you don’t roast your own chile peppers, using canned whole chiles, this recipe comes together in minutes!
- Make Ahead Meal | Assemble all of the ingredients the night before, cover with aluminum foil, bring to room temperature the next day while you are preheating the oven and shazam!
- Double or Triple the Recipe | I love recipes you can easily scale based on your needs. You can double the chiles and cheese and keep the amount of milk and eggs the same or double or triple the entire recipe baking in a 9×13 inch pan for a slam-dunk dish!

Ingredients
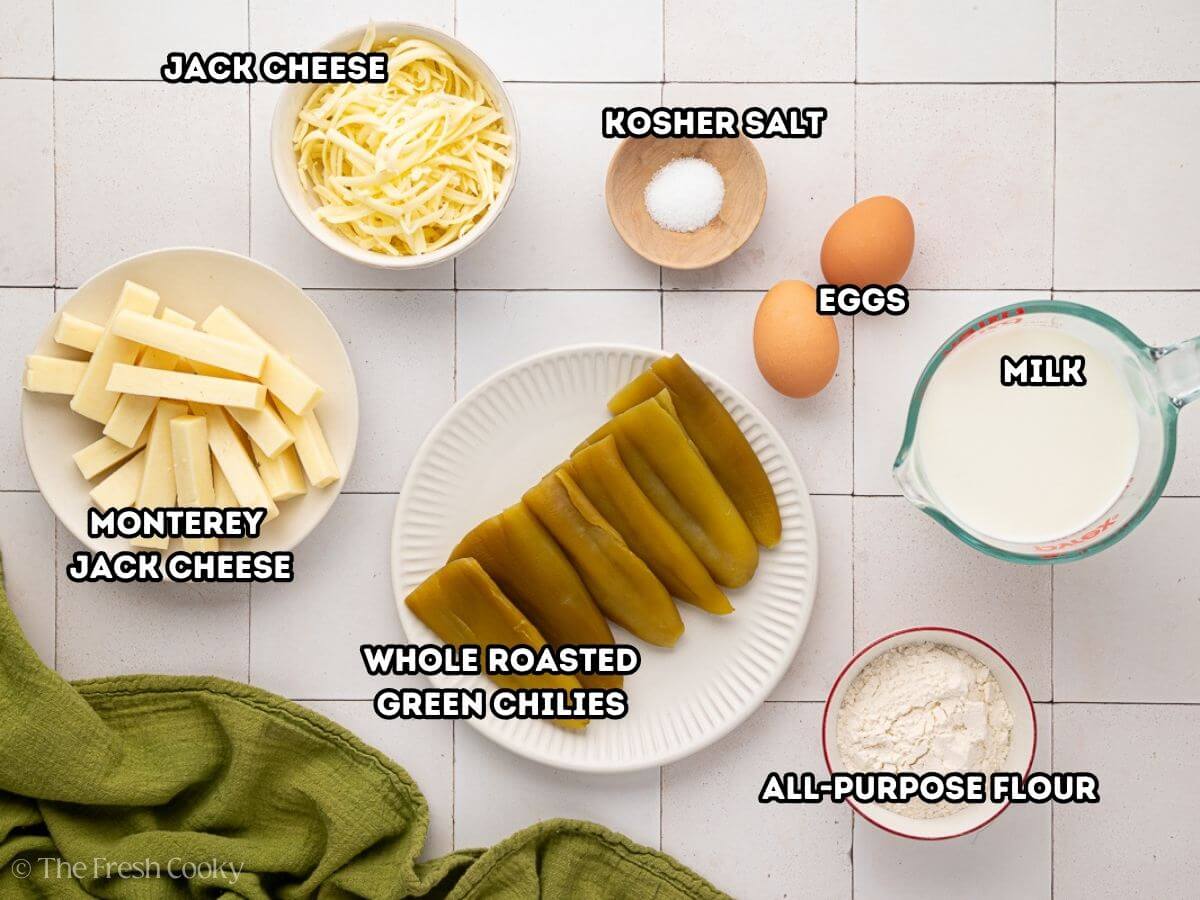
- Whole green chiles roasted | I use canned, but home-roasted fresh chiles are great (see tip for how to roast below). May also substitute chopped green chiles as well, more on that below. I prefer Hatch green chiles, but you may use Anaheim chiles or poblano peppers too.
- Monterey Jack Cheese | Slice into sticks! Can also try Pepper Jack cheese or your favorite cheddar cheeses, also try Cotijo, Oaxaca cheese for more authentic flavor.
- Eggs | I always use large eggs in my cooking and baking. Room temperature is best for baked recipes.
- All-purpose flour | May substitute with a good 1-1 all-purpose gluten-free flour.
- Milk | We use whole milk at home, but you can substitute whatever you normally use.
- Extra cheese grated for sprinkling on top
Get the full recipe in the recipe card below.
Kathleen’s Tip: At times, I’ve had a hard time finding whole roasted chiles. So I modified and used 2-3 (4 oz) cans of diced green chiles instead. Just place them in the dish, with diced chunks of cheese or shredded cheese, pour the egg batter and bake. Turned out great!
How to Make Chile Relleno Casserole
Why is this easy chili relleno recipe so great, because it’s made using canned whole roasted chile peppers.
No roasting, sweating and pulling skins off here, though you are certainly welcome to do so, probably taste even better! Preheat the oven to 350°F (175° C) and spray a 9×9 inch or 7×11 casserole dish with a little cooking spray or spray oil.
Step 1 | Prep chiles
Rinse the peppers in cold water and then carefully scrape the seeds out, the seeds are where the heat is. If you like the heat, by all means keep them inside! I would say that Hatch Green chiles are typically a mild-medium heat pepper, but you can find hotter versions too.
Use paper towels to pat the chile peppers dry.
Step 2 | Stuff Chile Rellenos
Slice the cheese block into sticks or strips and carefully stuff them into the chiles, laying the stuffed pepper in a single layer in the casserole dish.

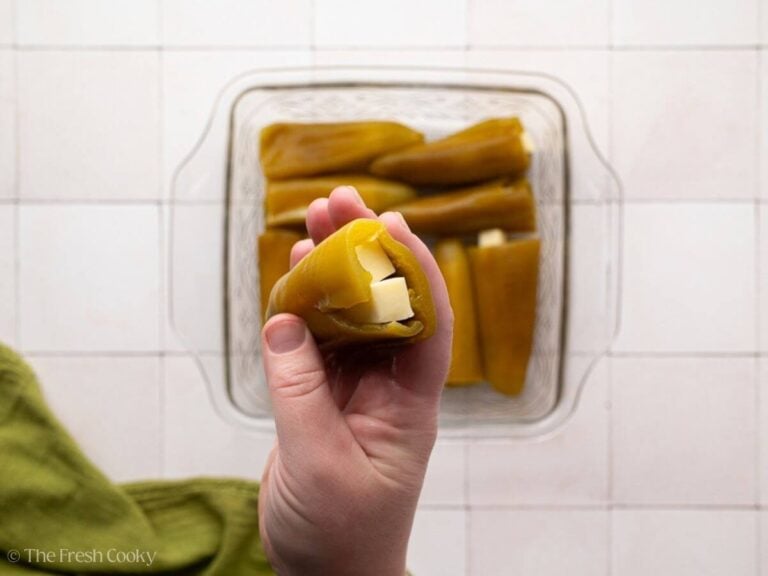
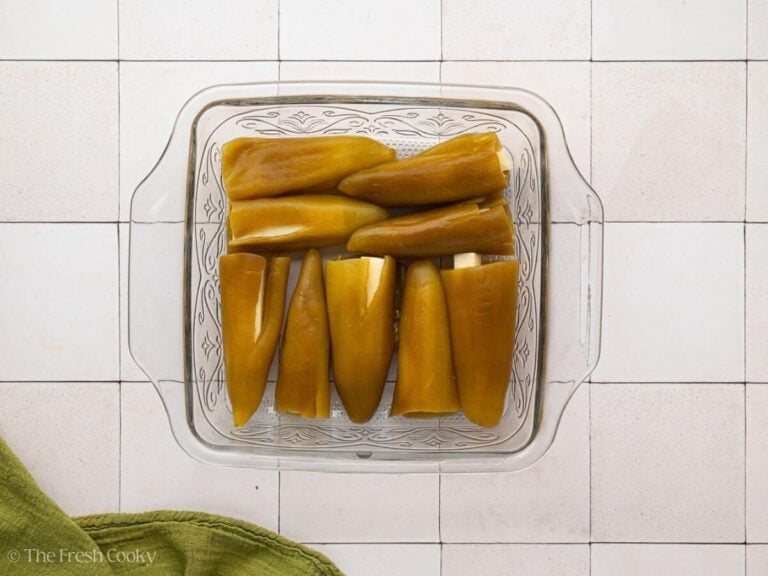
My favorite cheese for authentic chile rellenos is Monterey Jack cheese – it melts so beautifully, but you can use cheddar, pepper jack or any deliciously melting cheese, or try salty Cotija Mexican cheese.
If the pepper splits, don’t worry about it, just roll it together as best you can and lay it split side down in the bottom of the pan. Place them close together on the bottom of the prepared baking dish.
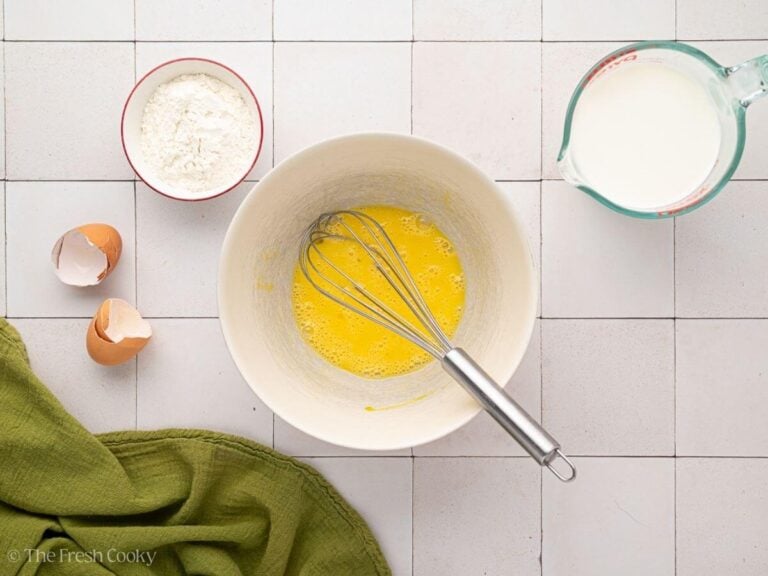
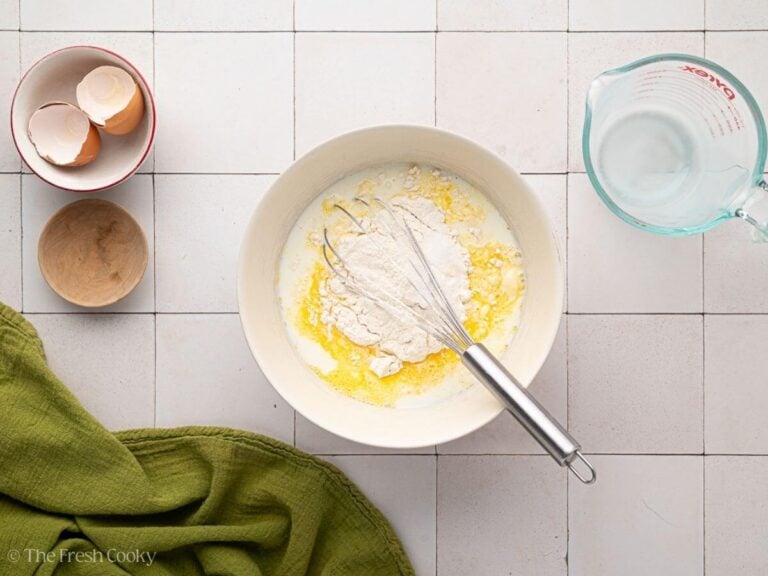
Step 3 | Make Egg Mixture
In a large bowl add eggs and using a fork or whisk, beat until smooth. Add regular or gluten-free flour to the mixture, milk and salt and pepper, whisking until smooth.
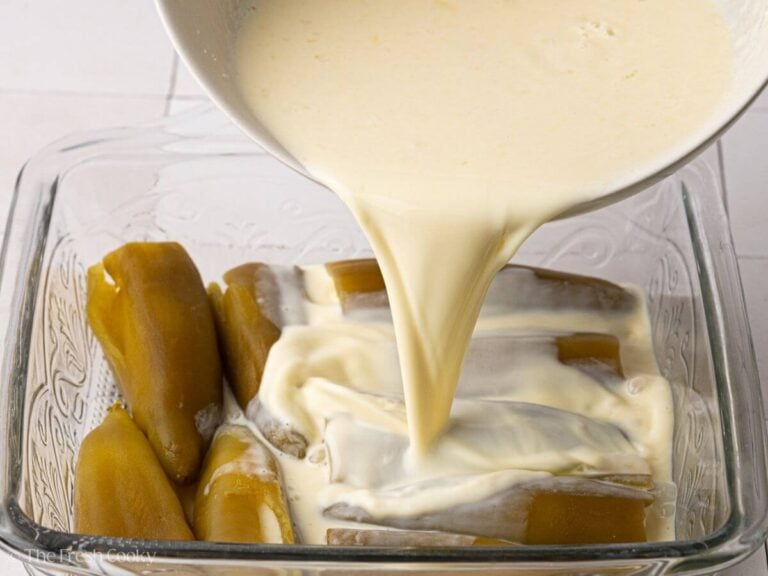
Pour egg mixture over the top of the cheese stuffed chiles and top with a little grated cheese and bake.
Step 4 | Bake the Green Chile Casserole
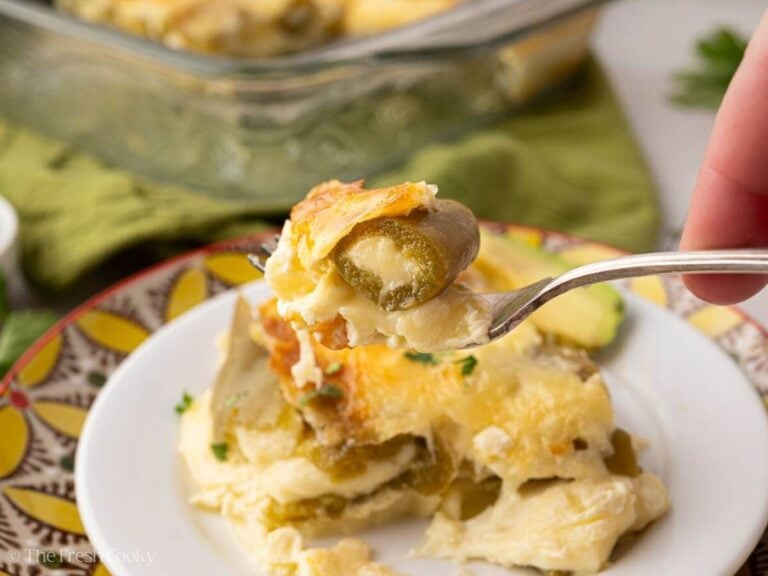
All you do now, is place that casserole dish in the preheated 350 degrees f (175° C) oven and bake between 60-90 minutes, until it’s golden, bubbly, puffed and set. No deep-frying required!

Expert Tips
- Rinse the canned chilies well before filling. The more seeds you remove with rinsing, the milder the spice level of the casserole will be.
- Swap the cheese. You can also use cheddar cheese, Cotija, Oaxaca or pepper Jack for an extra kick!
- For an extra golden brown top, you can broil for a minute or so after baking.
- Allow the casserole to rest for 10 minutes before serving. This helps the cheese to set before enjoying.
Roasting Your Own Green Chile Peppers
If you have the time roast them from scratch, that works well too! Start the process by washing and drying your chile peppers of choice.
- Oven | Place peppers on baking sheet brushed with a little olive oil and roast in a 425°F oven for 15-20 minutes, turn and roast another 15-20 minutes until they are soft. Steam as directed below.
- Broil | Place peppers on baking sheet brushed with a little olive oil, with rack 3-5 inches from the broiler, broil for about 20 minutes total, turning a quarter turn every 5 minutes. Until charred and peppers are soft. Steam as directed.
- Stovetop | If you have a gas stovetop, this is my preferred method for just a few peppers. Place washed and dried peppers directly on the burners over medium-high heat gas flame, turning about every 5 minutes, until all sides of the pepper is charred. Doing it this way imparts the most smoky flavor into the pepper. Steam as directed below.
- Gas Grill or Grill Pan | With the grill heated to medium, place washed and dried peppers directly on grill or grill pan, turning every 5-10 minutes until peppers are soft and completely charred. Steam as directed.
- How to Steam Charred Peppers | Once peppers have been charred, place hot roasted peppers in an airtight baggie for 10-15 minutes. Or on a cutting board and invert a glass bowl over the top of the hot peppers or place in a ziplock plastic bag. Once they steamed, gently and carefully remove the charred skin and throw away (a little messy) and then remove stems and carefully remove seeds.
Variations & Substitutions
- Peppers: I love Hatch green chiles, but you can use poblano chiles, Anaheim peppers or your favorite.
- Instead of stuffing the peppers, layer them on the bottom of the dish, then add cubes or shredded cheese to the top, then pour the egg-flour mixture over the top. This makes the assembly even simpler.
- Low-Carb: Swap the flour with coconut or almond flour, use heavy cream in place of the milk.
- Dairy-Free Chile Rellenos | I’ve never tried this, but replace the cheese and the milk with your favorite plant-based cheese and milk.
- Make it Gluten-Free | To make gluten-free chile relleno casserole, simply swap out the all-purpose flour out for your favorite Gluten Free All Purpose Flour. I’ve made it this way many times!

Toppings
This green chile casserole doesn’t need anything on top, but if you want to amp up the flavor even more, then try these topping ideas.
What to Serve with Chile Rellenos Casserole
These rellenos are is a great recipe for a weekend breakfast, try making them along with this delicious Chilaquiles Recipe for a great addition to any Cinco de Mayo spread, or an easy weeknight dinner.
Serve them with creamy refried beans, black beans, or Mexican Rice. And perhaps a light and refreshing margarita as well!
Storage
Store any leftovers in an airtight container in the refrigerator for up to 3 days. Reheat in the microwave or oven until warmed through.
You may assemble this dish up to 1 day ahead, cover, and refrigerate. When ready to bake, remove from fridge and allow to sit on counter for 20-30 minutes before baking as directed above.
It’s easy to freeze leftovers too. Bake as directed, allowing to cool completely. Cover with plastic wrap or foil and freeze, freezes well up to a month if covered well. Allow to thaw overnight in fridge, then reheat in 250-300°F oven covered with foil until heated through or may be reheated by the slice in the microwave.

FAQs
It’s a twist on the classic Mexican chile relleno recipe. A baked version with roasted green chilies, layered in cheese and baked in an egg batter until tender.
Canned whole green chilies are best. If you want to use fresh poblanos, that also works, just follow the instructions for roasting them above.
Yes, you should roast them with their skins on and remove the skins once you sweat them and they’ve cooled before assembling the casserole.
More Delicious Mexican-Inspired Recipes
- Colorado Green Chile – also uses frozen Hatch green chiles, so good!
- Copycat Chipotle Chicken Burrito Bowl Recipe and Cilantro Lime Rice
- Baked Chicken Tacos
- Mexican Barbacoa Tacos
Reader favorite recipes


Like this recipe?
Don’t forget to give it a ⭐️⭐️⭐️⭐️⭐️ star rating and leave a comment below the recipe!

Video
Equipment
Ingredients
- 12 ounces whole roasted green chiles or one large 27 oz can for a double batch. Rinsed, patted dry and seeds removed. May also sub 2-3 small cans of chopped green chiles
- ½ lb Monterey Jack Cheese sliced into sticks (or try other cheese, pepper jack, cheddar, cotijo)
- 2 large eggs room temperature
- ½ cup all-purpose flour or substitute with a good 1-1 all purpose gluten free flour
- 1 teaspoon kosher salt and pepper if desired
- 2 cups milk I used whole milk
- 1 cup Jack cheese shredded, may use cheddar, cotjio, Pepper Jack
Optional Toppings
- Garnish with cilantro, pico or salsa, fresh avocado or guacamole, a little sour cream – or keep it naked
Instructions
- Preheat oven to 350° F (175° C) and grease a 9×9 inch baking dish (or 8×11).
- Rinse chiles in cold water, scraping out seeds and the inside veins (leave seeds in if you desire a hotter dish). Cutting cheese into narrow sticks, place 1-2 sticks inside each chile and then place in greased baking dish.12 ounces whole roasted green chiles, ½ lb Monterey Jack Cheese
- Beat eggs in bowl, gradually adding flour, salt and milk whisking until smooth. Pour over chiles and sprinkle with grated cheese.
- Bake 1 – 1 ½ hours or until browned and firm. Serve immediately. Garnish with favorite toppings.Garnish with cilantro, pico or salsa, fresh avocado or guacamole, a little sour cream – or keep it naked
Notes
- I’ve doubled the chiles and cheese but kept the batter the same.
- Doubled and tripled the recipe baking in a large casserole dish.
- Used 2-3 (4 oz) cans of diced green chiles instead of whole chiles, poured them in the dish, with diced chunks of cheese or shredded cheese. Turned out great!
- Store any leftovers in an airtight container in the refrigerator for up to 3 days. Reheat in the microwave or oven until warmed through.
- You may assemble this dish up to 1 day ahead, cover, and refrigerate. When ready to bake, remove from fridge and allow to sit on counter for 20-30 minutes before baking as directed above.
- It’s easy to freeze leftovers too. Bake as directed, allowing to cool completely. Cover with plastic wrap or foil and freeze, freezes well up to a month if covered well. Allow to thaw overnight in fridge, then reheat in 250-300°F oven covered with foil until heated through or may be reheated by the slice in the microwave.
Nutrition


Lu
Absolutely delicious! Next time I’ll use fresh poblano peppers that I roasted, skinned, & deveined, instead of canned diced chili peppers! I also used both Monterey Jack & pepper jack cheese! 😋 Going to make it again for Cinco de Mayo!
Oh it would be superior with your own roasted poblanos! Thank you! So glad you liked it, Lu!
Michele K Roy
Very easy to make and absolutely delicious!
So glad you loved it Michele!
ROSE AAKRE
5 Stars as I’m old school relleno maker. This was easy, delicious and quick. No more frying rellenos. Will be great for big parties. Thank you
Oh my goodness Rose, thank you so much for your sweet comment! Means the world to me!
Kay
Comments, directions, hints and tips are spot on! Very helpful. Will try this one at first opportunity, as we love chile rellenos .
I hope you love it, Kay!
Holly
My BF and I really loved this very simple recipe I made the other day. Took 90 mins to bake, but it was delicious and inexpensive. I just bought a big block of Monterey Jack on sale to save money and used 3 4-oz. cans of Ortega whole chiles. There were 3 in each can. I added an extra egg. We’ll (I mean I’ll) make again soon as we are still talking about it.
Yay! Thank you so much for taking the time to write such a kind comment!! And I love that you added another egg!
Becky Hillesheim
Tried this last night It was fantastic! I didn’t have canned peppers so I used fresh poblanos that I blistered and scraped. So glad I found the recipe.
That sounds even better, Becky!! Thank you for your kind comment!!
Theresa
Has anyone tried almond milk with this? I imagine it doesn’t taste as good! Only asking because we’re out of milk and we live way out of town. haha
Hi Theresa, I would imagine if you don’t use a flavored or sweetened almond milk you should be okay. Let me know how it works.
Sheila
Make it at least twice a month! Easy and makes great leftovers! Really great and easy for living alone!!
Love hearing this, Sheila, thank you!!
Janessa
This was such a flavourful breakfast! I can hardly wait to make it again.
Thanks!!
Beth
This is one of the best recipes of any kind that I’ve ever tried! I love all the cheese with the peppers. It’s so good.
Thanks so much Beth!! So glad you loved it!
Shelby
Chili releno is one of my favorite Mexican dishes, so I’m so excited to try this casserole version (and have leftovers)! Yum!
The leftovers are amazing!!
Tayler
I made this casserole for dinner last night and it was wonderful! So easy to throw together too!
Thanks so much Tayler!
Caitlin
Easy and delicious!
Used one 7 oz can of diced green chiles, 3 eggs, remaining recipe as written. Turned out great! Quick to prep, baked for about 55 min and was ready to eat. Full of flavor and not too spicy. Great casserole for brunch!
YAY! Thanks so much Caitlin!