
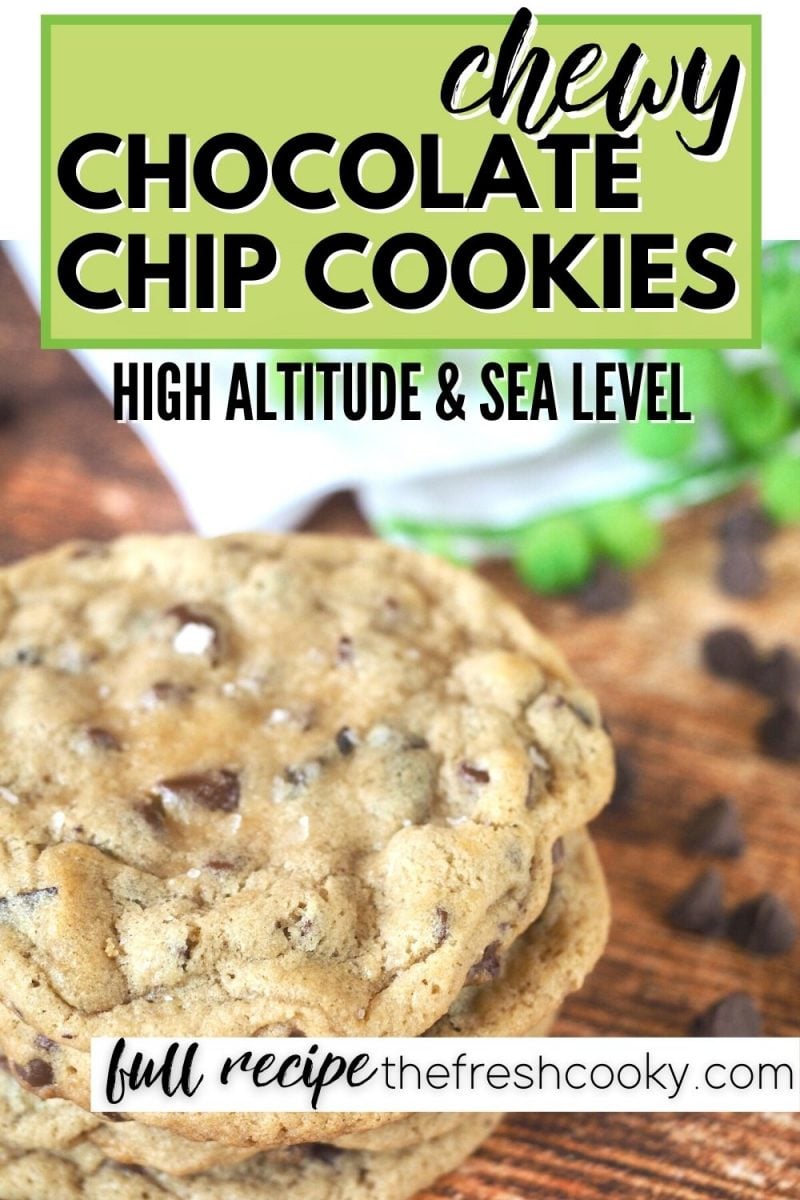

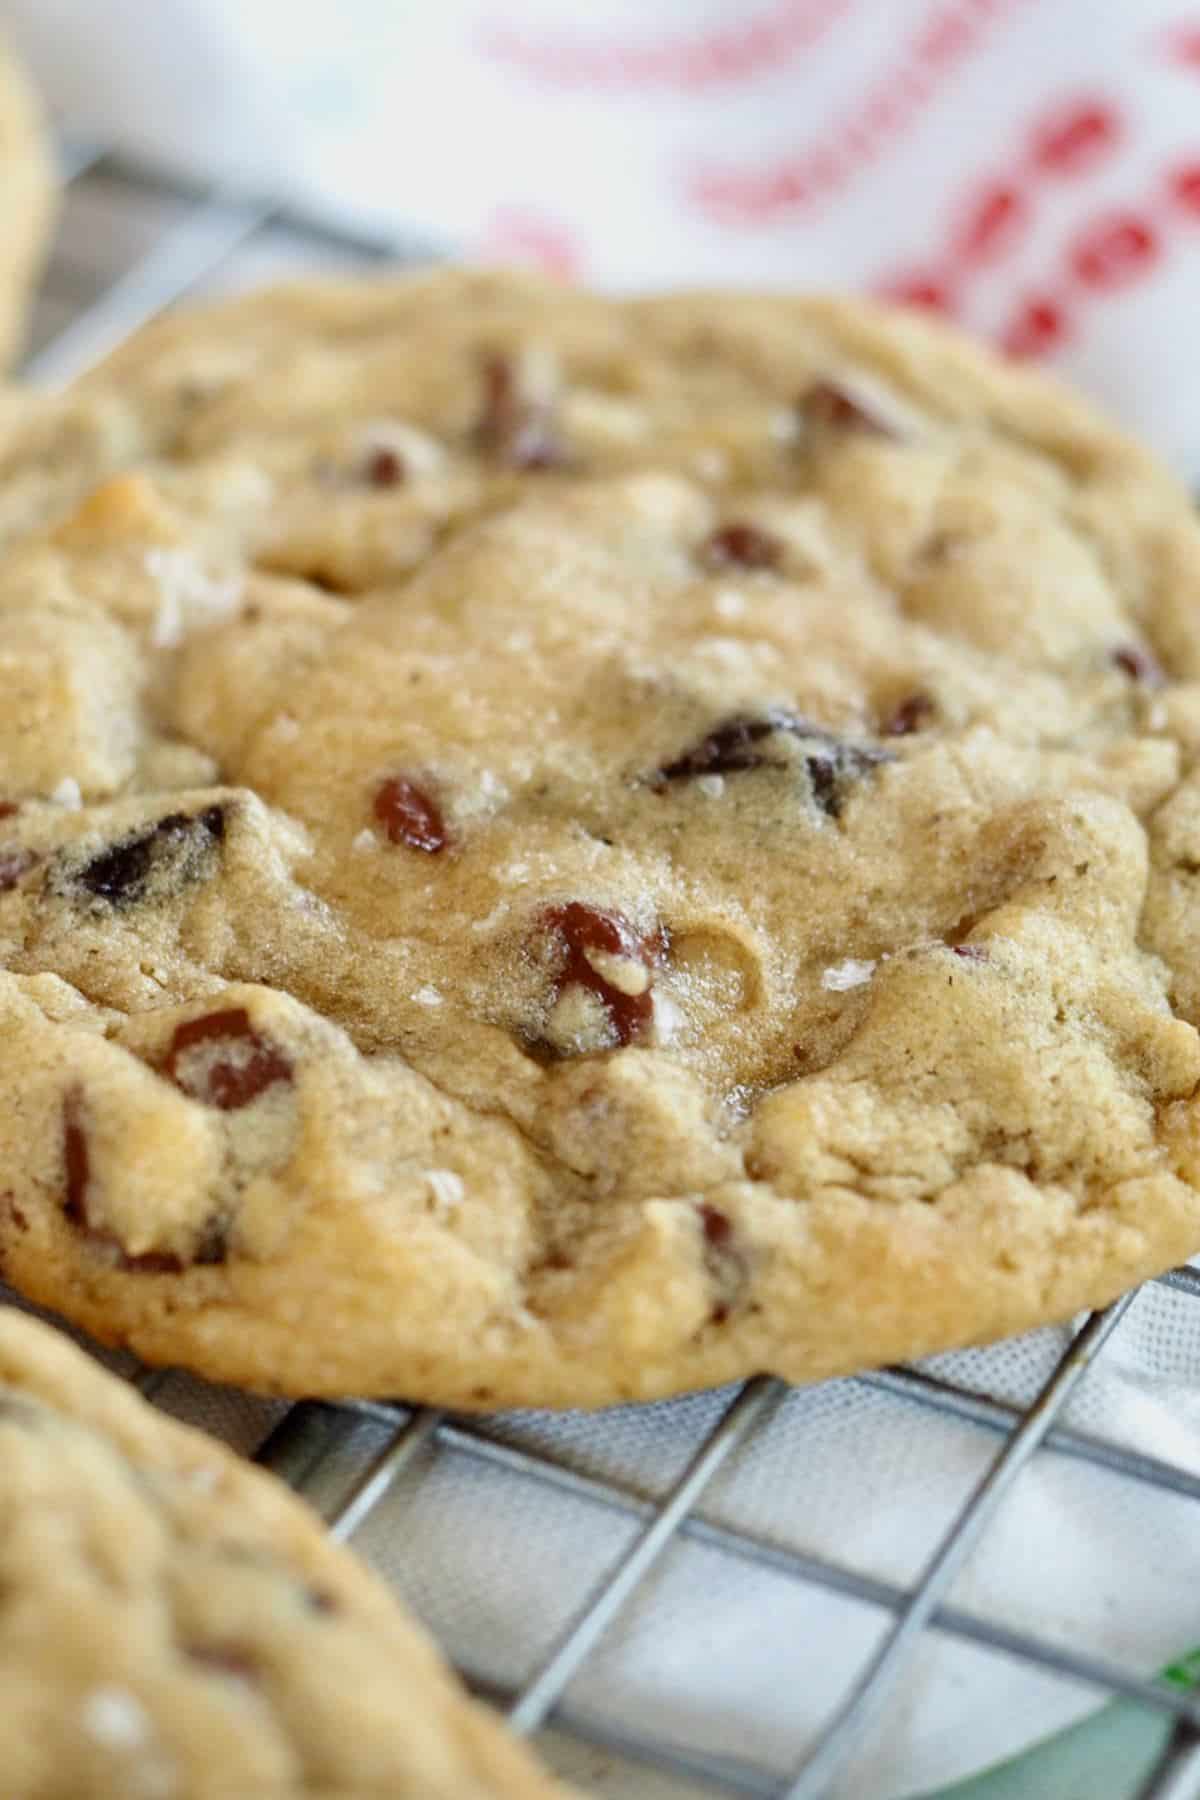
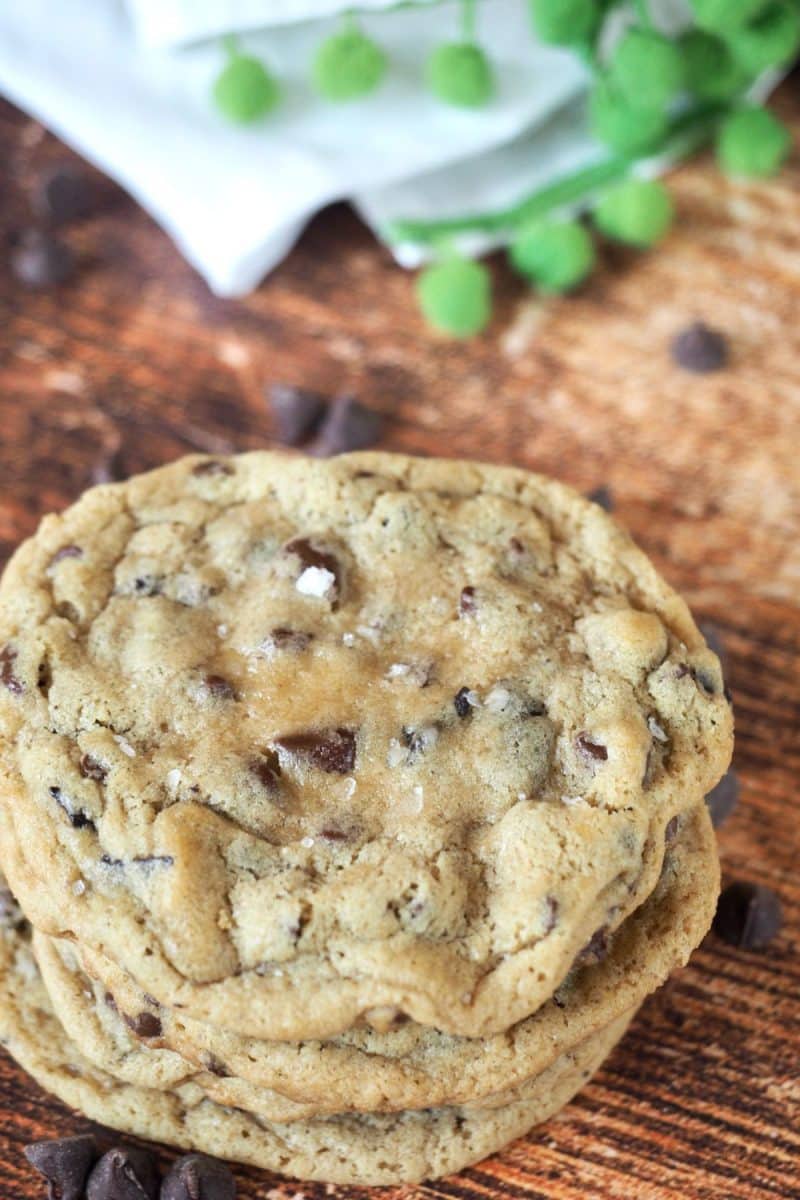
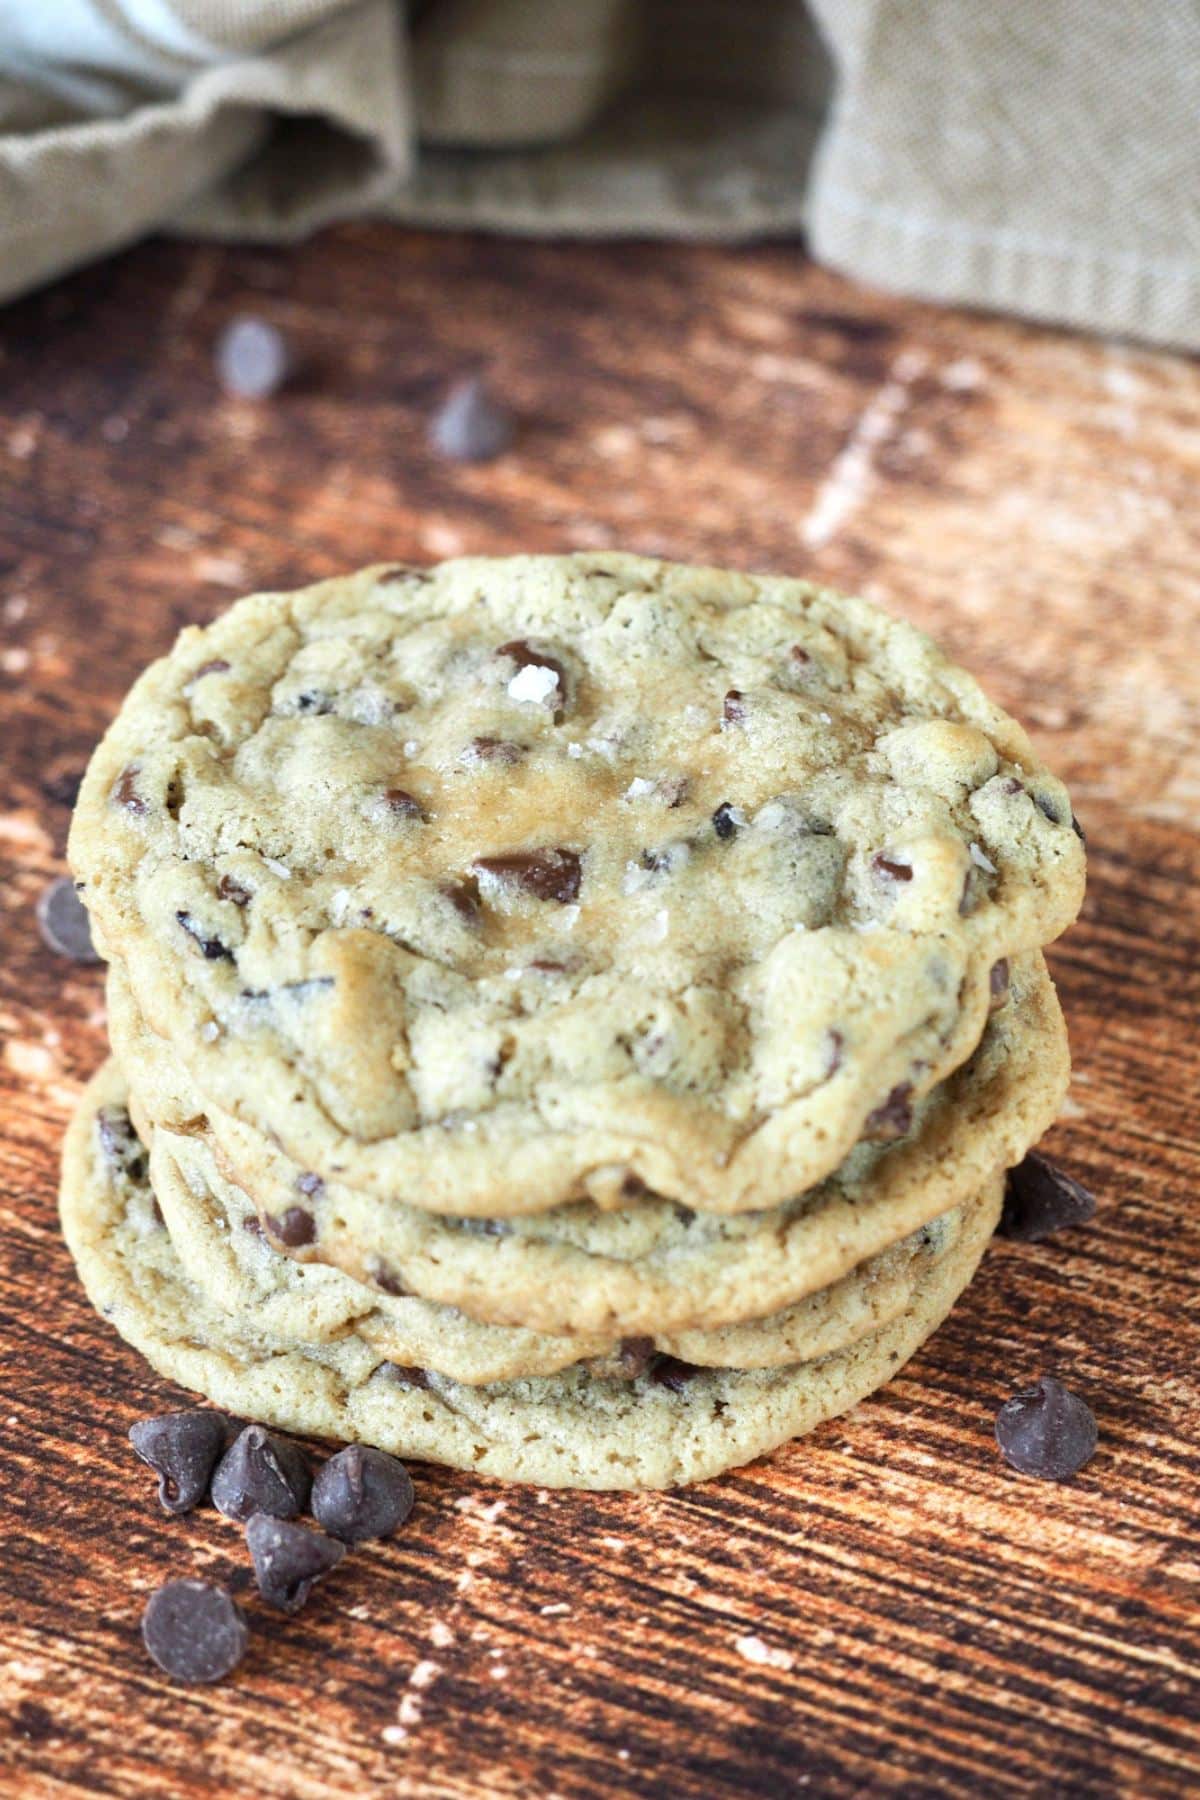
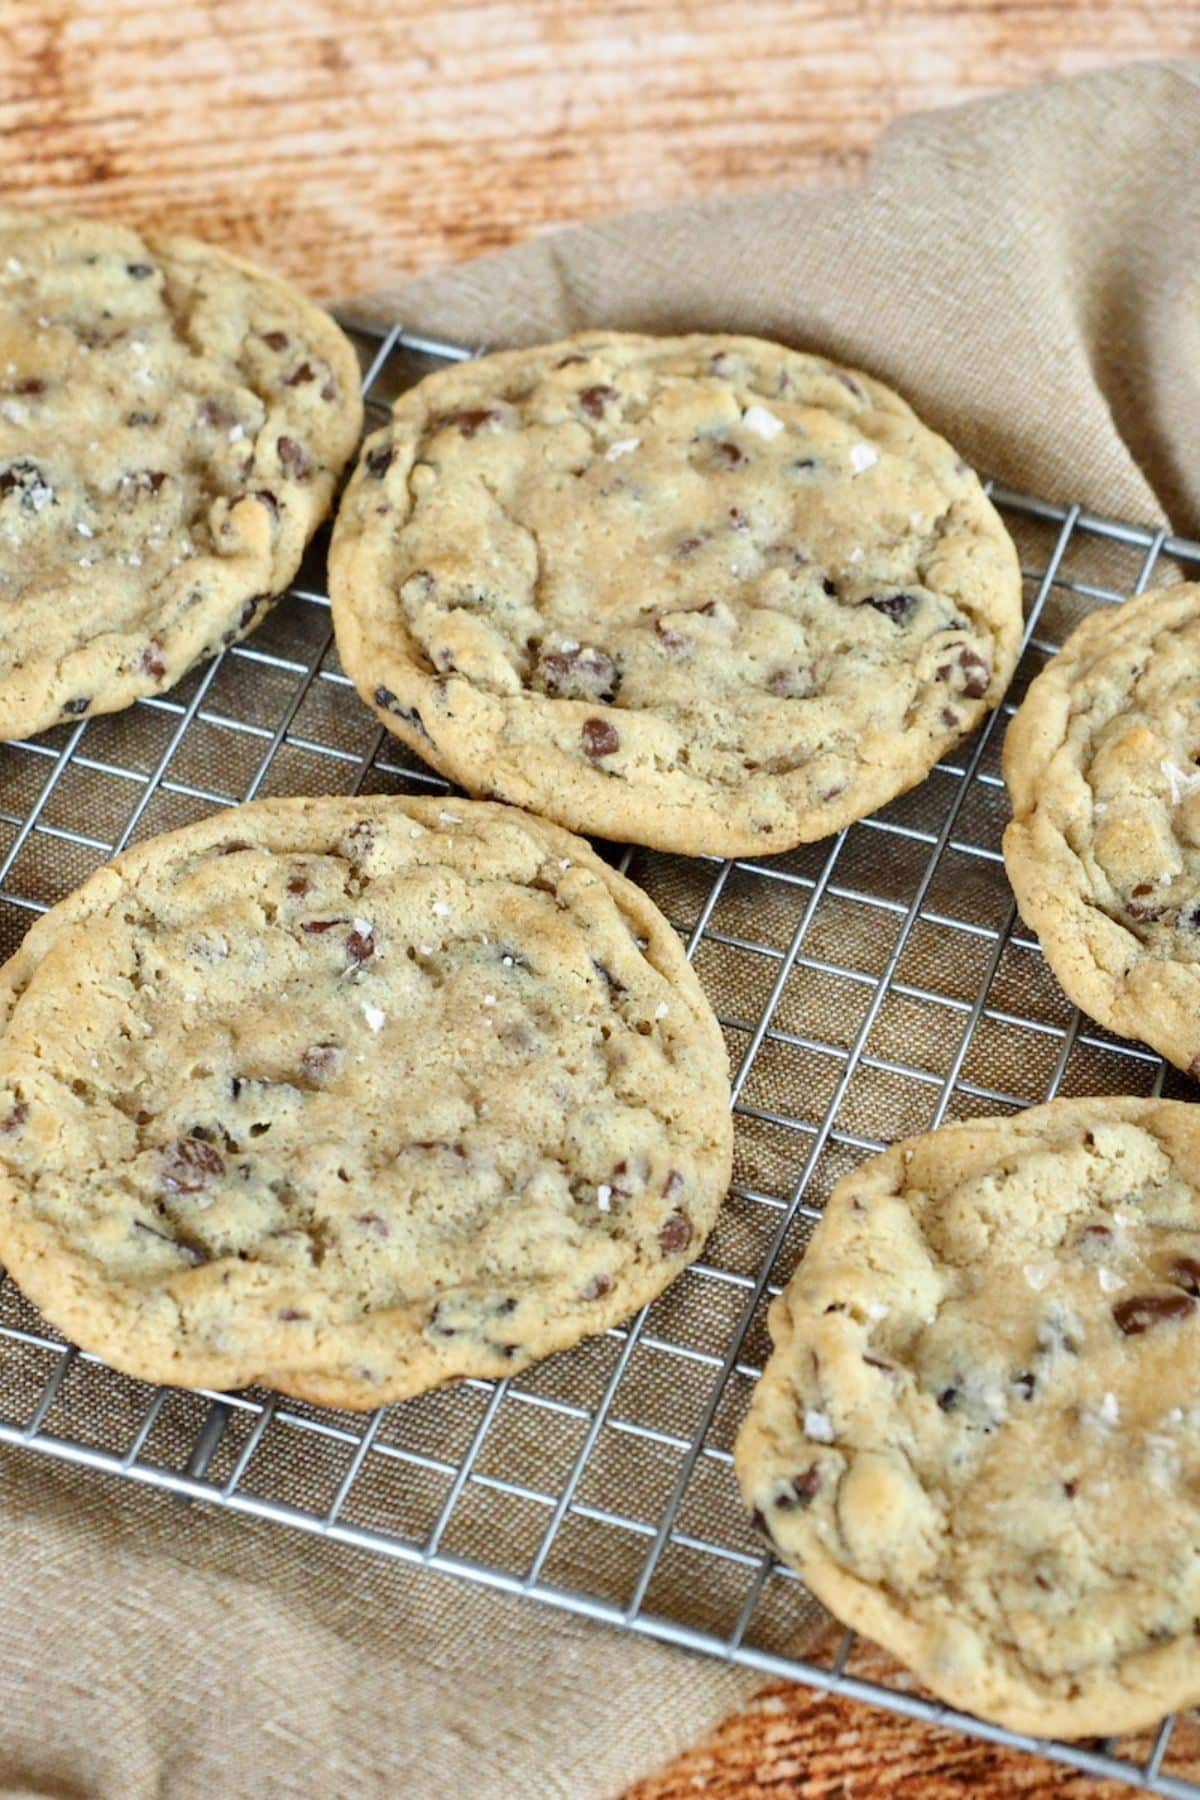
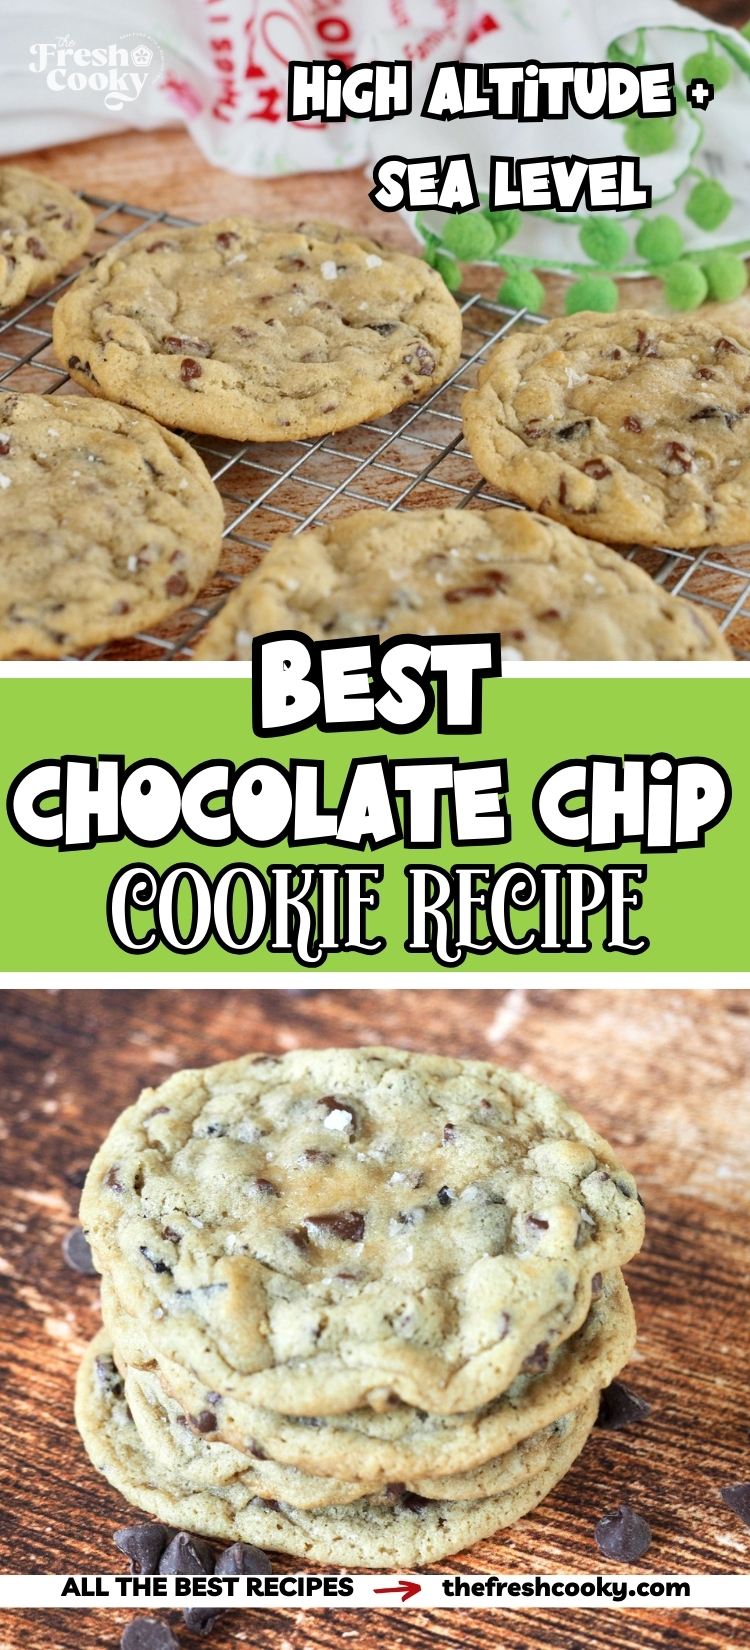
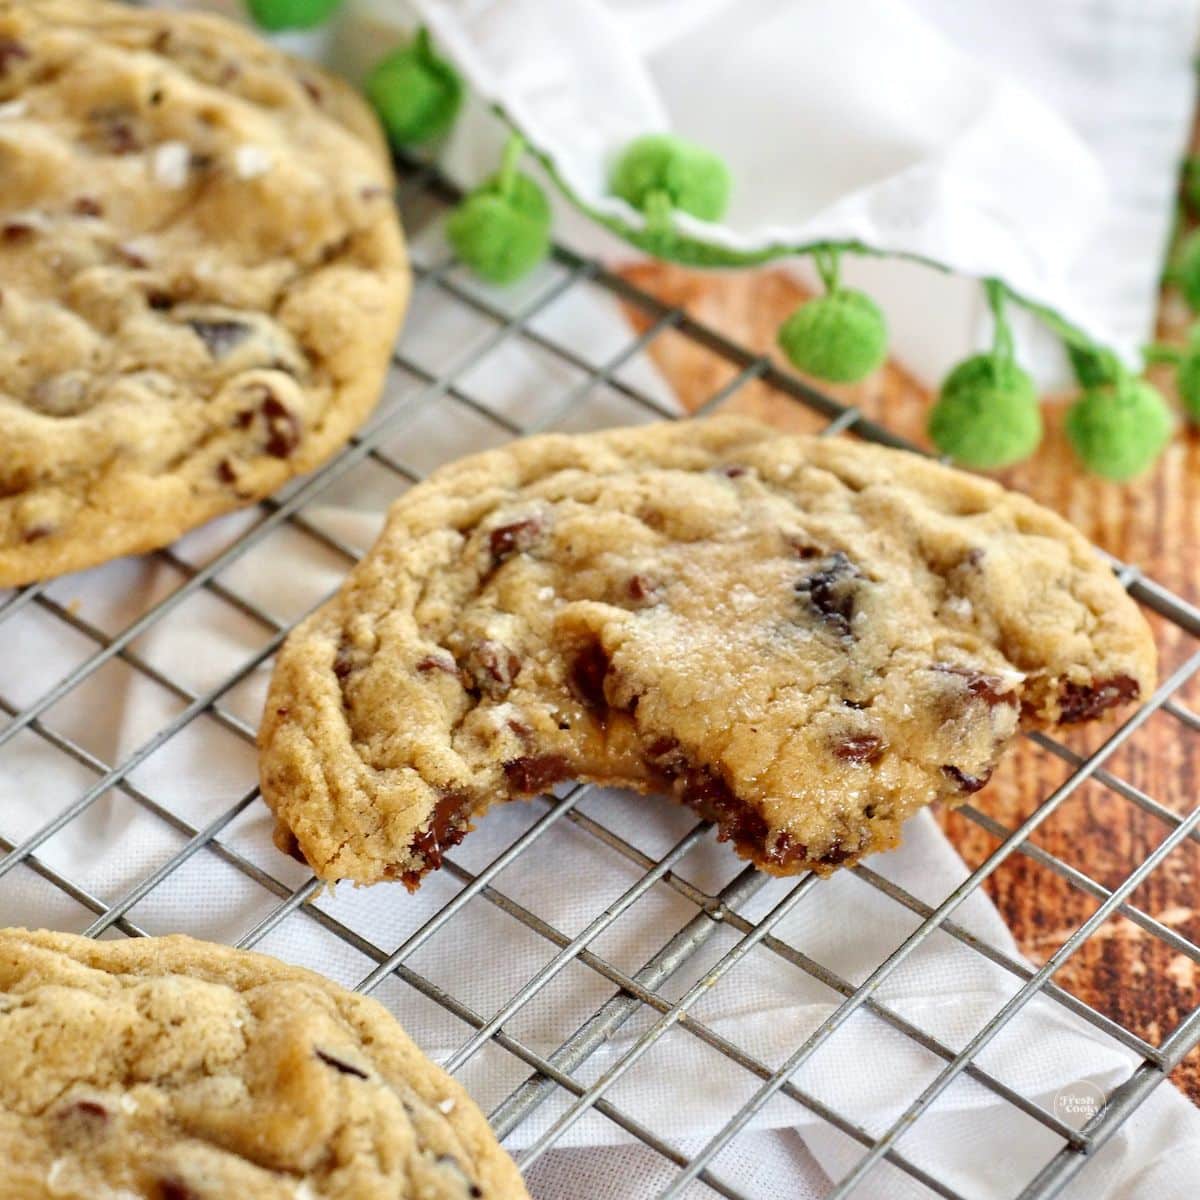
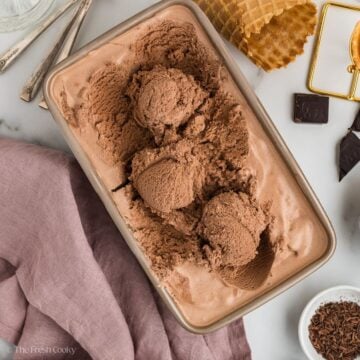
These chewy chocolate chip cookies are thick, deliciously chunky, and practically perfect in every way! A reader favorite since 2017, with over 200,000 saves, these cookies have earned rave reviews for their chewy centers and crispy, caramelized edges. They strike the perfect balance—not too thick, not too thin—with just the right texture and flavor.
One reader raved, “I’m obsessed with this recipe! I usually never have luck with cookies, and these turned out perfectly!” ~Kimberly
The “BEST” Cookies I’ve ever made!!! ???????? They are perfect! We absolutely love them! Thank you so much for sharing your recipe! ???? I will forever continue using this recipe.????????
Kameron
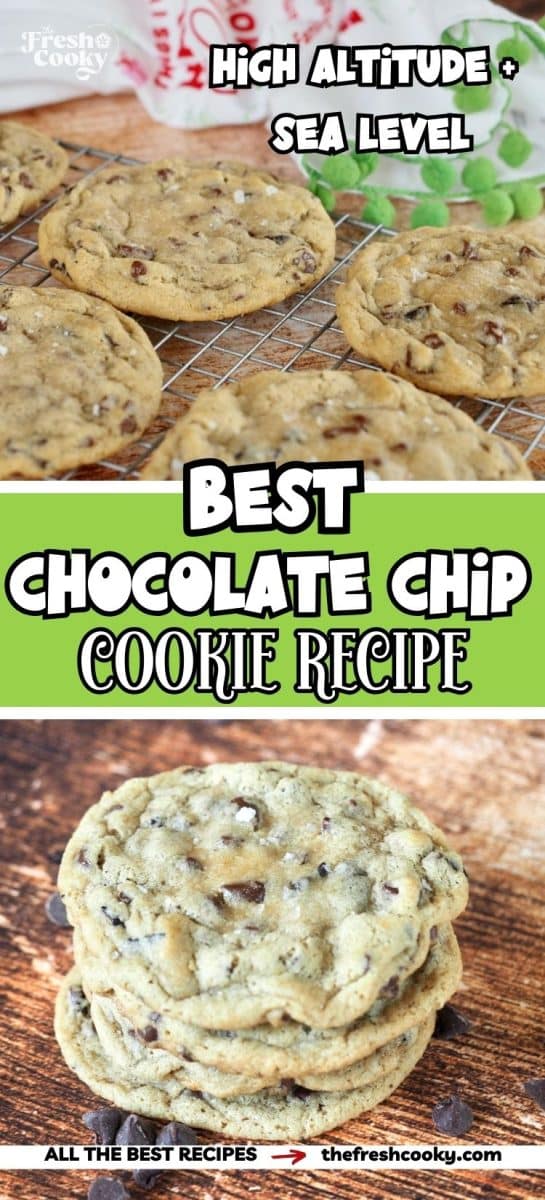
The best Chewy Chocolate Chip Cookies
I’ve been baking and perfecting this chocolate chip cookie recipe for over 40 years! It was actually the first recipe I shared on my blog back in 2017, and it’s been a fan favorite ever since. After years of tweaking and testing, I’ve nailed every detail so that anyone—whether you’re a beginner or a seasoned baker—can whip up a batch of perfectly chewy, delicious cookies in no time. They’re ready to chill in about 10 minutes!
One of my key secrets? Chill the dough! It helps the flavors develop and allows the glutens to relax, giving you that ideal chewy texture. I also share my tricks for preventing flat cookies, like using the perfect balance of butter and flour, not overworking the dough, and always using real butter. And whether you’re baking at sea level or high altitude, I’ve included easy adjustments to make sure you get great results in any kitchen.
These cookies are a staple in our home, and I’ve made them for everything—from ski patrol and team feeds to engagement parties and college care packages. Plus, I’ve packed in tips for freezing the dough, storing cookies for travel, and even freezing baked cookies, so you can enjoy them anytime. After all, I’m not called The Fresh Cooky for nothing! 😜 I know these will quickly become a favorite in your home too.
Why you will love this Chewy Chocolate Chip Cookie Recipe
- Chewiest | Yes, if you follow the instructions and make sure to chill them, you will have the perfect, soft, chewy cookies!
- Easy | This recipe mixes up in minutes!
- CCC | Because everyone deserves a slam-dunk chocolate chip cookie recipe!
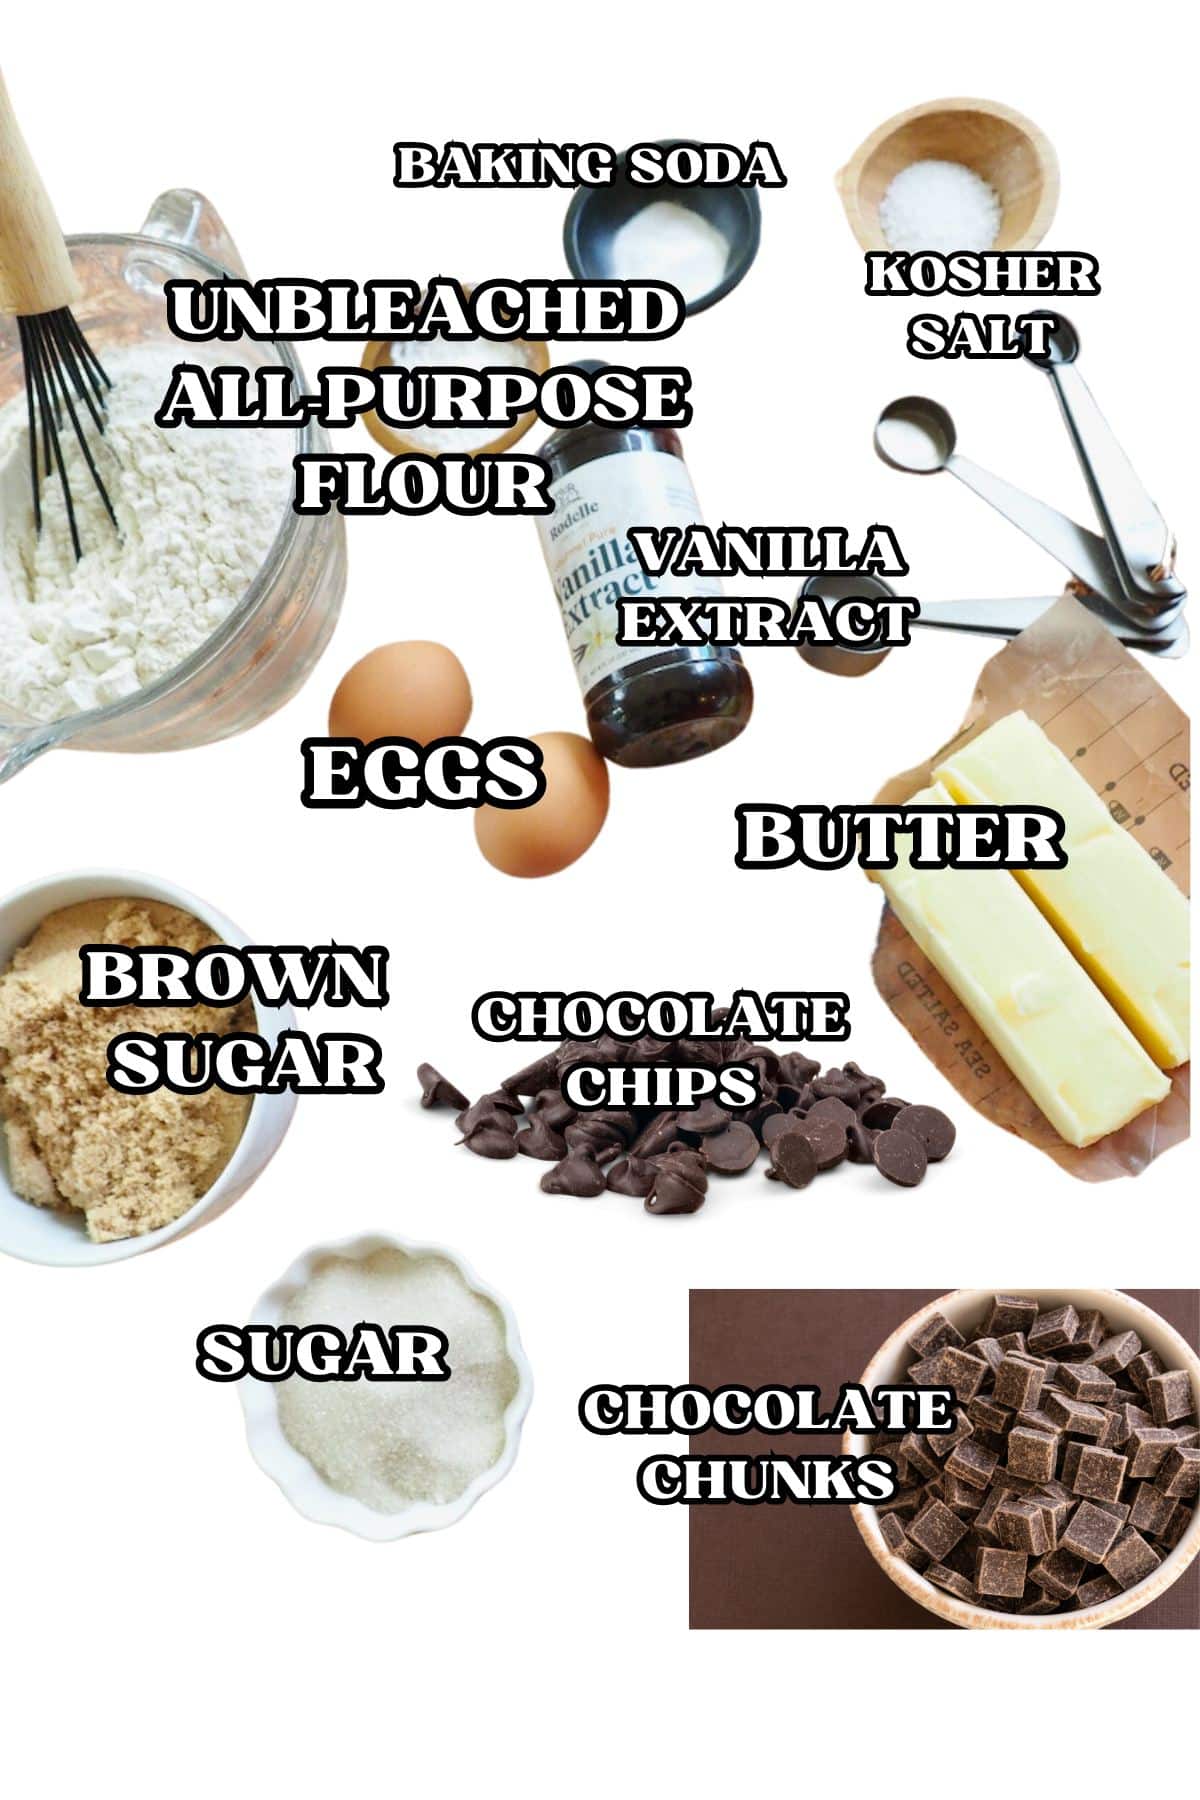
Simple Ingredients for High Altitude Chocolate Chip Cookies
- Butter | Use high quality, real butter, nothing soft straight from the fridge, I use salted. Unsalted butter may also be used, just add ¼ – ½ teaspoon of salt.
- Brown Sugar | I used packed light brown sugar, you may also try dark brown sugar.
- Granulated Sugar | I used organic cane sugar, white sugar may be used as well
- Eggs | We’ll use large, room-temperature eggs, if you forgot, submerge eggs in warm (not hot) water for 5-7 minutes.
- Pure Vanilla Extract | Again use a quality vanilla here, I love Rodelle Vanilla
- All-Purpose Flour | I used unbleached organicunbleached organic unbleached all-purpose flour in all my baking.
- Water | You will add water to compensate for high altitude.
- Chocolate Chips | These are extra chocolatey! I use mini chocolate chips, semi-sweet chocolate chips, and chocolate chunks; adjust to your preference.
Get the full recipe in the recipe card below.
Butter Tips
- Forget to take out the butter? Place butter on a microwave-safe dish, starting at 8-9 seconds and increasing to about 12 (total) seconds if needed.
- Or simply take your butter out of the fridge and cut into chunks while you assemble all of your ingredients and it’ll be soft by the time you are ready to cream it!
How to make High Altitude Chocolate Chip Cookies
Step 1 | Cream Butter and Sugar
In the bowl of a stand mixer fitted with a paddle attachment (or hand mixer), cream (beat) the softened butter for 2-3 minutes on medium high speed, until fluffy, light and silky.
Slowly add the sugars (brown and regular) into the whipped butter, whipping another 2-3 minutes, until sugar is incorporated and the mixture is fluffy and light.
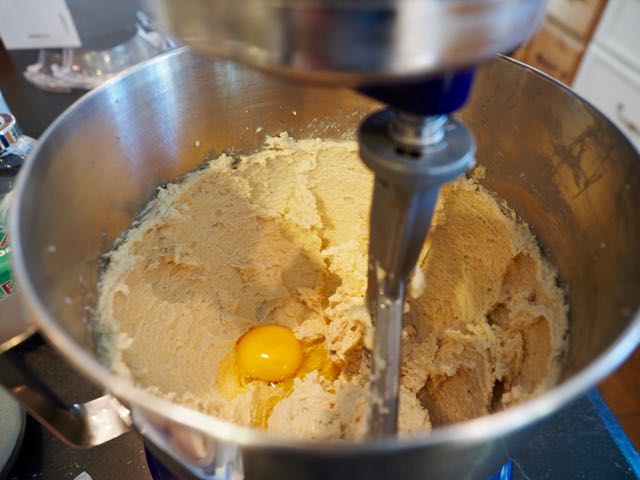
Step 2 | Add eggs, one at a time
Break eggs into a small bowl, then add one egg at at time, beating on medium-high speed for 1 minute between additions. with mixer on medium-high. If needed scrape sides half way between.
Dribble vanilla into batter; maybe even try homemade vanilla!
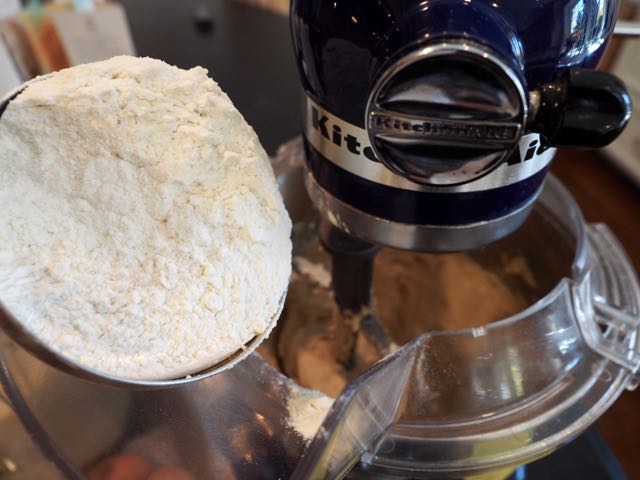
Step 3 | Add dry ingredients
While eggs are creaming; measure all-purpose flour, soda and sea salt into a large mixing bowl and whisk to combine.
Turn the mixer to the lowest setting, and add the flour mixture about ⅓ of a cup at a time, allowing it to incorporate after each addition.
Add in two teaspoons of water with the flour addition, this step is only for high altitude. If above 9,000 feet, add additional 1 teaspoon water.
Scrape down sides, making sure all of your flour is incorporated, careful not to overmix. *Do not add water for sea level.
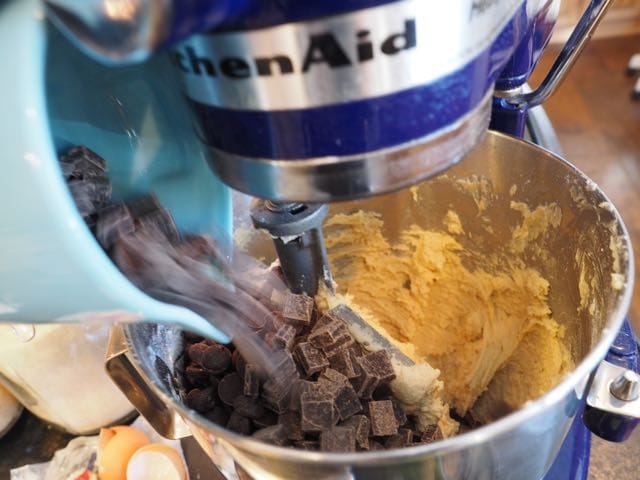
Step 4 | Add or stir in chocolate chips
If you have a stir function on your mixer, stir the chocolate chips, chocolate chunks and into dough, mix with mixer on low or by hand or on the lowest mixer setting.
Finally, add the mini chocolate chips and mix on low – you might need to grab a wooden spoon at this point.
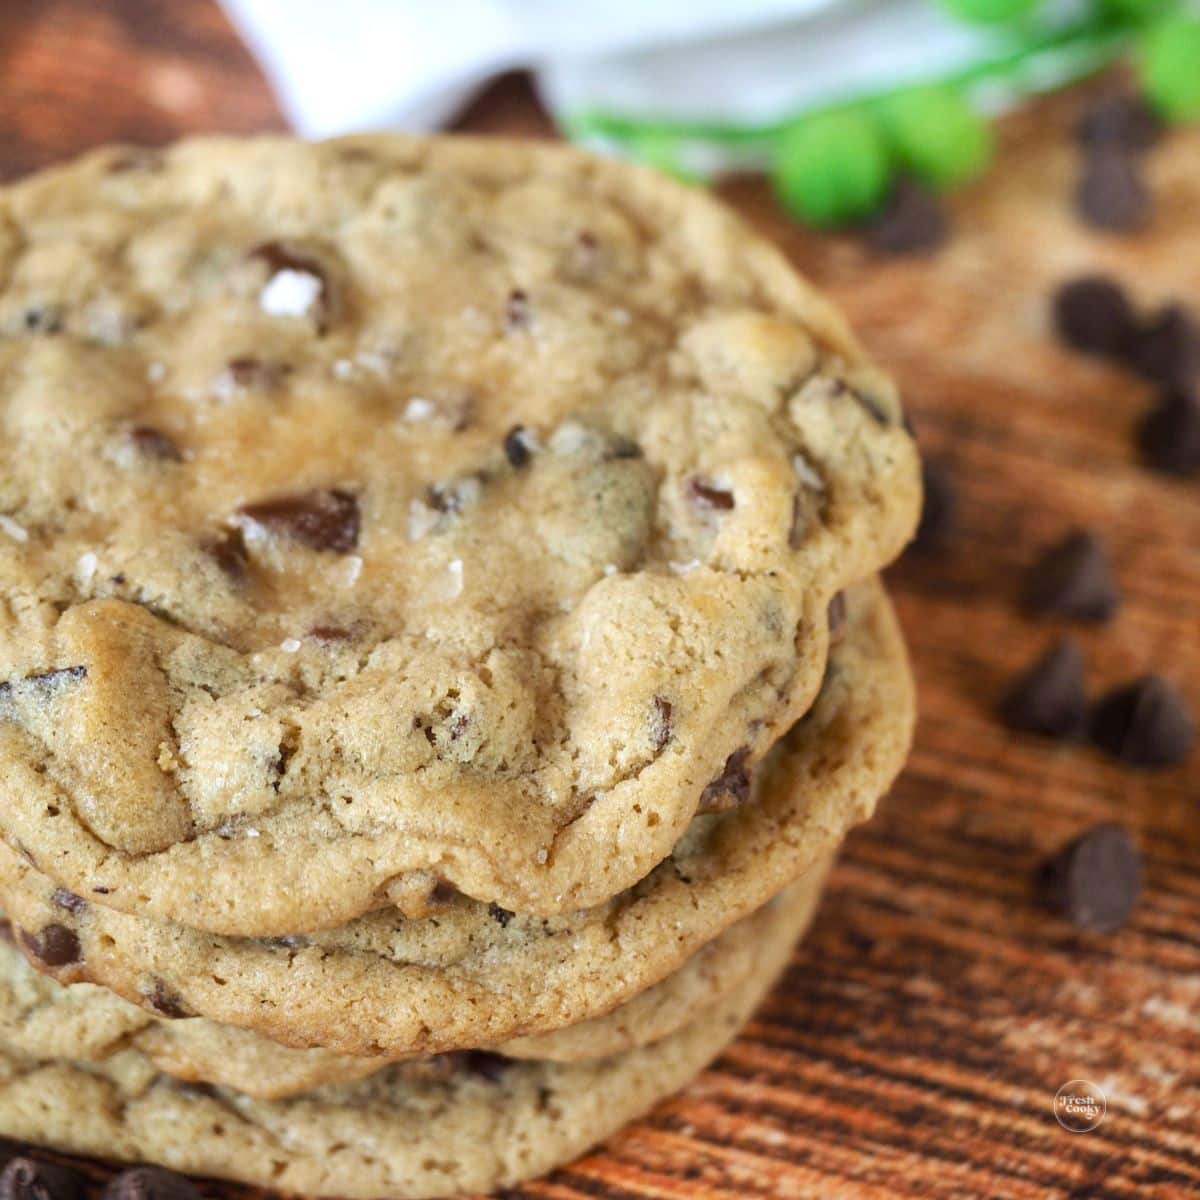
You should have a beautiful, doughy, chocolate-y chip thang going on. One final mix to make sure those chips are evenly incorporated. Or just give it a good hand stir. The dough should be soft, fluffy and pretty sticky.
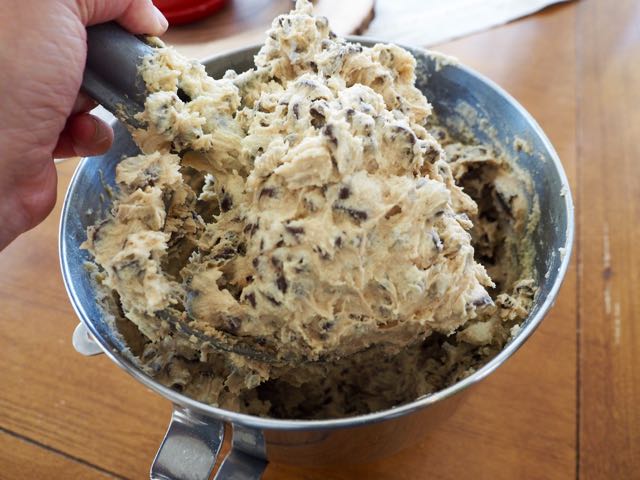
At this point my family grabs their spoons and digs in; I’ve been eating and serving raw cookie dough for decades and nobody has ever gotten sick!
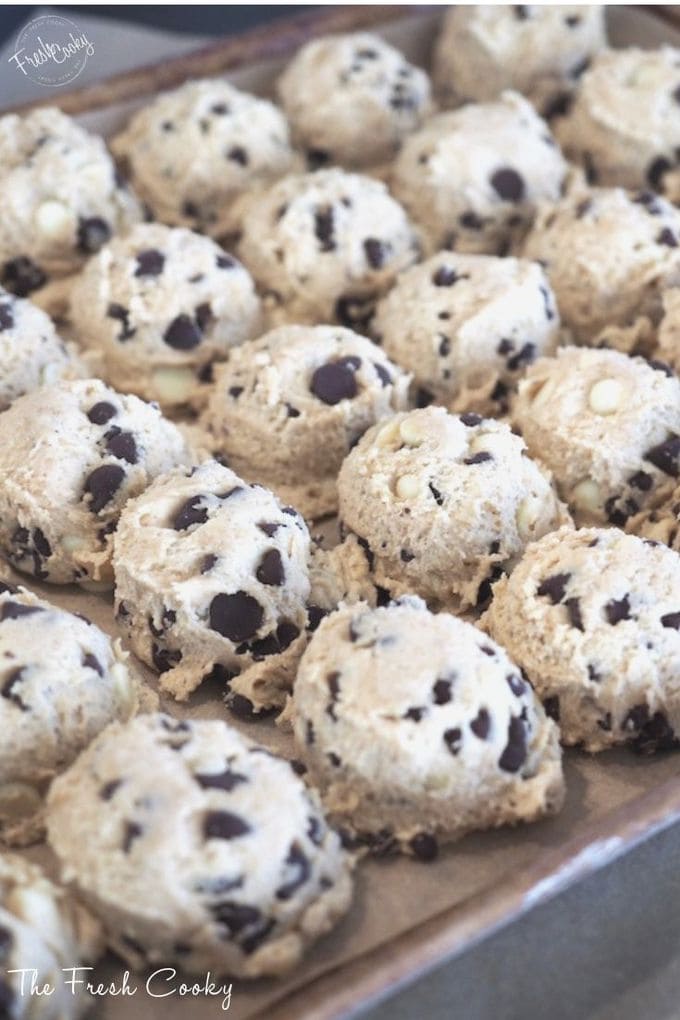
Step 5 | Scoop cookies
On a parchment lined half sheet baking pan, scoop cookies keeping them about 2 inches apart, fitting 9-12 cookies per sheet.
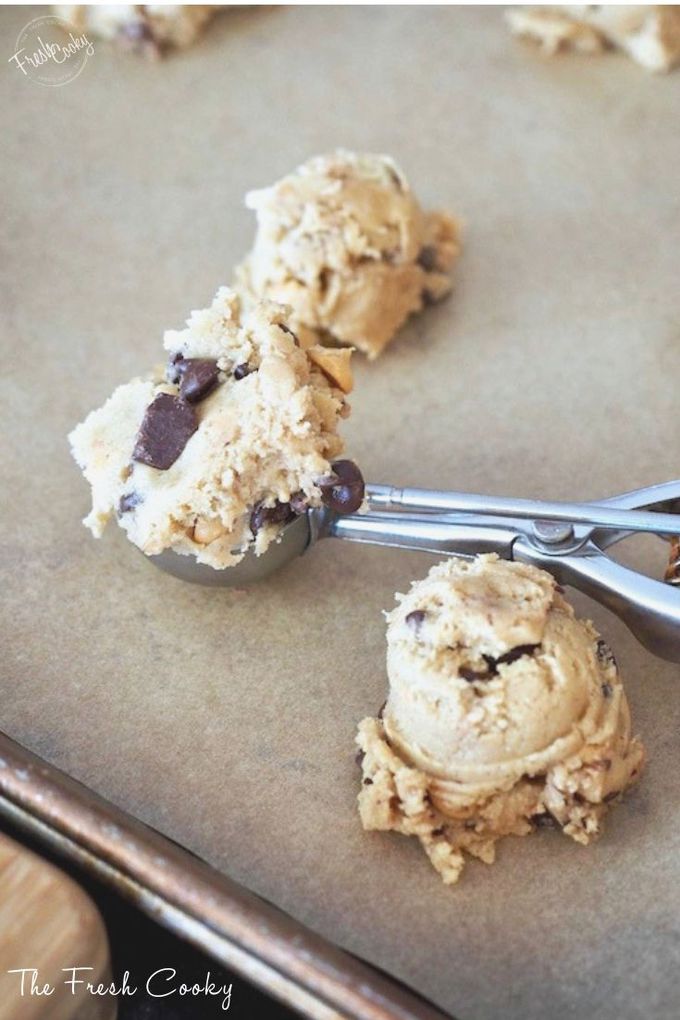
Using a medium scoop (2 Tablespoons, about the size of a walnut) scoop your dough onto parchment lined cookie sheets, about 2-3 inches apart.
I typically put 9 cookies on each sheet. Feel free to make them smaller too, sometimes I use a small scoop, bake less time, fitting 12 on a pan.
Step 5 | Chill Cookie Dough
Most of us over warm or soften our butter, when we do this the cookies turn out flat or spread too much. We have enough going against us when baking at high altitude, so do yourself a favor and chill the cookie dough balls.
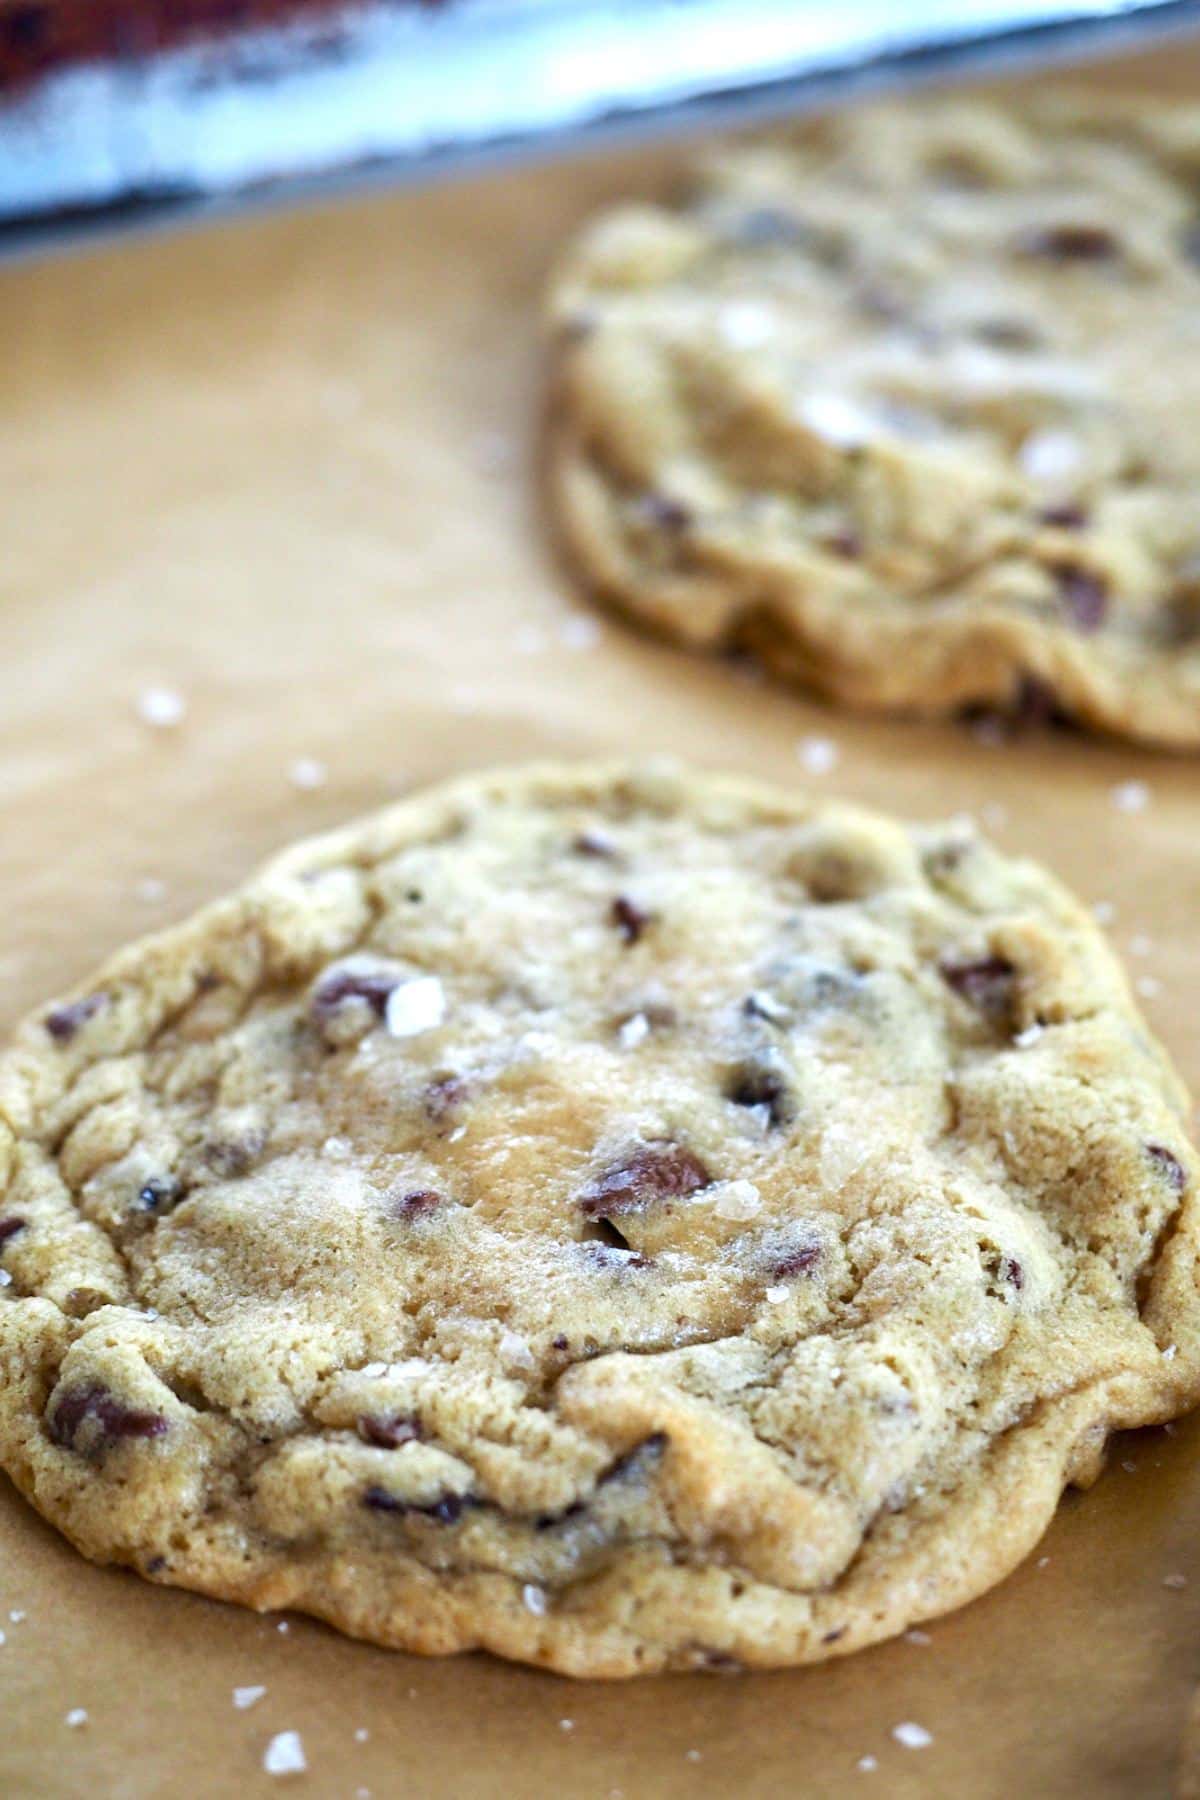
Step 6 | Bake CC Cookies
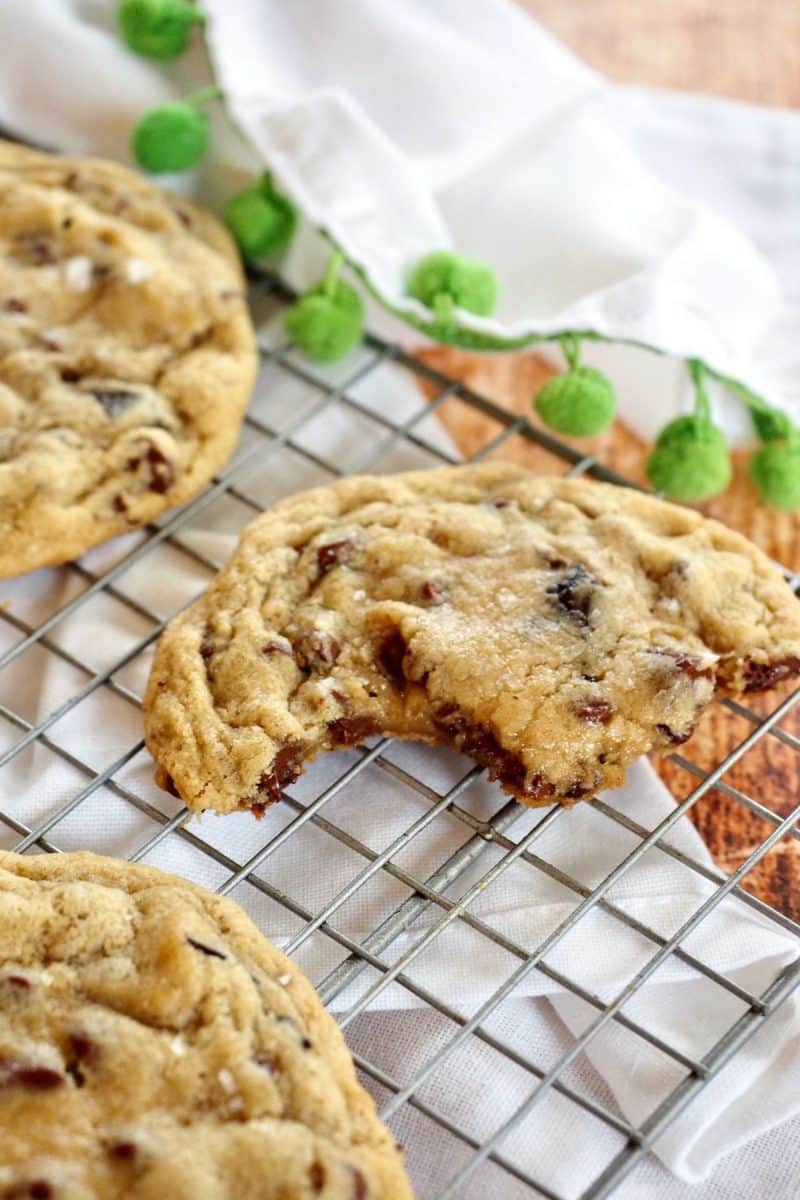
Bake chilled dough balls at 375° F (190° C)for high-altitude baking for 8-10 minutes. Remove from oven; if desired, sprinkle with flaky sea salt and cool on cookie sheet for 2-3 minutes, then carefully transfer them to a wire rack to cool completely.
When making additional batches of cookies, ensure your pans are completely cool; if you are having trouble with cookies spreading, it may be that your pans are too hot.
For sea level bake at 350° F /(175° C) for 9-11 minutes.
Chewy Chocolate Chip Cookies Recipe Variations
- I have had readers say they don’t like so many chocolate chips! Guess what, this is your recipe, so you get to make it yours! Reduce the chocolate chips, switch them up, add more!
- Swap out some of the chocolate chips or chunks for other flavors like butterscotch, white chocolate, peanut butter or milk chocolate chips.
- M & M chocolate chip cookies, check out my post for how to make them!
- While I prefer light brown sugar in these cookies, try using dark brown sugar instead.
- ADD NUTS! I love chocolate chip cookies with chopped walnuts and pecans, but haven’t made them that way in years as my son as a tree nut allergy. Replace ⅔ cup chocolate chips with chopped nuts to the batter when stirring in the chocolate chips.
Gluten-Free High Altitude Chocolate Chip Cookies
Yes, these cookies adapt beautifully into gluten-free chocolate chip cookies; check out my post for all the best tips and tricks!
Chewy Chocolate Chip Cookie Tips
- CREAM BUTTER WELL | Cream butter until light & fluffy (1-2 minutes), then cream butter with sugars for 2-4 minutes, on the longer side for all natural cane sugar.
- CHILL | I know people aren’t fans of cookies requiring chilling, but if you want the best chewy cookie that doesn’t spread too thin, then chill the dough! This allows the butterfat to firm up, and flavors to mingle, the flour to relax and doing some science-y thing that allows them to spread perfectly and evenly while baking.
- Stick entire pan of dough balls in the fridge for 10 minutes, this is a CRITICAL step to the thick and chewy factor!
- Scoop remaining dough into balls while your first batch is chilling, placing close together onto a wax paper or parchment lined quarter sheet pan, then freeze until firm.
- REAL BUTTER | Many people who have not had success with this recipe have used butter blends; my motto, if it’s soft coming out of the fridge, it’s not real butter, use real cream butter for this recipe!
- COOKIE SCOOPS make life so much easier; but it keeps the cookies uniform in size, which means they will bake evenly, resulting in perfect cookies every time! But is it necessary? Nope, the good old-fashioned, spoon, roll into ball works great too!
- BAKING WITH CANE SUGAR | I love using all-natural cane sugar in all of my baking. The key, since it’s a little more coarse than regular refined white sugar, is to beat it 1-2 minutes longer.
- OVEN TEMP | Many ovens vary by +/- 25-50° F, for accuracy purchase an oven thermometer.
- High Altitude | Start by baking them at 375° F (190° C) for high altitude; mine are usually perfect at 10 minutes, but try a few times to your preference.
- SEA LEVEL ADJUSTMENTS | Increase sugar to ¾ cup granulated and light brown sugar, decrease flour to 2 cups, omit the water, bake in 350° F (175° C) oven for 9-12 minutes.
- COOL | Leave on the pan for about 2 minutes, they actually continue cooking slightly, then transfer to a wire rack for full cooling.
- SALT | If you have never tried a little flaky sea salt on your cookies now is the time, it enhances the caramel flavors in the cookie as well as the richness of the chocolate!
- Gooey Cookies | Bake for less time!
- Crisp Cookies | Bake for longer!
Troubleshooting this Chewy Chocolate Chip Cookie Recipe
- Always use real butter, NO butter blends or substitutes that is how cookies go wrong. And if your house is too warm, or the oven isn’t heating correctly, this will impact your butter and the way cookies spread.
- Refrigerate your dough for 10 minutes before baking for up to 36 hours (covered); this firms the butterfat back up.
- Remove cookies from oven when edges are golden, the centers still appear slightly underbaked, they will continue cooking and set while cooling.
- Cool on pan 2-3 minutes before transferring to wire rack, so the cookies will set as they cool and finish baking.
- Make sure baking sheets are completely cooled between bakings.
Storing Chewy Chocolate Chip Cookies
Store cooled cookies in an airtight container on the counter for up to 3 days (that’s about my max for cookies). If not eating right away, I suggest freezing the cookies.
Can I Freeze Baked Chocolate Chip Cookies
Yes! Cool them completely first. Lay them on a baking sheet and flash freeze for 20 minutes, then remove them to an airtight baggie or container and freeze up to 2 months. Thaw on counter in about 20 minutes.
How do I rewarm cookies?
I love warm, gooey cookies! From frozen or room temperature, place cookies on a baking sheet and warm in a 325° F (165° C) oven for 3-5 minutes. Enjoy right away!
Another sweet recipe using cookie dough is for these Mini Skillet Cookies or Half-Bakes as we call them, boy are they amazing!!
How to freeze dough balls
Flash freeze dough balls on cookie sheet in freezer for about 30 minutes.
When hard to the touch, transfer them to airtight freezer baggies, removing as much air as possible; air is not your friend in the freezer. Freeze up to 3 months.

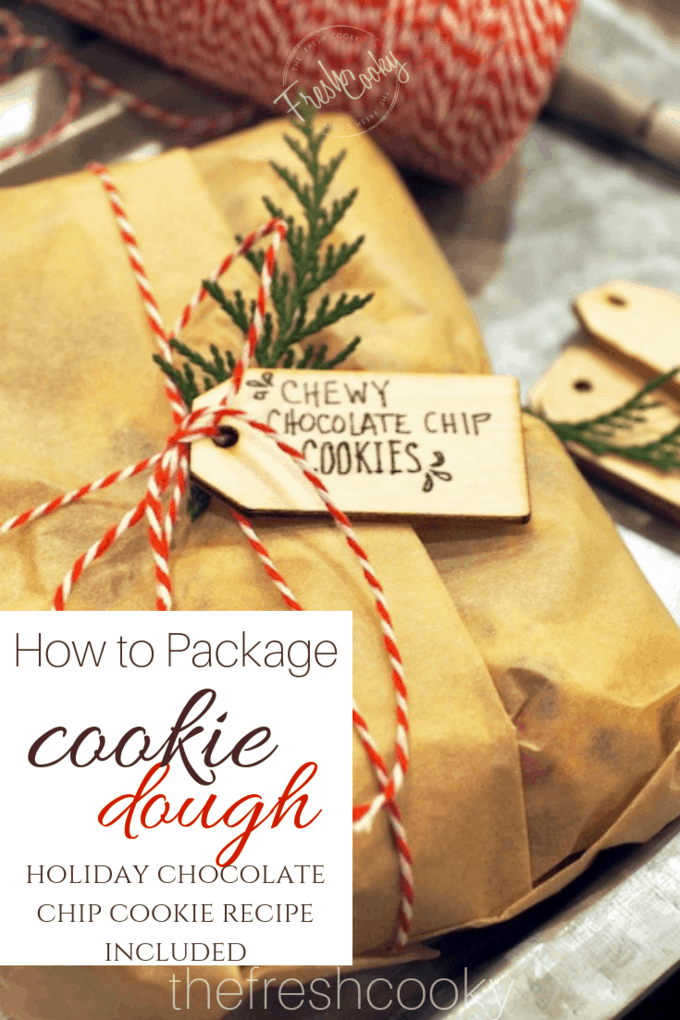
How to wrap cookie dough for gifting
Be different and give your friends and neighbors cookie dough so they are ready for fresh cookies anytime! Check out this post on How to Package Cookie Dough for Gifts
How to Bake cookies from frozen
When ready to bake your frozen dough, pull desired number out of freezer, then place dough balls onto a parchment lined cookie sheet allowing them come to room-ish temp (about 10-20 minutes).
In the meantime, preheat the oven, bake at 350-375° for 8-10 minutes and cool as described above.
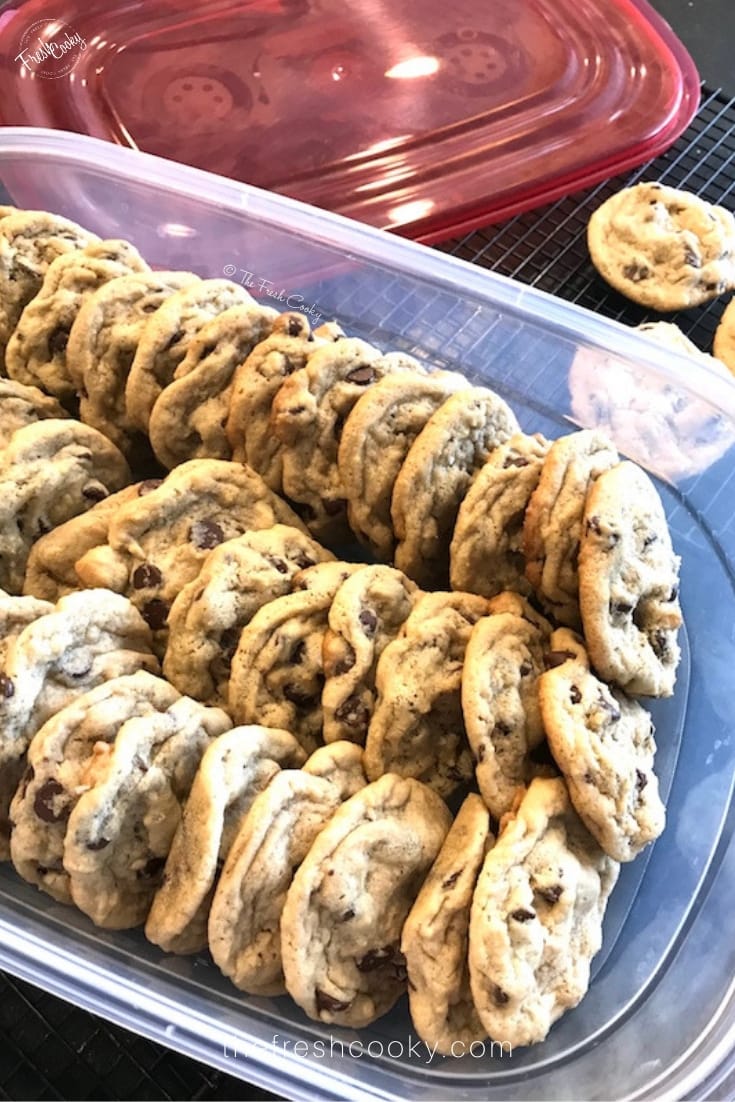
What is the best way to transport cookies?
Making up the entire batch of cookies for a team feed, picnic, school party or potluck?
This is a fabulous way to transport cookies so they don’t get smashed or broken, plus you can fit a LOT into the container.
Freeze the container with cookies overnight; thaw on the counter for an hour, and they’ll be perfect!
Best drinks to serve with chocolate chip cookies high altitude
Besides a cold glass of milk, cookies favorite drink. Try these favorites, Chai tea latte, our best Hot Chocolate or this Starbucks White Hot Chocolate and for adults, try this easy Irish coffee.
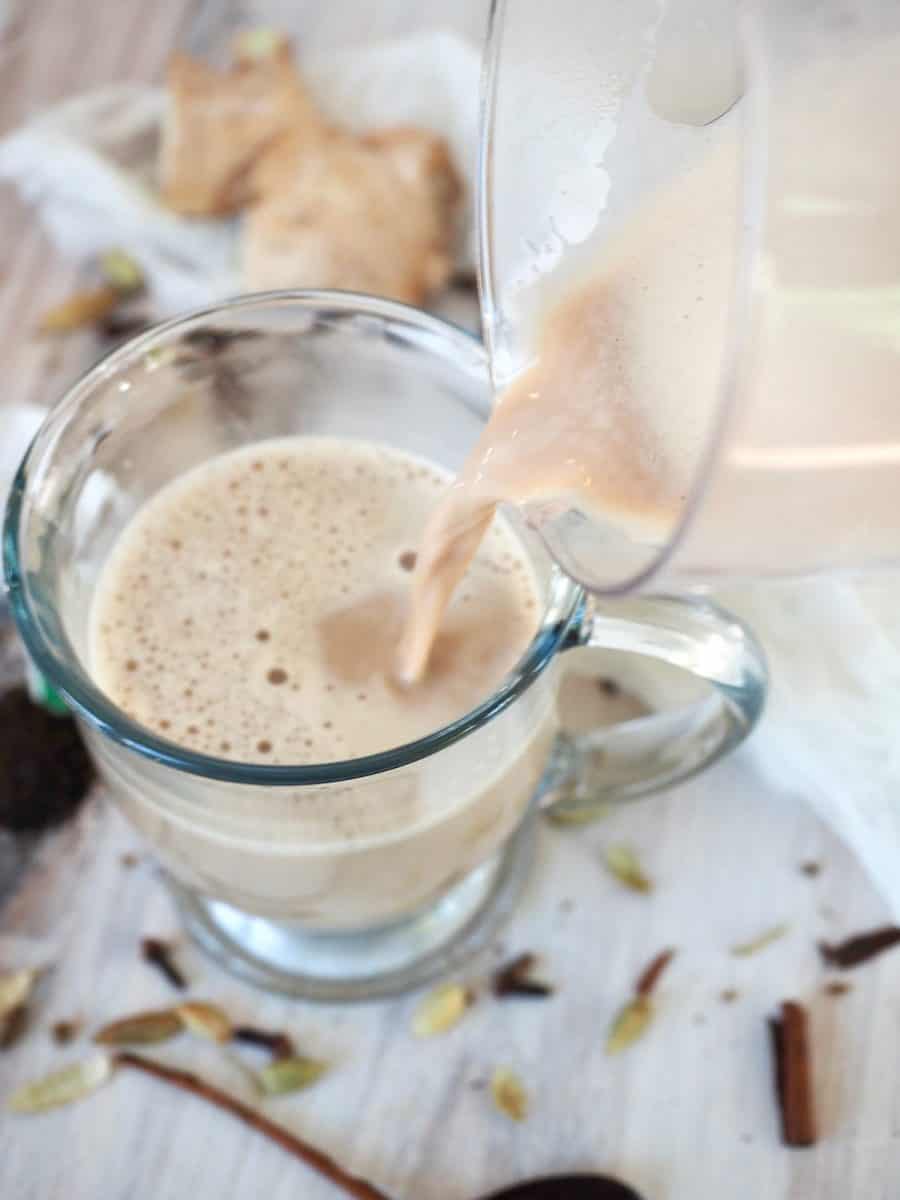
Homemade Chai Tea Latte
Using everyday ingredients, save money by creating your own all natural Chai Tea Latte, superior to a fancy coffee shop.

The Best Christmas Morning Chai Recipe (Dutch Bros)
This holiday season enjoy this copycat Dutch Bros Christmas Morning Chai recipe. A chai latte that is spicy and flavorful chai tea mixed with half and half and swirled with white chocolate syrup. Delicious hot or cold.
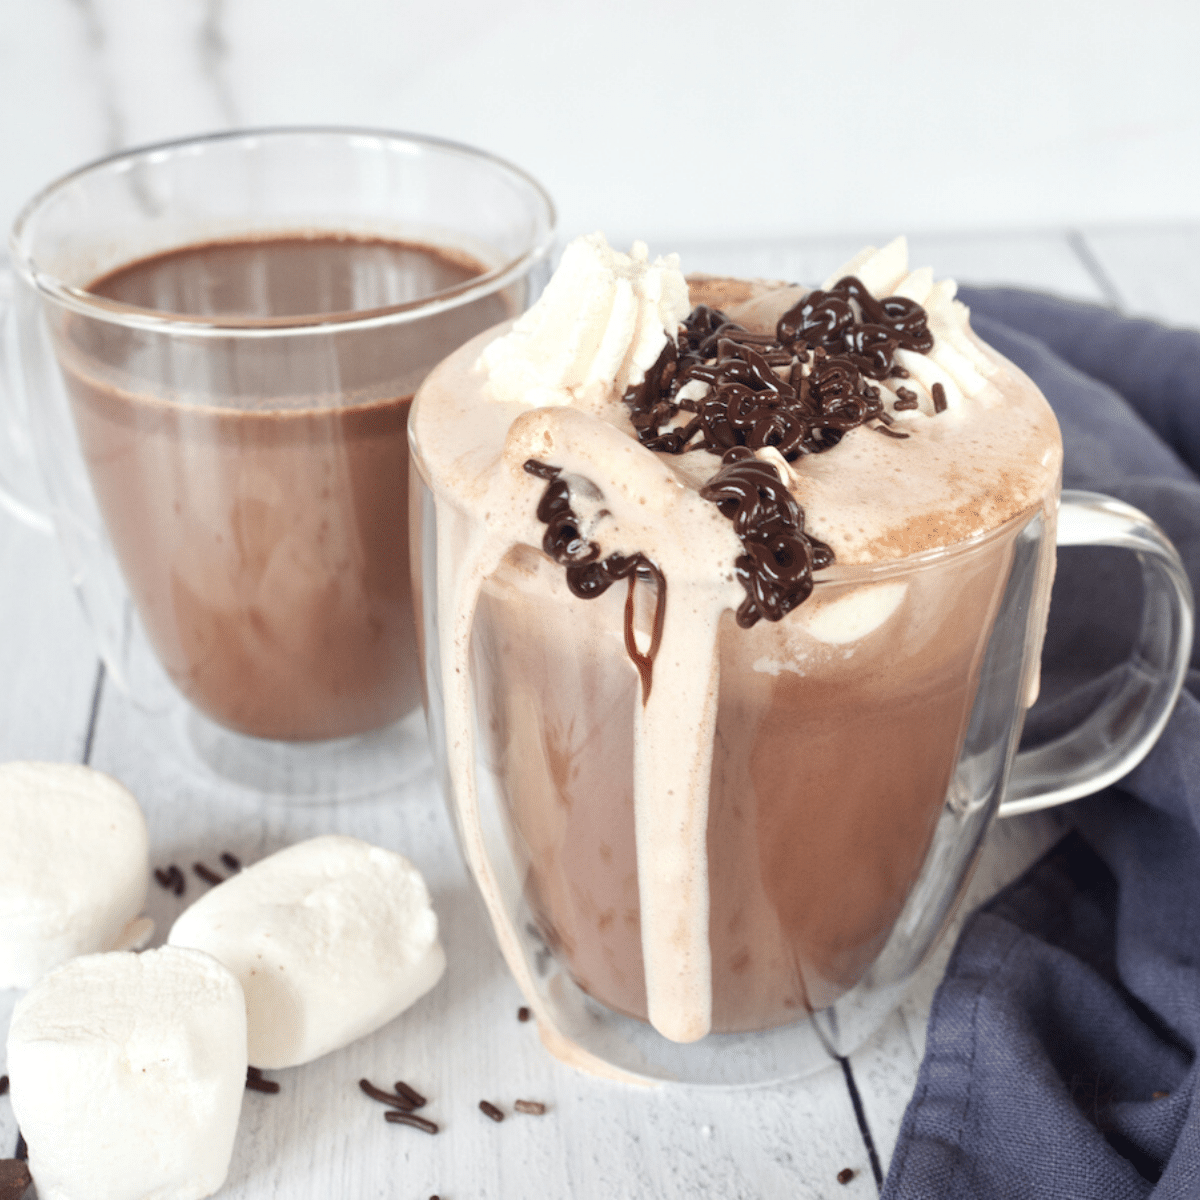
Easy Homemade Hot Chocolate Recipe (with Chocolate Chips)
A simple and delicious homemade hot chocolate with chocolate chips, this all-natural Hot Chocolate for two (or four or more) uses common pantry ingredients.

Starbucks White Hot Chocolate Recipe
A quick and easy recipe on how to make a Starbucks White Hot Chocolate recipe at home. Save time and money, by making this fast copycat white hot chocolate recipe in the comfort of your own home.
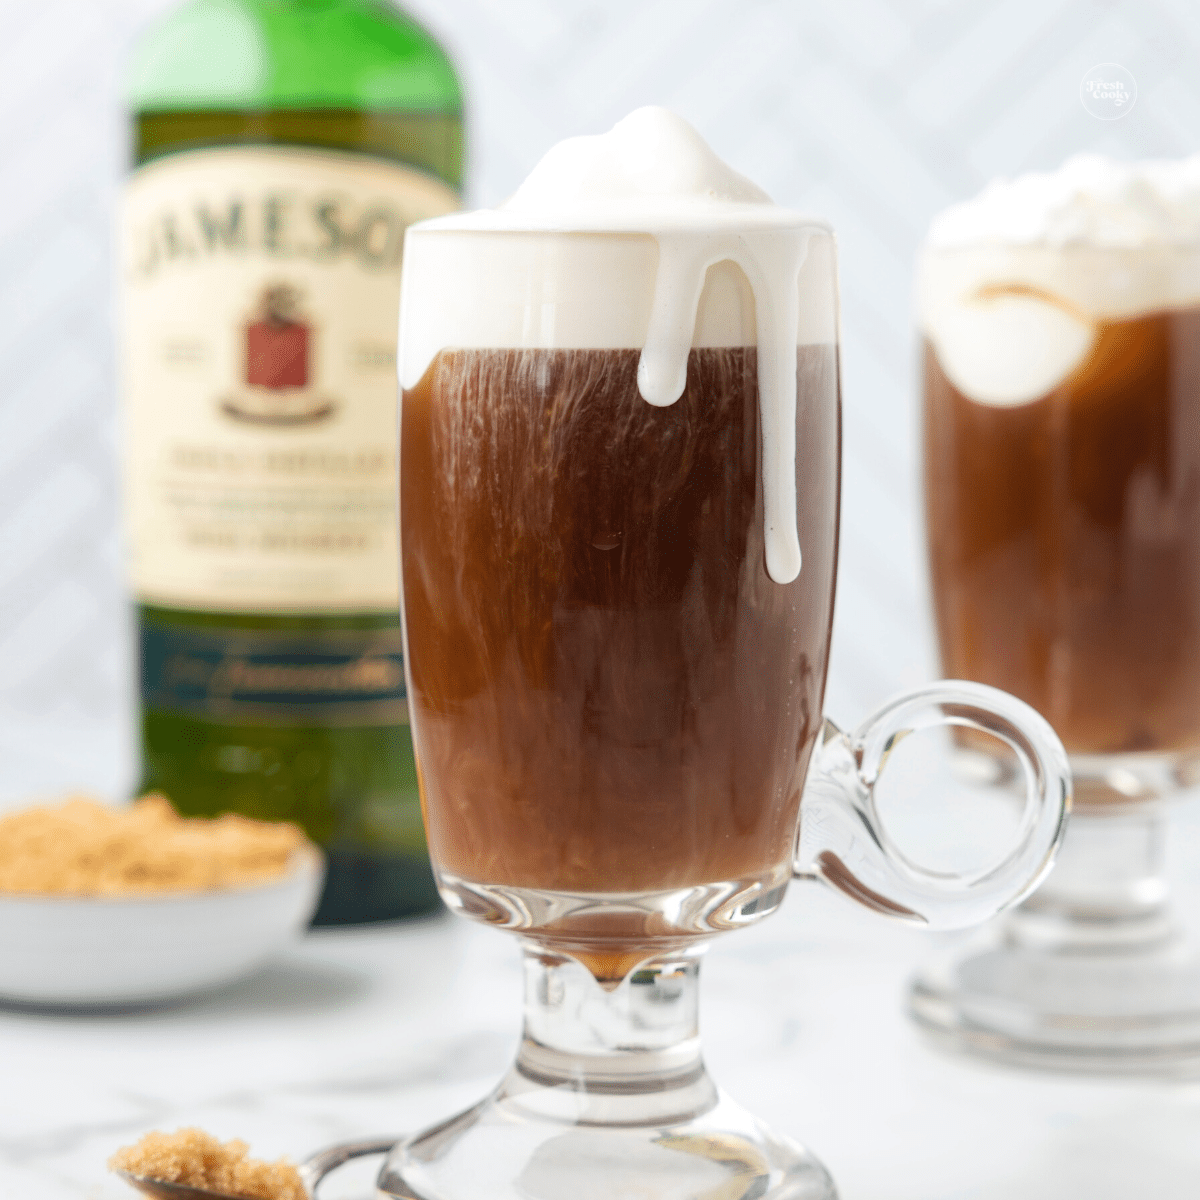
Easy Classic Irish Coffee Recipe (4 ingredients)
This easy Irish coffee recipe is a classic Irish coffee cocktail that is ideal for chilly nights. It is a delightful blend of coffee, whiskey, sugar, and cream, perfect for warming you up on a cold night or adding a touch of sophistication to your after-dinner drink.
Our favorite high altitude cookie recipes
Because even those who live at altitude deserve great, chewy, not super flat cookies!
- Best Copycat Crumbl Chocolate Chip Cookie Recipe
- Best Easy Shortbread (Traditional Scottish Recipe)
- Thick & Chewy m & m Chocolate Chip Cookies
- Easy Snickers Candy Bar Fudge Recipe
- Best Peanut Butter Cup Chocolate Chip Blondies
- Best Chilled Sugar Cookie Recipe (Copycat Crumbl)
I hope you loved these High Altitude Chocolate Chip Cookies — if you did, would you share your creation on Instagram, Facebook and Pinterest? And be sure to comment below!
Like this recipe?
Don’t forget to give it a ⭐️⭐️⭐️⭐️⭐️ star rating and leave a comment below the recipe!
Video
Equipment
Ingredients
- 1 cup salted butter 2 sticks, room temperature (the real deal, no substitutes or blends), unsalted works too
- ⅔ cup all natural cane sugar white sugar works too; ¾ cup for sea level adjustments
- ⅔ cup light brown sugar packed, ¾ cup if not high altitude
- 2 large eggs room temperature, if you forgot, submerge eggs in bowl of warm (not hot) water for 5-7 minutes
- 1 teaspoon vanilla extract
- 2 ½ cups unbleached all-purpose flour 2 cups for sea level
- 1 teaspoon baking soda
- 1 ¼ teaspoon kosher salt
- 2 teaspoon water omit if not high altitude
- 1 cup semi-sweet chocolate chips use a good quality chocolate chip
- ½ cup mini chocolate chips
- ⅔ cup chocolate chunks
- optional flaky sea salt I love Maldon Flaky Sea Salt
Instructions
- Preheat oven to 375° F (190° C) and prep baking sheets by lining with silpat or parchment paper. For sea level preheat 350° F (175° C).
- In a bowl of a stand mixer fitted with a paddle attachment or in a large bowl with a hand mixer, on medium-high speed cream (beat) softened butter (2 sticks) in mixer, 2-3 minutes on medium-high until light and fluffy, scrape down edges of bowl.
- Add sugar (⅔ cup) and brown sugar (⅔ cup), beating on medium-high for 2-4 minutes, scraping down sides about half way between. (Beat 4 minutes if using natural cane sugar). Scrape down sides of bowl. Add eggs, one at a time, cream on medium-high 1 minute for each egg addition, scrape down sides in between. Add vanilla and mix well.
- In a medium bowl, mix together flour (2 ½ cups), baking soda (1 tsp), and salt (1 ¼ tsp) whisking until combined. With mixer on low/stir, slowly pour in ⅓ cup of flour mixture at a time, mixing on low until just combined. Add 2 teaspoon water (high altitude only) in between flour additions, don’t over-mix.
- Add chocolate chips, minis and chunks, stir (with low on mixer or by hand) on low, until just combined.
- Scoop into dough balls using a 2-tablespoon scoop onto a parchment lined cookie sheet, 2 inches apart. Place in fridge for 10 minutes before baking, bake 8-10 minutes until just set and slightly golden. Sprinkle with flaky sea salt if desired. Cool on pan 2-3 minutes and then remove to cooling rack to cool completely. Enjoy warm or room temp.
Notes
Sea Level Adjustments
- Increase sugar to ¾ cup granulated and light brown sugar
- Decrease flour to 2 cups
- Omit the water
- Bake in 350° F (175° C) oven for 9-12 minutes.
Storage Tips
Store cooled cookies in an airtight container on the counter for up to 3 days (that’s about my max for cookies). If not eating right away, I suggest freezing the cookies. TIPS for the Chewiest Cookies- Always use real butter, not butter blends or substitutes.
- Always refrigerate your dough for at least 10 minutes prior to baking, up to 36 hours (covered); 2-3 months if frozen.
- Remove from oven when golden edges appear baked, but centers still appear slightly underbaked.
- Cool on pan 2-3 minutes before transferring to wire rack.
Variations and Substitutions
-
- I have had readers say they don’t like so many chocolate chips! Guess what, this is your recipe, so you get to make it yours! Reduce the chocolate chips, switch them up, add more!
-
- Swap out some chocolate chips or chunks for other flavors like butterscotch, white chocolate, peanut butter, or milk chocolate chips.
-
- M & M chocolate chip cookies, check out my post for how to make them!
-
- I prefer light brown sugar in these cookies, try using dark brown sugar instead.
-
- ADD NUTS! Replace ⅔ cup chocolate chips with chopped nuts to the batter when stirring in the chocolate chips.
- If smaller cookies are desired, use a small cookie scoop and bake for 6-8 minutes. If larger cookies are desired, use a large cookie scoop and bake 10-12 minutes.
Gluten-Free High Altitude Chocolate Chip Cookies
Yes, these cookies adapt beautifully into gluten-free chocolate chip cookies; check out my post for all the best tips and tricks!How to Freeze Cookie Dough
If not enjoying all the cookies at once, freeze dough balls in a single layer until firm, then place in a freezer ziplock baggie until ready to use. Once ready to bake, take out of the freezer and place 2 inches apart on a parchment-lined baking sheet. Allow cookies to soften while the oven preheats to 375°F (190° C) bake as directed. If your oven runs hot, reduce the temperature by 25°, or if it’s cool, increase the bake time by a couple of minutes. Purchase an oven thermometer if you are not sure; you will be surprised at how ovens vary.Nutrition


Kelley
I live in Northern Utah, elevation 4,700 feet. this was the worst recipe I have tried since moving here. A piece of paper is thicker than this cookie. Will not try again
Hi Kelley! Oh no, paper thin is the worst, and I’m so sorry that happened! Let’s figure this out together, because I’ve never had these come out flat and I really want to help.
A few questions, if you don’t mind: What brand of butter did you use? Less expensive butters, and especially margarine, carry a lot of water, and that alone can tank a cookie. Also, how soft was it? Butter should give just slightly under your finger, not sink all the way through.
Too little flour, though, is one of the main reasons cookies spread and go flat, so it’s worth double checking your amounts.
Did you chill the dough before baking? And did you make any swaps or substitutions?
One more: do you know if your oven runs hot or cool? An oven thermometer is a game changer if you don’t have one already. Ovens can be off by 25 to 50 degrees and you’d never know just by looking.
Don’t give up on these! Once we pinpoint what happened, I think you’ll love them. Write back and let me know what you find!
Bottom line, I’m so sorry, cookies are expensive ingredients and I’m sorry they weren’t what you expected, I make these monthly and haven’t had the issue you are referring too.
Libby Emerick
Don’t taste as well as my usual chocolate chip cookies. Very flat and shapeless as well
Sorry to hear you experienced that Libby. My experience is if they are flat your butter was probably too soft and you didn’t chill the dough long enough. But I am sorry you experienced that.