


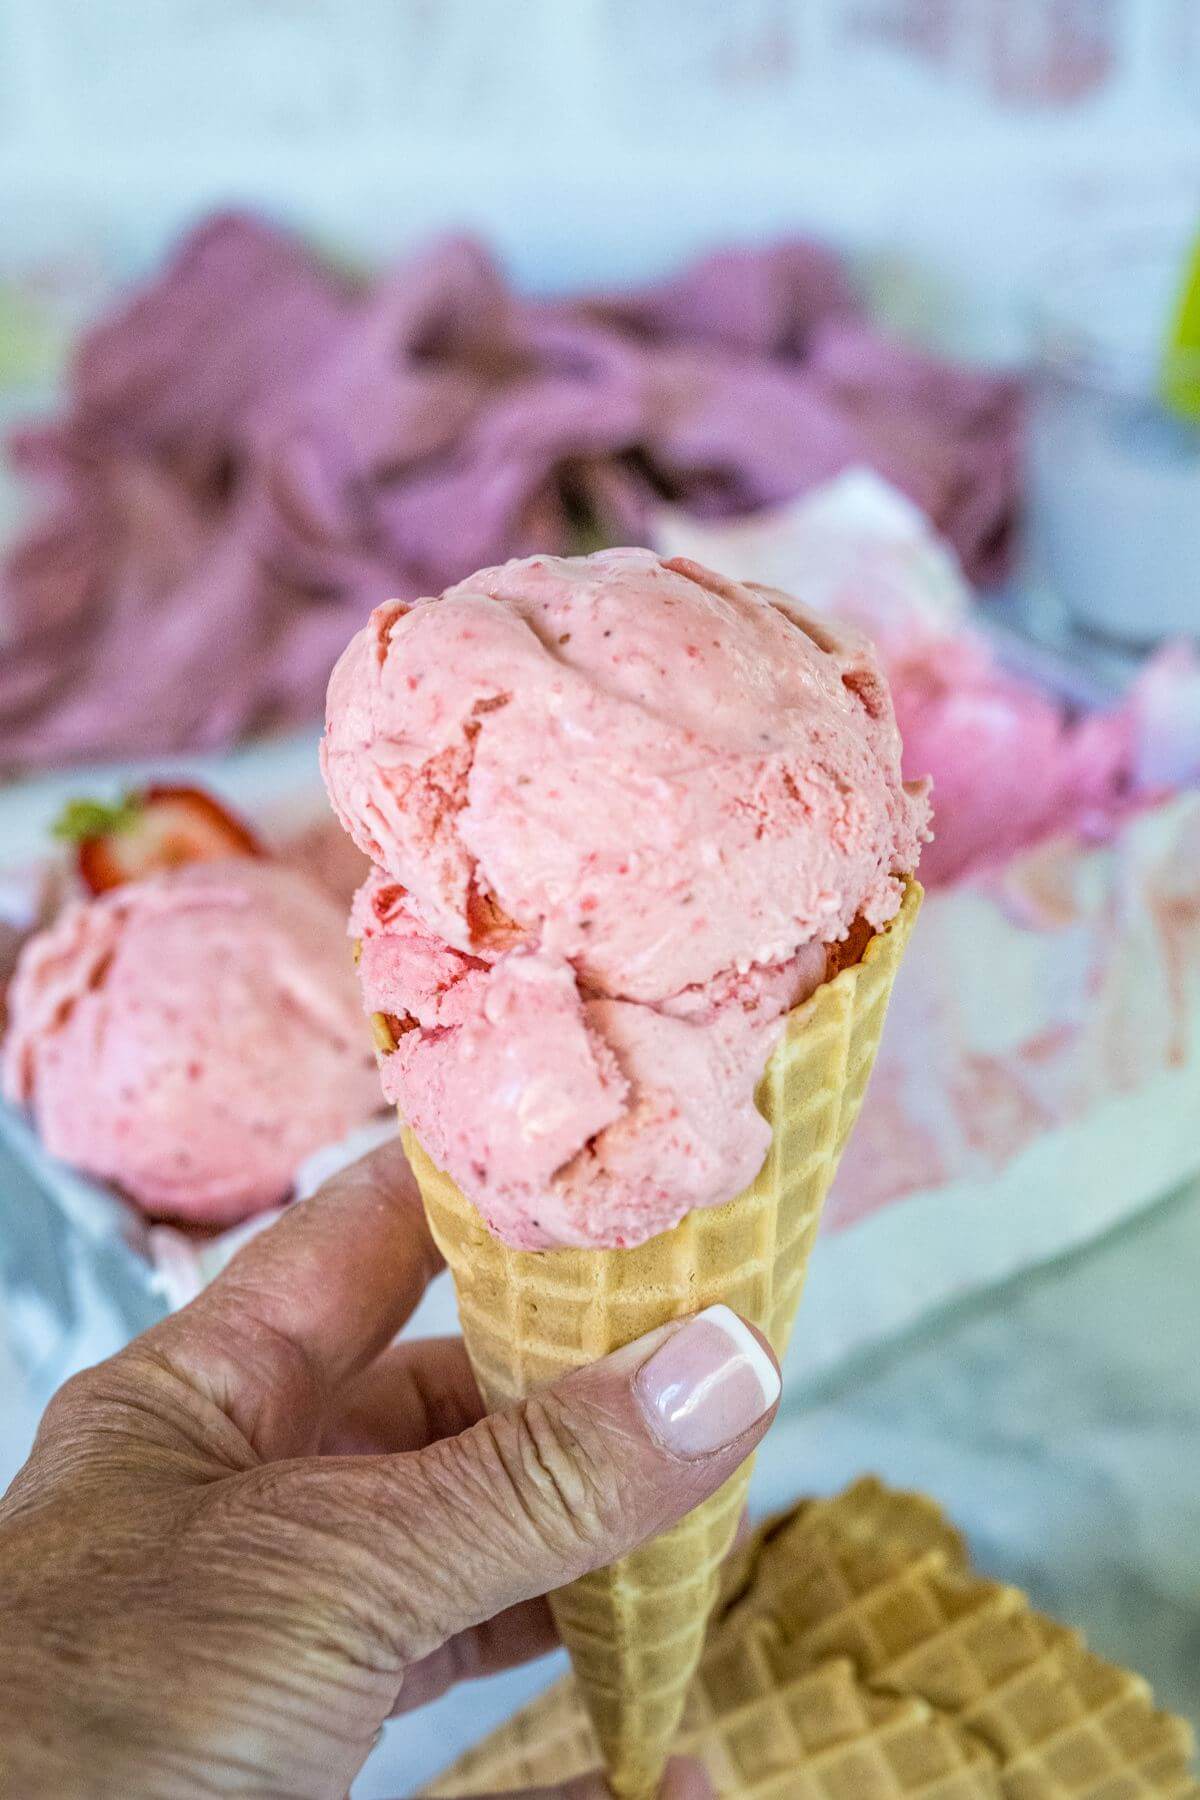
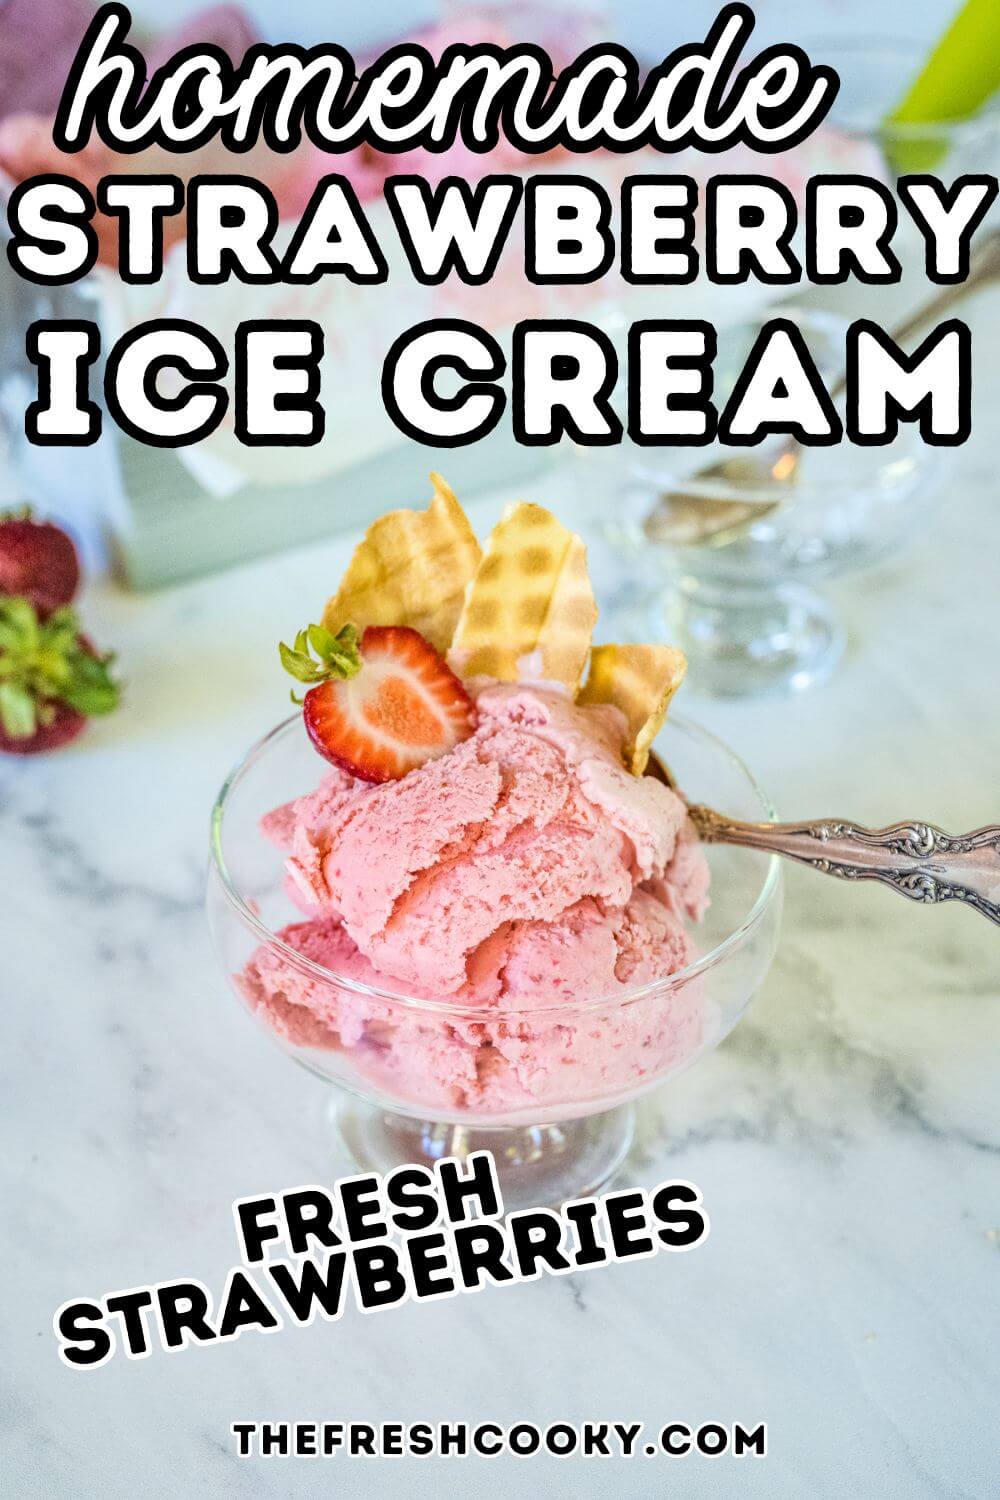
Packed with fresh strawberries, this homemade Strawberry Ice Cream recipe is a family favorite. Learn how to make smooth, no-cook, creamy strawberry gelato with simple ingredients and my expert tips for perfect flavor and texture!

I enjoy giving precise details in my recipe posts to lead my readers through any questions. If you’re just here for the printable recipe, use the Jump to Recipe to head straight there!
My Take on This Strawberry Ice Cream
After eating gelato all over Europe I knew I had to recreate that strawberry flavor at home. While real gelato requires a special machine, this homemade version is super close—smooth, creamy and packed with fresh strawberries. My family loves it so much they’ve been requesting it all summer!
If you love strawberries as much as we do be sure to try my Strawberry Shortcake Ice Cream, a no-churn version with chunks of cake and swirls of strawberry goodness. Or check out this easy Ninja Creami Strawberry Ice Cream. And if you’re a chocolate lover don’t miss my super popular chocolate ice cream—rich, creamy and irresistible!
Success Tips for the Best Strawberry Gelato Recipe
- Pre-freeze your equipment. For the best texture, freeze your ice cream bowl at least 24 hours in advance—though I prefer 2-3 days if possible.
- Chill the batter. Let your strawberry ice cream base rest in the fridge for 10-12 hours to enhance flavor and improve freezing.
- Follow your machine’s guide. Avoid overfilling and follow the recommended churning time for the smoothest gelato.
- Prevent ice crystals. Press plastic wrap or parchment directly onto the gelato before sealing the container, and store it in the coldest part of your freezer—typically the back of a shelf. A splash of vanilla extract also helps keep it creamy.
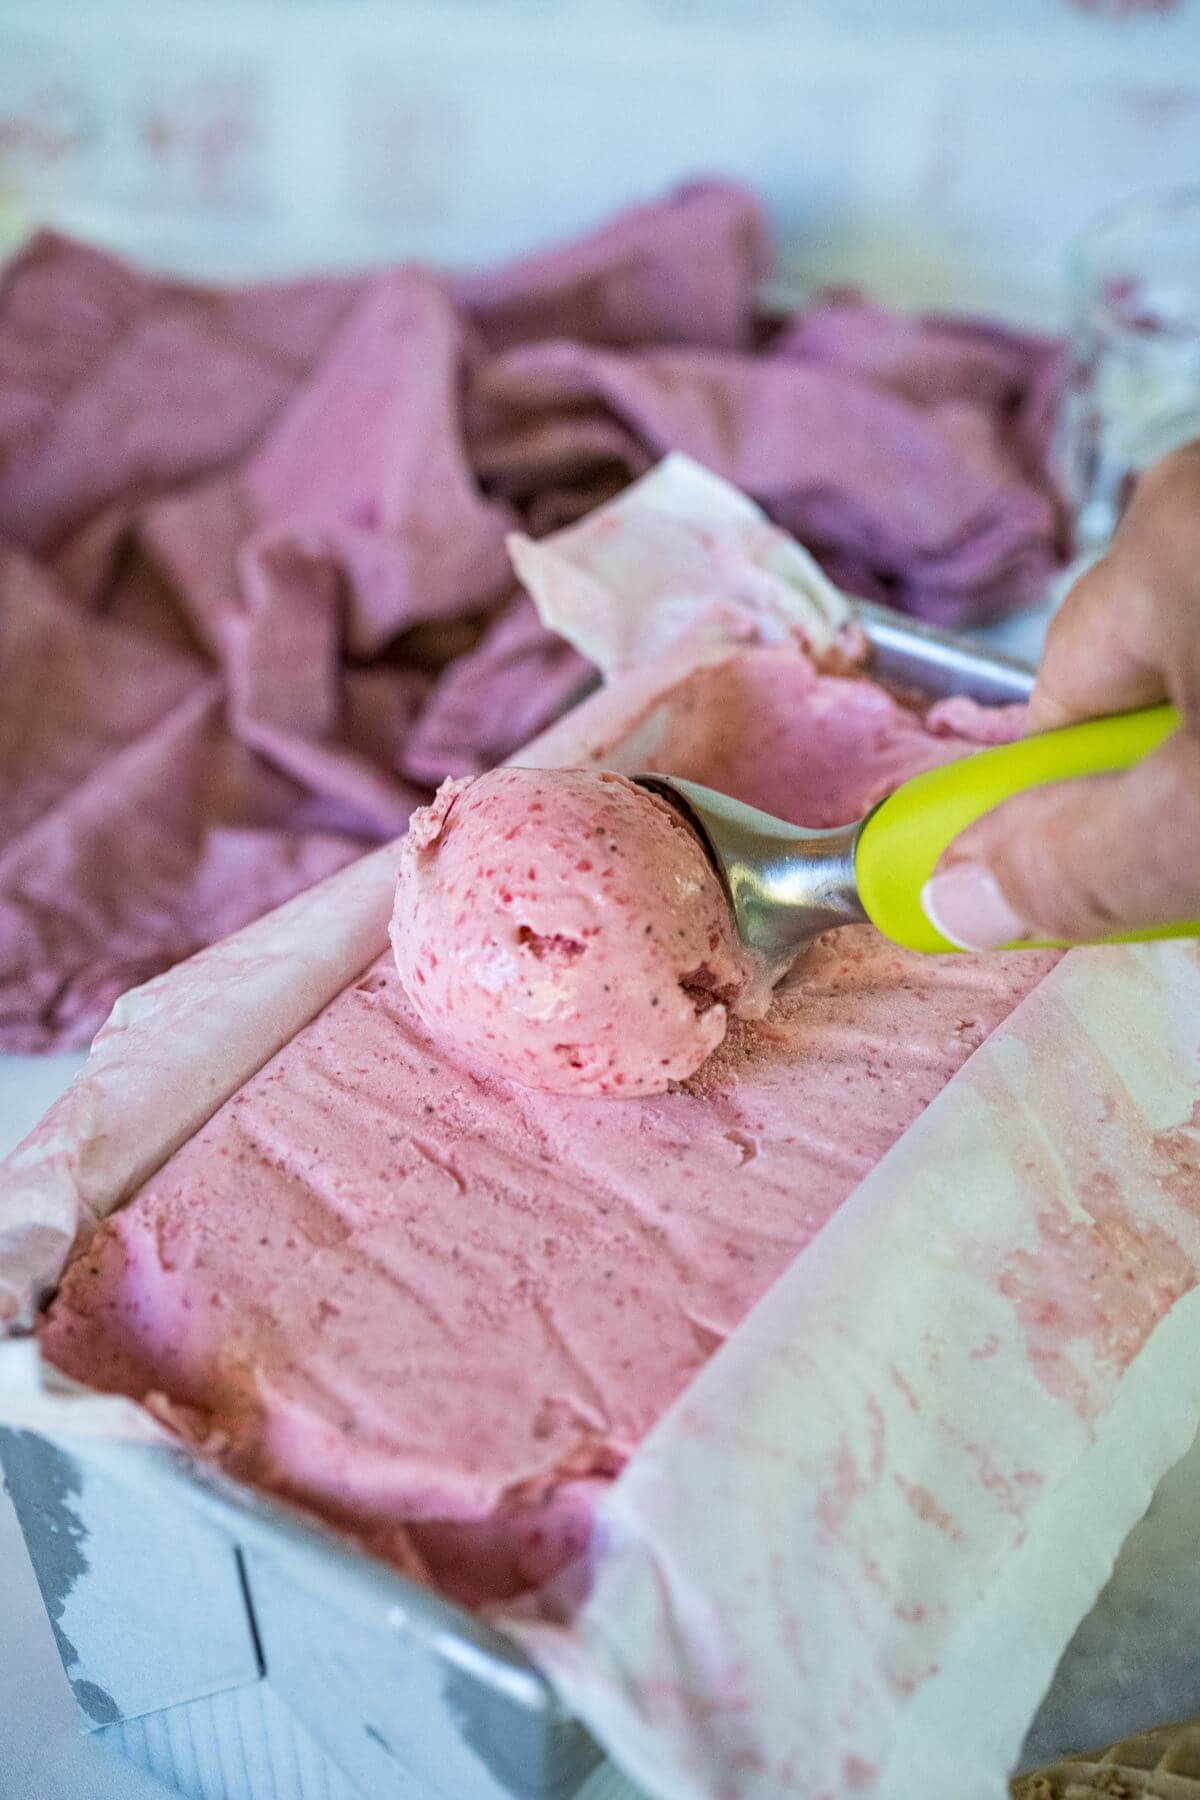
- Scooping tips. Let the gelato sit at room temperature for 5-10 minutes before scooping for the perfect texture.
Follow these simple steps, and you’ll have the creamiest, dreamiest strawberry gelato—no trip to Italy required!
Gelato vs. Ice Cream
So, what sets gelato apart from regular ice cream? Gelato has less fat because it uses more milk and less cream. Then, you have a special gelato maker vs. a traditional ice cream machine transforming the mixture into a smooth, light texture.
You do need a gelato machine for authentic Italian ice cream. Gelato machines freeze on demand, so there is no pre-freezing of the ice cream bowl. Using a compressor to freeze the ice cream makes it smooth and creamy.
So, while you need a specific machine to make authentic gelato, this homemade machine-churned recipe comes in as a close second. Try my lemon gelato as well; it is heavenly.
Thanks to its vibrant, fresh flavor, strawberry ice cream is a favorite of mine. The generous amount of fresh ripe strawberries makes this homemade ice cream truly irresistible. I also love this simple recipe, using everyday ingredients you likely already have on hand.
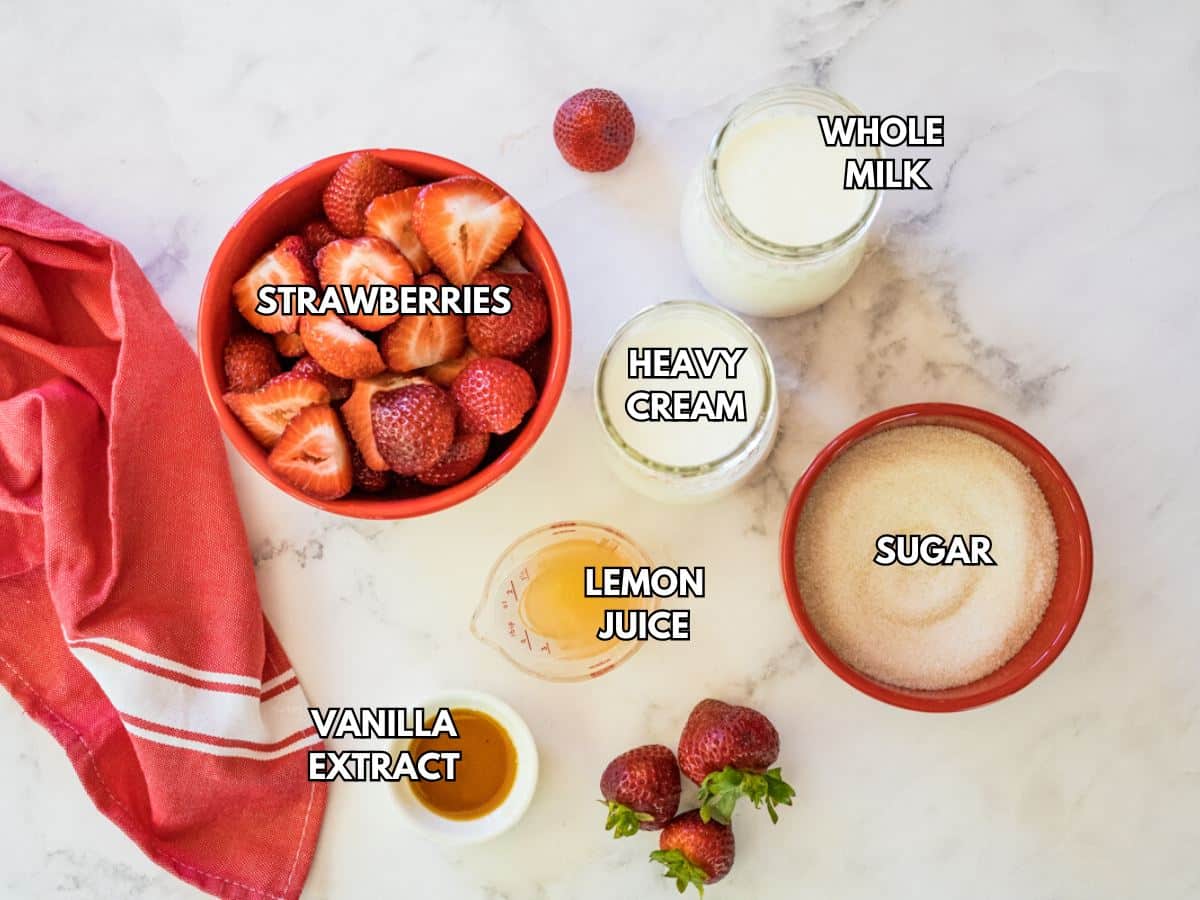
Ingredients For Strawberry Gelato
Some gelato recipes use eggs for a custard base and cook the strawberries to concentrate their flavor. My version skips both steps, letting the fresh strawberries shine for a lighter, more vibrant gelato.
- Fresh Strawberries: Wash and remove the stems. You can use frozen berries, but for optimal flavor, I recommend fresh. This is an excellent way to use up older strawberries!
- Granulated Sugar: I prefer an all-natural cane sugar, but you can use any type. The sugar helps the ice cream stay creamy and soft as it freezes.
- Whole Milk: Whole milk is the key to that rich, smooth texture. You can use other percentages of milk, but your results will vary.
- Heavy Cream: Contributes to the creamy classic gelato texture.
- Vanilla: A splash of vanilla extract helps balance all the flavor profiles and prevent ice crystals from forming.
- Lemon Juice: Fresh squeezed is best here. The lemon is needed to help act as a preservative for the recipe and balance the sweet and tart flavors.
Get the full recipe in the recipe card below.
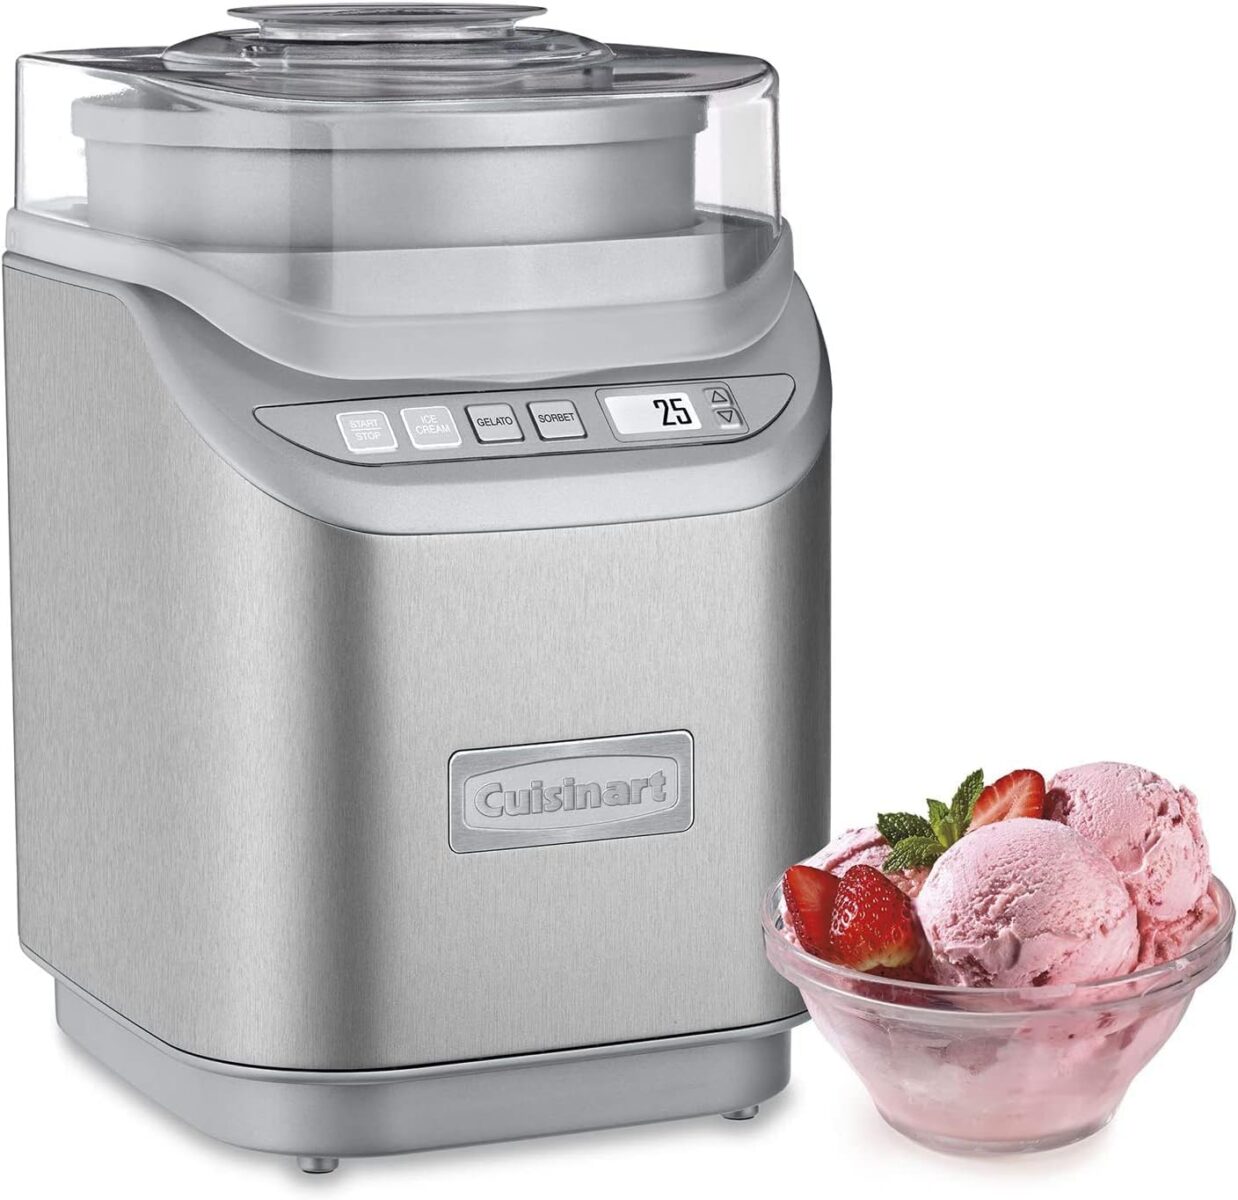
Recommended Tools
- I love my Cuisinart Ice Cream Maker and this handy KitchenAid Ice Cream accessory! Both hold 2 quarts.
- Use a food processor or blender to whir up the strawberry mixture.
How To Make Strawberry Gelato
Step 1 | Freeze Ice Cream Barrel for 24 hours!
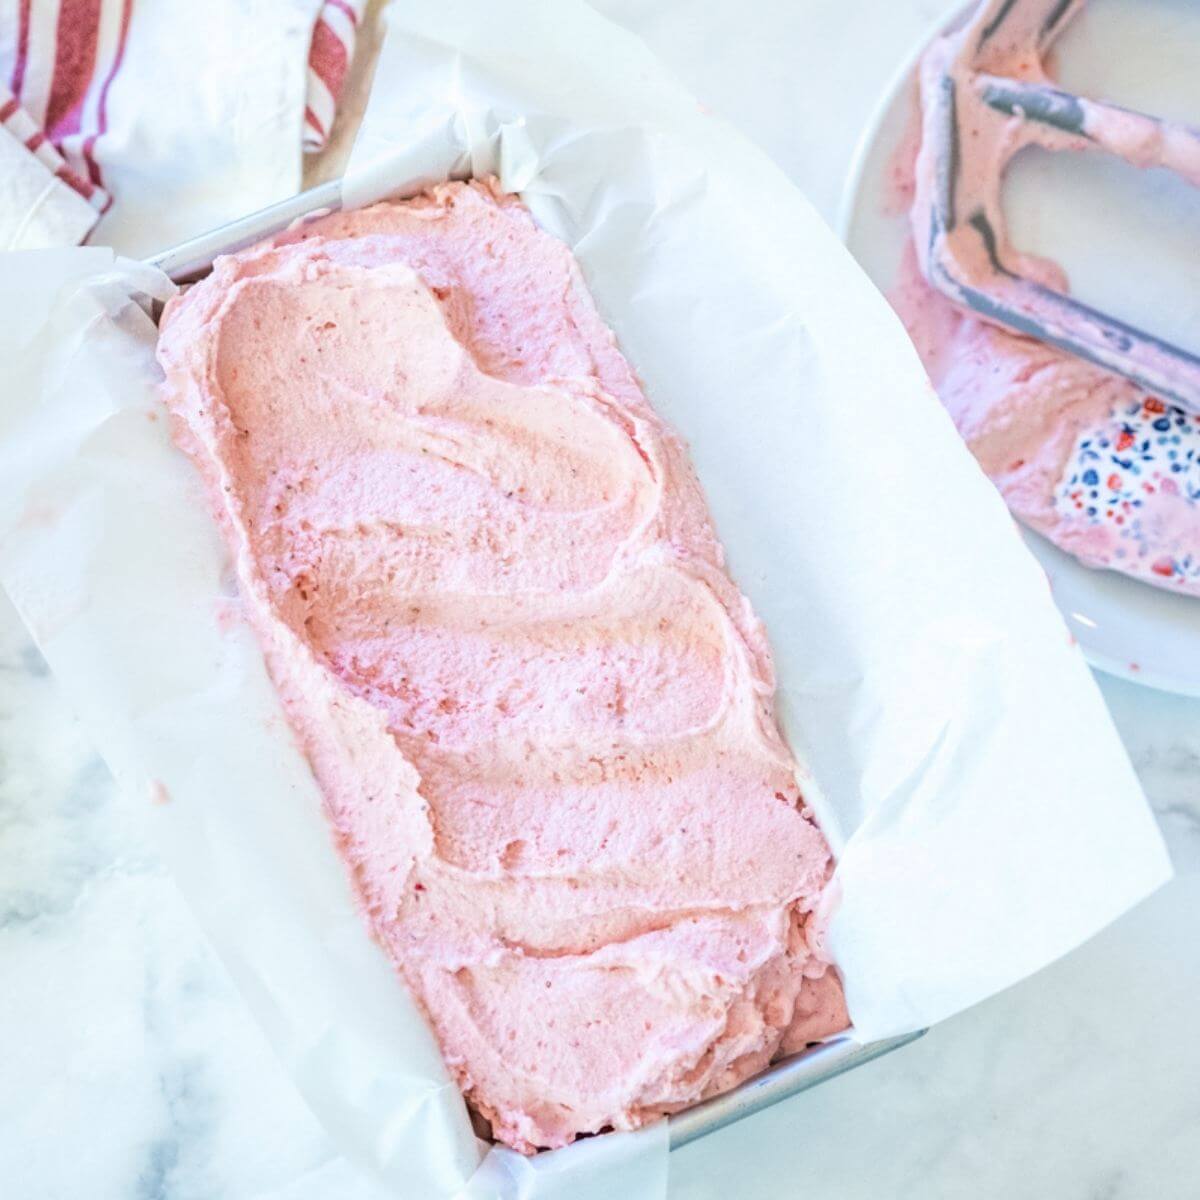
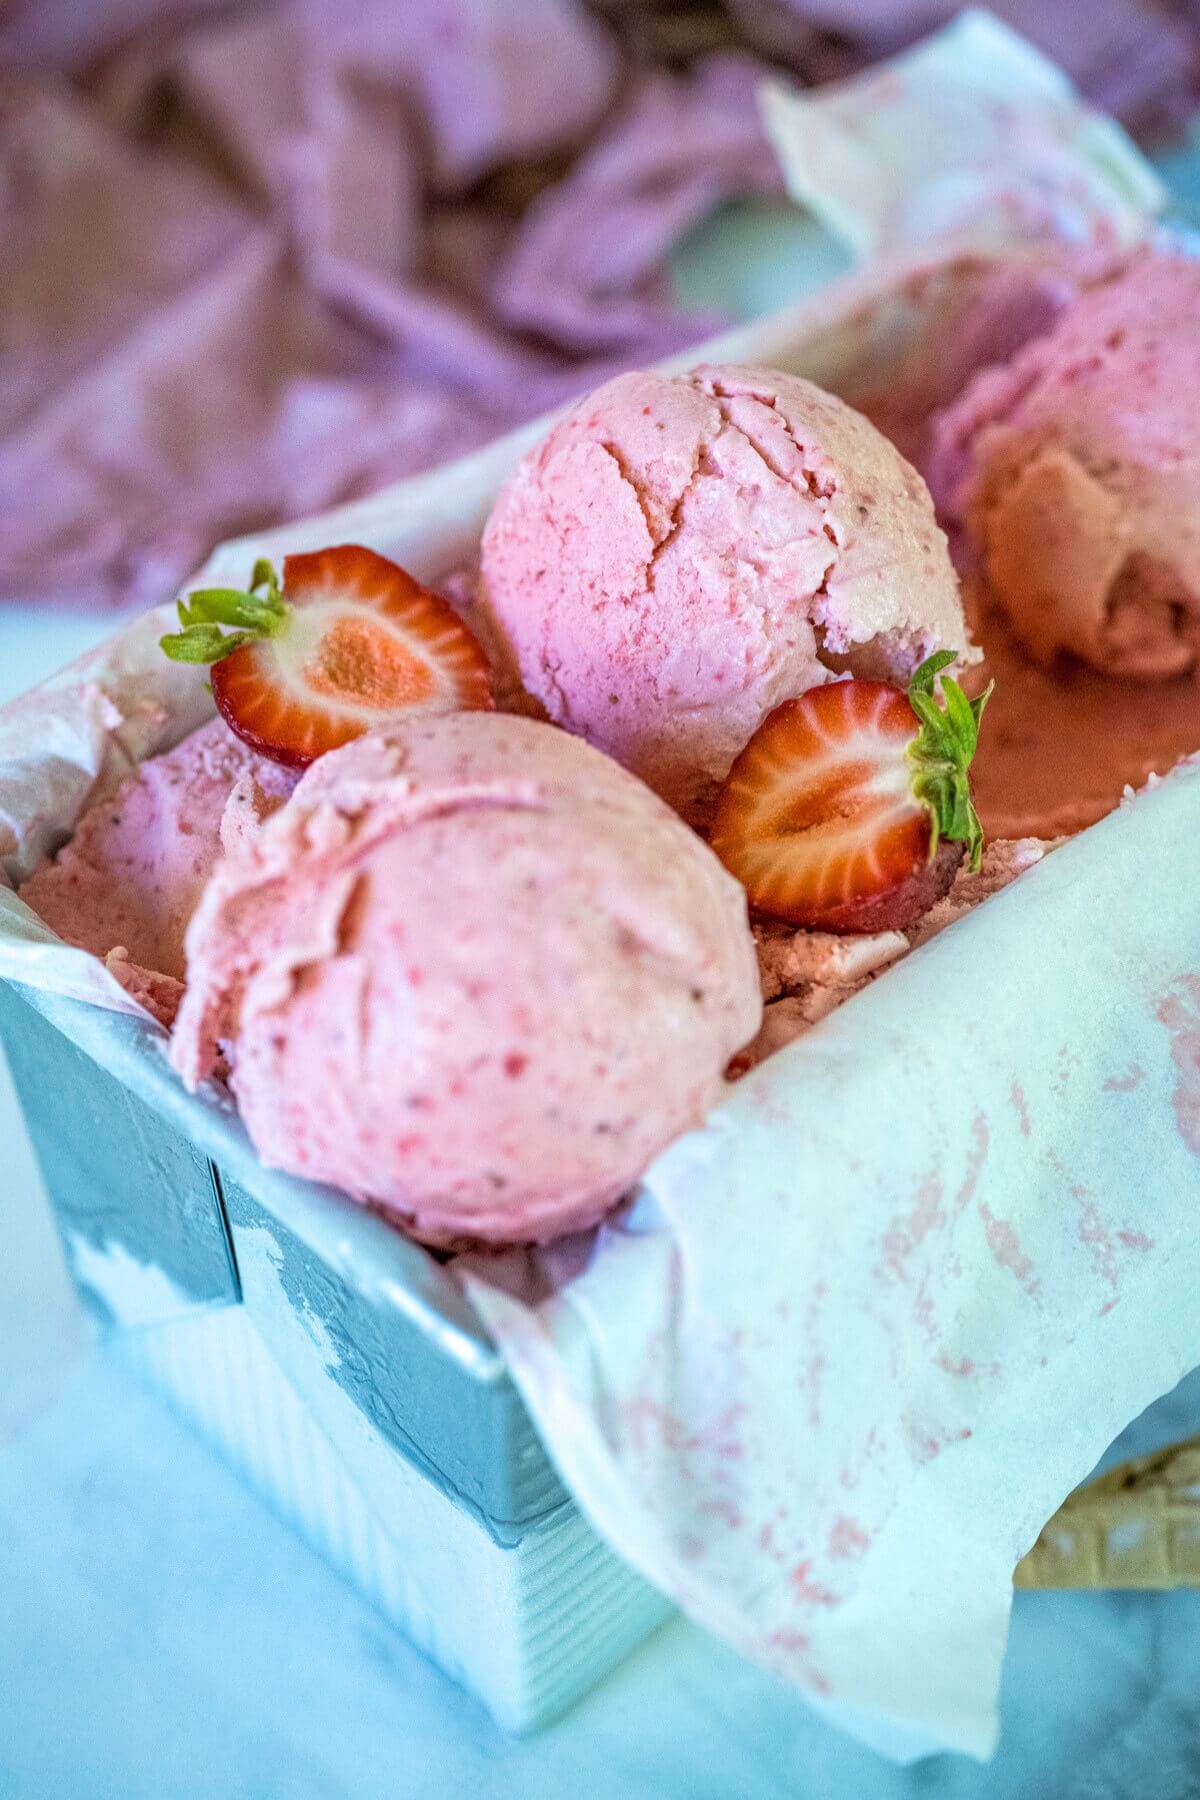
Before you start, make sure the ice cream freezer barrel has been frozen for at least 24 hours. Place your ice cream container you will store the ice cream in into the freezer for 1-2 hours before you start. I like to use a loaf pan, lined with parchment paper.
Step 2 | Prep Strawberry Mixture 6-24 hours ahead
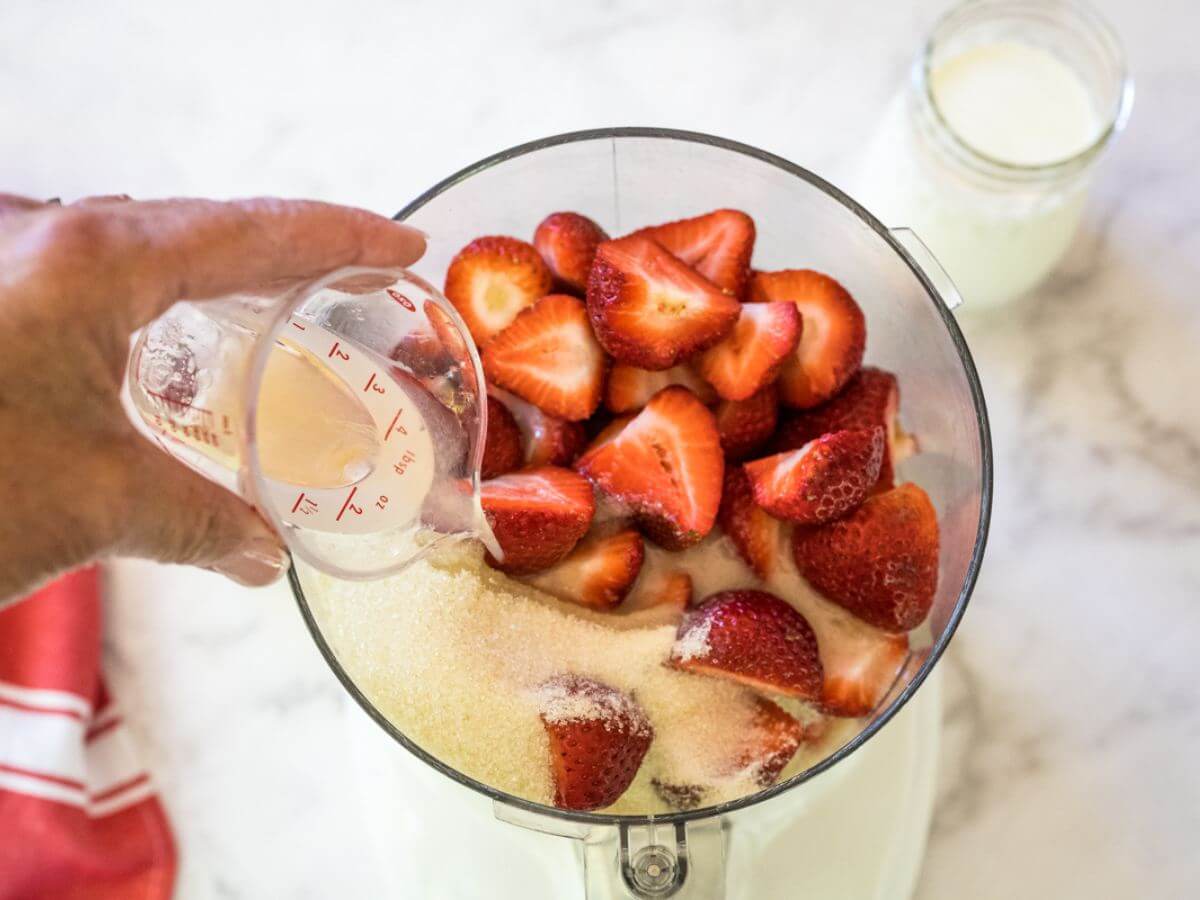
Start by washing and stemming strawberries. Then, place the fruit in a food processor or blender. You may need to do this in batches if using a smaller blender.
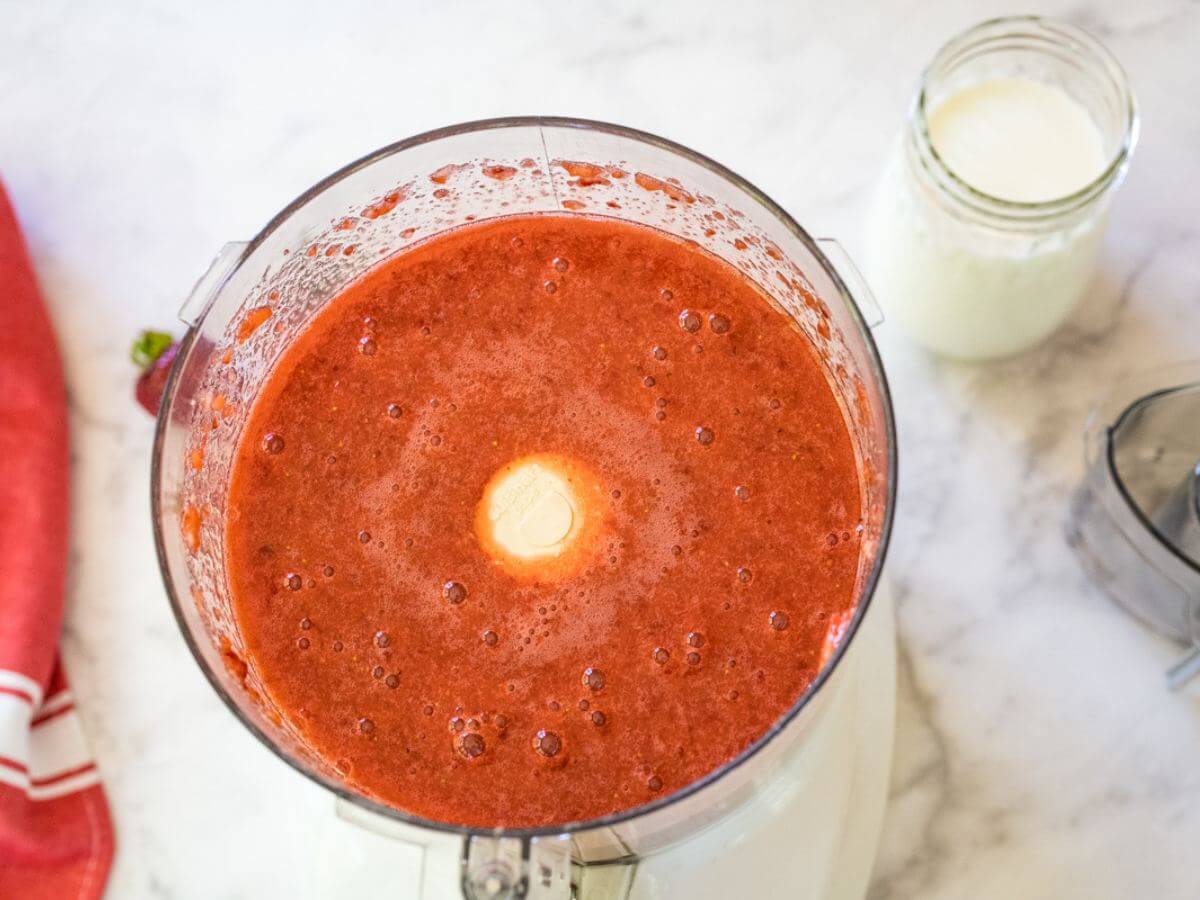
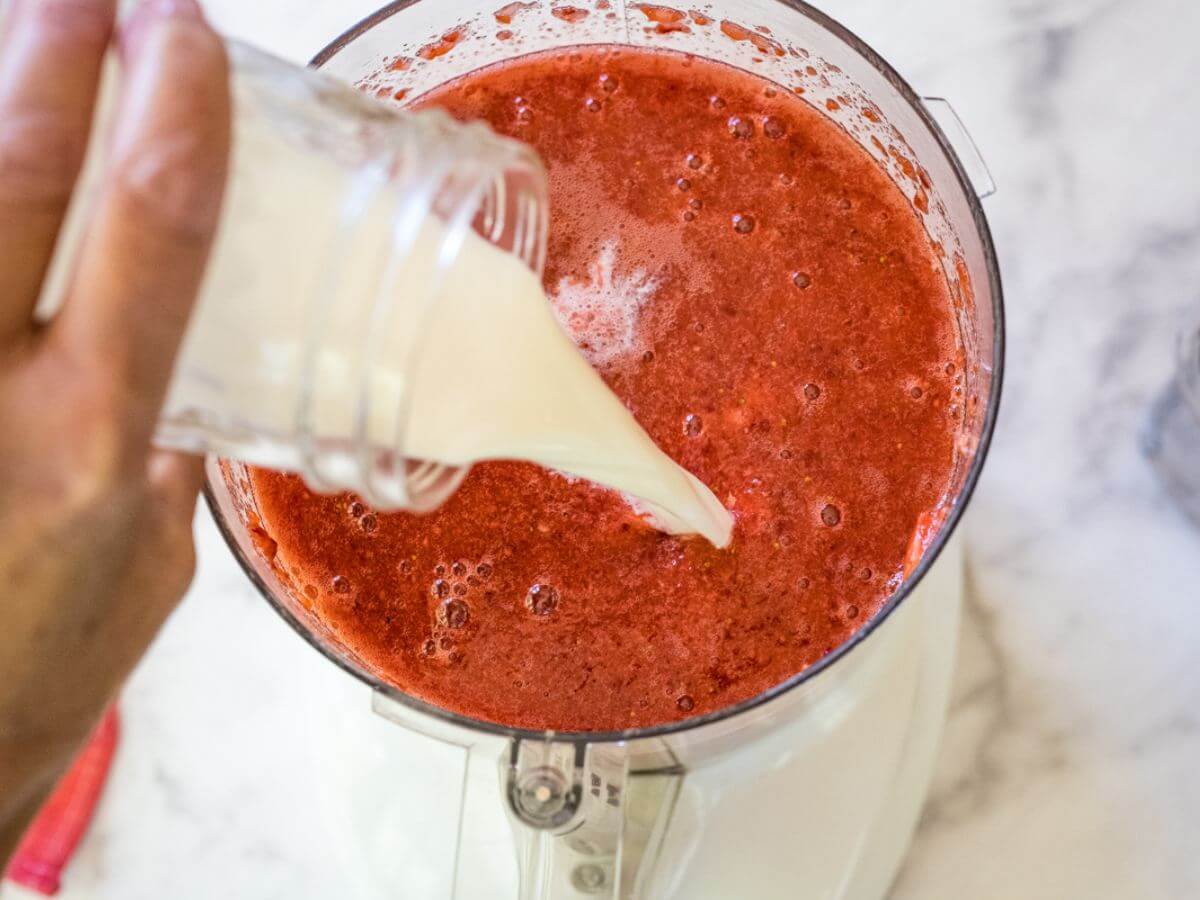
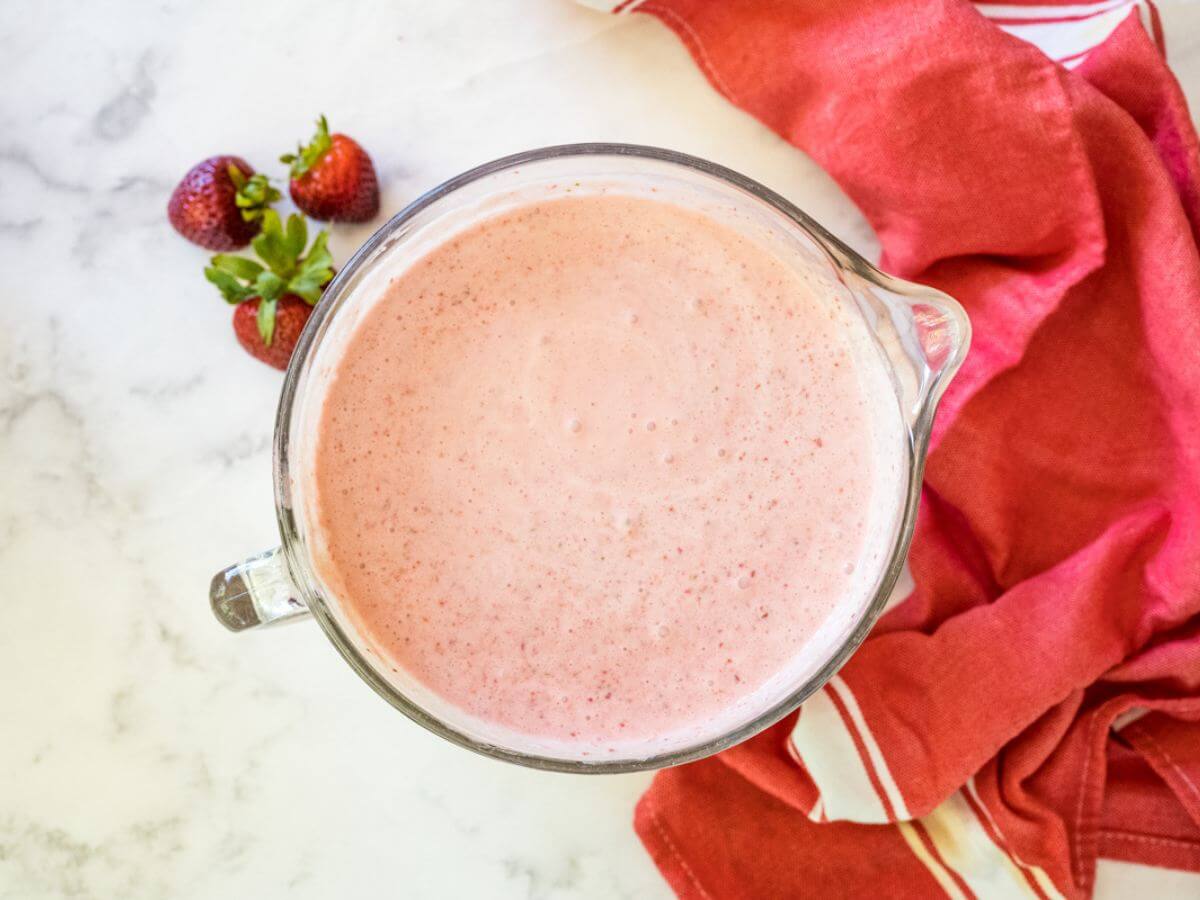
Add the lemon juice, vanilla, and sugar. Blend until smooth. Then, add the milk, blending again until creamy.
Step 3 | Whip Up Heavy Cream
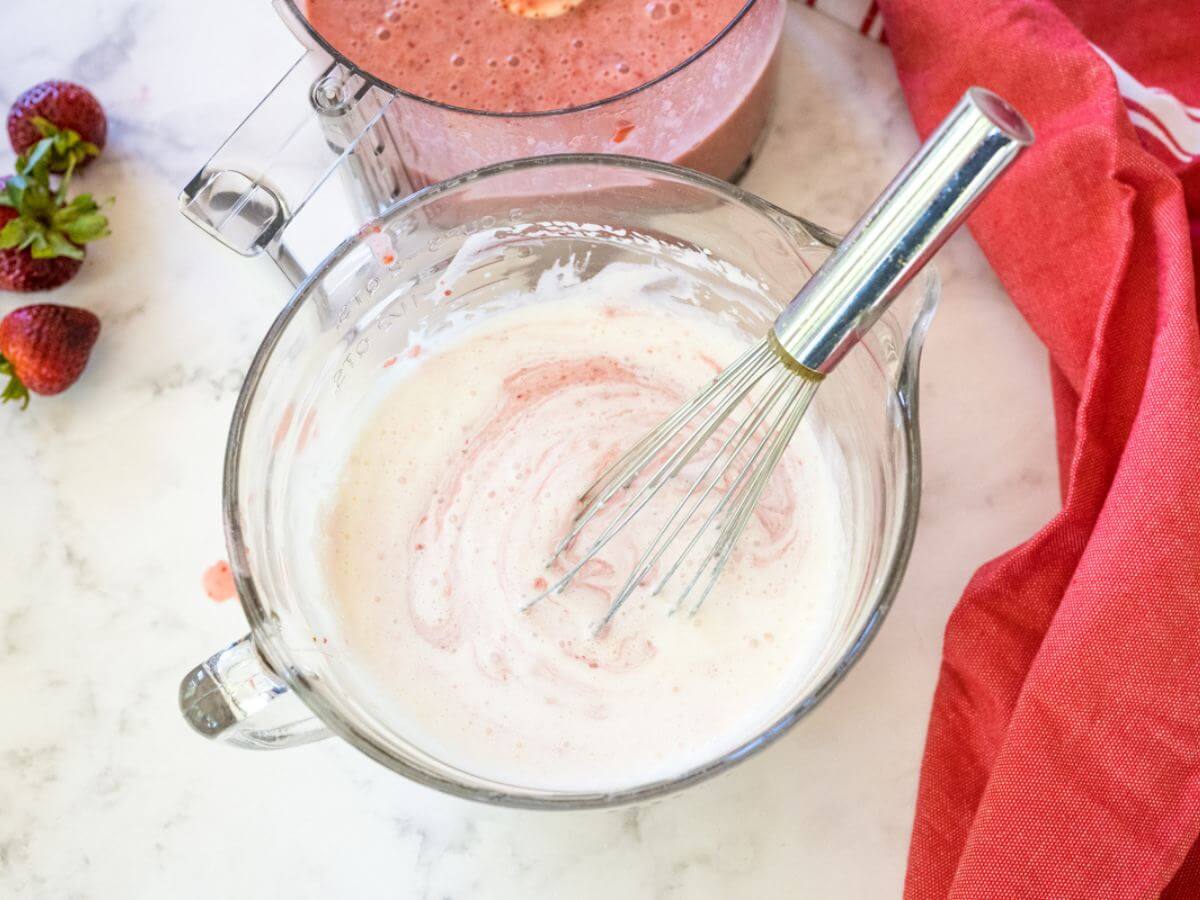
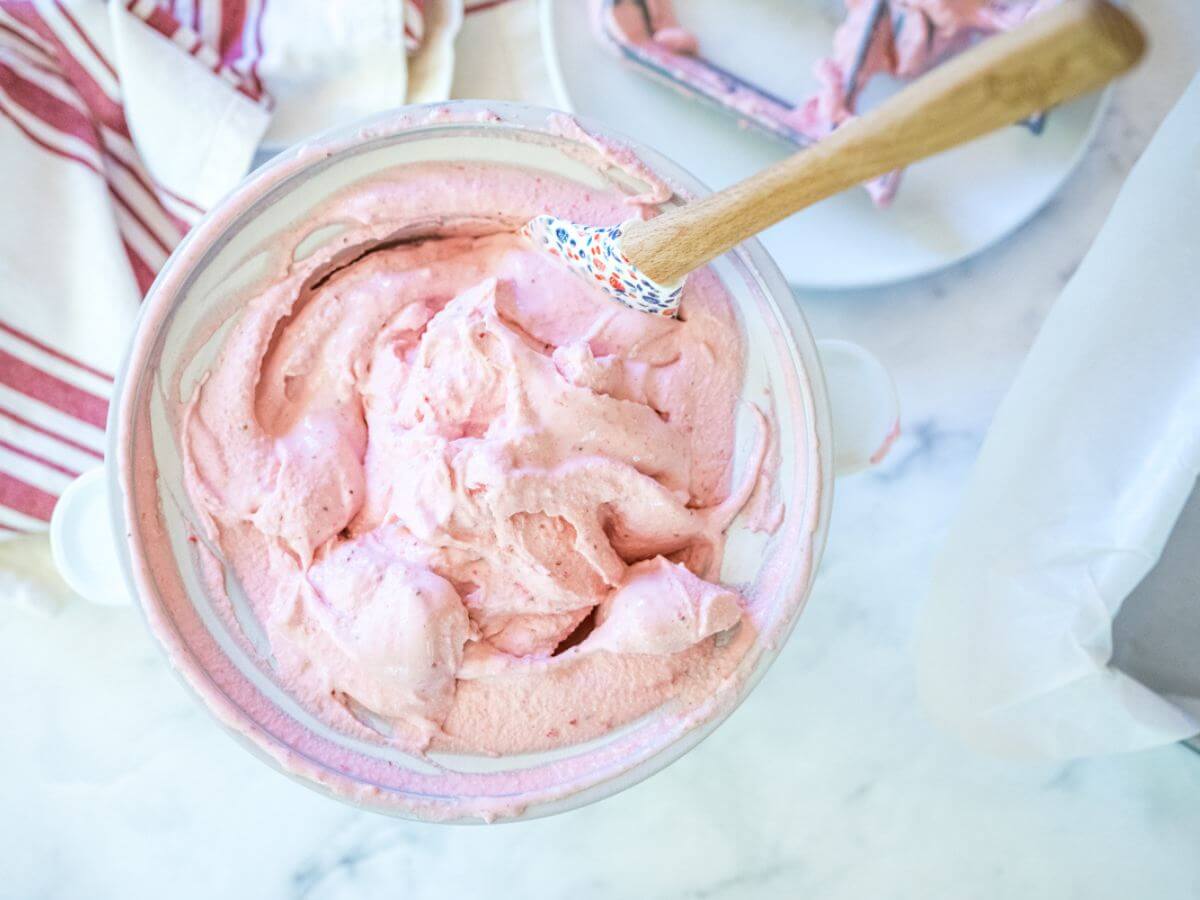
In a large bowl whisk the heavy cream until it is frothy and thicker in texture but not turned into whipped cream.
Step 4 | Fold In Strawberry Mixture and Refrigerate
Then gently fold in the strawberry mixture until fully mixed, with no white streaks. Then, place the mixture in a sealed container in the fridge for 6 to 24 hours. See tips below if you need the ice cream sooner.
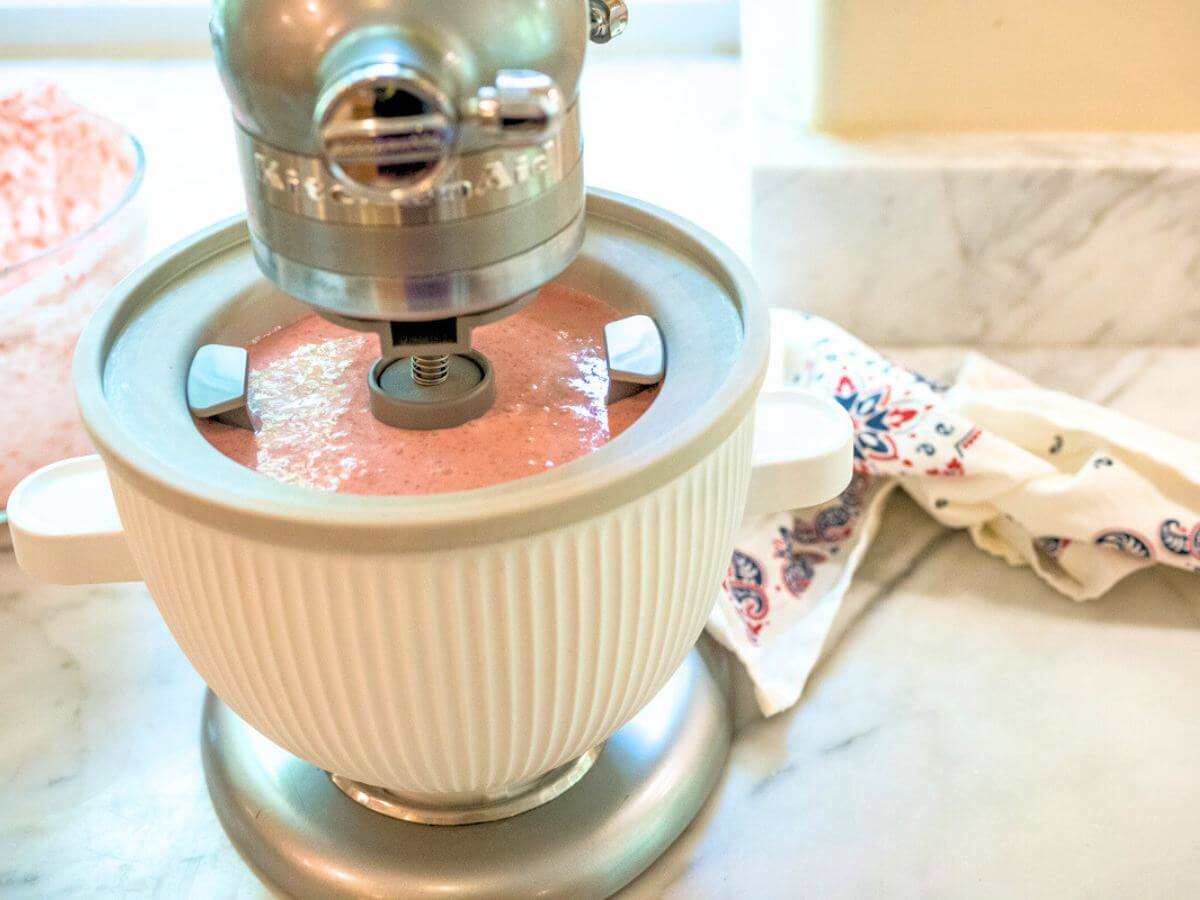
Step 5 | Freeze Gelato
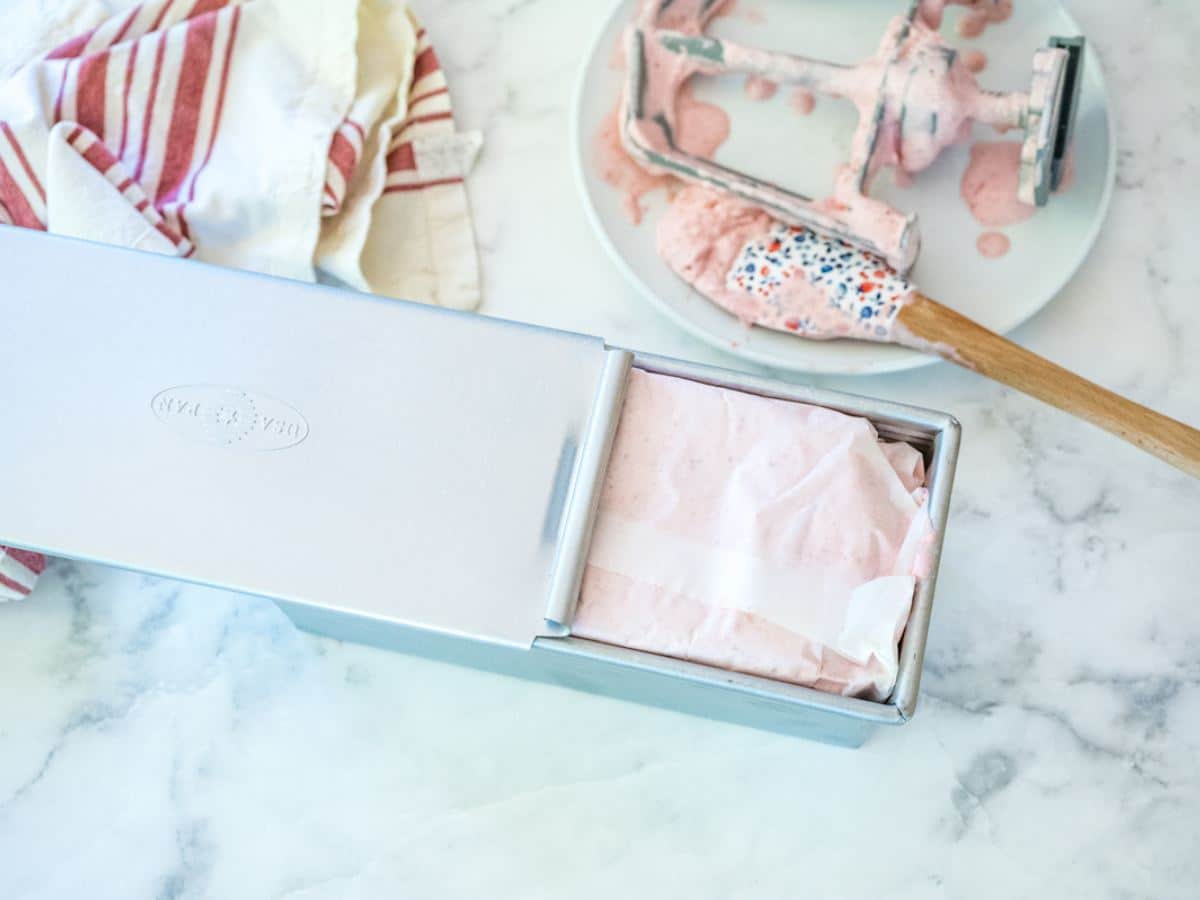
Follow the manufacturer’s instructions for your ice cream maker. Mine (both my KitchenAid ice cream freezer and my Cuisinart) take about 20-25 minutes to churn. While churning, line a large loaf pan or 2-quart container with parchment paper if desired (makes it easier you can even remove and slice the ice cream!).
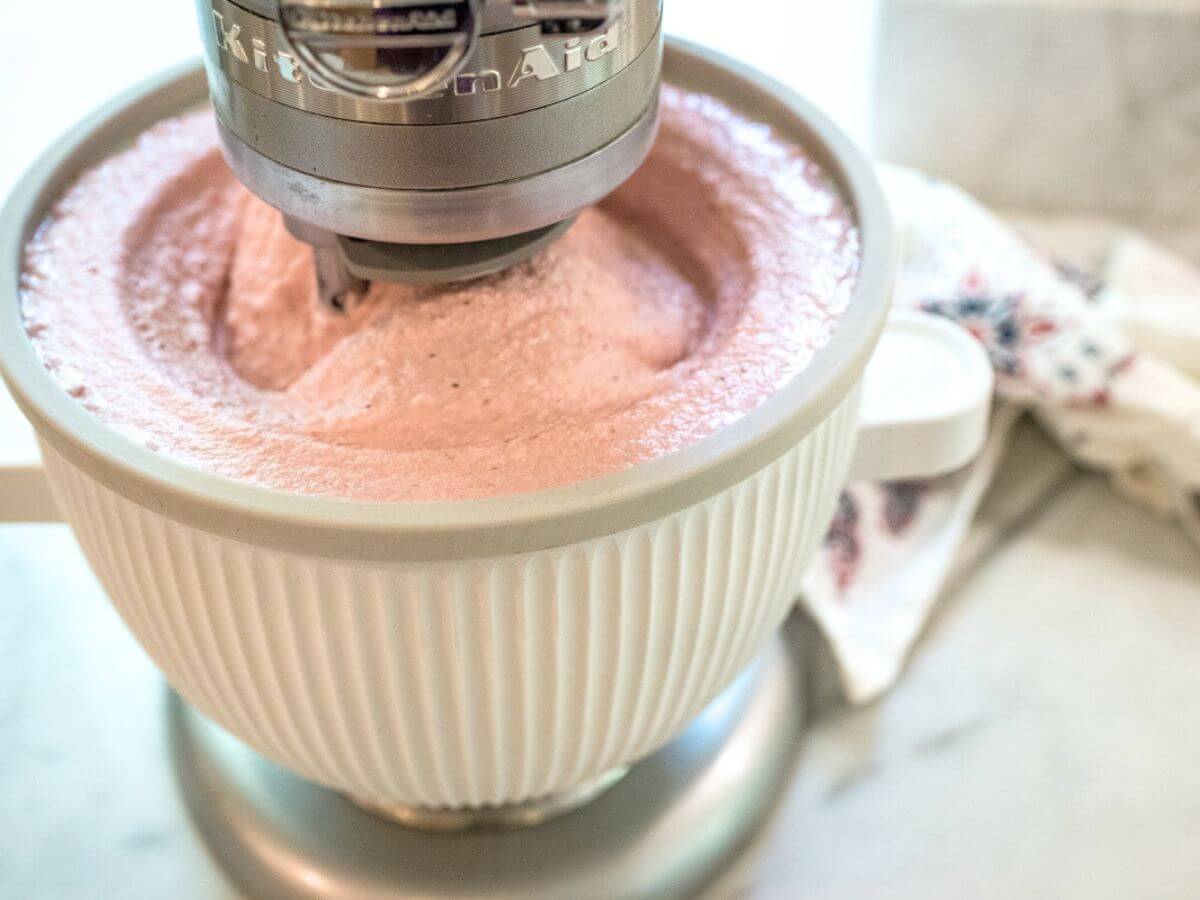
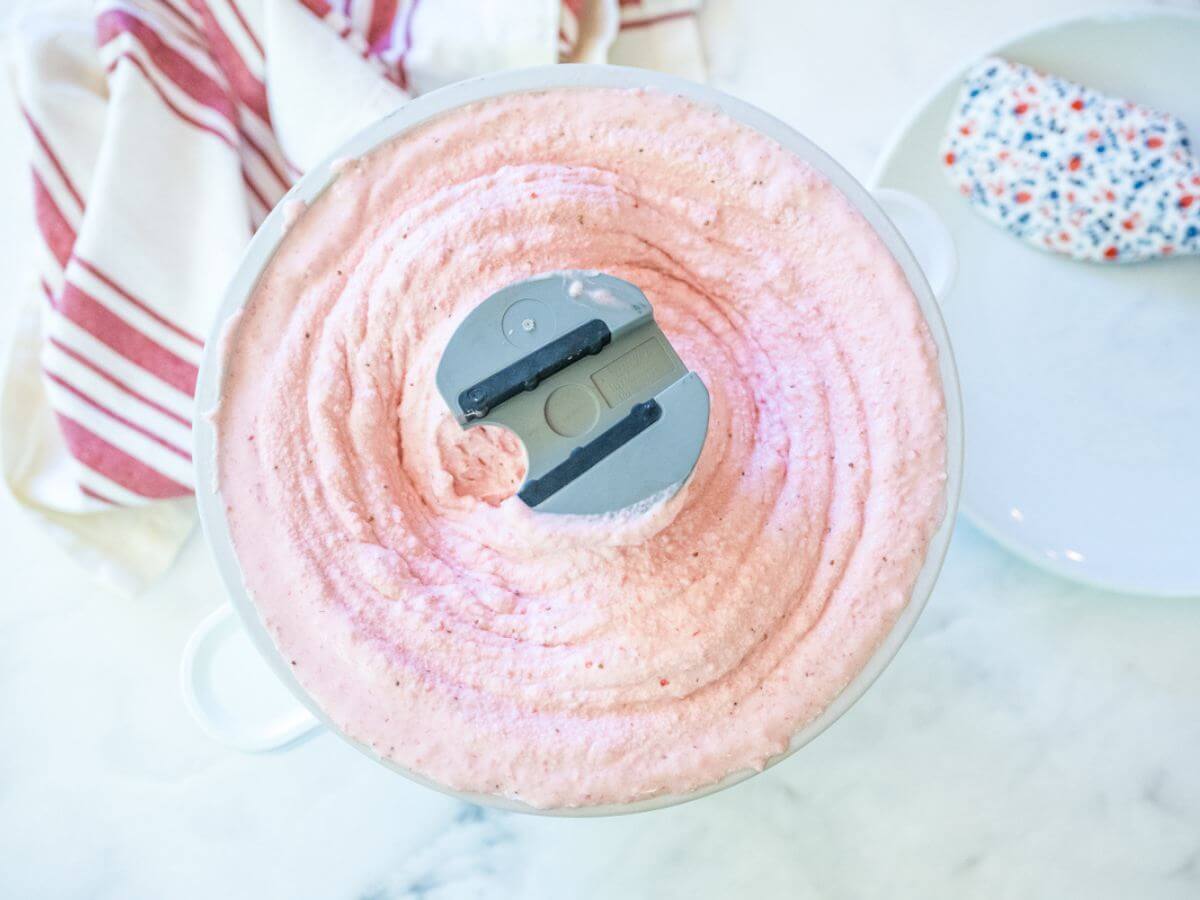
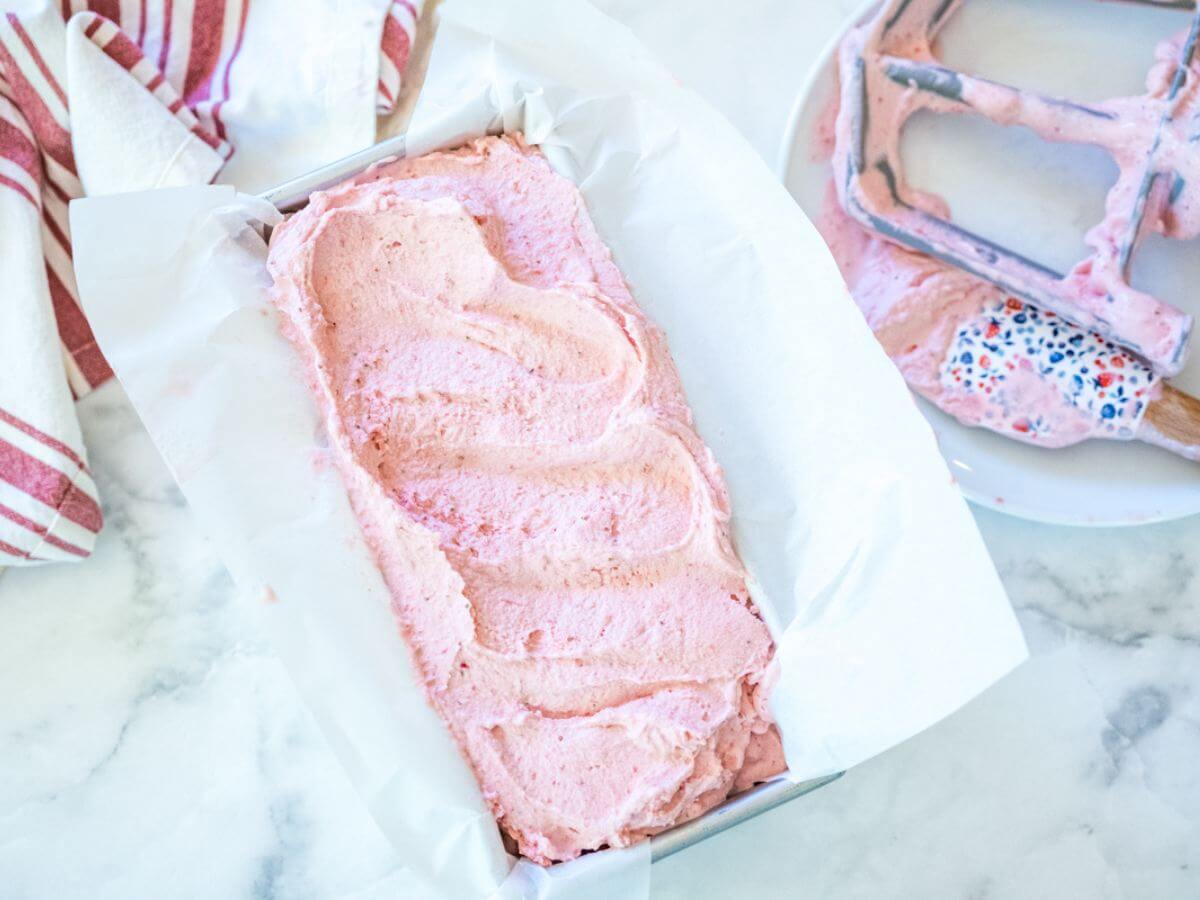
Then, scoop the mixture into the freezer-safe container and freeze at least 4-6 hours before serving for firm ice cream.
The ice cream will have a soft-serve texture right out of the machine, but it will firm up the longer you freeze it. Before freezing, press a piece of parchment paper or plastic wrap on top to prevent ice crystals.
Frequently Asked Questions
You can use any other percentage of milk, like 2%, skim, etc. The biggest thing is that the texture will be altered. The gelato will not be as rich in flavor and creamy in texture.
Chilling the mixture before freezing allows the flavors to develop and blend beautifully. While you can churn it right away, I find the taste is noticeably better after a good chill.
Press plastic wrap or parchment directly onto the gelato to prevent ice crystals before sealing the container. Store it in the back of the freezer for best results. A splash of vanilla extract also helps keep it smooth!
Yes! Add them during the last few minutes of churning or fold in desired mix-ins just before freezing. Try mini chocolate chips or white chocolate chips, chopped nuts, or shortbread cookies.

Ways to Serve Strawberry Ice Cream
- Strawberry Shortcake: Amp up your strawberry shortcake using strawberry ice cream in place of vanilla, add more fresh strawberries and wow! Just WOW! Try making this strawberry sauce or this strawberry compote.
- Gelato Affogato: Whip up a shot of espresso or your favorite strong coffee. Then, add a scoop of strawberry gelato on top. This is a creamy and sweet drink.
- Whipped Cream: Add whipped cream to the top! With a few sliced strawberries.
- Ice Cream Sandwich: Grab some sugar cookies, chocolate chip cookies, or any other type of cookies, and add a scoop of gelato in between the cookies to make a homemade ice cream sandwich!
- Milkshake: Add a few scoops of the gelato into a blender with a splash of milk and blend up a milkshake. Add in mix-ins or keep it just as a strawberry shake.
Storage Tips
For the best texture, transfer your ice cream to an airtight container right after churning. Press parchment or plastic wrap directly on the surface to prevent ice crystals. Store it in the coldest part of your freezer—away from the door where temperatures fluctuate. It’s best enjoyed within 1-2 weeks, but don’t worry, the ice cream police won’t show up if you keep it a little longer!
More Ice Cream Recipes
Did you try this Strawberry Ice Cream — if you did, would you share your creation on Instagram, Facebook and Pinterest? Don’t forget to rate and comment!
More from The Fresh Cooky
Like this recipe?
Don’t forget to give it a ⭐️⭐️⭐️⭐️⭐️ star rating and leave a comment below the recipe!
Equipment
Ingredients
- 1 ½ pounds fresh strawberries washed and stems removed, may use frozen if preferred, but thaw slightly before pureeing
- 1 – 1 ½ cups granulated sugar I used all-natural cane sugar, use less sugar for sweet strawberries and more if your strawberries aren't as sweet
- 1 ½ cups whole milk may use other percentages if desired, will not be as creamy
- 1 cup heavy whipping cream
- 1 tablespoon vanilla extract the alcohol in the vanilla extract helps prevent ice crystals forming in your ice cream
- 3 tablespoons lemon juice freshly squeezed is best
Instructions
- Make sure your ice cream freezer barrel is frozen well for at least 24 hours (3-4 days preferred) before making ice cream.
- Place the strawberries (washed and stemmed) in the bowl of a food processor or high-speed blender, along with the lemon juice, vanilla extract, and sugar. Process until smooth and pureed.1 ½ pounds fresh strawberries, 1 – 1 ½ cups granulated sugar, 1 tablespoon vanilla extract, 3 tablespoons lemon juice

- Add the milk and process until creamy.1 ½ cups whole milk
- In a separate large bowl whisk the heavy whipping cream until frothy and just a little thicker (about like buttermilk).1 cup heavy whipping cream
- Add the strawberry mixture and fold to combine, until no white streaks show. At this point, I like to refrigerate the batter for at least overnight 10-12 hours and up to 24 hours. But it may be put into an ice cream freezer immediately if preferred.
- Freeze according to the manufacturer's instructions, typically about 20-25 minutes.
- Then transfer to a freezer-safe container (I use a loaf pan, lined with parchment paper) press a piece of parchment or plastic wrap onto the ice cream and freeze for 4-6 hours for soft but scoopable ice cream. Ice cream straight from the ice cream maker is soft-serve consistency and delicious, but for firmer ice cream, freeze up to 24 hours.


Notes
Storage Tips
For the best results, transfer your homemade ice cream to an airtight container right after churning, and press a piece of parchment paper or plastic wrap directly on the surface to keep ice crystals at bay. Store it in the coldest part of your freezer—away from the door where temps can fluctuate. It’s best enjoyed within 1-2 weeks, but don’t worry, the ice cream police won’t come after you if you let it go a bit longer! Success Tips for Gelato- Pre-freezing your equipment is a must for the best ice cream texture. I like to put my ice cream barrel into the freezer 2-3 days before making ice cream, but 24 hours is the minimum you should freeze it.
- Chill your strawberry ice cream batter for 10-12 hours for the best flavor and freezing.
- Follow the manufacturer’s guide on your ice cream machine to avoid overfilling it and to determine the optimal time to churn your gelato.
- Place your ice cream in the coldest part of the freezer, typically the back of a shelf. This will help create a consistent texture for the Italian ice cream.
- Scooping Tips: Allow the mixture to sit on the counter for 5-10 minutes before you scoop it to soften the gelato and make it easier to scoop.
Nutrition


Chris
Looking forward to making this! Can I put it in my ice cream maker and let it churn for 25-30 mins? You wrote this for step 6 and I believe you meant churn but I’m not sure: Freeze according to the manufacturer’s instructions, typically about 20-25 minutes. I plan to make this in a couple days.
Oh I’ll go and clarify that, Chris. Yes that’s exactly how to make it!!