


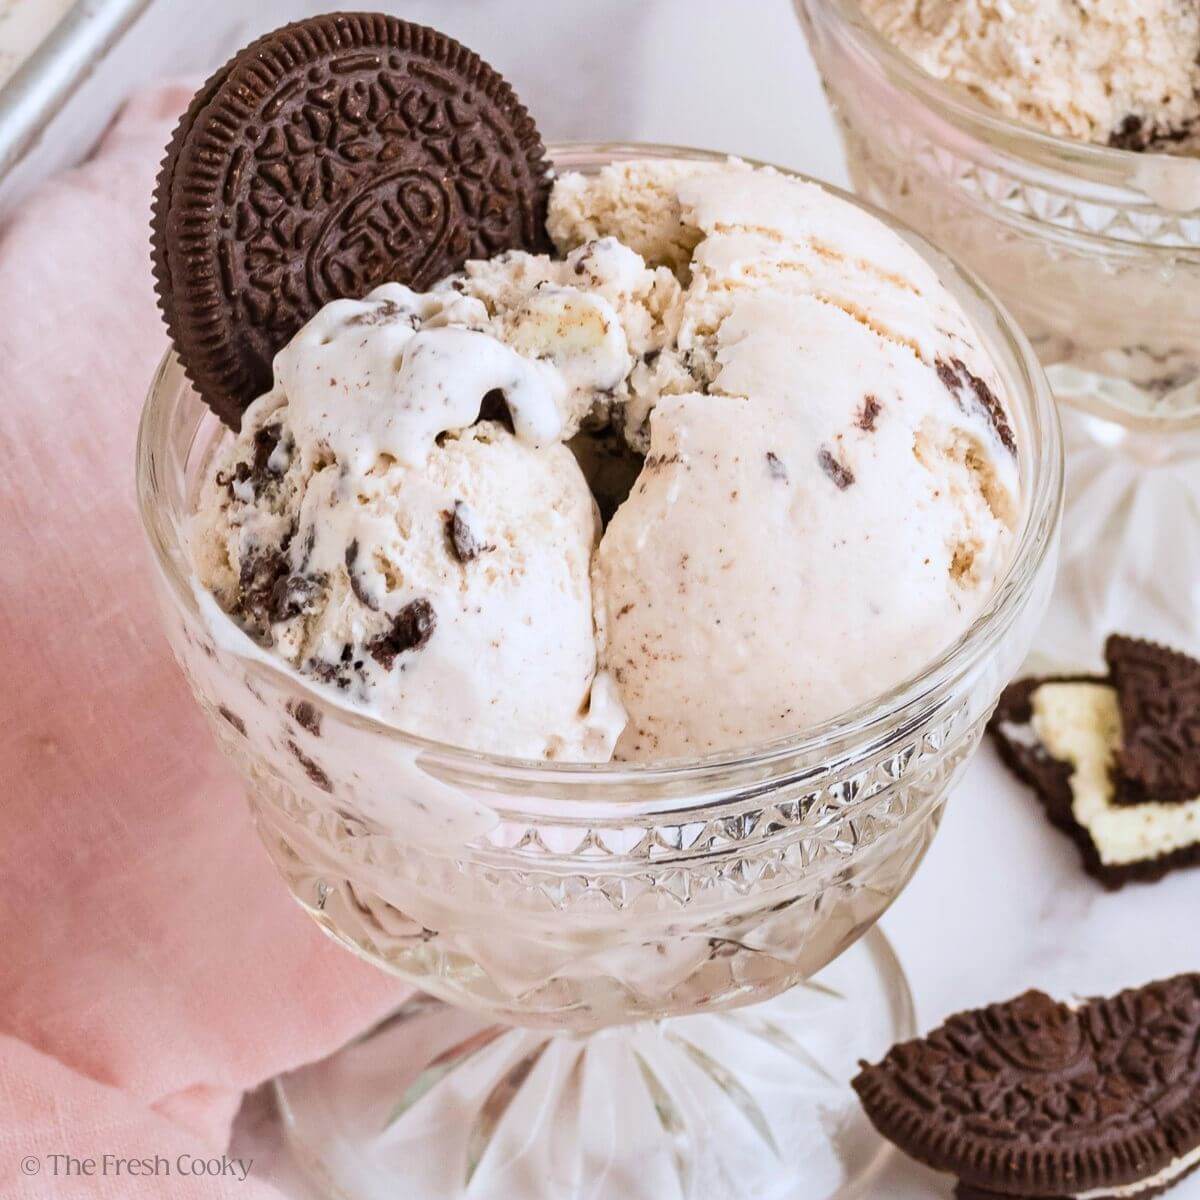
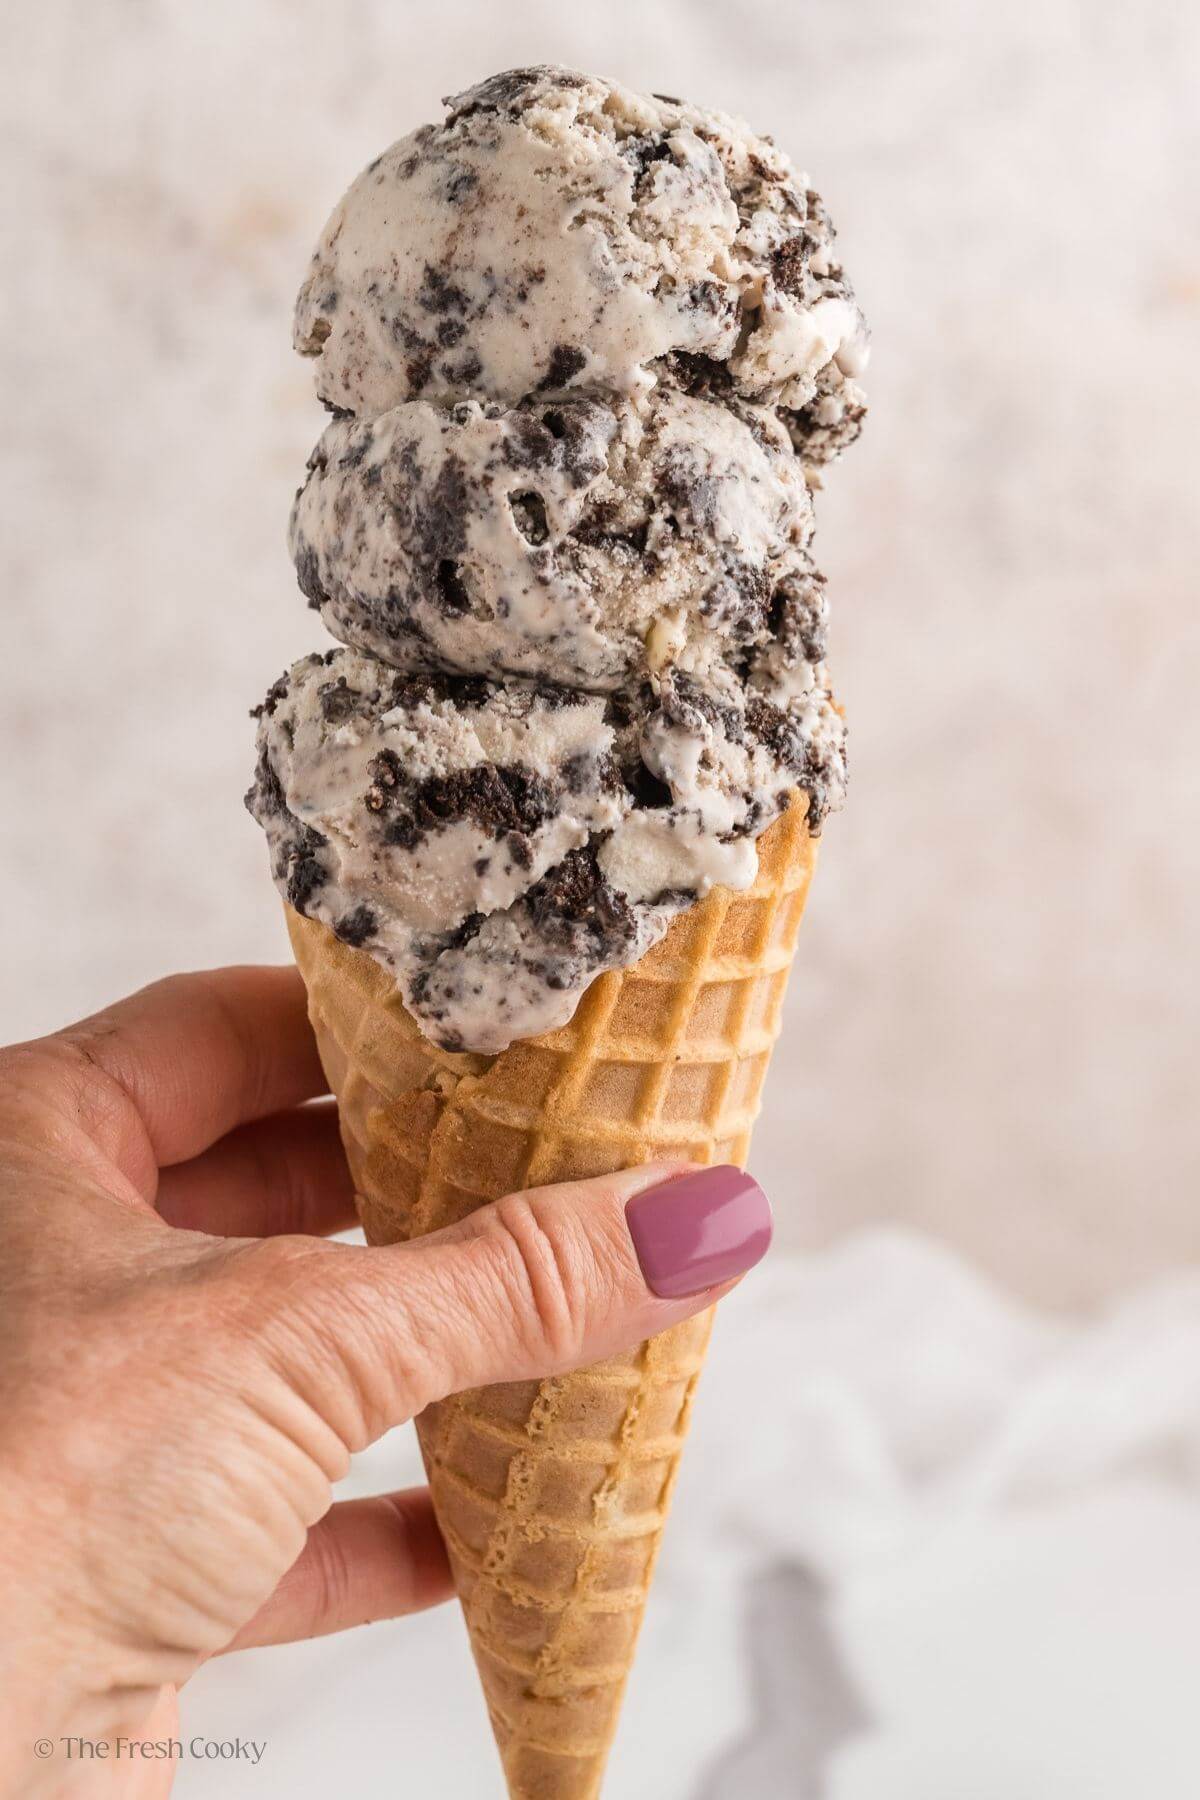
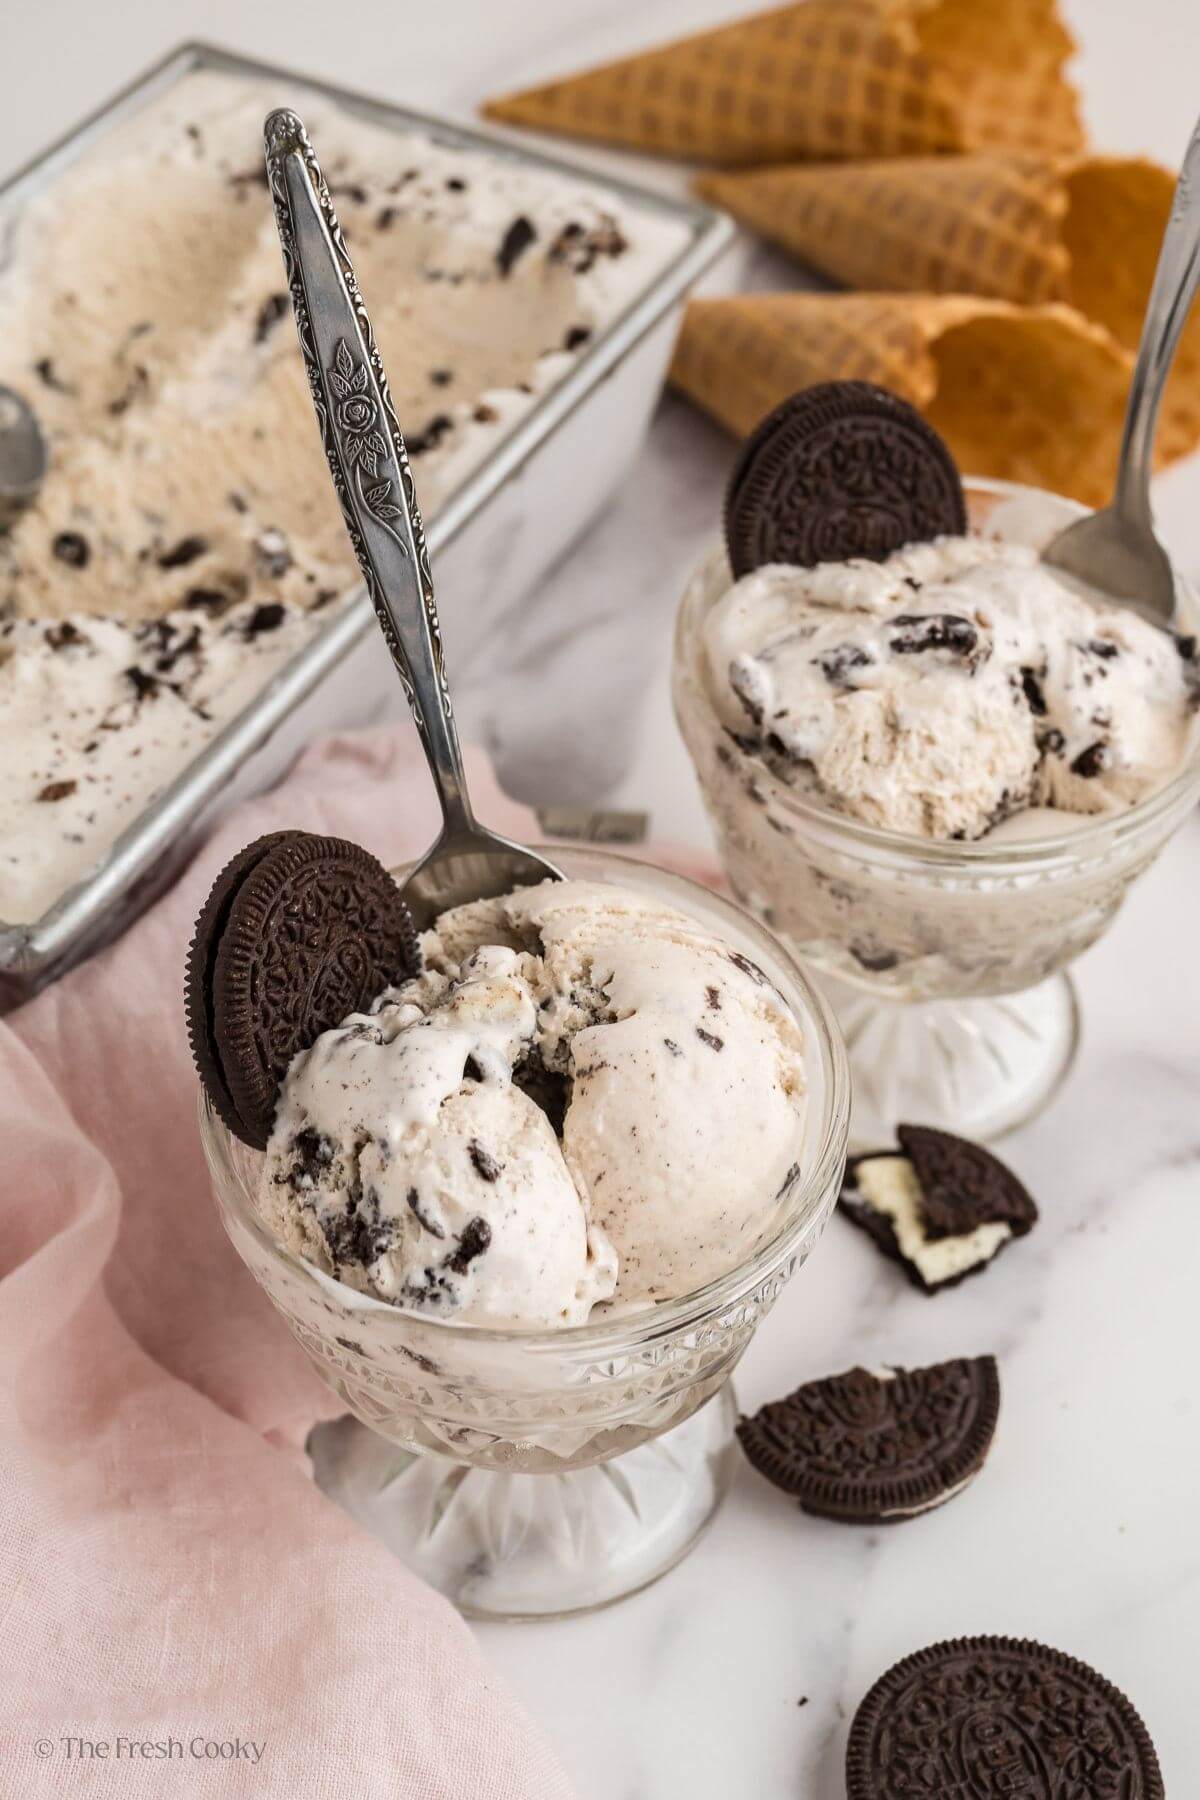
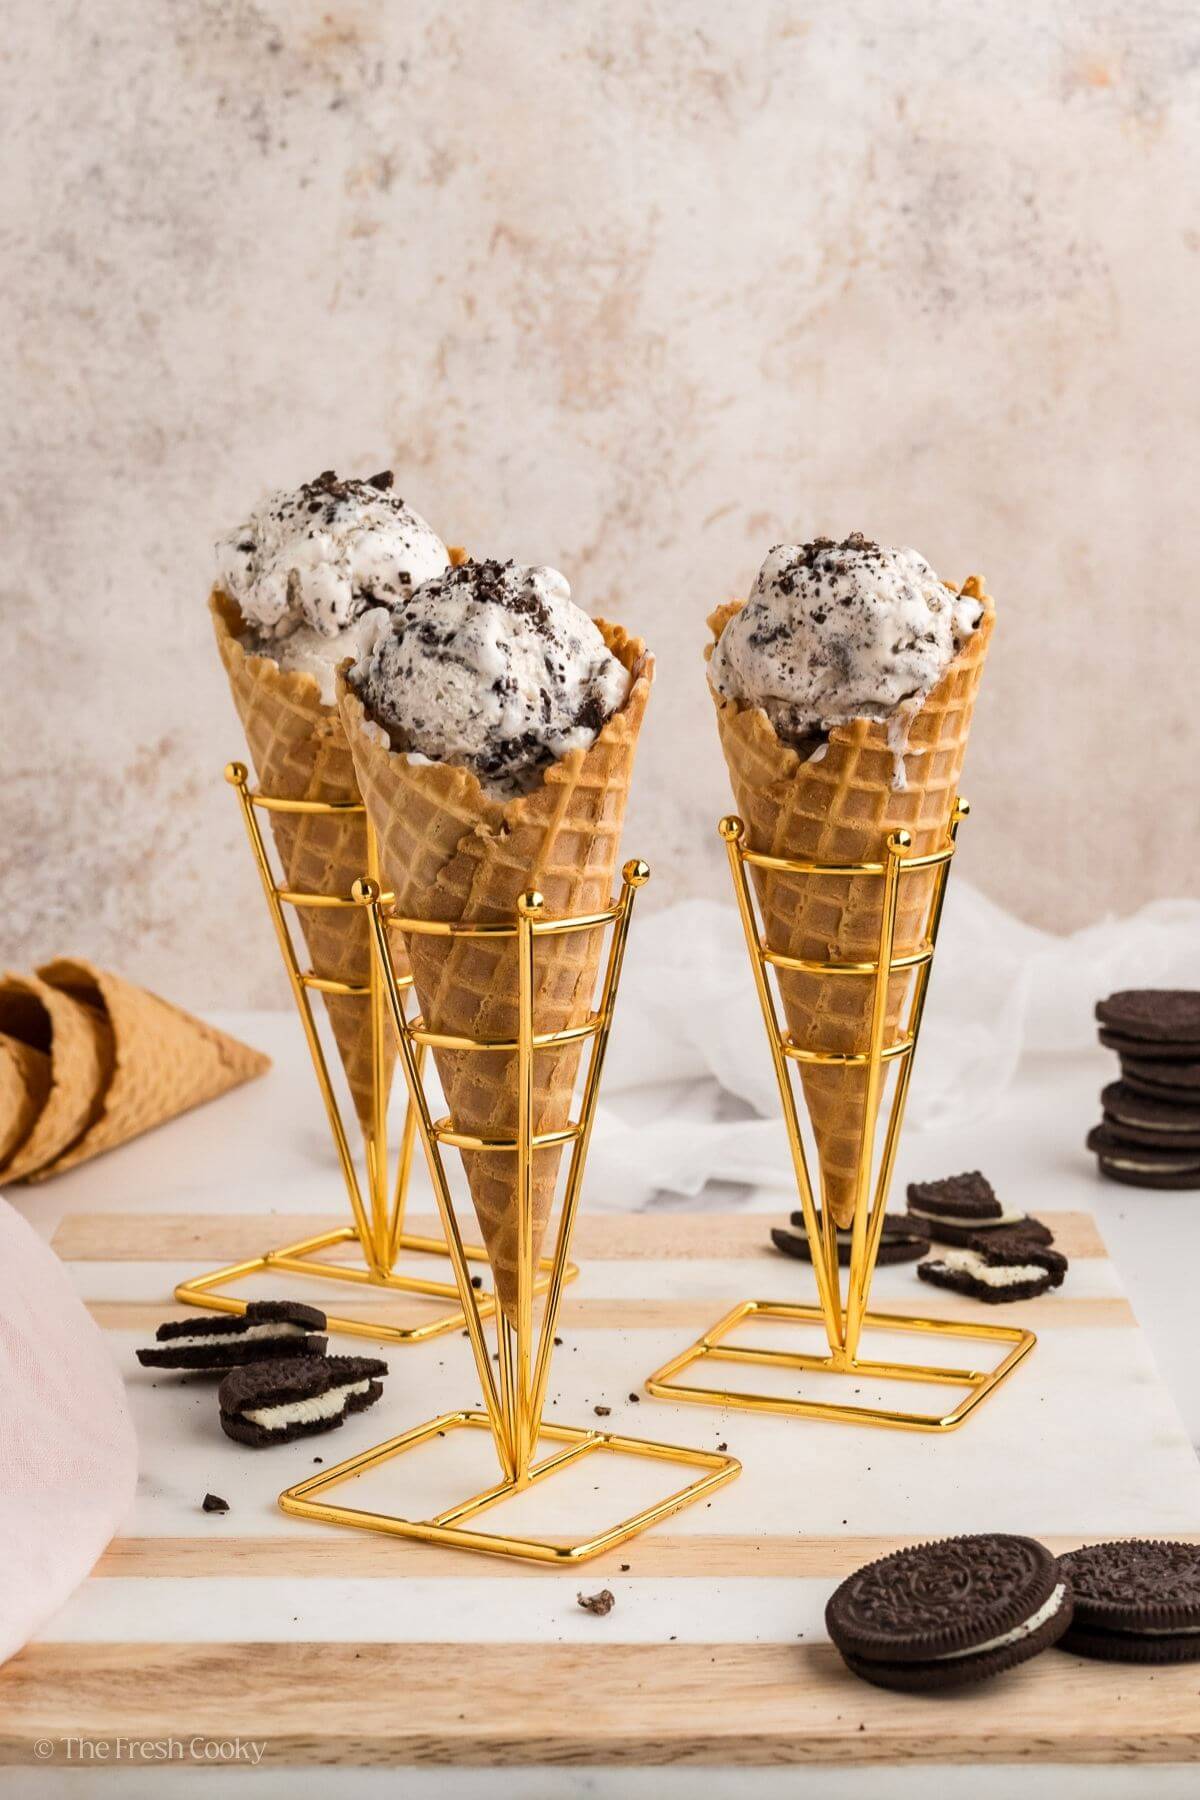
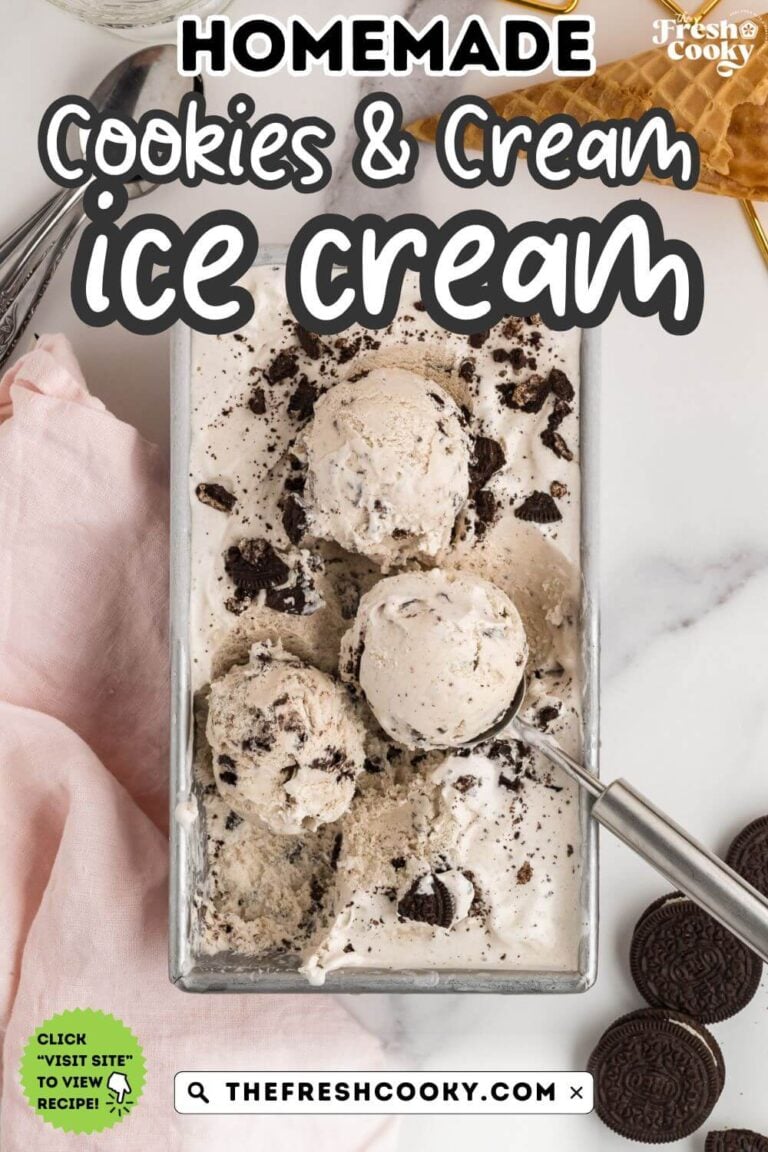
I mean, who can really say no to Cookies and Cream Ice Cream? This homemade version is loaded with even more cookies than the store-bought kind (because why not?). It’s made with a no-cook vanilla base and churned in an ice cream maker for that ultra-creamy texture.
Who doesn’t love homemade ice cream?
Yes, churning your own ice cream takes a little more time than the no-churn versions, but trust me—it’s totally worth it! We love, and I mean LOVE, homemade ice cream in our house. I’ve been testing and tweaking this Oreo cookie ice cream recipe for years to get just the right balance of creamy vanilla base with that classic crunchy, chewy and creamy texture from chopped Oreos.
One of the reasons I love making my own cookies and cream ice cream is because so many store-bought versions are loaded with ingredients I can’t even pronounce (hello, soy lecithin and high fructose corn syrup—no thanks!). And don’t even get me started on brands using skim milk instead of real cream. If you’re going to treat yourself, let’s treat ourselves right.
This recipe starts with a quick no-cook vanilla ice cream base—that means no egg yolks and no stovetop custard—and it gets packed with plenty of real Oreo cookies. We fold cookies into the batter and layer more in as we go, so every scoop is full of chocolate sandwich cookie goodness. It’s rich, creamy and yes, I’ll show you how to make it gluten-free too!
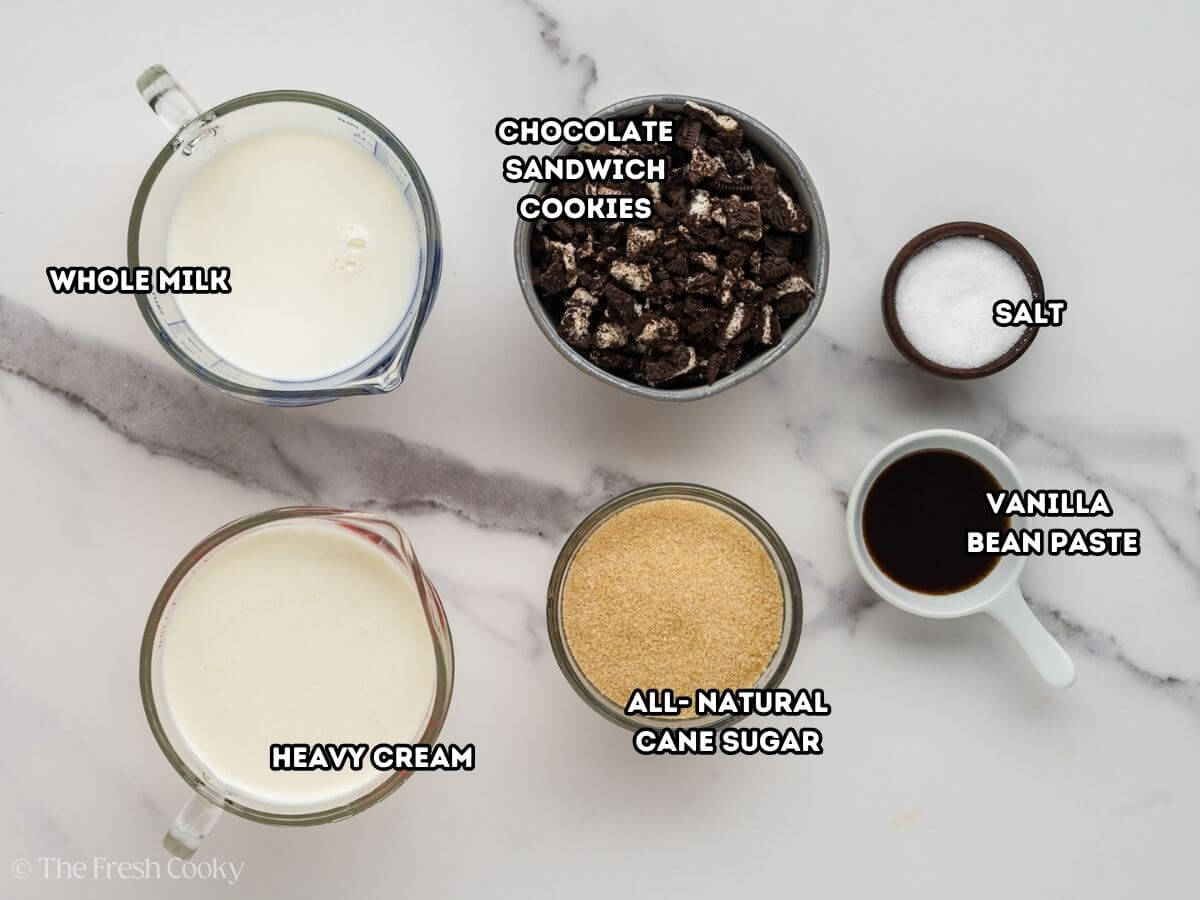
Cookies N Cream Ice Cream Ingredients
- Heavy Cream: Adds richness and creaminess; essential for that smooth, scoopable texture. You want a rich, heavy whipping cream here.
- Whole Milk: Balances out the richness of the cream while still keeping the base creamy.
- Granulated Sugar: I use all-natural cane sugar to sweeten the base. Natural cane sugar may take a bit longer to dissolve but adds a little hint of caramel notes, regular white sugar may be used.
- Vanilla bean paste: Gives a strong, aromatic vanilla flavor with those signature little specks throughout, but you may of course use vanilla extract.
- Pinch of salt: Enhances all the flavors and keeps the sweetness in check.
- Chocolate Sandwich Cookies: Use your favorite brand of sandwich cream cookies (Oreos, Joe-Joe’s, Newman’s O’s, etc.) for crunchy, chocolatey bites in every scoop. You’ll want to break them up (I use a rolling pin) into bite-sized pieces.
Get the full recipe in the recipe card below.
Learn how to make Cookies n’ Cream Ice Cream
How to Make Cookies and Cream Ice Cream
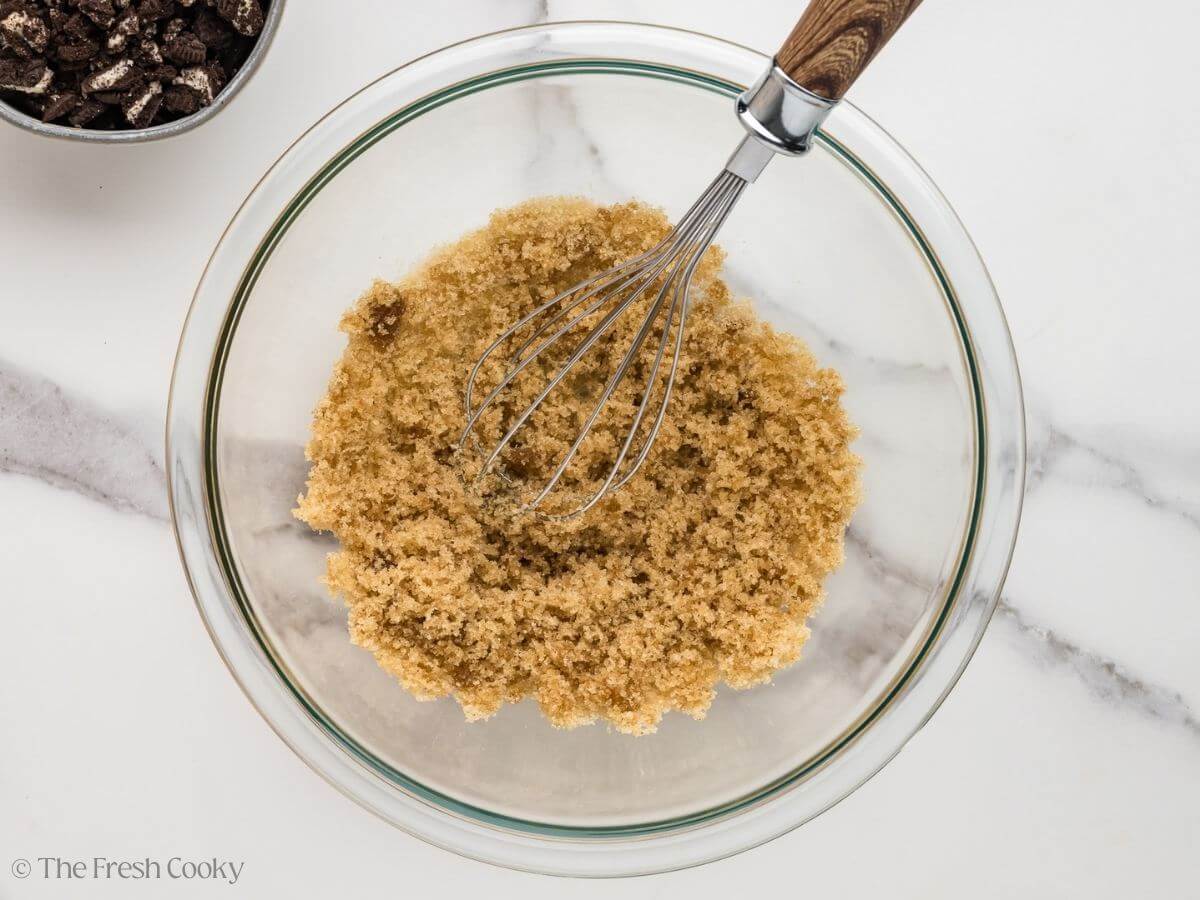
Step 1 – Mix the Base & Chill
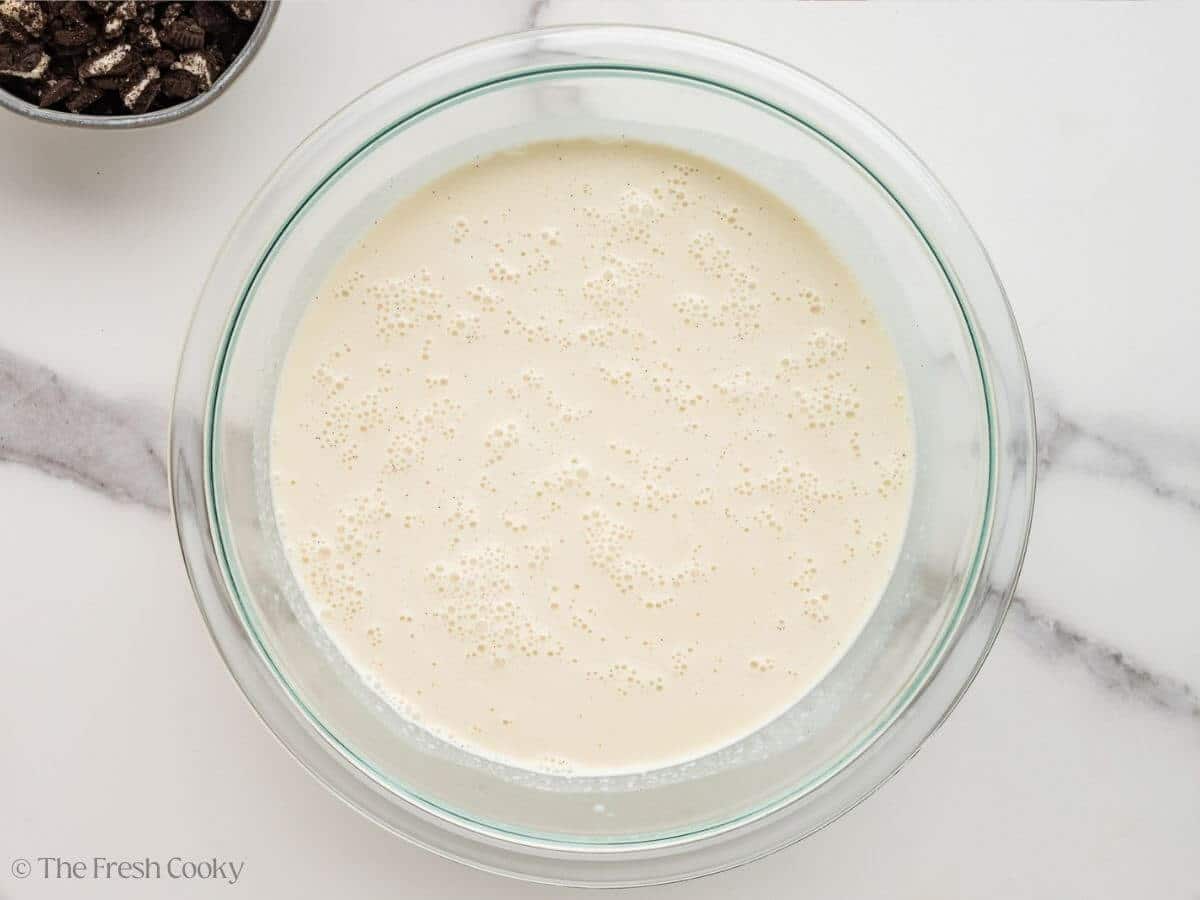
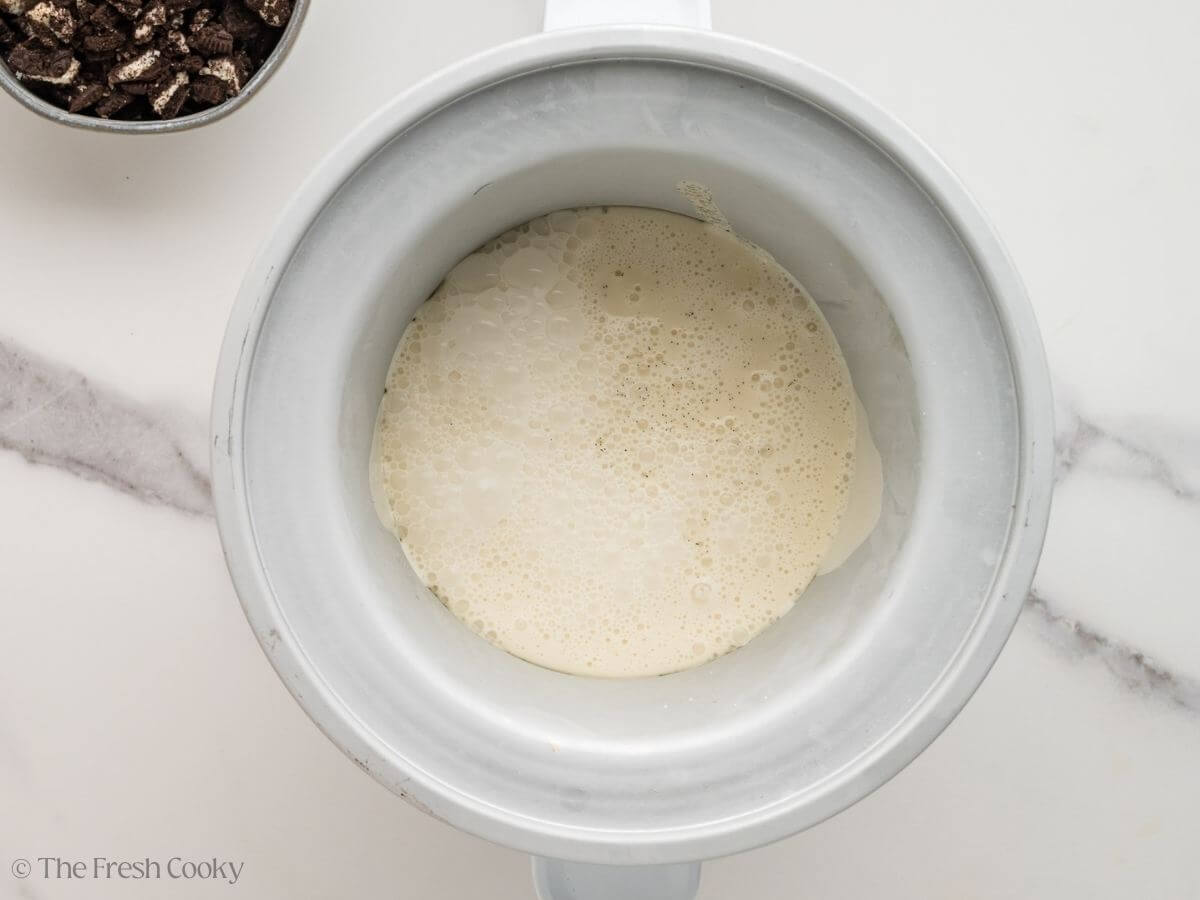
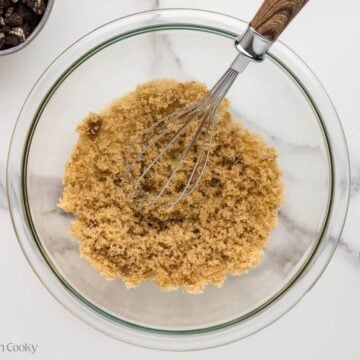
In a large bowl, whisk together the sugar, vanilla bean paste, and salt until it resembles wet sand. Add the milk and whisk until smooth, then stir in the cream.
Cover and refrigerate for at least 4 hours (or overnight). Trust me, the sugar melts into the milk, and the flavors start to sing!
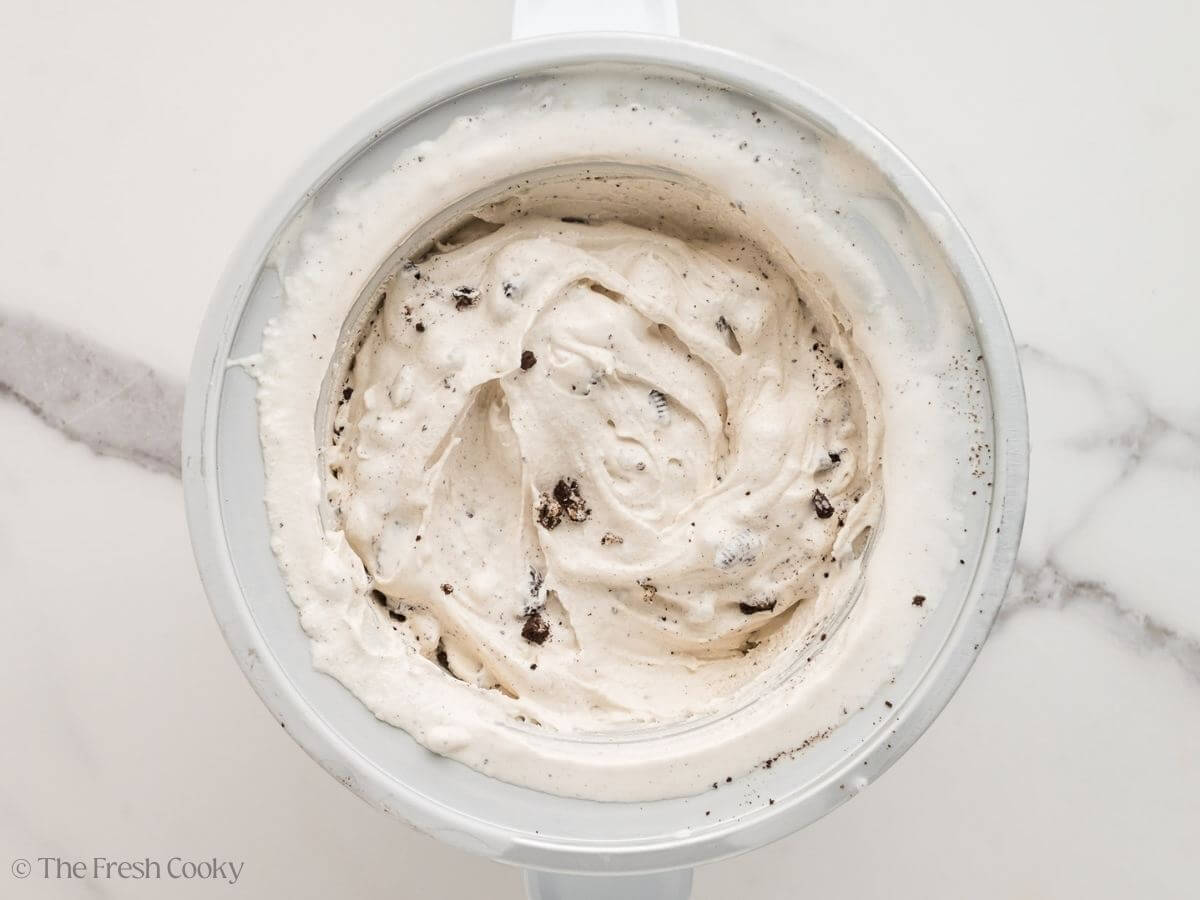
Step 2 – Churn
Pour the milk mixture into your ice cream maker. Churn according to your manufacturer’s instructions (usually 20–25 minutes).
In the last 5 minutes of churning, drop in about ⅓–½ of the crushed Oreo cookies. Or fold in by hand if preferred.
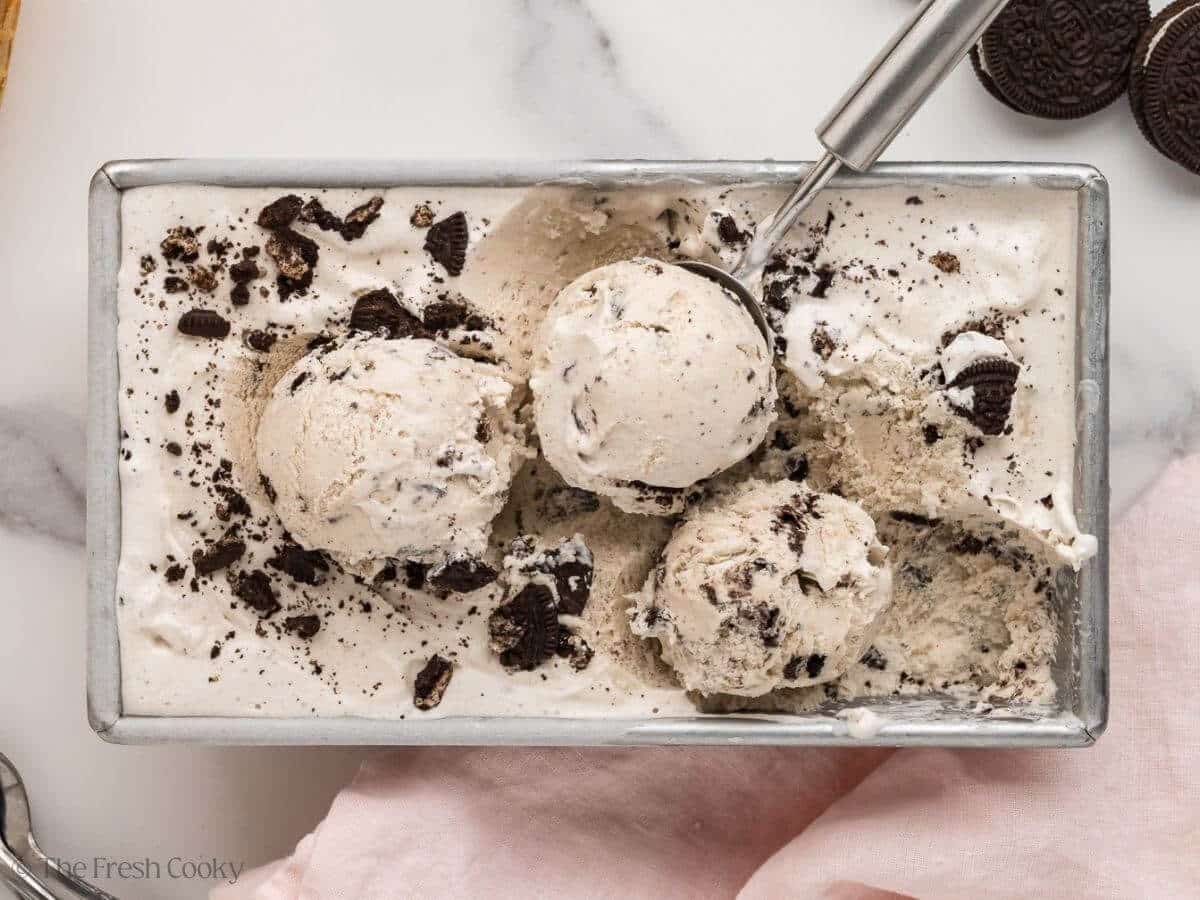
Step 3 – Layer & Freeze
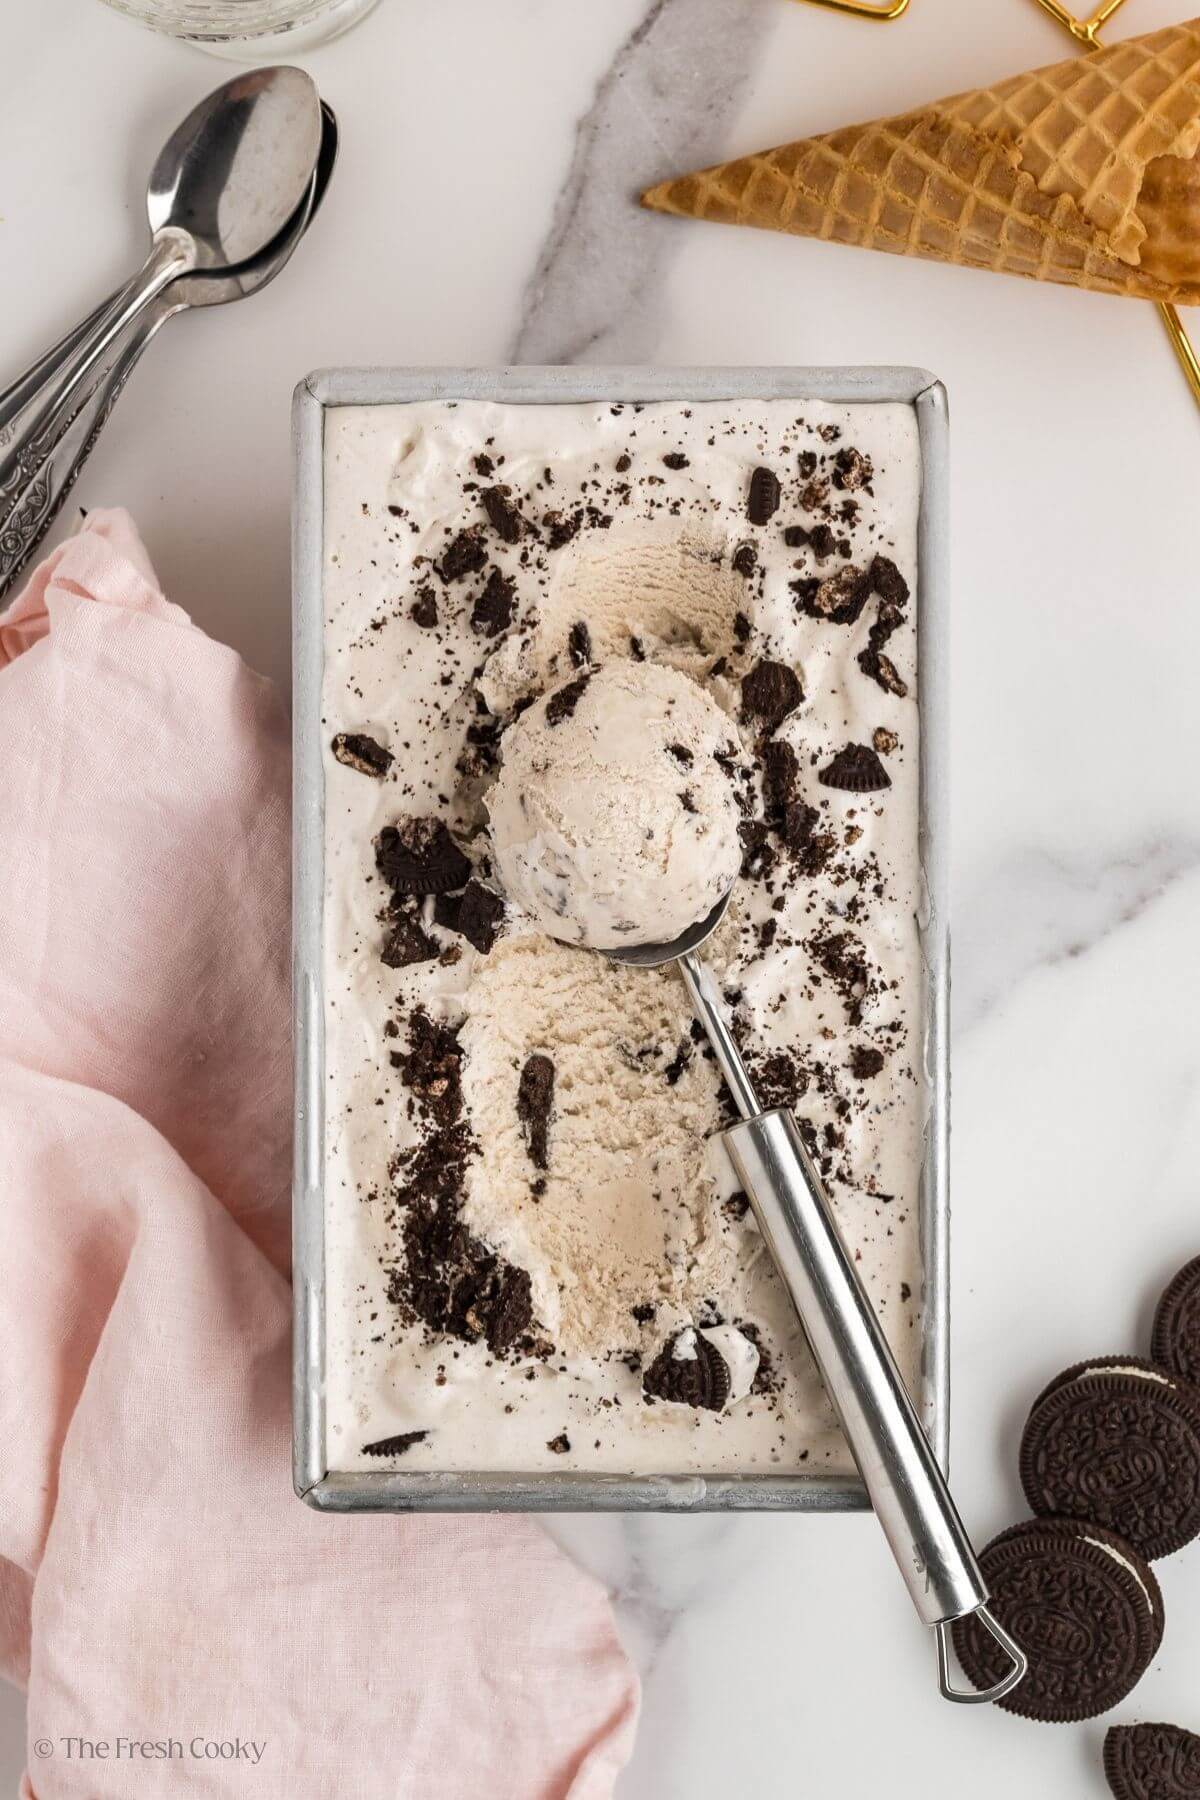
Transfer ⅓ of the churned ice cream to a freezer container, sprinkle in half the remaining cookies, and repeat. Add extra cookie crumbs on top.
Press parchment or plastic wrap on the surface to prevent ice crystals. Freeze for 3–4 hours until scoopable.

Substitutions & Variations
Whether you’re working around dietary needs or just want to switch things up, here are some easy ways to make this cookies and cream ice cream your own:
Vegan / Dairy-Free Oreo Ice Cream Recipe
Use 2 cups of full-fat canned coconut milk (including both the cream and liquid) and 1 cup of unsweetened oat or almond milk. Sweeten with ¾ cup organic cane sugar or maple syrup, and stir in vegan sandwich cookies. Oreos and Trader Joe’s versions also happen to be accidentally vegan. Churn as usual for a scoopable, creamy, non-dairy treat.
Lower-Fat Cookies and Cream Ice Cream Option
For a lighter version, use half-and-half instead of heavy cream or all whole milk—just expect a slightly icier texture. A good middle ground is 2 cups whole milk + ½ cup half-and-half. For a smoother consistency, whisk 1 tablespoon of cornstarch into the milk before churning to help thicken and stabilize the base.
Fun Flavor Twists
- Mint Cookies & Cream: Add ½ teaspoon peppermint extract and use mint chocolate sandwich cookies.
- Chocolate Cookies & Cream: Stir in ½ cup cocoa powder for a rich, chocolatey base, like a mashup of cookies & cream and classic chocolate ice cream.
- Peanut Butter Swirl: Warm a few tablespoons of peanut butter and swirl it into the ice cream before freezing.
- Extra Add-Ins: Think mini chocolate chips, crushed chocolate-covered espresso beans, hot fudge sauce, or a swirl of salted caramel sauce (½ cup, chilled).
Homemade Cookie and Cream Ice Cream FAQs
Heavy cream (also labeled heavy whipping cream) is the best choice—it gives the ice cream richness and a smooth, creamy texture.
I like using all-natural cane sugar. It may take a bit extra whisking and chilling time to dissolve fully, but it gives great flavor and consistency.
The fat content in the cream, plus the churning process, naturally thickens the base. There’s no need for eggs or cornstarch in this simple recipe.
I use and love both the KitchenAid Ice Cream Maker Attachment and the Cuisinart 2-Quart Ice Cream Maker. They freeze and churn really well and consistently give me smooth, scoopable ice cream.
Pro Tip: Make sure your ice cream maker’s freezer bowl is frozen solid, at least 24 hours before you plan to churn!
Adding a little vodka to homemade ice cream lowers the freezing point so the texture stays smooth and scoopable, especially in no-churn or dairy-free recipes. It doesn’t affect the flavor and won’t make the ice cream taste boozy. A good rule of thumb is 1 to 2 tablespoons of vodka per quart of ice cream base.
Vanilla extract contains alcohol, but the amount used is insufficient to make a noticeable difference. So if you want to soften the ice cream a little vodka is the way to go.
🧊 Storage Tips
Store your cookies and cream ice cream in a freezer-safe, airtight container. For the best texture, press a piece of parchment paper or plastic wrap directly onto the surface before sealing the lid, this simple step helps keep ice crystals at bay.
Homemade cookies and cream ice cream is best enjoyed within 2 weeks, although it’s safe to eat after that. And don’t worry, the ice cream police won’t show up at your door… unless they’re hoping for a scoop. Over time, it might get a bit icier, especially if your container isn’t tightly sealed.
I use and love this Tovolo 2-Quart Ice Cream Storage Container, it’s the perfect fit, keeps air out, and stacks neatly in your freezer. If your ice cream is too firm straight from the freezer, just let it sit at room temperature for 5–10 minutes before scooping.
Gluten-Free Cookies and Cream Ice Cream
It’s so easy to make gluten-free cookies n cream ice cream! The ice cream base is already gluten-free, so simply substitute your favorite gluten-free sandwich cookies. We like Gluten-Free Oreos, Goodie Girl, and Gluten Free Joe-Joe’s from Trader Joe’s.
More Ice Cream Recipes We Love
More Popular Recipes from The Fresh Cooky
Like this recipe?
Don’t forget to give it a ⭐️⭐️⭐️⭐️⭐️ star rating and leave a comment below the recipe!

Video
Ingredients
Vanilla Ice Cream Base:
- 2 cups heavy cream such as heavy whipping cream
- 1 ½ cups whole milk
- ¾ cup granulated sugar I use all-natural cane sugar, white sugar may be used
- 1 tablespoon vanilla bean paste or the seeds from 1 vanilla bean, or 1 tablespoon vanilla extract
- Pinch salt
- 20 chocolate sandwich cookies See notes for types of cookies
Instructions
- In a medium bowl, whisk together the sugar, vanilla bean paste, and salt, until it resembles wet sand.¾ cup granulated sugar, 1 tablespoon vanilla bean paste, Pinch salt

- Slowly whisk in the milk until the sugar is dissolved. Stir in the cream. Cover and refrigerate for at least 4 hours or overnight for best flavor. Pour the chilled base into your ice cream maker and churn according to the manufacturer’s directions (typically 20–25 minutes).1 ½ cups whole milk, 2 cups heavy cream
- Whisk well again before adding to the ice cream maker.
- During the last 5 minutes of churning, add ⅓-½ of the chopped sandwich cookies so they’re well distributed.20 chocolate sandwich cookies
- Layer ⅓ of the churned ice cream into a container, sprinkle with the half of the rest of the chopped cookies. Repeat layers, and sprinkle a few extra crushed cookies on top.
- Freeze: Cover the container, pressing a piece of plastic wrap or parchment paper firmly onto the top of the ice cream (this will help prevent ice crystals forming on ice cream) and freeze for at least 3-4 hours, or until desired scoopability. Note the longer you freeze the harder it will be, see tips for more scoopable ice cream below.


Notes
Store your ice cream in a freezer-safe, airtight container. Press a piece of parchment or plastic wrap directly on the surface before sealing to help prevent ice crystals. Homemade ice cream is best eaten within 2 weeks, though it’s fine for longer—just know it may get a bit icier over time if not tightly sealed. For a softer, more scoopable texture, you can add 1–2 tablespoons of vodka to the ice cream base before churning. It won’t affect the flavor, but helps keep it from freezing too hard. I love this Tovolo 2-Quart Ice Cream Container—it’s sturdy, seals tight, and stacks easily. Let the ice cream sit at room temp for 15–20 minutes if it’s too firm to scoop Note: Freezing longer than this will make the ice cream rock hard; plan to soften at room temperature for 15 to 20 minutes before serving. Tip: Regular cookies hold their crunch better, but if you love a bit of creamy richness melting into your scoop, try mixing in some Double Stuf! Dairy-Free/Vegan Option: Use 2 cups of full-fat canned coconut milk and 1 cup of oat or almond milk, plus ¾ cup of maple syrup or organic sugar. Stir in vegan sandwich cookies (such as Oreos, which are vegan) and churn as usual. Lower-Fat Option: Swap the heavy cream for whole milk or half-and-half. For creamier results, use 2 cups whole milk + ½ cup half-and-half. Whisk in 1 tablespoon cornstarch to help thicken the base. This will be more like ice milk.
Nutrition


Rate & Comment