

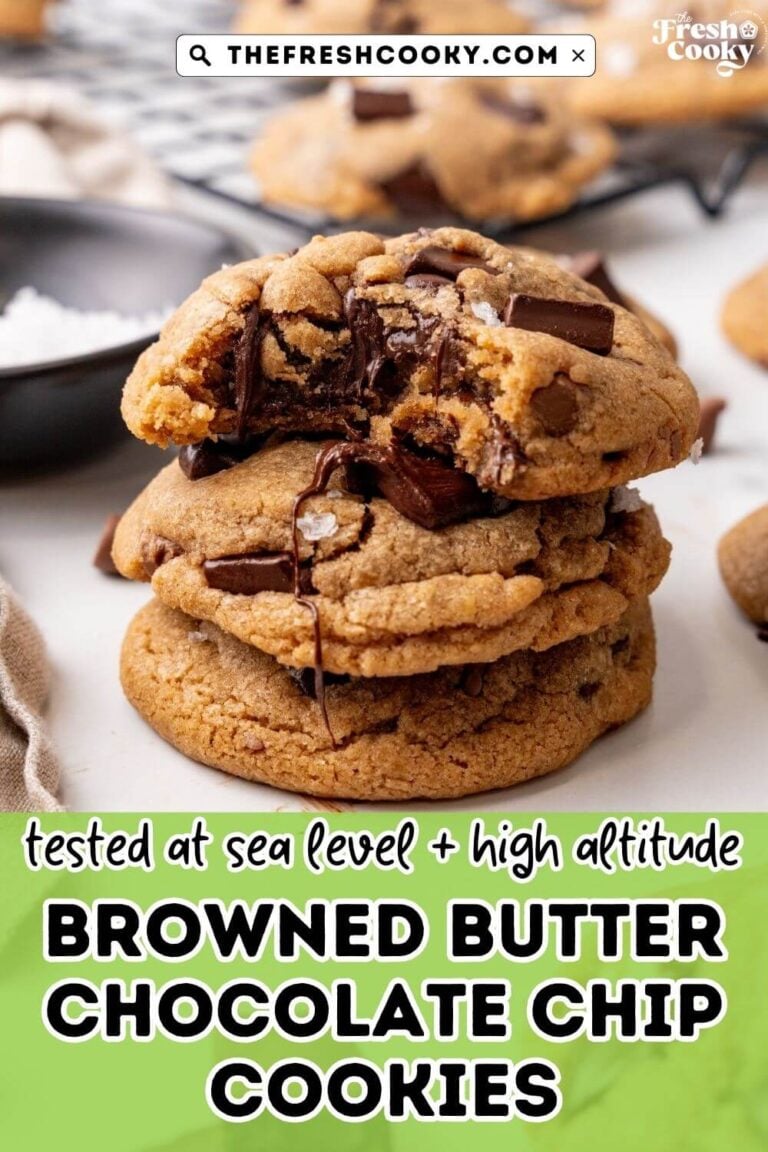


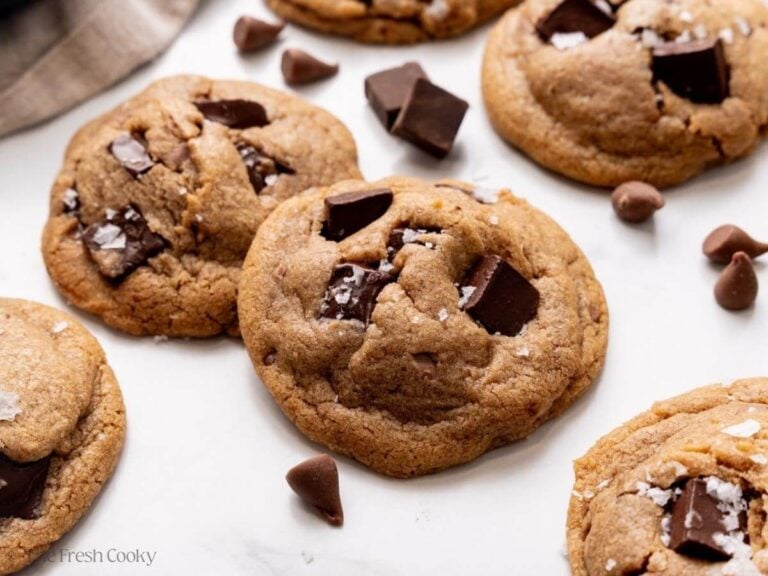
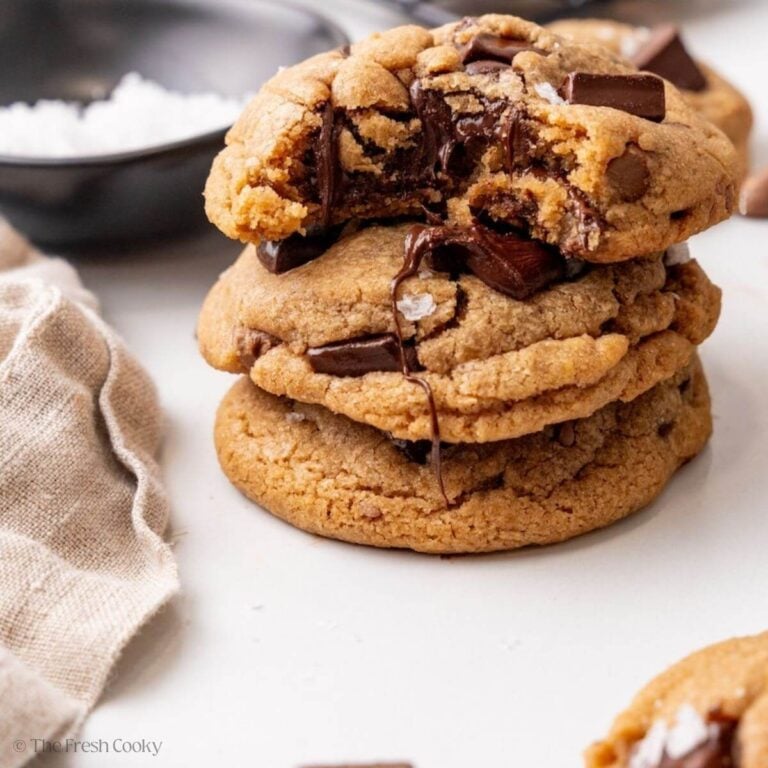
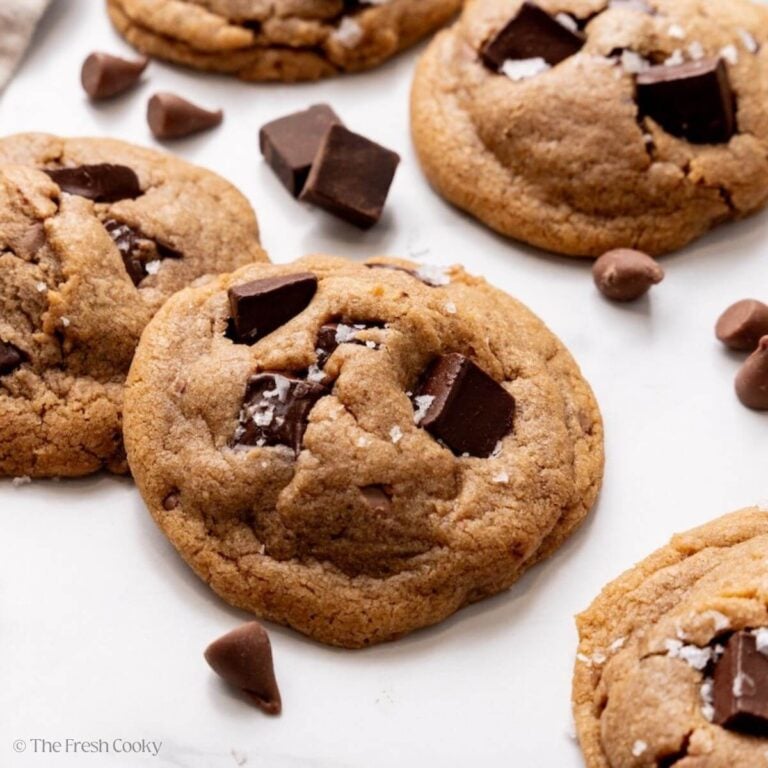
Brown butter makes everything better, especially these Brown Butter Chocolate Chip Cookies! After testing (and re-testing!) multiple batches, I’ve nailed down the best recipe and method for rich, chewy, bakery-style cookies with crisp edges and gooey puddles of chocolate.
⭐️⭐️⭐️⭐️⭐️ One reader raved: “I thought these were delicious! The texture is perfect. The edges get slightly crisp while the middles stay nice and soft and gooey. Even after hours, they remained soft in the center. I also love the nutty flavor from the browned butter. Flavor was great and I didn’t find it too sweet, even with the semi-sweet chips. I chilled mine 2 ½ hours and baked mine for 9 minutes” ~ Adrienne
Why You’ll Love this Brown Butter Chocolate Chip Cookie Recipe
I’ve tested and tweaked this recipe multiple times, so you don’t have to! The result is perfectly chewy, golden cookies with a nutty caramel depth from brown butter and just the right amount of spread. By balancing the eggs and sugar with the perfect amount of flour, I landed on a dough that bakes into cookies with crisp edges and soft, chewy centers.
I also tested brown butter in different states, solid vs. liquid. Using cooled liquid brown butter created the best flavor and texture, with just the right spread (not greasy, nor dry). And while chilling the dough overnight is trendy, I didn’t find much difference between a 2-hour chill and a 24-hour one; so don’t stress if you don’t plan ahead! Even just chilling the dough for 2 hours works great. Finally, some bakers swear by bread flour for a chewier texture, but I found that all-purpose flour works beautifully, and it’s what most of us have in our kitchens.
Recipe testing
Since I bake and test my recipes at high altitude (5,280 ft), I also work with a team of recipe testers across the country who try them at sea level and other elevations. This way, you can be confident that your cookies will turn out beautifully no matter where you’re baking.

What is Brown Butter?
Brown butter is simply regular butter that has been melted and gently cooked until the milk solids caramelize, resulting in a golden brown color and a deep, nutty, toffee flavor. It’s a simple step that makes an enormous difference in both sweet and savory recipes. In cookies, brown butter adds a rich caramel depth and enhances the natural flavors of brown sugar and chocolate.
And don’t worry, I’ll walk you through every step, with directions, photos, and even a video!
Watch the video here!
Simple Ingredients
- Salted Butter: Browning the butter gives it a nutty, caramelized flavor that sets these cookies apart. I personally love using European-style butter, like Kerrygold, for my cookies. With a higher butterfat content (around 82–83% vs. 80% for standard U.S. butter), it contributes extra richness, chewiness, and better texture. If using unsalted butter, increase salt by ¼ teaspoon.
- Dark Brown Sugar: Adds chewiness and a deeper, richer molasses touch (use light brown sugar if you prefer).
- Granulated Sugar: Helps in crisping the edges, I use all-natural pure cane sugar; but white sugar may be used.
- Egg + 1 Egg Yolk: I use large eggs, which I bring to room temperature.
- Pure Vanilla Extract: I used bourbon vanilla for a deeper flavor.
- All-Purpose Flour: I tested it for the perfect balance, using organic, unbleached all-purpose flour.
- Cornstarch: Helps keep the centers soft and chewy, just a touch.
- Baking Soda: Just enough lift without making the cookies cakey.
- Kosher Salt: Balances sweetness and enhances flavor.
- Chocolate: Use a mix of chips and chopped bars for varied melty pockets (I love Guittard and Ghirardelli). I generally use semi-sweet chocolate, but you can use dark chocolate and/or milk chocolate! I love these Guittard Super Cookie Chips when I can find them.
- Flaky Sea Salt (optional): A finishing touch for contrast and that gourmet look.
Get the full recipe in the recipe card below.

How to Brown Butter for Chocolate Chip Cookies
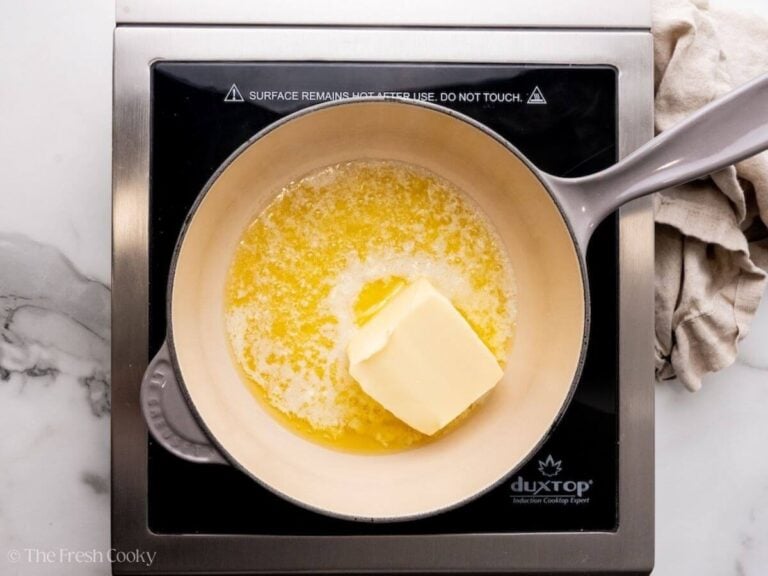
Step 1 – Melt & Brown the butter
Add butter to a light-colored saucepan over medium heat. Stir occasionally; it will pop as it melts, then crackle, and finally foam quietly.
Watch closely as golden brown bits form at the bottom of the pan, developing a nutty aroma. Swirl the pan often. Once it starts bubbling up brown, swirl it a time or two and remove from the heat.

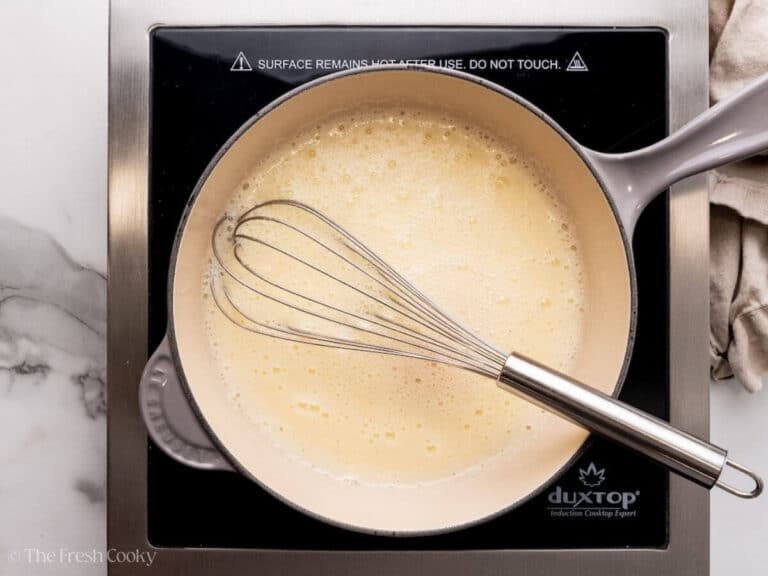
Step 2 – Cool
Once nutty and fragrant, remove from heat and scrape all the browned bits into a bowl. Let it rest for 15–30 minutes, until it is no longer warm to the touch.

How to Make Brown Butter Chocolate Chip Cookies
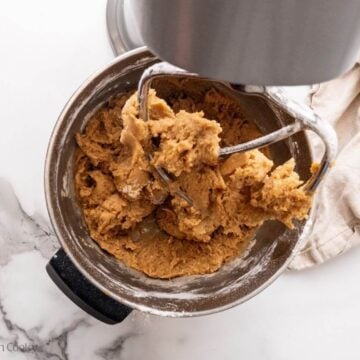
Step 1 – Cream Butter & Sugar
Beat the cooled brown butter with the sugars until well combined and the sugars have broken down slightly. Add the egg and egg yolk, beating for 30 seconds after each addition; then mix in the vanilla extract.


Step 2 – Combine with Dry Ingredients
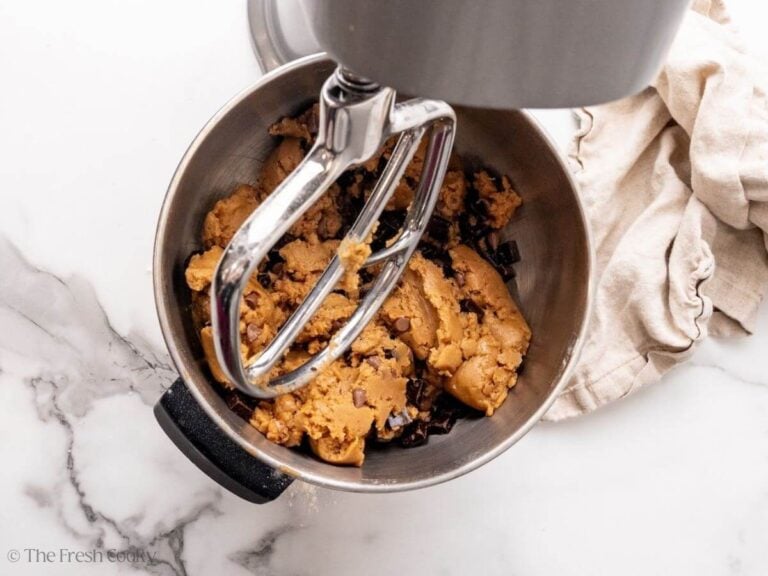
Whisk flour, cornstarch, baking soda, and salt in a separate bowl. Mix the dry ingredients into the wet ingredients until just combined.


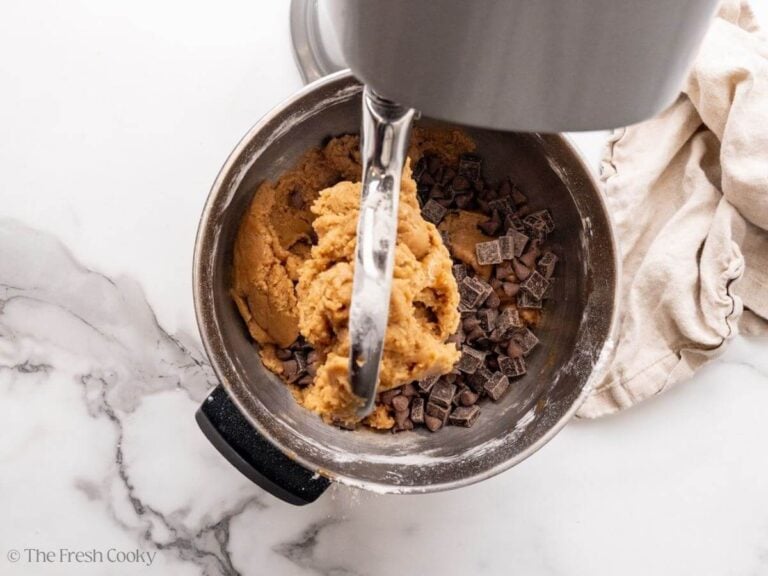
Then with mixer on low or by hand, stir in the chocolate chips or chunks.
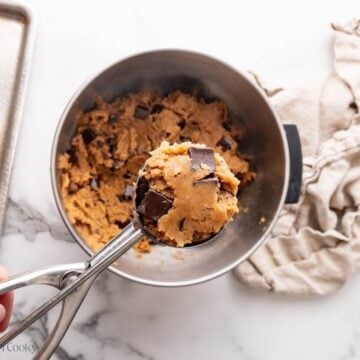
Step 3 – Scoop & Chill
Scoop the dough balls using a medium cookie scoop and chill for at least 2 hours (or up to 24 hours), and place on a parchment paper-lined cookie sheet.


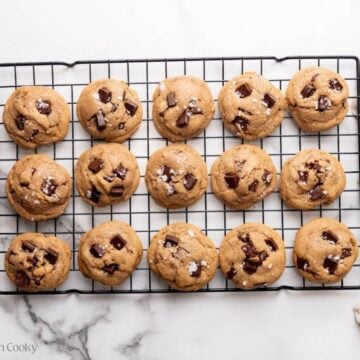
Step 4 – Bake brown butter cookies
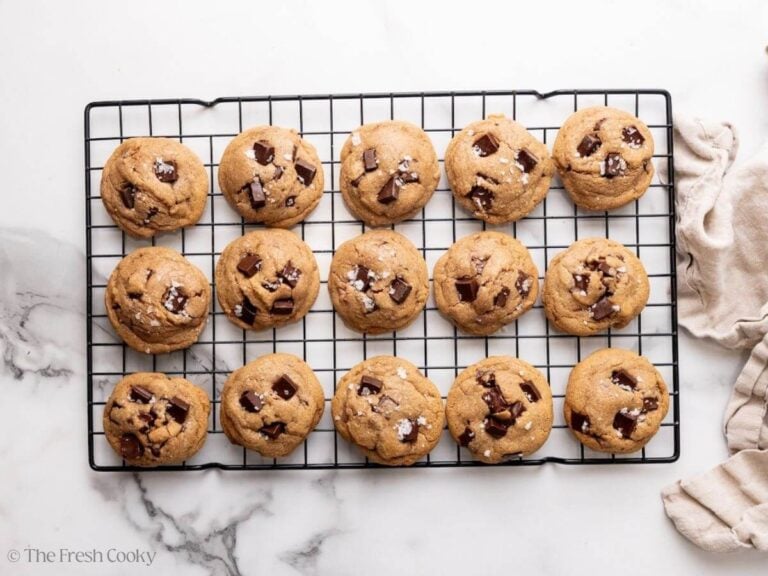
Bake in a preheated oven at 350°F (175 °C) for 8–10 minutes for medium cookies or 10–13 minutes for large cookies. Keep cookies about 2 inches apart.
Sprinkle with flaky salt and press in extra chocolate pieces while the cake is still warm for a bakery look. Remove to a cooling rack after 5-10 minutes.
Brown Butter Chocolate Chip Cookie FAQs
It deepens the flavor, adding nutty, caramel notes you just can’t get with regular butter. It also creates richer, more complex cookies that taste like gourmet bakery cookies.
About 15–30 minutes. It should be liquid but not warm to the touch; otherwise, it could scramble the eggs or make the dough greasy.
If your brown butter was too hot, the dough wasn’t chilled long enough, or your flour measurement was a bit short, the cookies may spread too much. Try chilling the dough for at least 2 hours, and make sure the flour is measured correctly. The spoon-and-swipe method is best.
Variations & Substitutions
- Chocolate: Use high-quality chocolate (I love Guittard Super Cookie Chips + a few Ghirardelli milk chips). Butterscotch or toffee bits are also great, as well as Ghirardelli 60% Bittersweet chips, and mixed with Milk Chocolate Chips. You may also chop a good chocolate bar, or chocolate chunks. Use a combo of chocolate chips/chopped semi, dark, or milk chocolate.
- Sugar: I used dark brown sugar for more caramel and butterscotch notes, but you may use light brown sugar if you prefer.
- Gluten-Free: Swap 1 ½ – 1 ¾ cups cup-for-cup GF flour + ½ cup oat flour. Chill the dough for at least 2 hours. I like King Arthur or Bob’s Red Mill, plus oat flour for the best chewy texture.
- Add-ins: Feel free to add in additional ingredients like chopped nuts ( I love walnuts or pecans), raisins, or shredded coconut!
High Altitude Baking: If you’re baking above 3,500 feet, reduce the brown sugar to ¾ cup, add 2–3 extra tablespoons of flour, and reduce the baking soda to ¾ teaspoon. Be sure to check your cookies a little early, as they often bake faster at higher elevations. For those baking at 7,000 feet or higher, add an extra egg yolk and 2 teaspoons of water if the dough seems too dry.

Storage Tips
- Room Temp: Store in an airtight container up to 4–5 days, if they last that long!
😜 In my opinion, certain baked goods like breads, cookies, quickbreads dry out in the fridge, so if you have to store them, opt for freezing, they thaw quickly. - Freeze Baked Cookies: Cool completely, then layer with parchment in a freezer-safe container and freeze for up to 2 months.
- Freeze Cookie Dough Balls: Place on a lined baking sheet and freeze 1 hour, then transfer to a baggie and store in the freezer for up to 3 months. Bring to room temperature while preheating your oven, and allow an additional 1–2 minutes, rotating them halfway through.
- Make Ahead: Brown butter up to 3 days in advance; the dough can be made 24-36 hours ahead and stored refrigerated, covered. If scooping after refrigerating, you will need to remove from fridge and bring to room(ish) temp first.
More of our favorite chocolate chip cookie recipes
Like this recipe?
Don’t forget to give it a ⭐️⭐️⭐️⭐️⭐️ star rating and leave a comment below the recipe!
More popular recipes on The Fresh Cooky
Best Brown Butter Chocolate Chip Cookie Recipe
Video
Equipment
Ingredients
- 1 cup salted butter 2 sticks, browned & cooled (or unsalted with an additional ¼ teaspoon kosher salt), preferably Kerrygold or similar
- 1 cup dark brown sugar packed (See Note 1) High altitude: reduce to ¾ cup)
- ¼ cup granulated sugar I used all-natural cane sugar
- 1 large egg room temperature (See note 2 for high altitude)
- 1 large egg yolk room temperature (See note 2 for high altitude)
- 1 tablespoon pure vanilla extract I used bourbon vanilla extract
- 2 – 2 ¼ cups unbleached all-purpose flour High altitude: add 1-3 tablespoons, only add flour if mixture seems too wet.
- 2 teaspoons cornstarch
- 1 teaspoon baking soda ¾ teaspoon for high altitude
- ¾ teaspoon kosher salt ½ teaspoon if using table salt
- 10 ounces chocolate chopped or chips (see note 2)
- Flaky sea salt for sprinkling on top optional
Instructions
- Brown the Butter: In a medium light-colored saucepan or skillet, melt the butter over medium heat. Stir occasionally as it melts; it will spit and crackle before quieting and beginning to foam. Don't walk away! Keep stirring as the milk solids start to brown, they'll peek through the foam and quickly deepen in color. Swirl the pan a few times, then remove from the heat immediately (total time: 5–8 minutes). Pour the butter into a cool glass bowl, scraping in all the brown bits, and let cool for 15–30 minutes until no longer warm to the touch.1 cup salted butter

- Cream Butter & Sugars: In a stand mixer fitted with a paddle attachment (or hand mixer), beat the cooled brown butter, brown sugar, and granulated sugar on medium-high for 2–3 minutes until lighter and creamy. Scrape the bowl halfway through.1 cup dark brown sugar, ¼ cup granulated sugar
- Beat in the egg, then the yolk, for 30 seconds each, until fully combined. Mix in vanilla.1 large egg, 1 large egg yolk, 1 tablespoon pure vanilla extract
- Combine Dry Ingredients: In a separate bowl, whisk together 2 cups of flour, baking soda, cornstarch, and salt (plus ¼ teaspoon more if using unsalted butter).2 – 2 ¼ cups unbleached all-purpose flour, 2 teaspoons cornstarch, 1 teaspoon baking soda, ¾ teaspoon kosher salt
- Mix the Dough: On low speed, gradually mix dry ingredients into wet until just combined. If dough feels too sticky, add 1 tablespoon flour at a time until scoopable but still soft. Stir in the chocolate on low until just combined. Chill the dough in the bowl for 10 minutes.10 ounces chocolate
- Scoop & Chill: Scoop medium (2 Tablespoon) or large (⅓ cup) dough balls. Place in an airtight container, freezer bag, or cover well a parchment lined baking sheet and refrigerate at least 2 hours or up to 24 hours. If chilling longer than 4 hours, let it sit at room temperature 15–30 minutes before baking.
- Preheat oven to 350°F (175°C). Arrange dough balls 2–3 inches apart on a parchment-lined baking sheet sheet.Bake medium sized cookies 8-10 mintues (mine were perfect at 9) and large cookies 10-13 minutes, (mine were perfect at 11 minutes).
- Bake until edges are golden and centers look slightly underbaked. If desired, for bakery style cookies, add additional chocolate chips or chunks pressed gently into cookies and sprinkle with flaky sea salt. Cool on pan 5–10 min before transferring to a wire rack.Flaky sea salt for sprinkling on top


Notes
- Hot Spots: If cookies brown unevenly or don’t spread evenly, rotate the pan halfway through baking.
- Chocolate: Use the best chocolate you can afford, it really makes a difference! I love Guittard Super Cookie Chips paired with a handful of Ghirardelli Milk Chocolate Chips, or a mix of Ghirardelli 60% Bittersweet Chips plus milk chocolate. Butterscotch or toffee bits are also delicious. For a gourmet touch, chop up a quality chocolate bar and combine semi-sweet, dark, or milk chocolate for layers of flavor.
- Sugar: I prefer dark brown sugar in these cookies, but you may use light or dark.
- Gluten-Free: Use 1 ½ cups cup-for-cup GF flour + ½ cup oat flour. Chill the dough for at least 2 hours. My faves are King Arthur or Bob’s Red Mill) Plus, add ½ cup oat flour for the best chewy texture.
- In this recipe, refrigerating the dough allows several things to happen: it allows the gluten to relax and the brown butter flavor to permeate the dough, while also firming up the butter fats for the best chewy cookies. *You can place the entire bowl in the fridge, but be sure to bring the cookie dough back to room temperature before scooping, as the dough will be too dry and crumbly to scoop.
- Browning Butter: Don’t walk away, brown bits form quickly and can burn. Always scrape every bit into the bowl.
- Butter Matters: Not all butters are created equal; cheaper brands often have more water, which can affect how your cookies spread. Since these are gourmet cookies, it’s worth using high-quality butter. I prefer European-style, grass-fed butters, such as Kerrygold, for their rich flavor and higher butterfat content.
Storage & Make-Ahead
- Room Temp: Store in an airtight container up to 4–5 days.
- Freeze Baked Cookies: Cool completely, layer with parchment in a freezer-safe container, freeze up to 2 months.
- Freeze Dough Balls: Freeze on a baking sheet, transfer to a baggie, freeze up to 3 months. Bring to room temperature while preheating your oven, and allow an additional 1–2 minutes.
- Make Ahead: Brown the butter up to 3 days in advance; the dough can be made 24 hours ahead and stored in the refrigerator.
High Altitude Instructions
If you’re baking at higher elevations (above 3500 feet)- Reduce brown sugar to ¾ cup
- Increase flour by 2-3 tablespoons (do this based on your dough consistency; it should be soft, but not overly sticky, adding just a little bit of flour at a time)
- Reduce baking soda to ¾ teaspoon.
- Bake time may be slightly shorter; start checking at 7–10 minutes (depending on the size)
- Watch for faster browning; your cookies may look done before the center is fully set. That’s okay! They’ll continue baking on the pan.
- For altitudes above 7,000 feet, add an additional egg yolk. If the dough is too dry, add 2 teaspoons of water.
I tested four different batches using recipe variations to find the perfect balance of chewiness, caramel depth, and brown butter flavor. I gave all these batches away to neighbors and friends, who raved about all of them, so you can be assured that these are the best!
- Batch 1: Used European butter, which was browned and cooled slightly before being chilled until solid but still soft. Used 2 ½ cups of flour, 1 egg + 1 egg yolk, and tested both 350°F and 375°F. The cookies had great flavor but barely spread.
- Batch 2: Also used European butter, this time as liquid brown butter (not solidified), with everything else remaining the same as in Batch 1. These were chewy but still didn’t spread as much as I wanted.
- Batch 3: Switched to Land O’Lakes butter, browned, and cooled to room temperature (soft, not liquid), with 2 eggs and 1 egg yolk, and 2 ½ cups of flour. Dough consistency improved, but the cookies weren’t quite chewy enough and still lacked the spread I was after, even at both baking temperatures.
- Batch 4 (Winner!): Used Kerrygold butter, browned and cooled completely to a liquid stage, with slightly less brown and granulated sugar, 1 egg and 1 egg yolk, plus 2 teaspoons of cornstarch for softness and chew. Reduced flour to 2 cups + 3 tablespoons and baked at 350°F for 9 minutes, rotating the pan halfway through. These were exactly what I was aiming for: the perfect spread, chewy centers, and rich brown butter flavor.
Nutrition


natalie
i will be using browned butter from now on – these were such a hit!
Makes a huge difference in the flavor doesn’t it!?