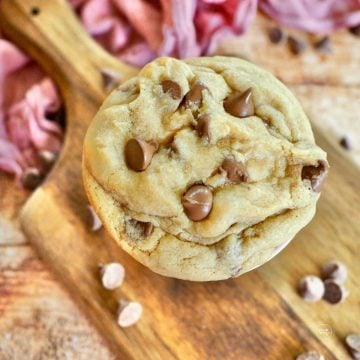
Every heard of pan banging cookies? No, you have got to try the, chewy, crunchy wrinkly perfect Giant Chewy Chocolate Chip Cookies finished with a little Fleur de Sel!
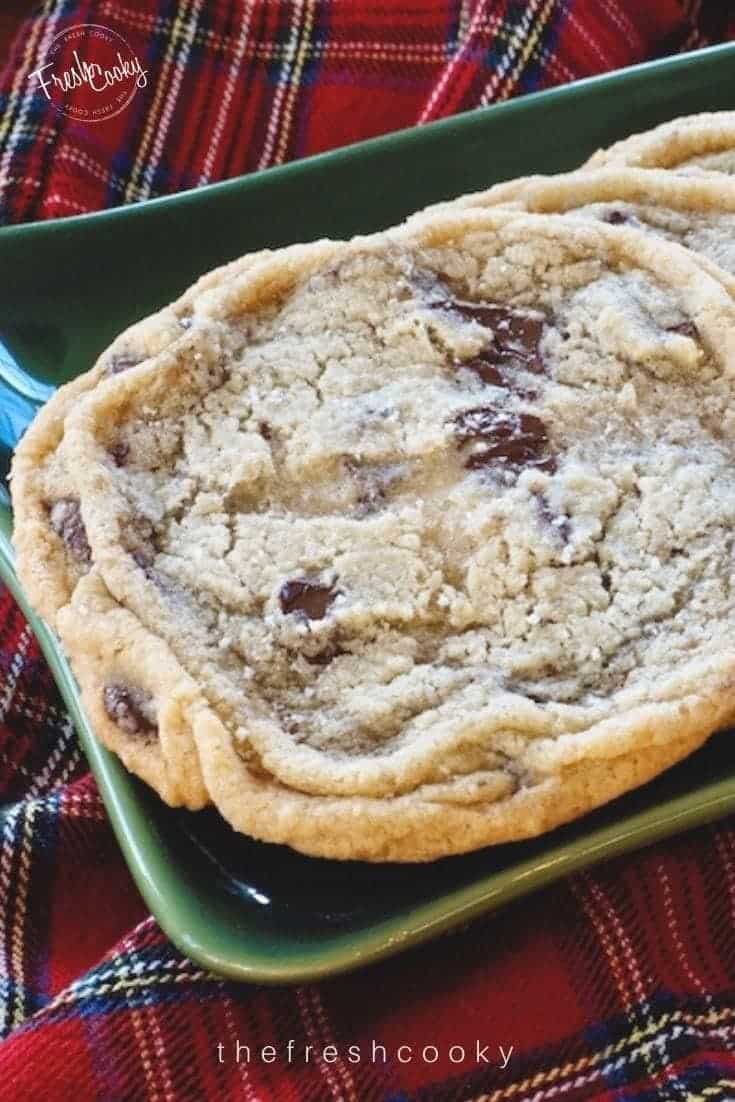
I’ve been eyeing this recipe for awhile now, but have been waiting to make it for a special occasion.
Last Friday our couples group met for dinner and I was asked to bring a simple dessert. Simple [GIANT] chewy chocolate chip cookies was my response. Oh yeah!
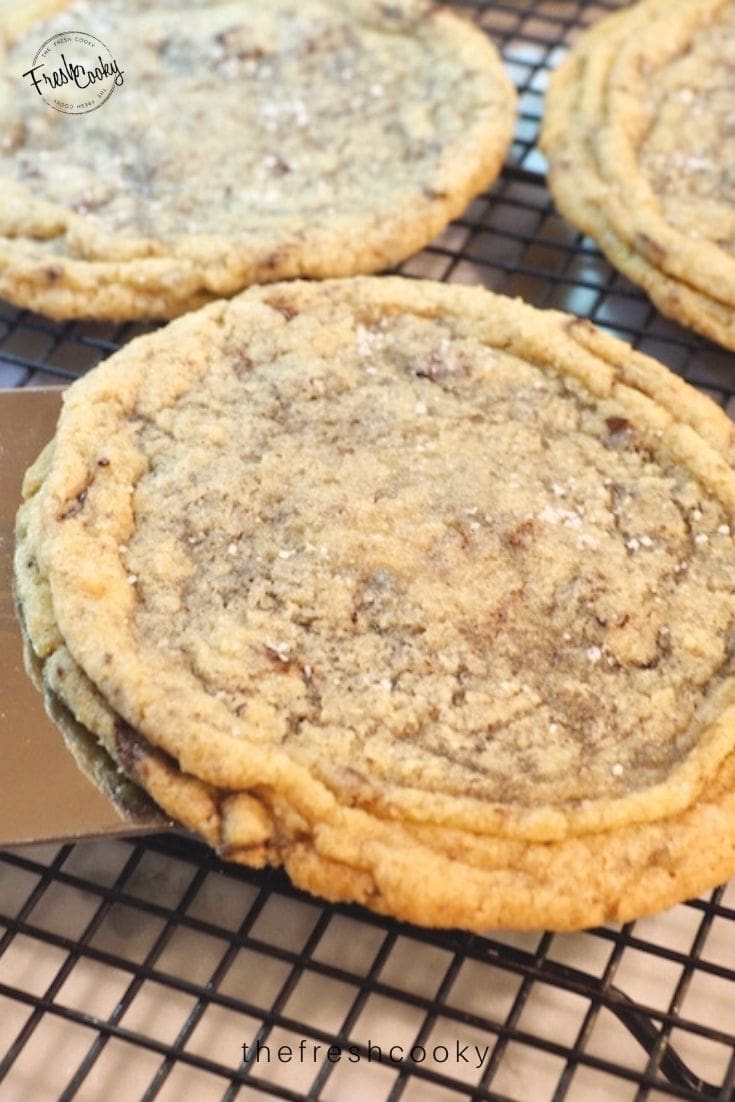
I discovered this recipe on A Farmgirl’s Dabbles (I love her site) but the original recipe was actually from Sarah Kieffer’s new cookbook, The Vanilla Bean Baking Book which is now on my wish list, because these cookies are my kinda cookies!
Chewy, huge, crisp-edges, huge, chocolatey, gooey, did I mention HUGE? Oh and they taste fantastic, they were a HUGE hit at our couples group!
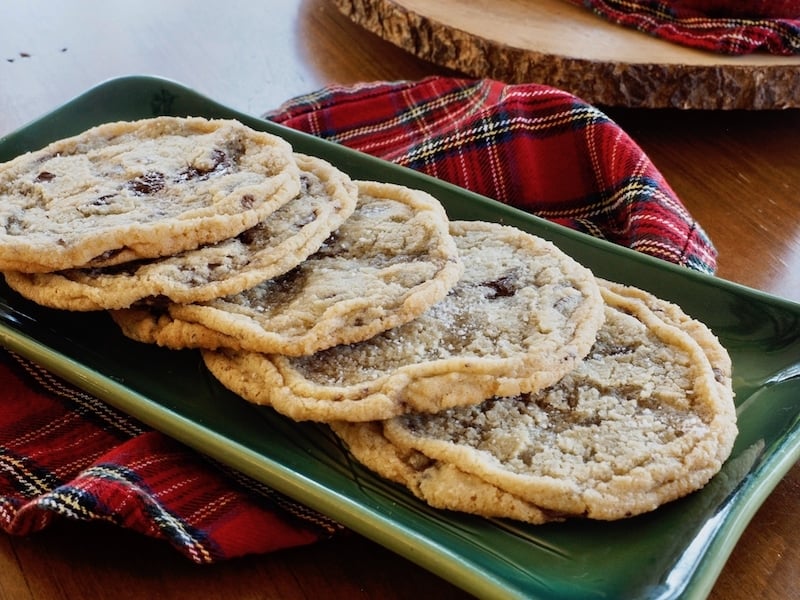
It doesn’t make a lot (I got 11 out of my batch) but one cookie can feed 2-3 people, seriously; 4 if you are careful or just 1 if you are feeling decadent. And we all decided if you are sharing them, it reduces the calorie count to nothing! In my dreams!
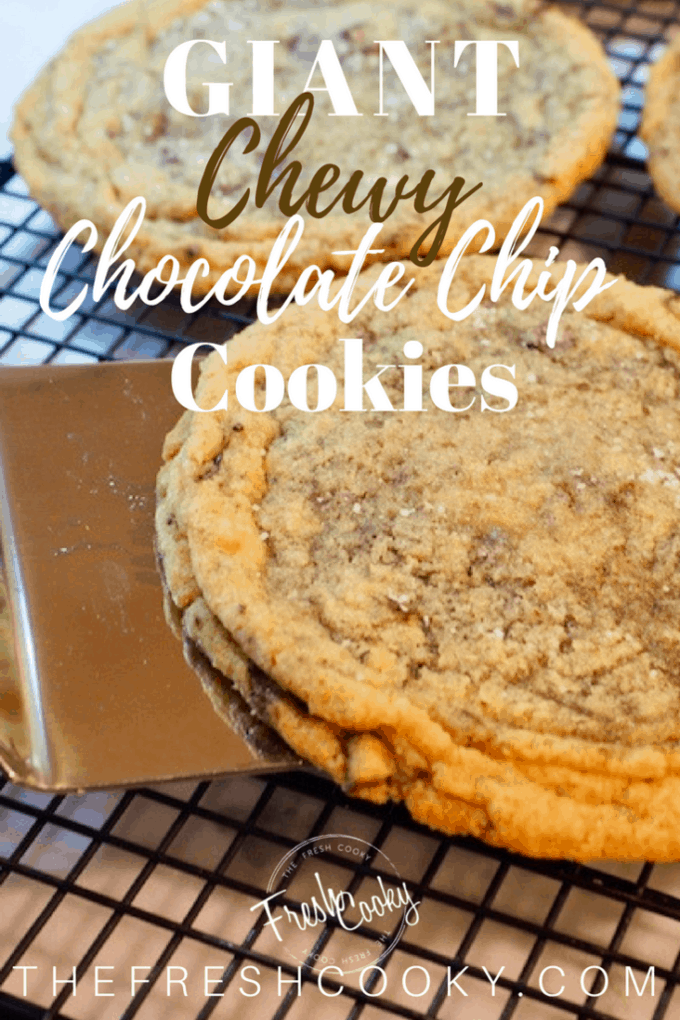
I added a few extra steps to adjust for all natural cane sugar and a sprinkle of fleur de sel on top, oh my!
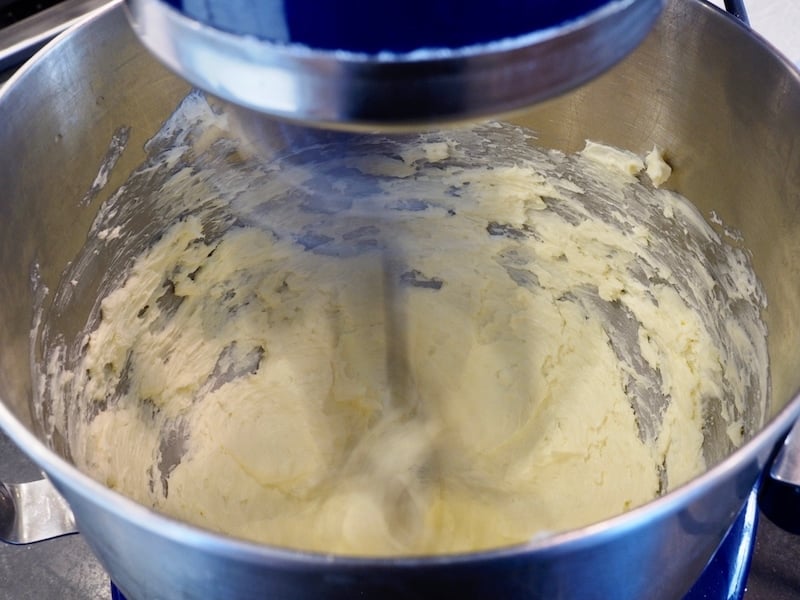
Start by creaming your butter on medium-high for 2 minutes. Scraping down the sides once.
BAKERS TIP: The original recipe called for unsalted butter, which I used the first time and have since made them using regular salted butter and I have to say I like them a bit better with the salted butter, though I realize I could be hauled off for being a baking imposter by the baking police!
Line 3 baking sheets with aluminum foil, dull side up, this step is crucial in creating the lovely crinkles on the edges of the cookies and assures you also get a nice golden brown bottom. Use the recommended sheet pan.
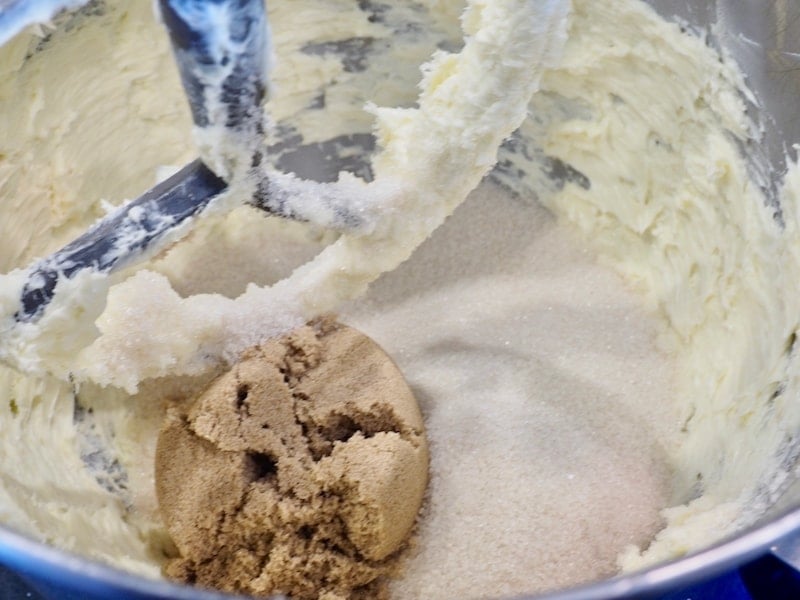
Next add your sugars, I used all natural cane sugar, if using white refined sugar, you may not need to cream as long. Cream on medium-high for 3-4 minutes until the sugar – butter mixture is light and fluffy and you don’t see any sugar grains.
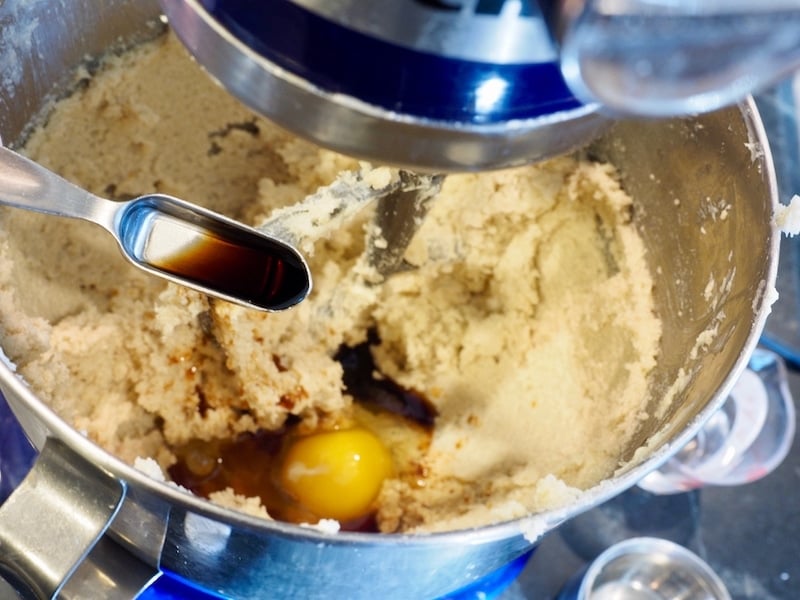
Now add the egg, vanilla and water; mixing on low to combine. Once combined, scrape down sides, then increase speed to medium-high and whirl around for about 1 minute.
Measure flour into a separate bowl. Add baking soda and sea salt to flour and stir with a fork or whisk to combine.
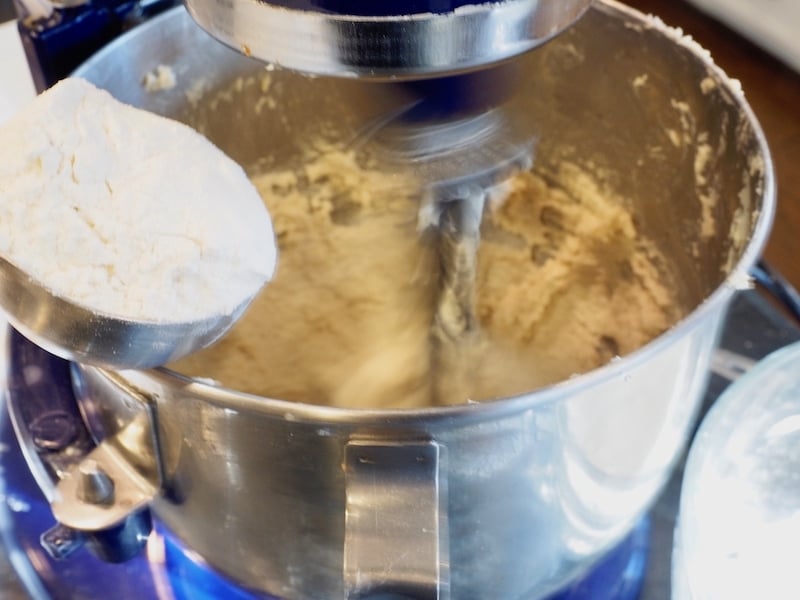
Slowly add your flour mixture (about ½ cup at a time), mix on low and scrape down the sides once or twice while adding your flour so that it is all combined.
If you haven’t already chopped your chocolate, chop on a cutting board, using random chops so that you get all different sizes of chunks. You want some shavings, some bigger chunks (about ½″) and some smaller ones. In my second batch I made them using Ghirardelli Bittersweet Chocolate Chips, I rough chopped them a bit, but mostly put them in whole, I like it better with the chopped bar chocolate, but they work in a pinch.
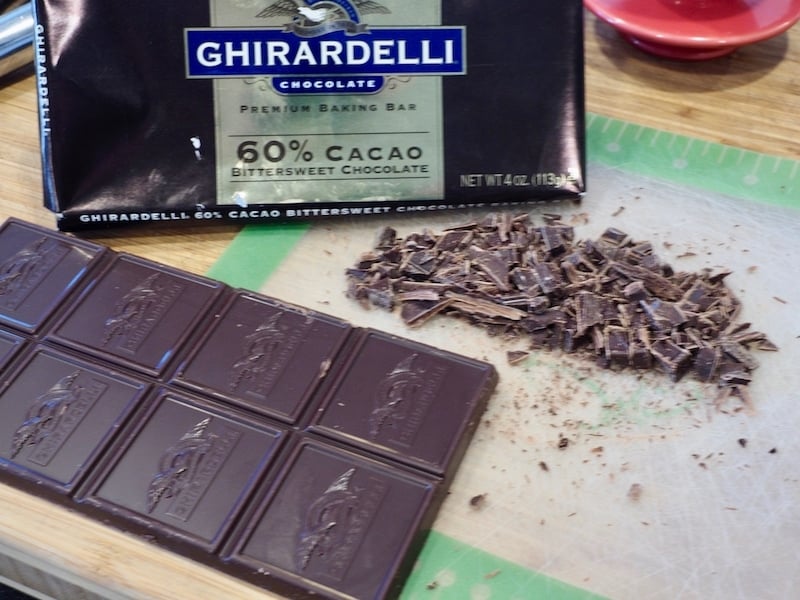
Add chopped chocolate to the dough and mix on low just until combined.
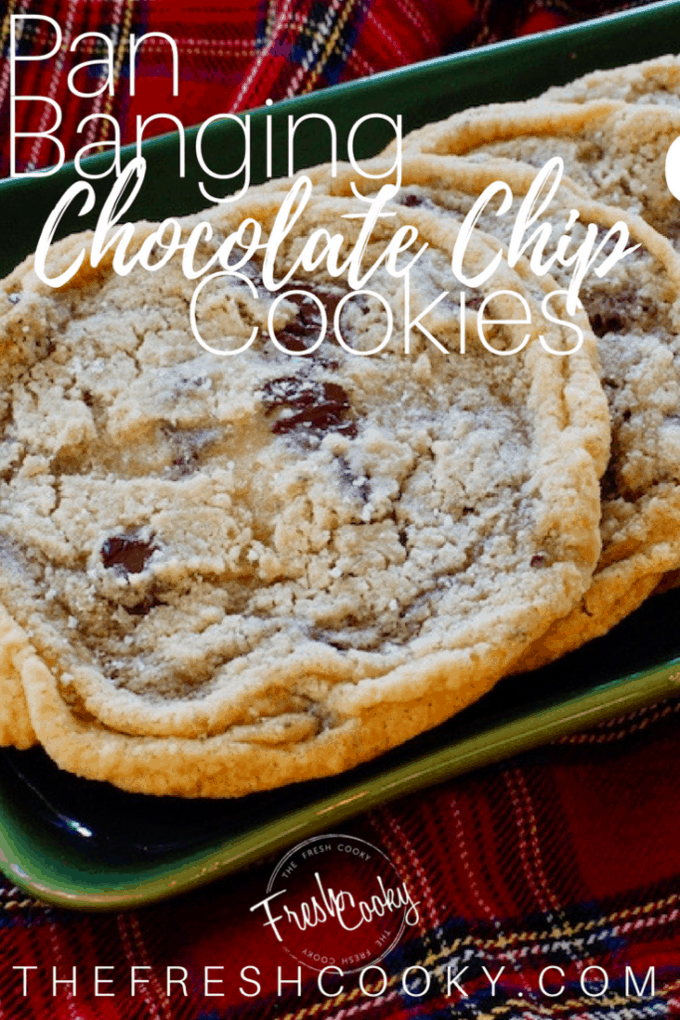
You are now ready to scoop. To make them just like they are pictured, use a large ice cream sized scoop and scoop out a heaping amount of dough. I decided, like Brenda to measure out the dough so that I had uniform sized cookies, probably not necessary, but it didn’t really take all that long and fed my need to be exact. Each dough ball should be about 3.5 oz each. I do love this food scale though and I use it more often than you’d think!
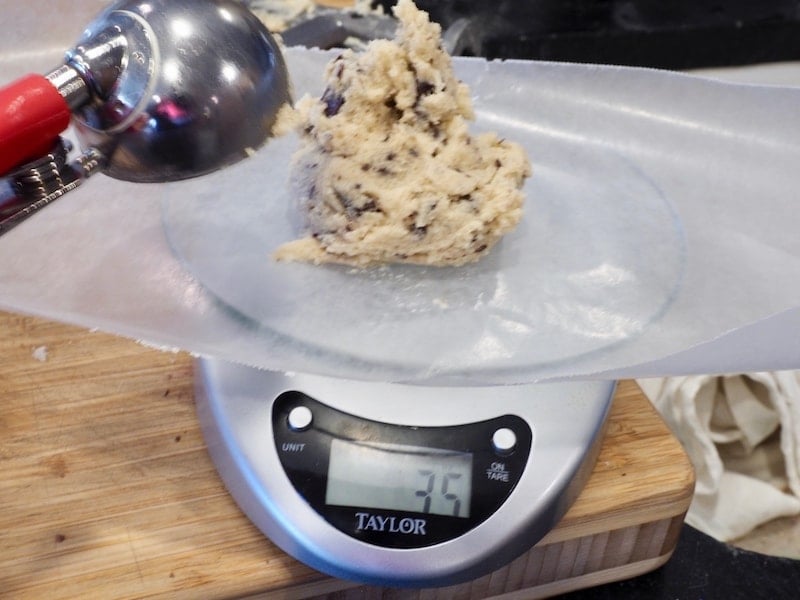
I haven’t tried making them smaller, but Brenda from A Farmgirl’s Dabbles mentions that if you make them smaller they won’t have as many ridges/crinkles/wrinkles on the outer edges and the center won’t be as gooey.
You should be able to fit 4 per pan, but do 3 if it makes you feel more comfortable. They do sometimes run into each other, but they will separate easily when finished.
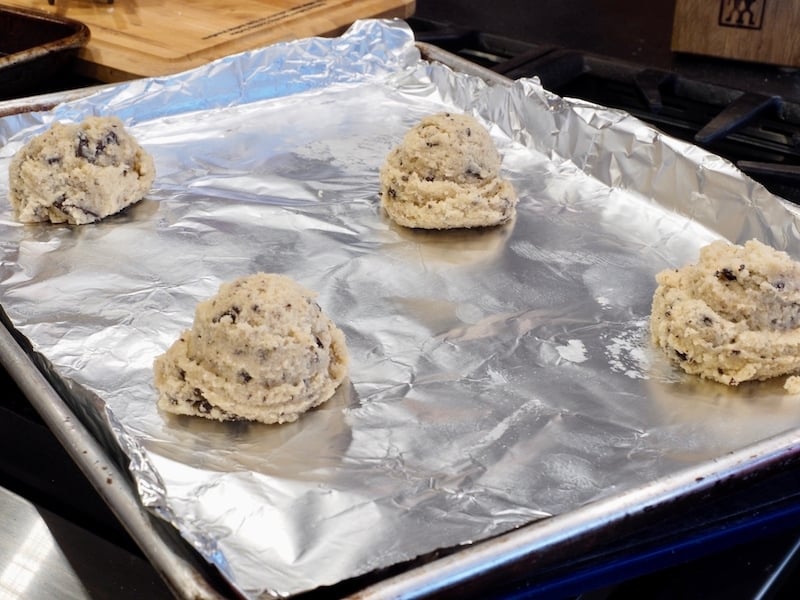
Preheat your oven to 350° and adjust your rack to the center of the oven, you’ll only bake one pan at a time, so plan accordingly.
DON’T SKIP THIS STEP! Place entire pan with dough balls on it into the freezer for 15 minutes before baking. This will assure that they don’t spread too far, too fast.
Once your oven is preheated and you’ve waited the allotted 15 minutes freezer time, remove the first pan from the freezer (replacing with the second and so on) and place in hot oven on the middle rack. Bake for 10 minutes until the cookies are puffed slightly in the center.
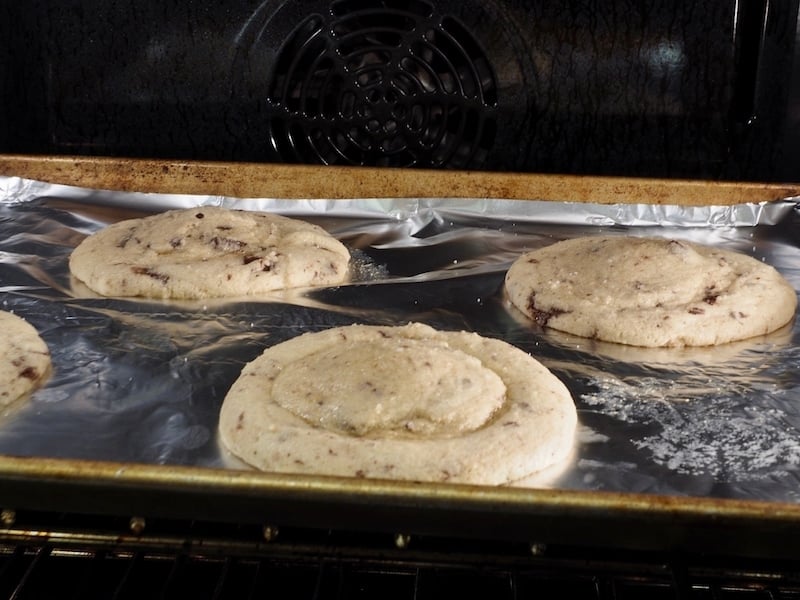
Now this will feel weird if you are a baker, but lift the pan about 4 inches and let it “slam” or drop back down to the rack, so that the edges settled and the puffiness goes down. Turn pan and slam it again.
It’s oddly satisfying!!!
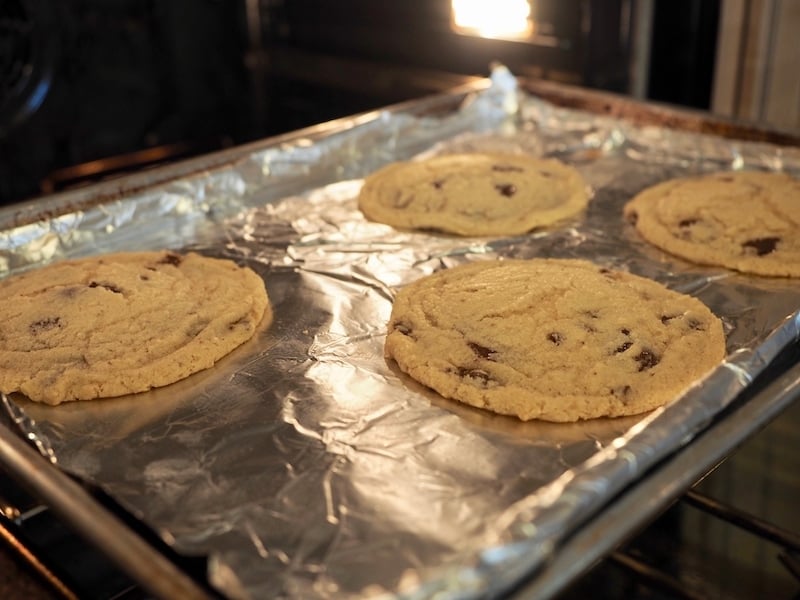
Close oven and bake for another 2-3 minutes, do it all over again, bang that pan down, get those ripples!
Bake for another 2 minutes and smack again, turn for final baking.
Bake until edges are golden but middle is still gooey. Drop pan again as you remove from oven onto a cooling rack. Baking for a total of about 16-18 minutes.
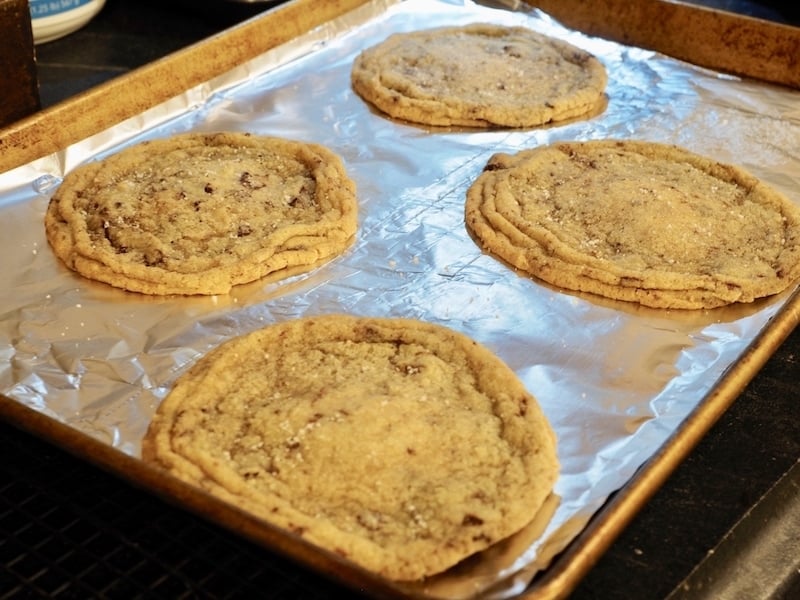
Once removed (and dropped again) sprinkle a little Fleur de Sel over the top of the warm cookies. If you don’t have Fleur de Sel, just use regular sea salt. But truly, this salt is amazing a little goes a long way! Allow to cool completely on baking sheet before removing with large spatula.
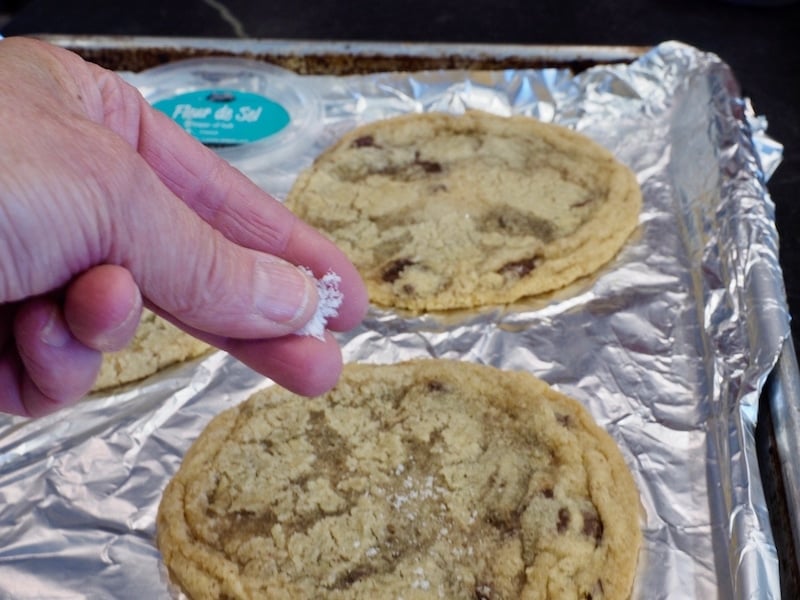
Repeat process with remaining dough balls.
Remember to cool on the pan, on a cooling rack. Aren’t those wrinkles beautiful! Why don’t I feel the same way about wrinkles on me?!
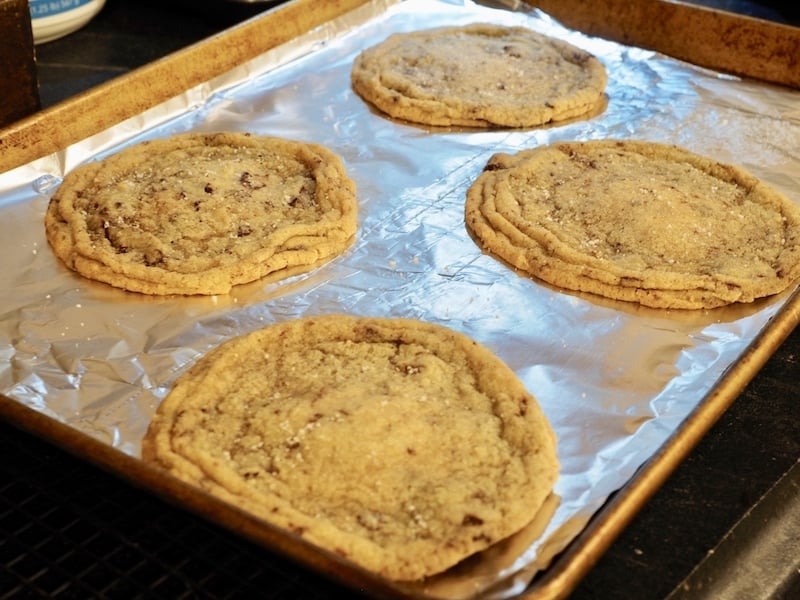
PRO TIP | The cookies can be frozen, but are best eaten fresh, always, fresh is best! Fresh Cookie – Cooky! Get it! Got it! Good! If you do freeze the cookies, reheat them by placing them on a baking sheet in a preheated 250° oven for 2 minutes, it will soften the cookie just right.
I packaged up a few into single cellophane bags and gave them as a little gift to a few friends. These also work wonderfully as hostess or neighbor or teacher gifts, anytime of the year!
NOTE: I made several batches of these to have on hand and froze the dough balls like I do with my Chewy Chocolate Chip Cookies, allowing them to come to room temperature for about 15 minutes (about the time it takes to preheat your oven), then bake as planned.

Merry Christmas friends! Slow down and enjoy this beautiful season! (I’m really just talking to myself here).
Sharing this week on Weekend Potluck and Meal Plan Monday
Like this recipe?
Don’t forget to give it a ⭐️⭐️⭐️⭐️⭐️ star rating and leave a comment below the recipe!
Giant Chewy Chocolate Chip Cookies with Fleur de Sel
Click stars to rate now!
Print Pin Save RateEquipment
Ingredients
- 1 cup butter 2 sticks, salted or unsalted butter, at room temperature (no substitutes)
- 1 ½ cups granulated sugar I used natural, cane sugar
- ¼ cup brown sugar packed
- 1 large egg
- 1 ½ teaspoons pure vanilla extract
- 2 tablespoons water
- 6 oz bittersweet chocolate chopped
- 2 cups all-purpose flour
- ½ teaspoon baking soda
- ¾ teaspoon kosher salt
- fleur de sel for sprinkling | optional
Instructions
- Cream butter for about 2 minutes, scrape down sides before adding sugar. Add sugars and cream well for 2-4 minutes, on medium-high; on the longer side if using natural cane sugar. Add egg, vanilla and water; mixing on low to combine. Once combined, scrape down sides, then increase speed to medium-high and whirl around for about 1 minute.
- Measure flour into a separate bowl. Add baking soda and salt to flour and stir with a fork or whisk to combine. Slowly add flour mixture (about ½ cup at a time), mix on low and scrape down the sides once or twice while adding your flour until combined.
- Chop chocolate on a cutting board, using random chops so that you get a variety of chocolate chunks. You want some shavings, some bigger chunks (about ½") and some smaller ones. Add chopped chocolate to the dough and mix on low until just combined.
- Line 3 – 11×17 (ish) sheet pans with aluminum foil, dull side up (helps make those chewy, crunchy crinkles)
- To make them just like they are pictured, use a large ice cream sized scoop and scoop out a heaping amount of dough, a heaping ⅓ cup, plus a bit more is what I found worked. If desired, weigh each scoop, about 3.5 oz each.
- You should be able to fit 4 per pan, but do 3 if it makes you feel more comfortable. They do sometimes run into each other, but they will separate easily when finished.
- Preheat oven to 350° and adjust the rack to the center of the oven, you’ll only bake one pan at a time, so plan accordingly.
- DO NOT MISS THIS STEP!
- Place entire pan with dough balls into the freezer for 15 minutes before baking. This will insure that they don’t spread too far, too fast. Once oven is preheated and you’ve waited the allotted 15 minutes freezer time, remove the first pan from the freezer (replacing with the second and so on) and place in hot oven on the middle rack.
- Bake for 10 minutes until the cookies are puffed slightly in the center.
- After 10 minutes, slam the pan. This will feel weird if you are a baker, but lift the pan about 4 inches and let it "slam" or drop back down to the rack, so that the edges settle and the puffiness goes down. Turn pan and slam it again. It’s oddly satisfying.
- Close oven and bake for another 2-3 minutes, do it all over again, smack down that pan, get those wrinkles!
- Bake for another 2-4 minutes until edges are golden but the middle is still gooey. Drop pan again as you remove from oven onto a cooling rack for a total baking time of about 16-18 minutes.
- Once removed (and dropped again) sprinkle a little Fleur de Sel over the top of the warm cookies. If you don’t have Fleur de Sel, just use regular sea salt. But truly, this salt is amazing a little goes a long way!
- Allow to cool completely on baking sheet before removing with large spatula. Store in airtight container or freeze. Repeat process with remaining dough balls. Share with a family member, friend or neighbor.
Notes
Nutrition



These are great! They took some “babysitting” but the effort is worth it. The texture is amazing on these. Will make again!
They are most definitely not a put in the oven and take out cookie. Babysitting is a good way to put it. But the results are so worth it! So glad you loved them!
Pan Banging Perfection! Since the combo of sweet and salty is a match made in heaven, I know that these will be delightful. Excited to make them for our little Fourth of July celebration this year. Printing this off and pinning it.
Me too! They will be a huge hit for the 4th!
Okay, okay. I know I already commented on the fact that I made a gluten free version, but oh. my. gosh. I just made these again, exactly by the recipe (yes, that is twice in two days). These are my all time favorite cookies. Ever. Period. And discovering them when I have serious third trimester cookie cravings… I could never thank you enough. ???? You are my hero. You deserve an award.
Lol Laci!! I’m so excited to put that info in my recipe and try them GF myself. Thank you for your sweet comments. Congrats on your sweet new life!!
Oh my goodness. I just tried this recipe for a gluten-free friend, substituting the all purpose flour with a 1-1 gluten free all purpose flour (Krusteaz), and they were such a hit! They turned out as beautiful as you pictured them, which doesn’t always happen with recipes I’ve tried in the past. They had delightfully crispy, wrinkly edges, with nice, thin but soft, chewy centers, making them the perfect thickness for their size. Everyone gasped at the sight of them and loved the taste every bit as much! Thank you for such a wonderful recipe! It’s a new favorite, for certain!! 🙂 Oh, and my two-year-old son was immensely pleased, so these must become a tradition for us. <3
These cookies are AWESOME! You must try them.
Thanks Wendy!
These cookies are AWESOME! You must try them.