

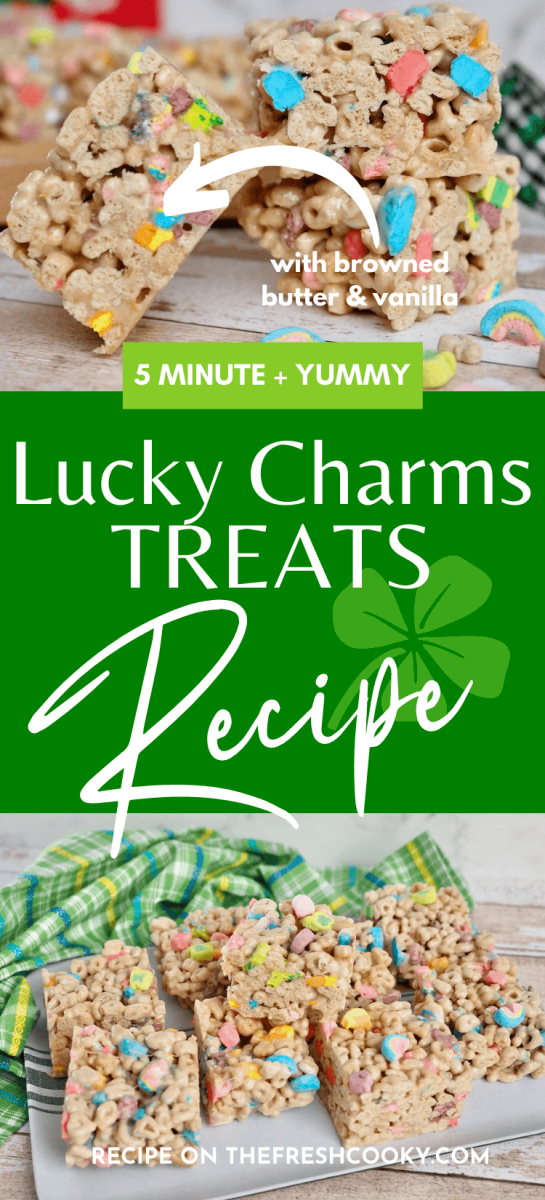

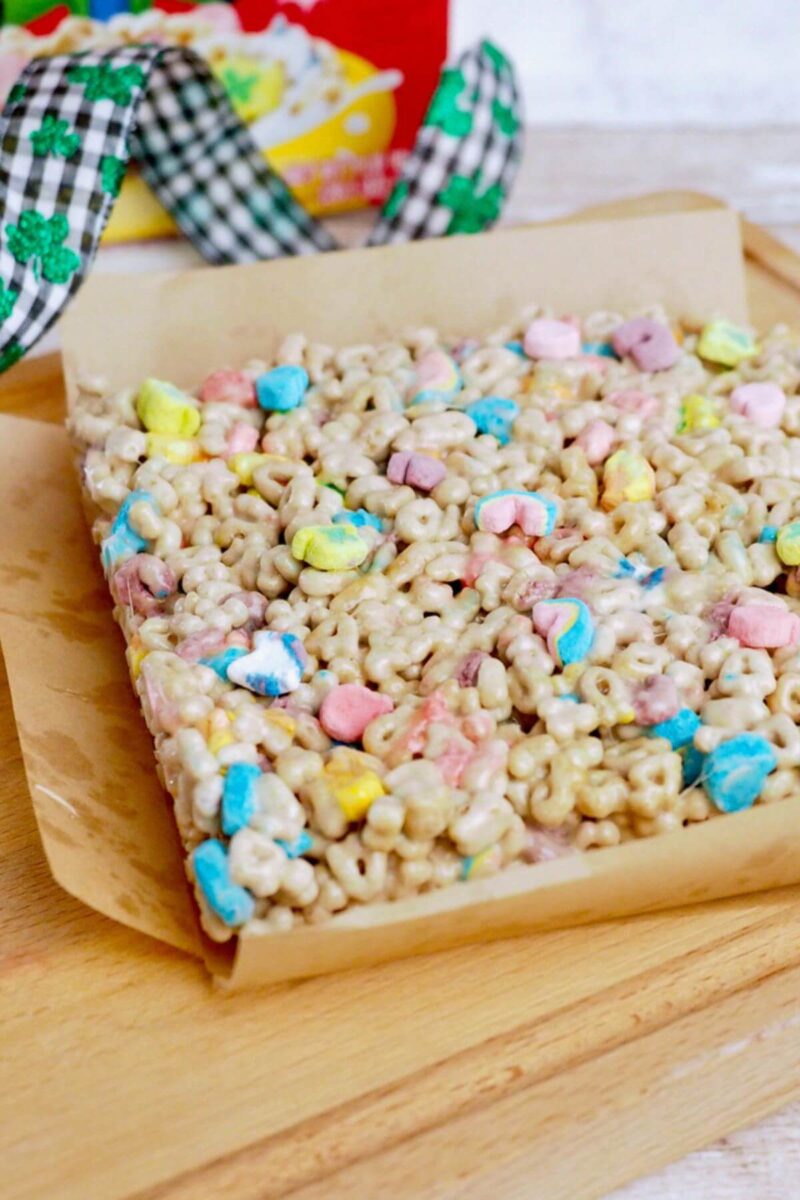
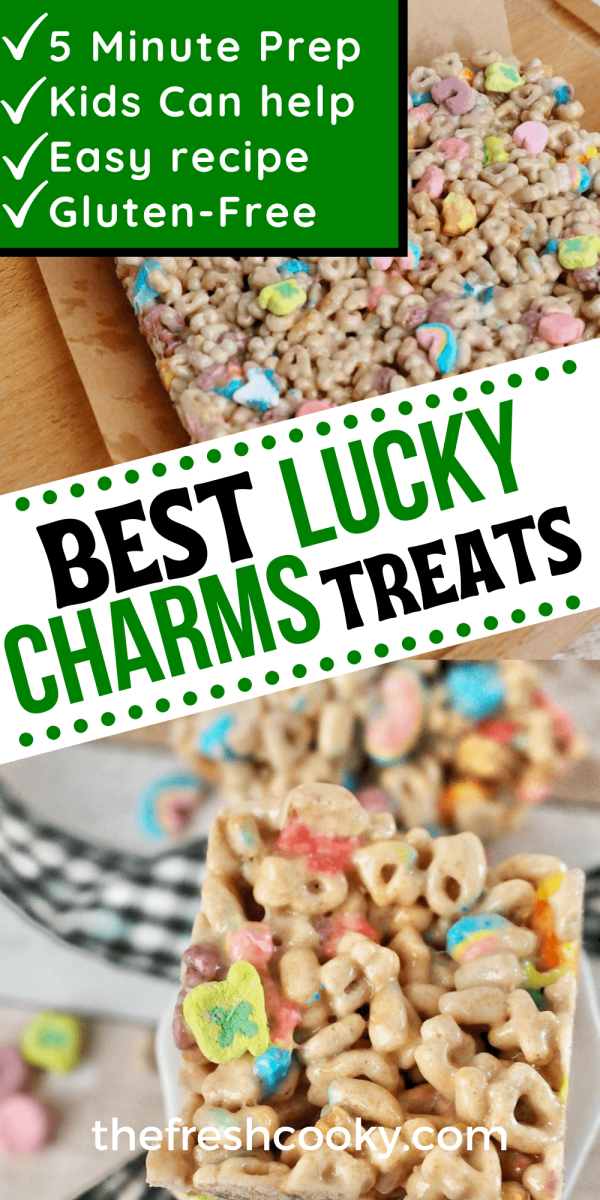
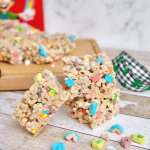
Whip up some magic Lucky Charms Rice Krispie Treats: a delightful twist on classic Rice Krispie treats. With just four ingredients, these Lucky Charms desserts are cereal bar heaven.
What is it about the squeaky sweet burst biting into Lucky Charms Marshmallows? They take me back to childhood, my mom never bought them, but my grandparents kept them on hand just for us!
Why You Will Love Lucky Charms Treats
- Lickity Split | By the time you finish browning your butter, these come together in minutes.
- Gluten-Free | Did you know that Lucky Charms are naturally gluten-free?
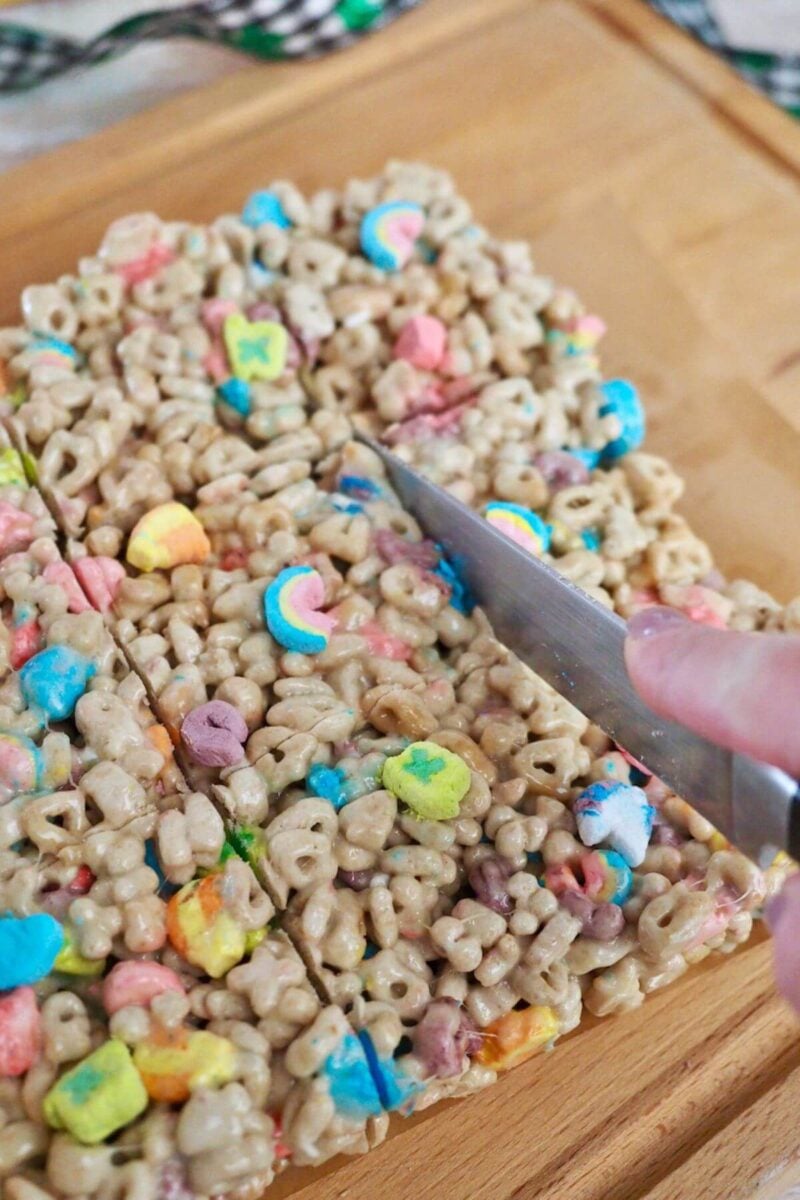
- Makes a Lot | While you can cut this into 9 squares, I like to cut them again into 18 or even 36 squares, for great small bite sized treats!
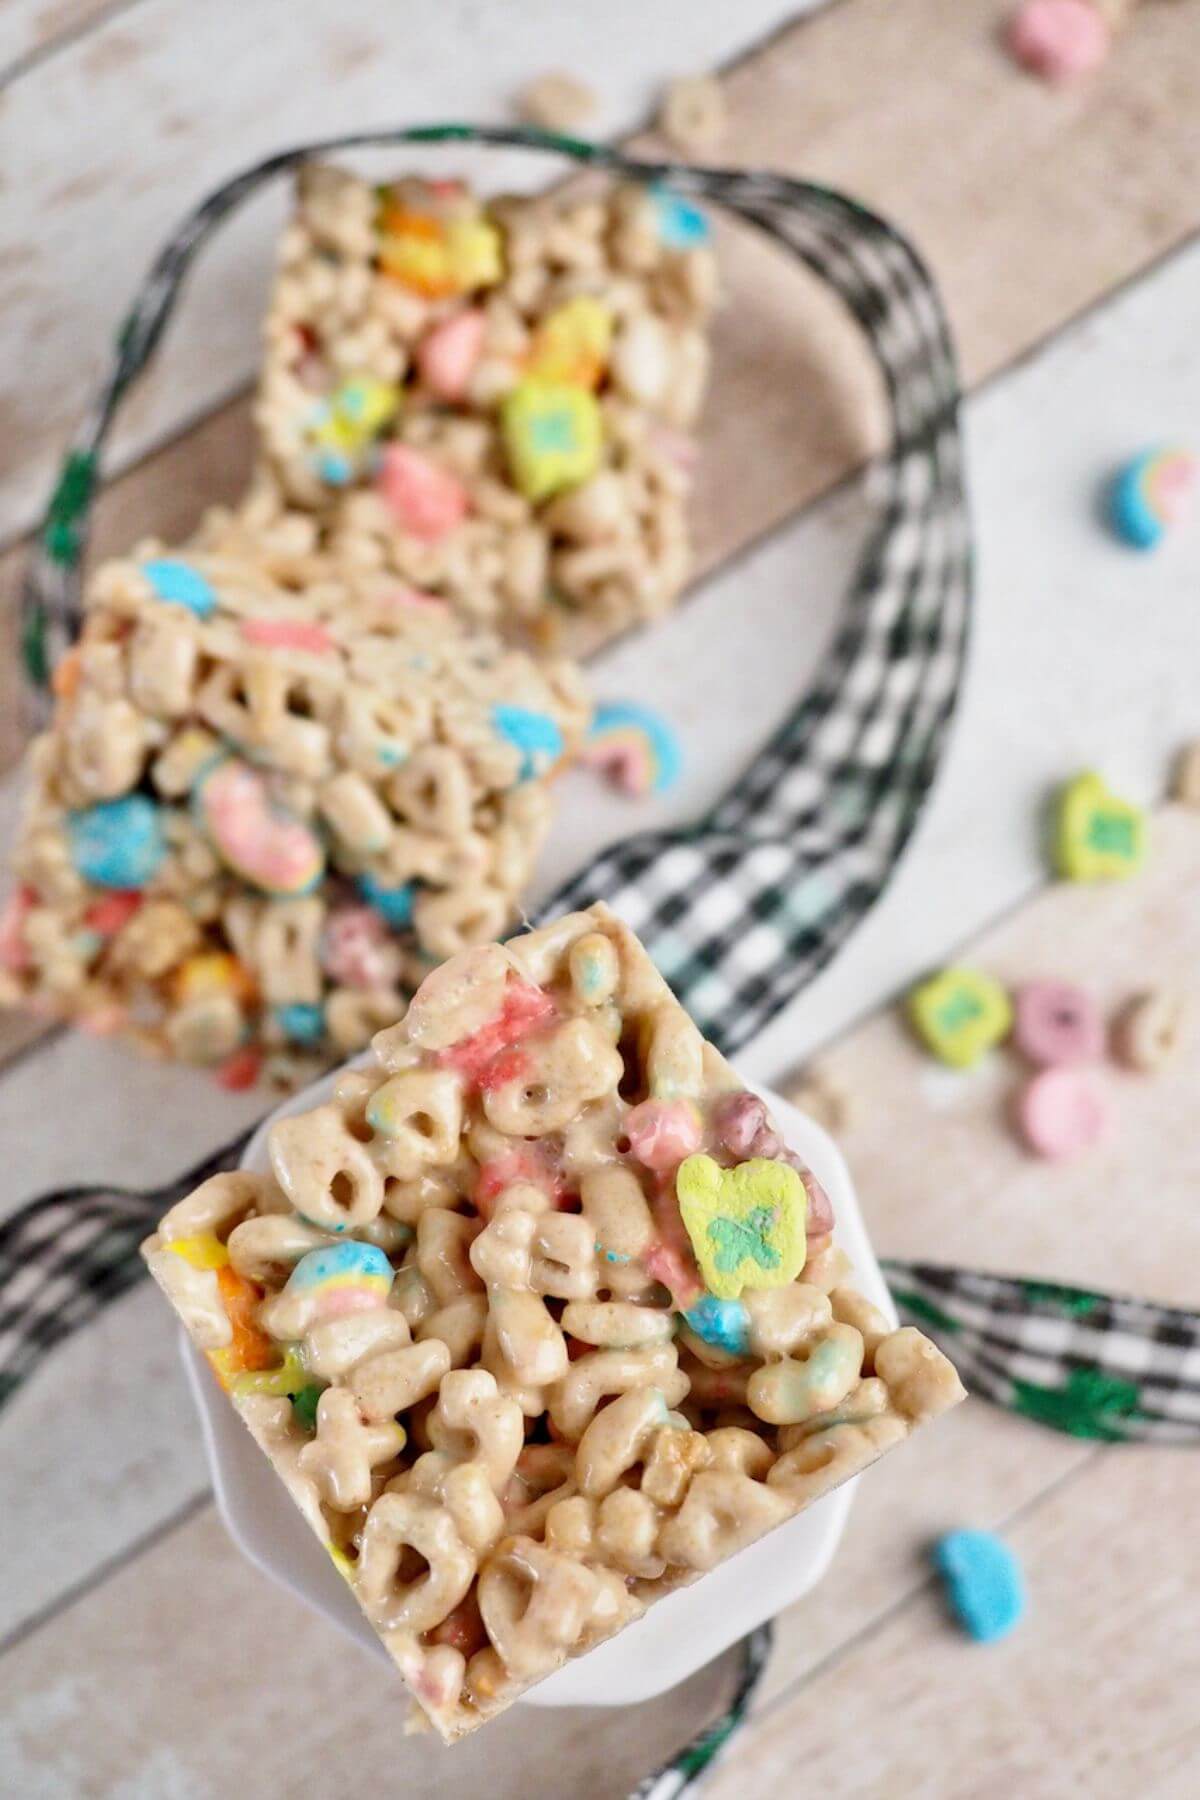
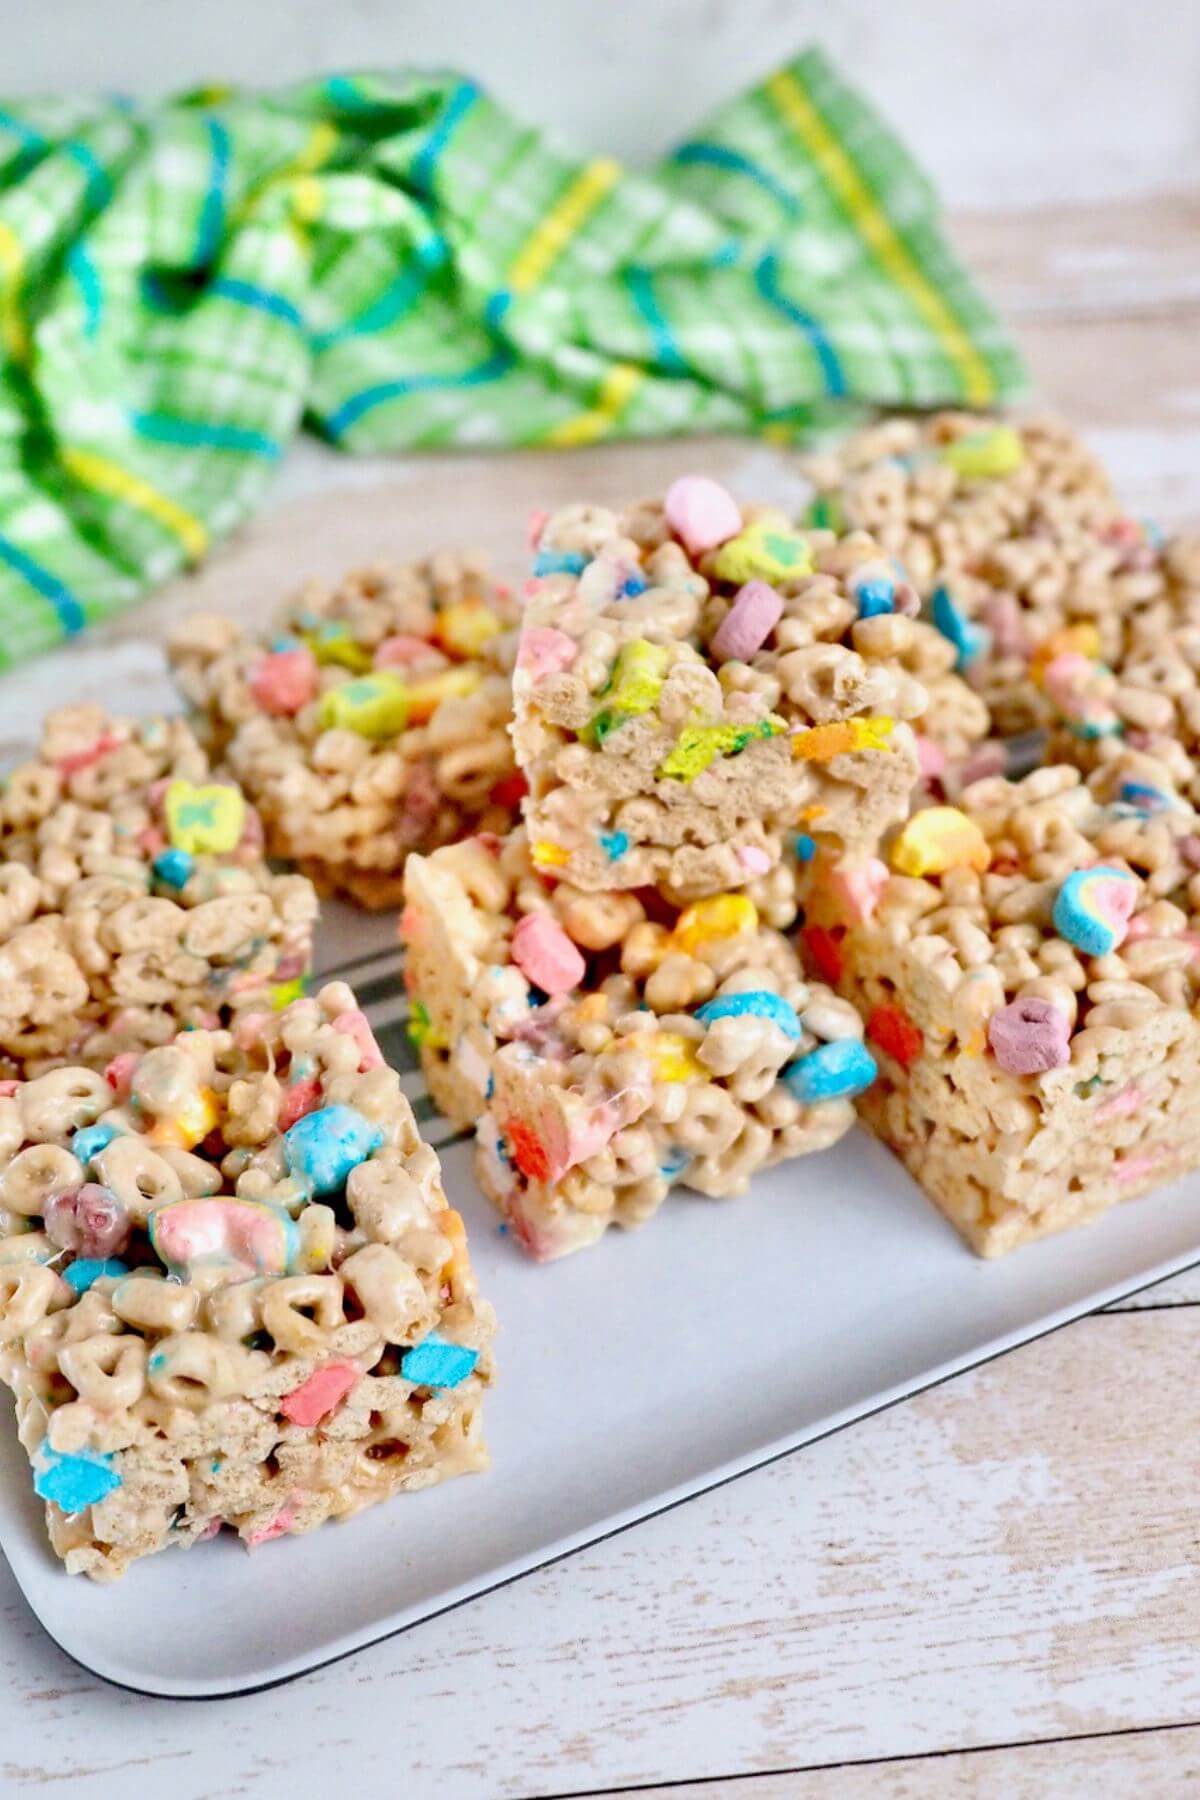
Perfect for any day, not just St. Patrick’s Day, they had our taste testers craving more after just one bite!
I love making special treats for any holiday, typically I make this Guinness Stout Cake for St. Patrick’s day or these fun and festive Mini King Cake bites, but sometimes you are in the mood for something even easier!
Whether you are looking for a quick and easy classroom treat to make, or you just want to surprise your own family, these Lucky Charm treat bars are the perfect gluten-free quick sweet treat!
I added one step to these traditional cereal bars that will have you scrambling for more! By browning the butter, the overall flavor is deeply enhanced, making them the best Lucky Charms cereal bars ever!
Love browned butter? You will love my Brown Butter Vanilla Bean Rice Krispie Treats, and these Buckeye Bars.
Simple Ingredients for Lucky Charms Desserts
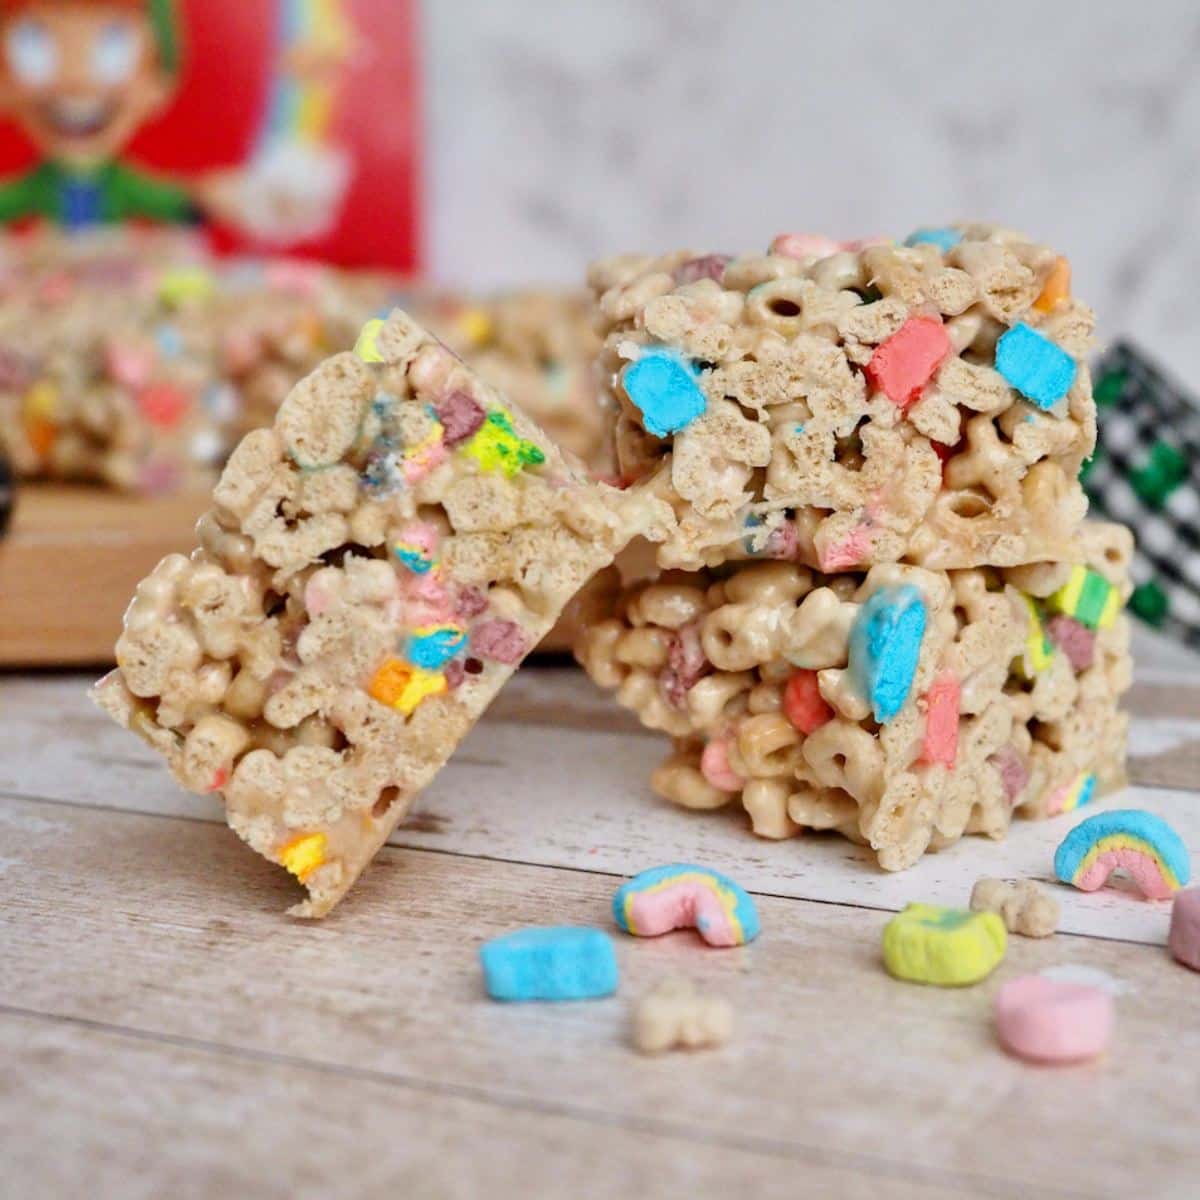
- Lucky Charms Cereal | I bought the giant-sized box and got three batches of treats, plus a little leftover for snacking. Because even though Lucky Charms are not what I would call the healthiest of cereal choices, I am a believer of all things in moderation. After all, these are magically delicious!
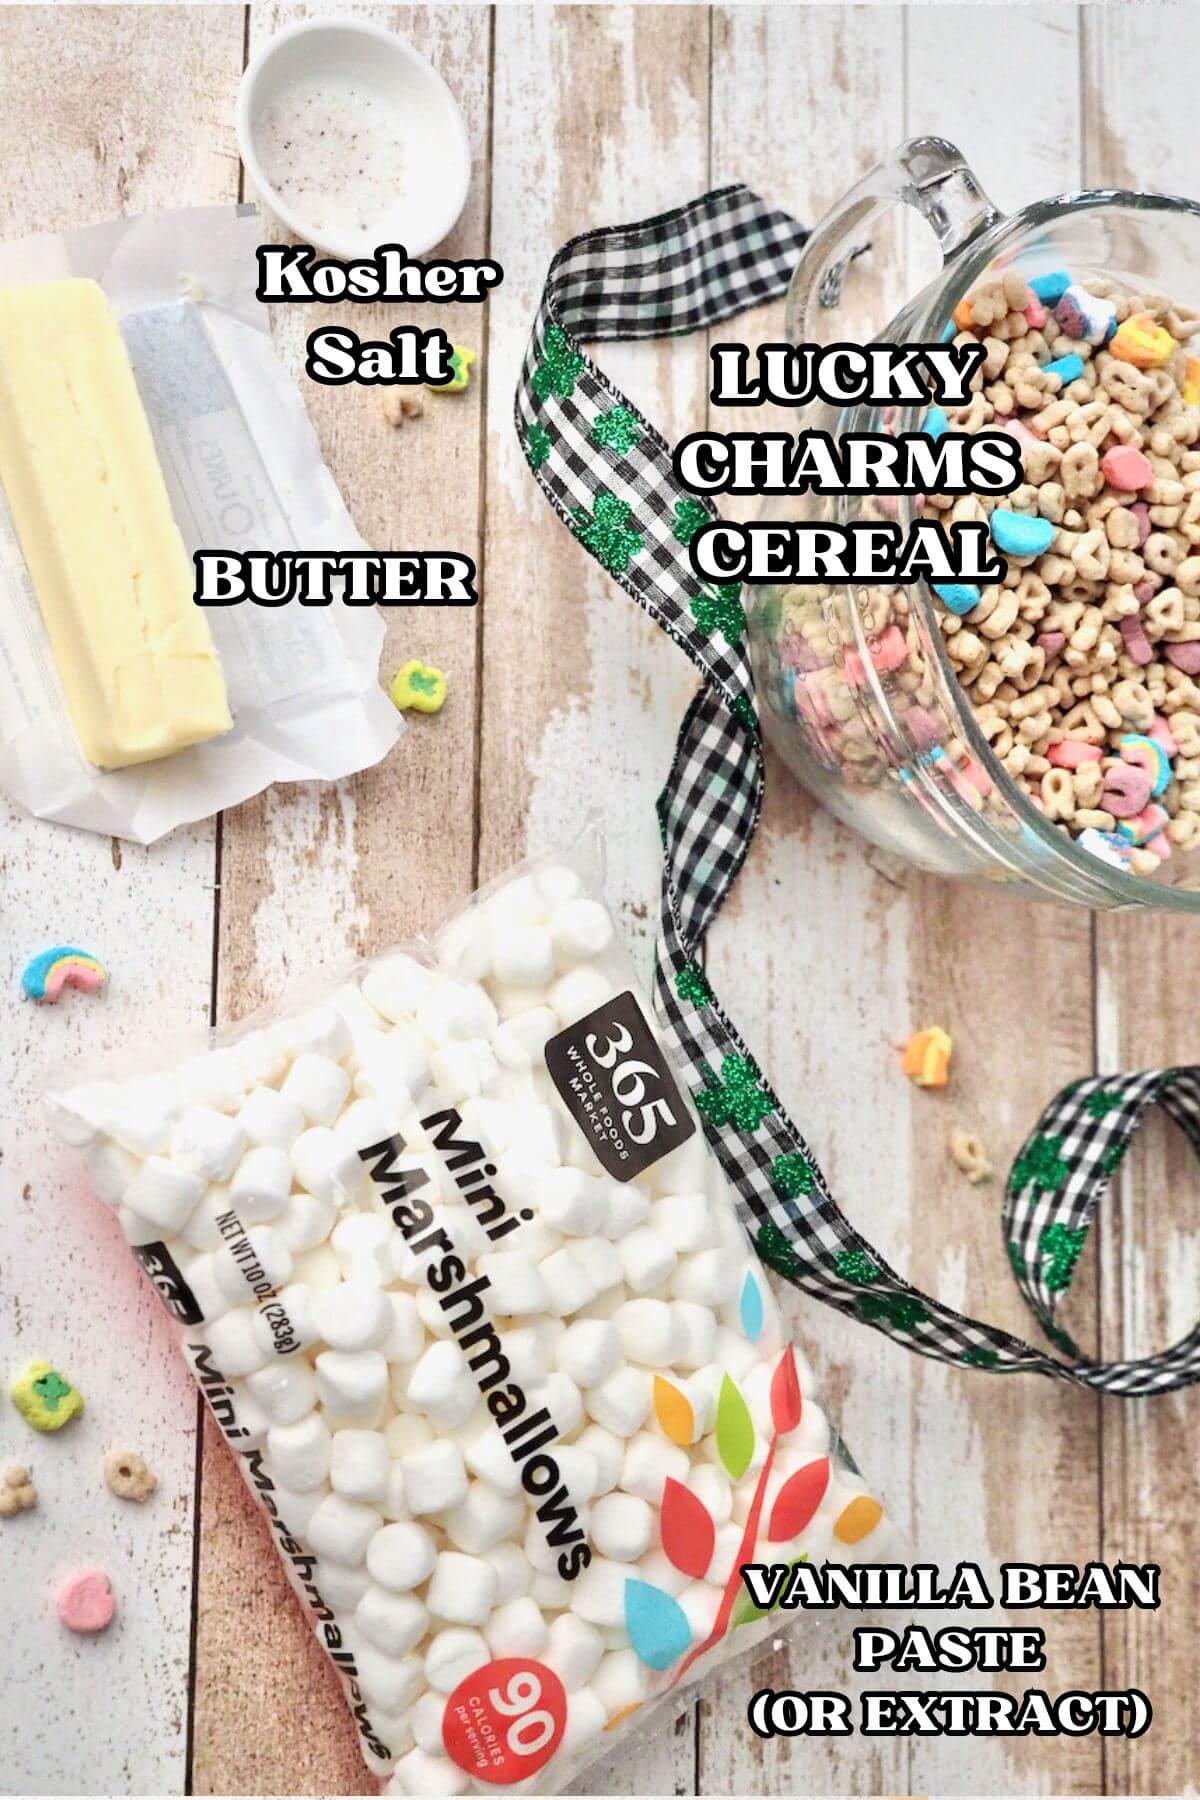
- Butter | Use, real butter, it should be hard coming out of the fridge, I used salted butter.
- Mini Marshmallows | Recipes are all over the place, from 10, 12 to 16 ounces of marshmallows. Every package of marshmallows I found was 10 ounces, so that is what I am going with, and it worked perfectly. If you want them even gooier, go for more!
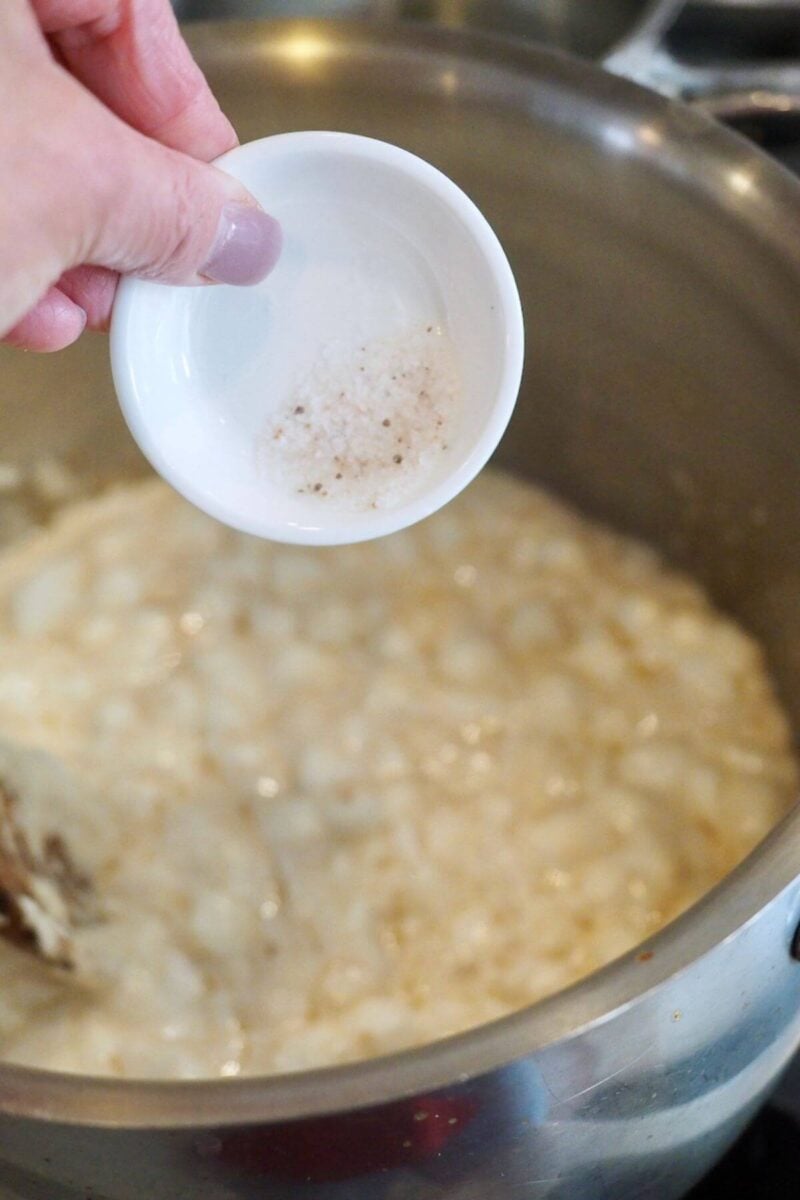
- Vanilla Bean Paste | this is optional, but adds a lovely hint of vanilla. If not using vanilla bean paste, add a teaspoon of vanilla extract to the marshmallow mixture. And a little kosher salt enhances the sweet!
Get the full recipe in the recipe card below.
Fresh Tip
- Mini marshmallows melt much faster than full size, make sure they are fresh marshmallows.
- Stale marshmallows take longer to melt, and actually cook a bit making your bars much harder.
How to Make Lucky Charms Rice Krispie Treats
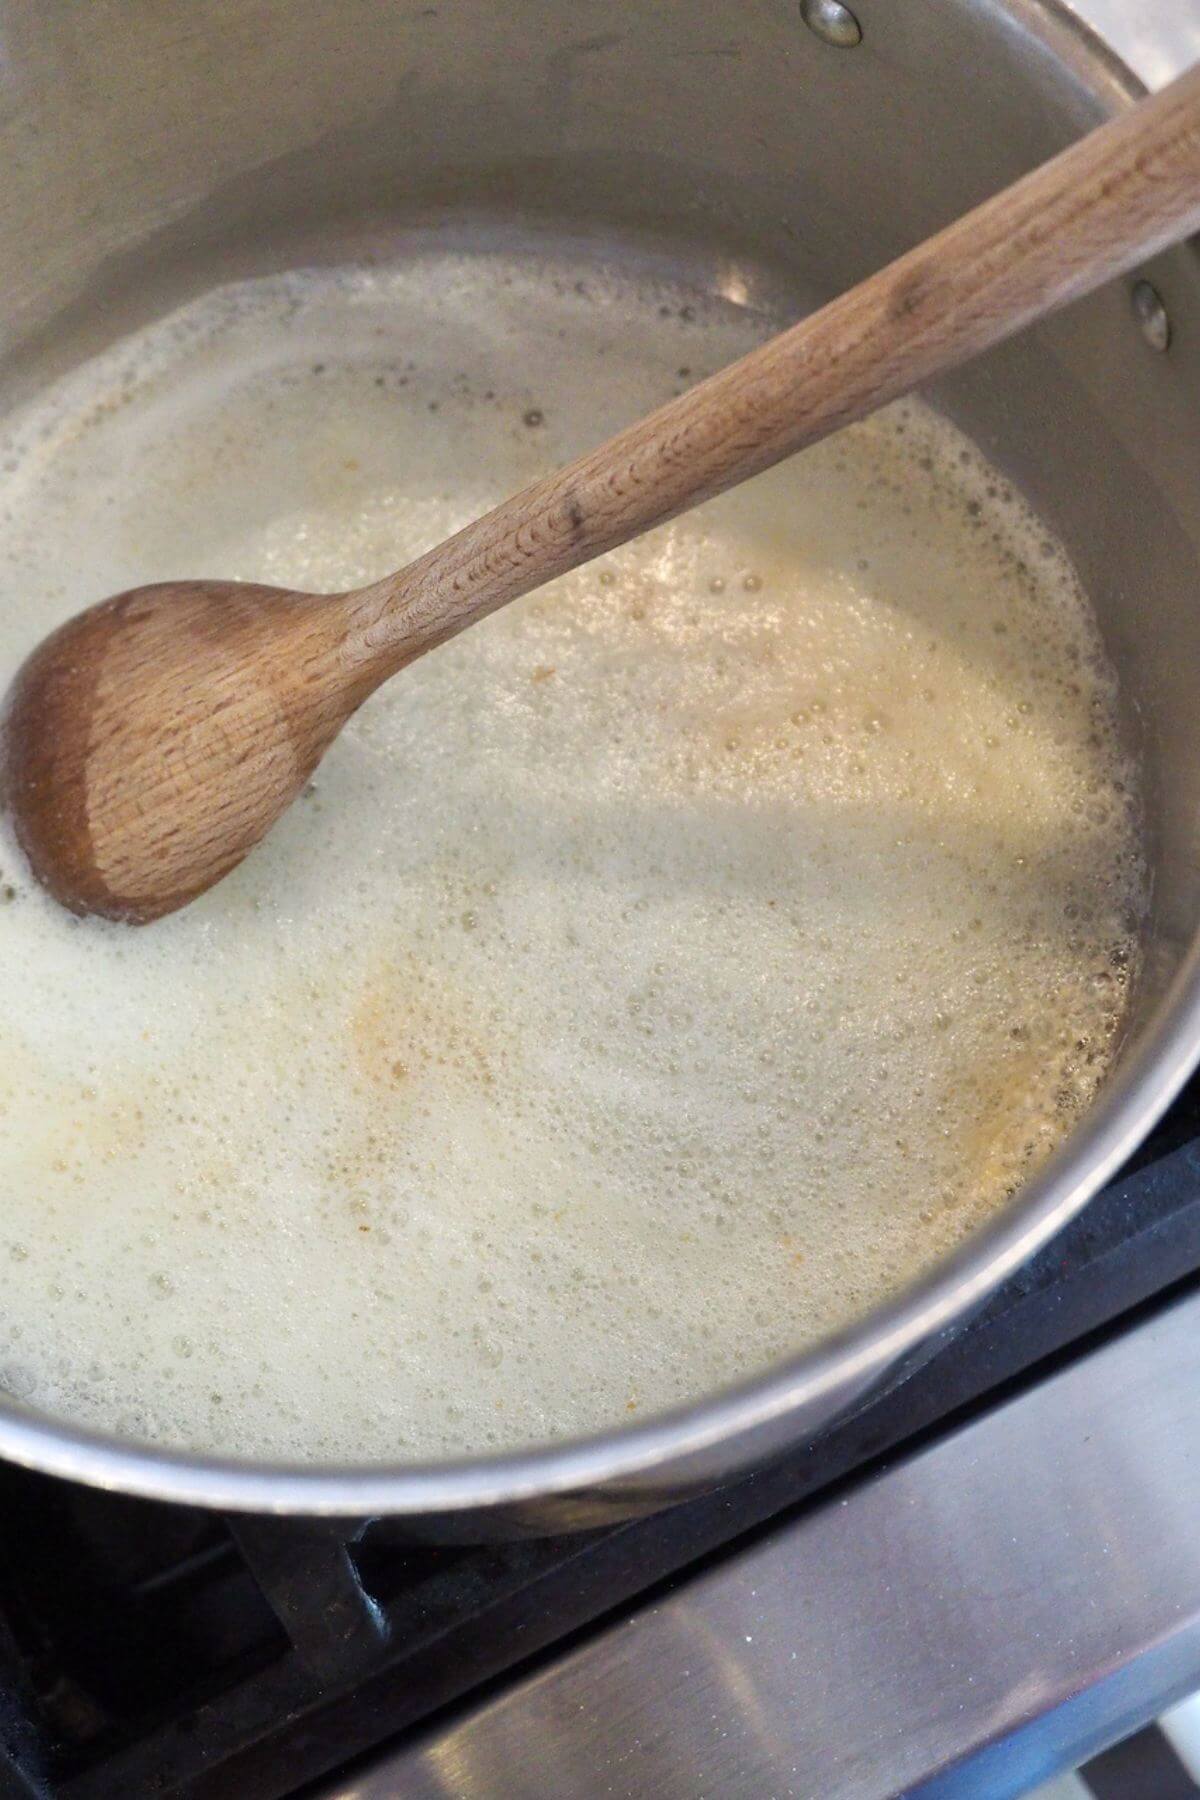
Step 1 | Pre and Make Browned Butter
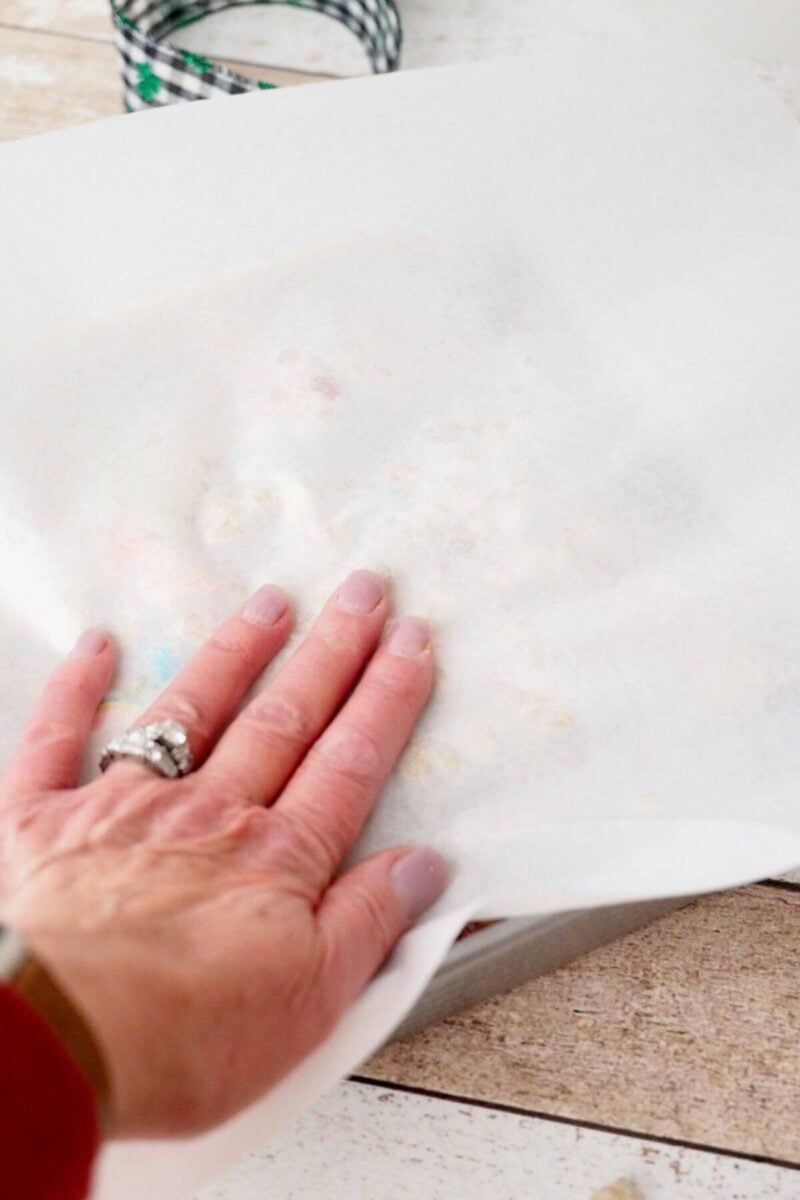
Line an 8×8 or 9×9 inch square pan with parchment paper for easier clean up, or butter the pan well.
Melt butter over medium heat in a large pot. If browning the butter, continue over medium heat, swirling pan occasionally, the butter will foam up and get really quiet, then as you swirl the pan you will start to notice some brown flecks in the bubbles, continue until the butter smells nutty.
Fresh Tips
- Use a pot large enough to be able to stir the cereal in after all of the melting.
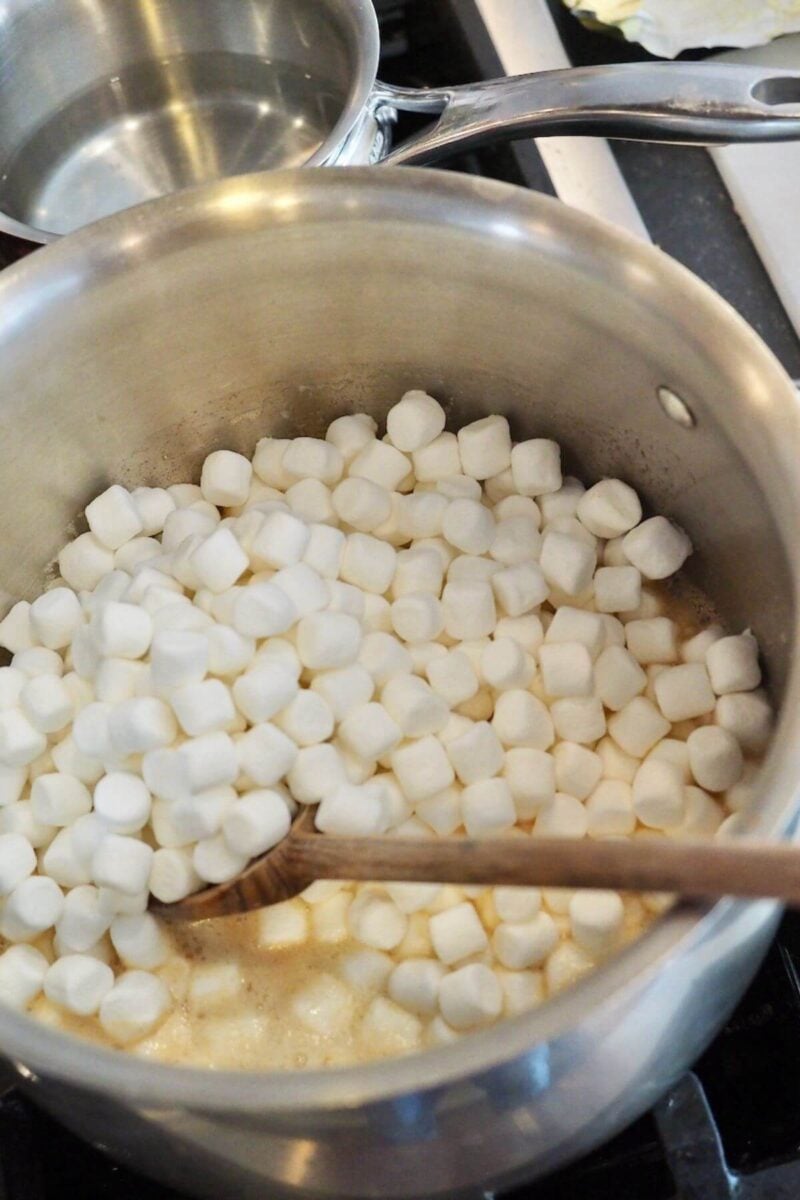
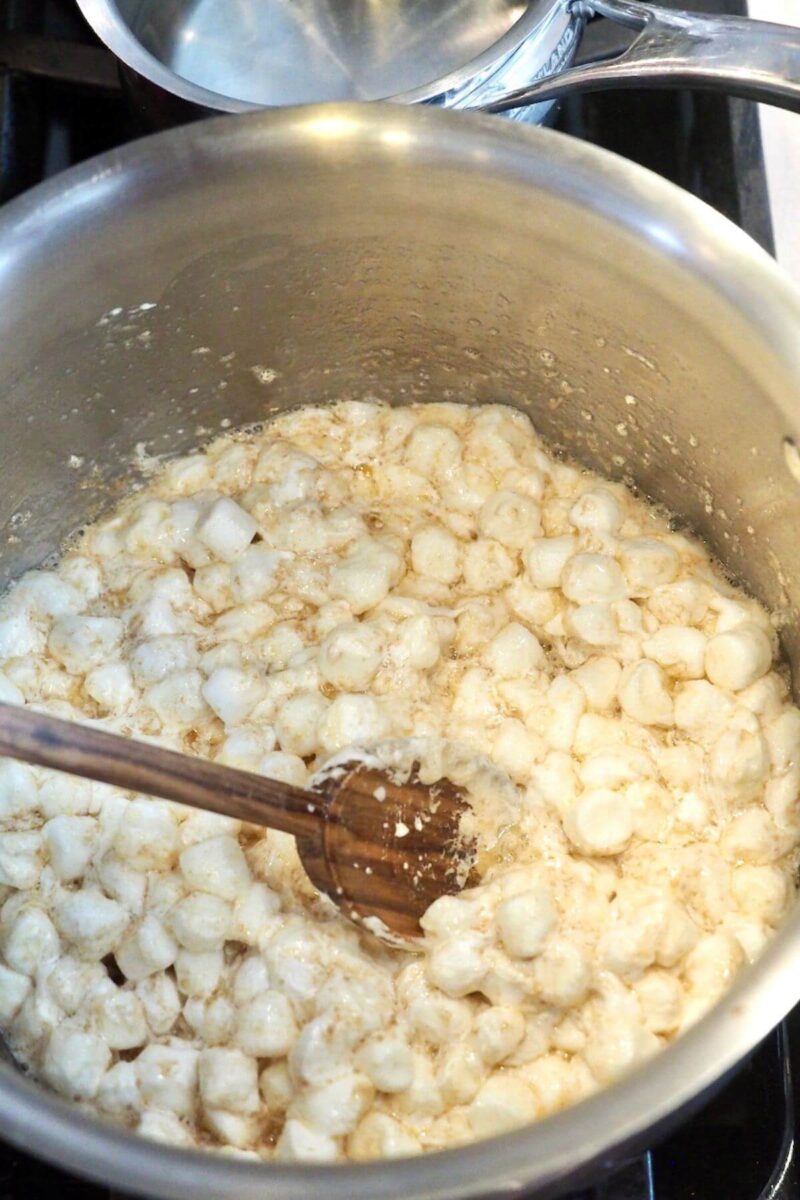
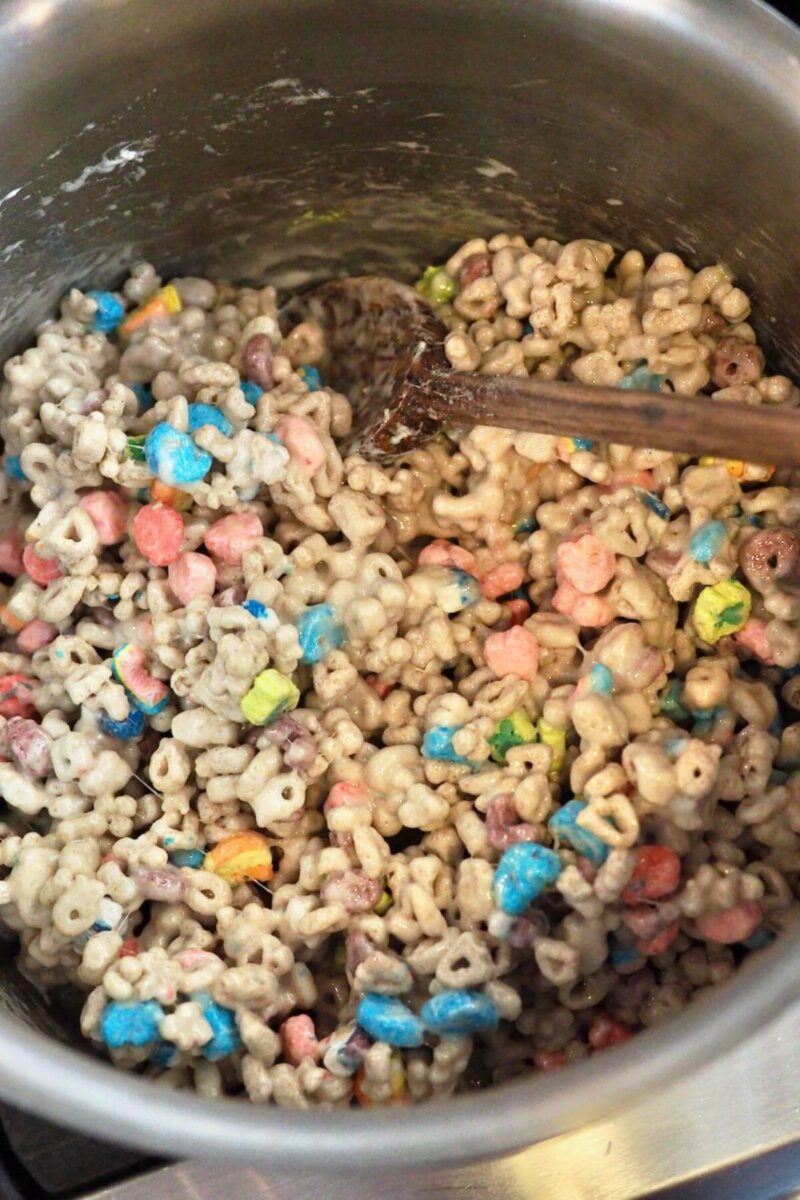
Step 2 | Make Marshmallow Goo
Pour mini marshmallows into the browned butter and stir over medium-low heat until they are just about melted. Remove from heat and continue stirring until fully melted. Stir in salt and, if desired the vanilla bean paste or vanilla extract.
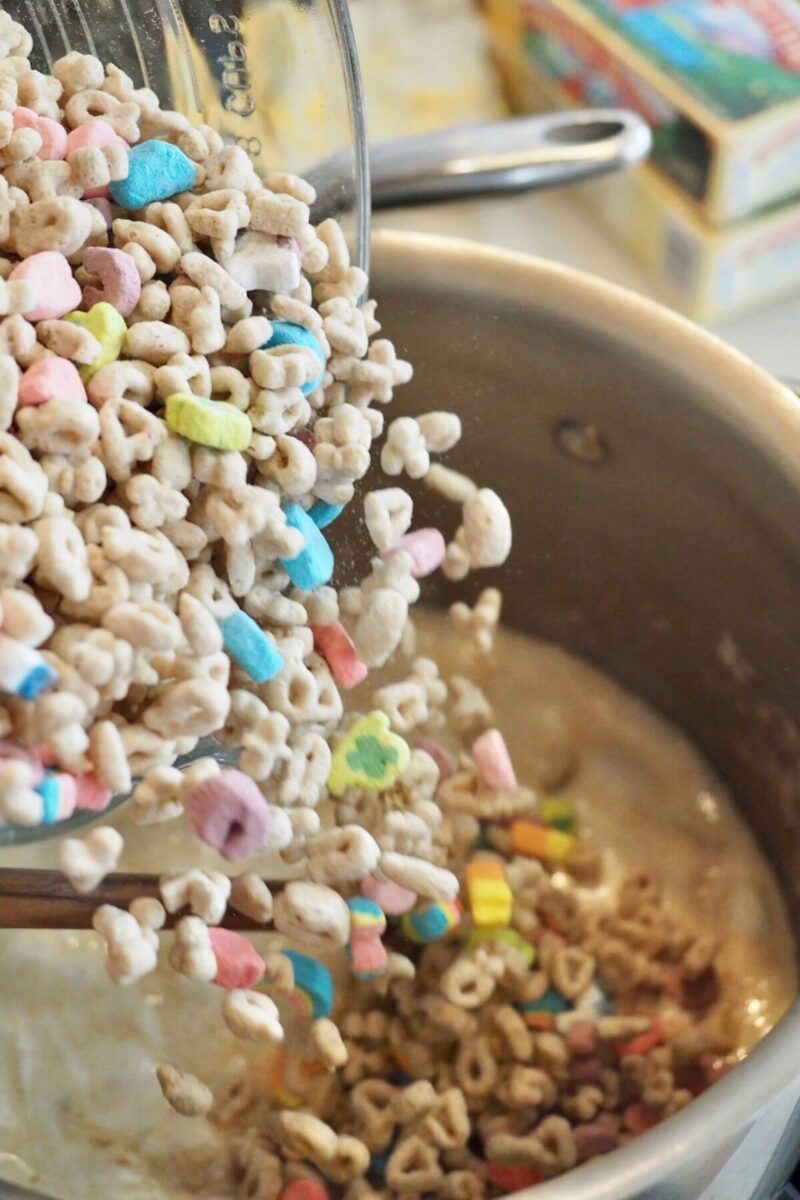
Step 3 | Add Lucky Charms Cereal
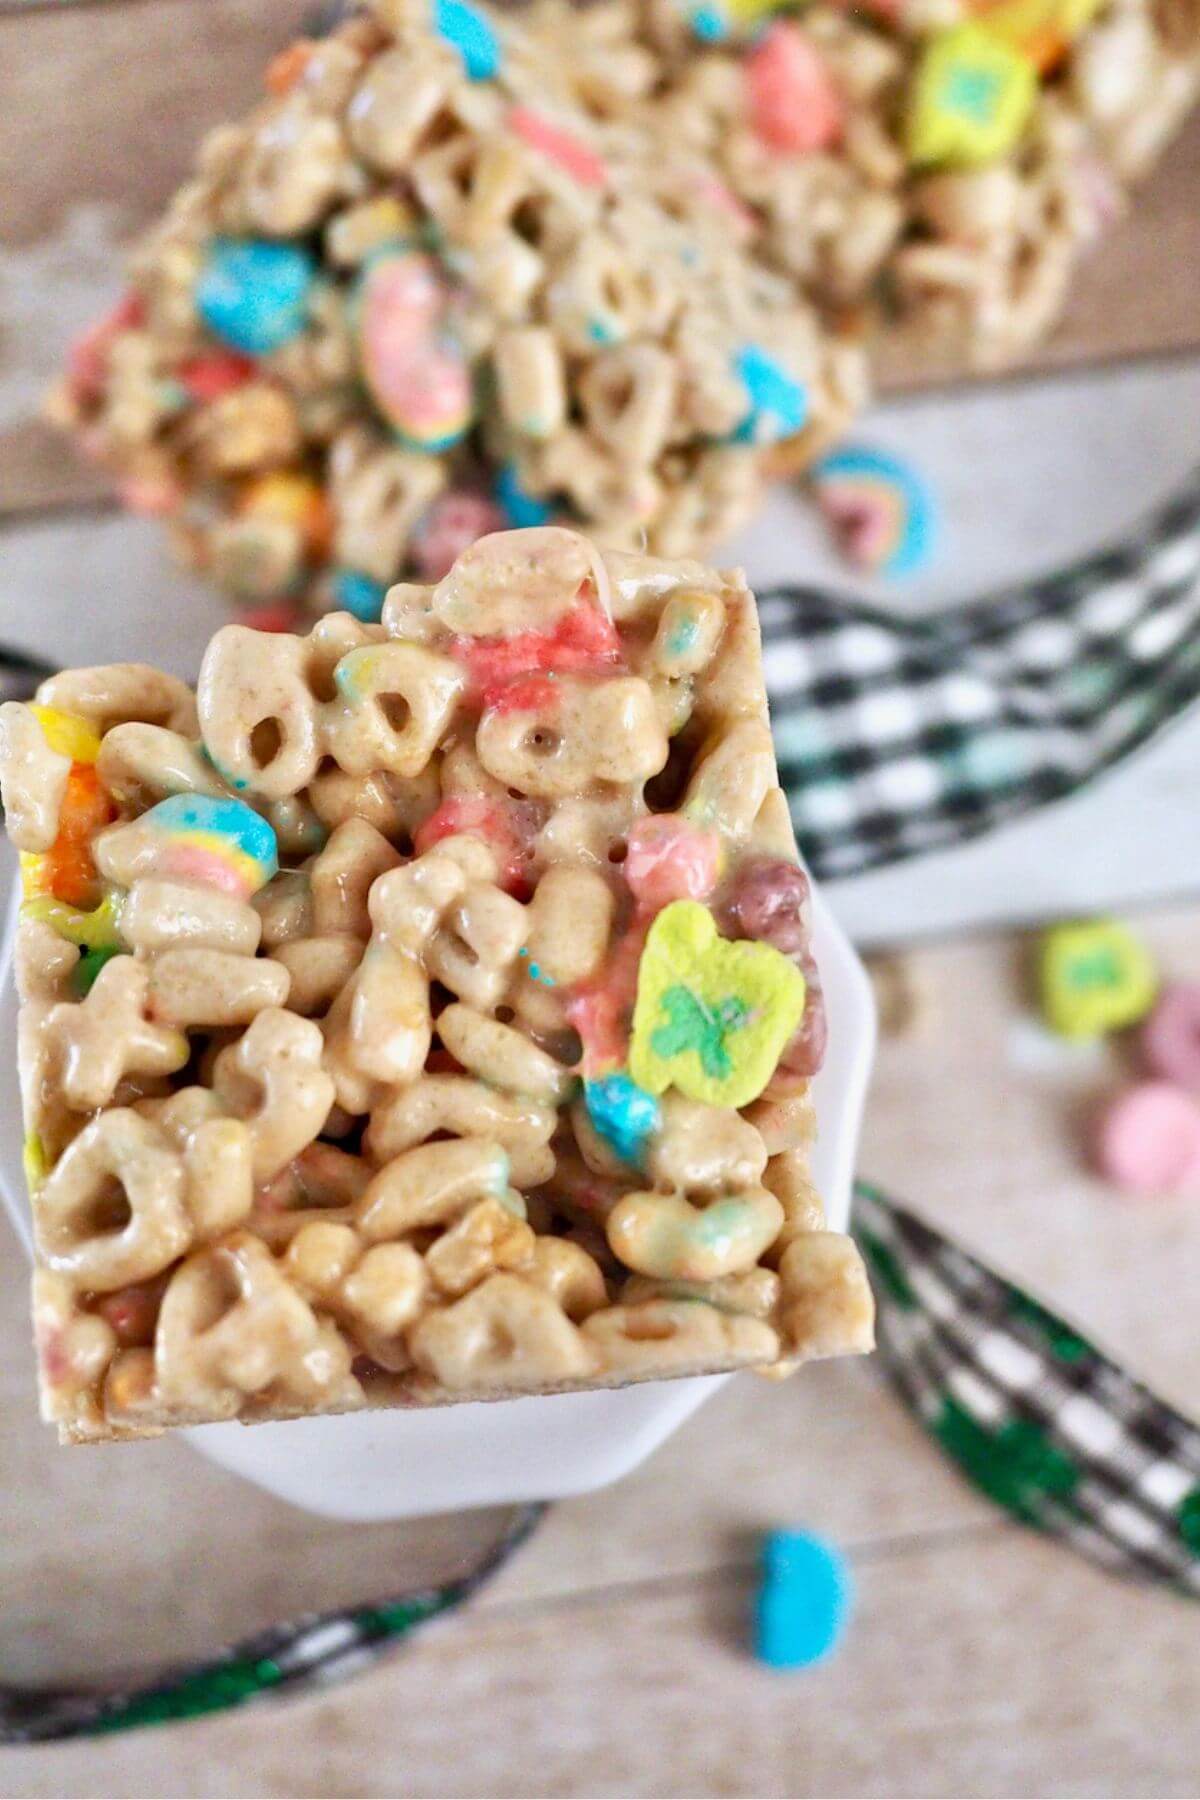
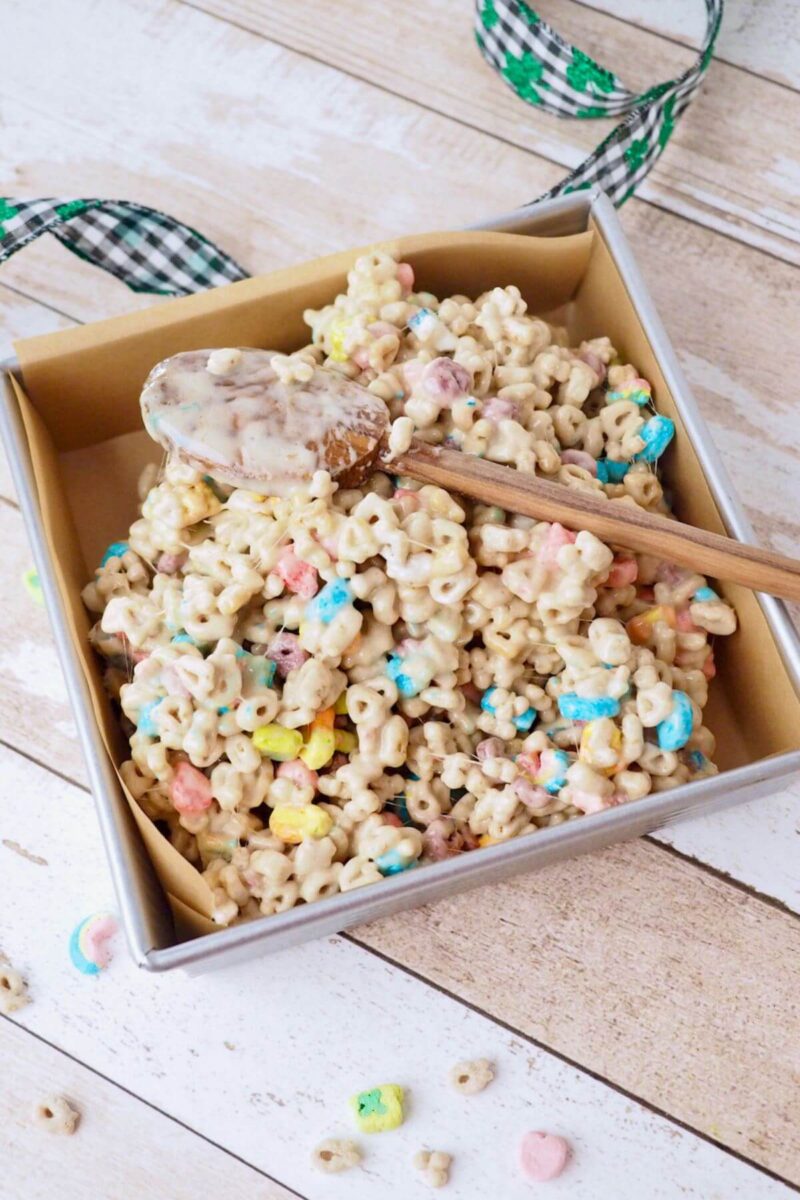
Add cereal all at once, stirring until it is all coated. Dump into the prepared pan and using a piece of parchment paper, plastic wrap or buttered hands, press the mixture lightly into the pan.
Step 4 | Cool and Cut
Allow Lucky Charms Bars to cool for about an hour before cutting.

Variations & Substitutions
- Add more marshmallows to your Lucky Charms rice krispie treats! Got leftover marshmallows? Toss in up to a cup while stirring in the cereal.
- Use another type of cereal | You could use Cheerio’s or other toasted oat style cereal.
- Stir in ½ cup of chocolate chips when you stir in the cereal, or try the same amount of m&m candies if you want these really over the top!
- Use Lucky Charms St. Patty’s Day cereal with only green and yellow marshmallows!
Fresh Tips
- Do not push down hard on these lucky charms treats, when you compact them it makes them extra hard, and not nearly as chewy!

Top Tips and Tricks for Lucky Charms Desserts
- Thick Bars I This cereal bar recipe yields, big, fat Lucky Charms bars. If you want thinner bars stretching further, press into a 7×11 inch or 9×13 pan.
- Fresh Mallows | Be sure your marshmallows are fresh, trust me on this one, I used some older, stale marshmallows in a test batch and it yielded a really hard Lucky Charm dessert, they still tasted good, but definitely give you a jaw workout.
- Salt | I use salted butter in pretty much all of my baking, these have a lovely sweet-salty flavor, if you are not a fan, either omit the additional salt all together, or cut it in half. It’s not overpowering, but some may not care for it.
- DO NOT COMPACT | Unless you want really hard Lucky Charms treats do not press down too hard when pressing into your pan.
- Press a few additional Lucky Charms marshmallows into the top of the treats right after pressing into the pan.
- Use parchment to line your baking pan for easy clean-up and to easily lift out of the pan for easy cutting.
Frequently Asked Questions
Yes they are! I made these for friends who are gluten-free and was delighted to realize that the cereal was labeled as certified gluten-free! So because we’re only adding butter and marshmallows these Lucky Charms bars are naturally gluten-free!
According to several vegan websites, no, Lucky Charms are not vegan, since they contain marshmallows and there is gelatin in the marshmallows derived from animal products.
Yes, this recipe easily doubles! Be sure to use a large pot when making the recipe!
No, in fact, refrigerating Lucky Charms bars will actually take away from their chewiness and make them rock hard. Store in an airtight baggie or container for just right krispie treats!
Storage Tips
Lucky Charms Bars are best when eaten the day they are made, but definitely within 2-3 days.
Store on the counter in an airtight container for up to 5 days (they won’t last that long, trust me!)
Fresh Tips
- If your Lucky Charms treat bars harden, try microwaving for 10 seconds at a time until softened. Or place in 300 degree oven for 2-3 minutes.
Recommended Equipment
All you need is a big pot and a wooden spoon and you are golden for this recipe!
- My favorite wooden spoon
- This is the 8×8 pan I use and love!
Best main dishes to serve with Lucky Charms Desserts
Go all Irish on your family and make this flavorful and easy Steak and Ale Pie, or this Irish Bangers and Mash or No Bake Shepherd’s Pie and this Baked Corned Beef and Cabbage!
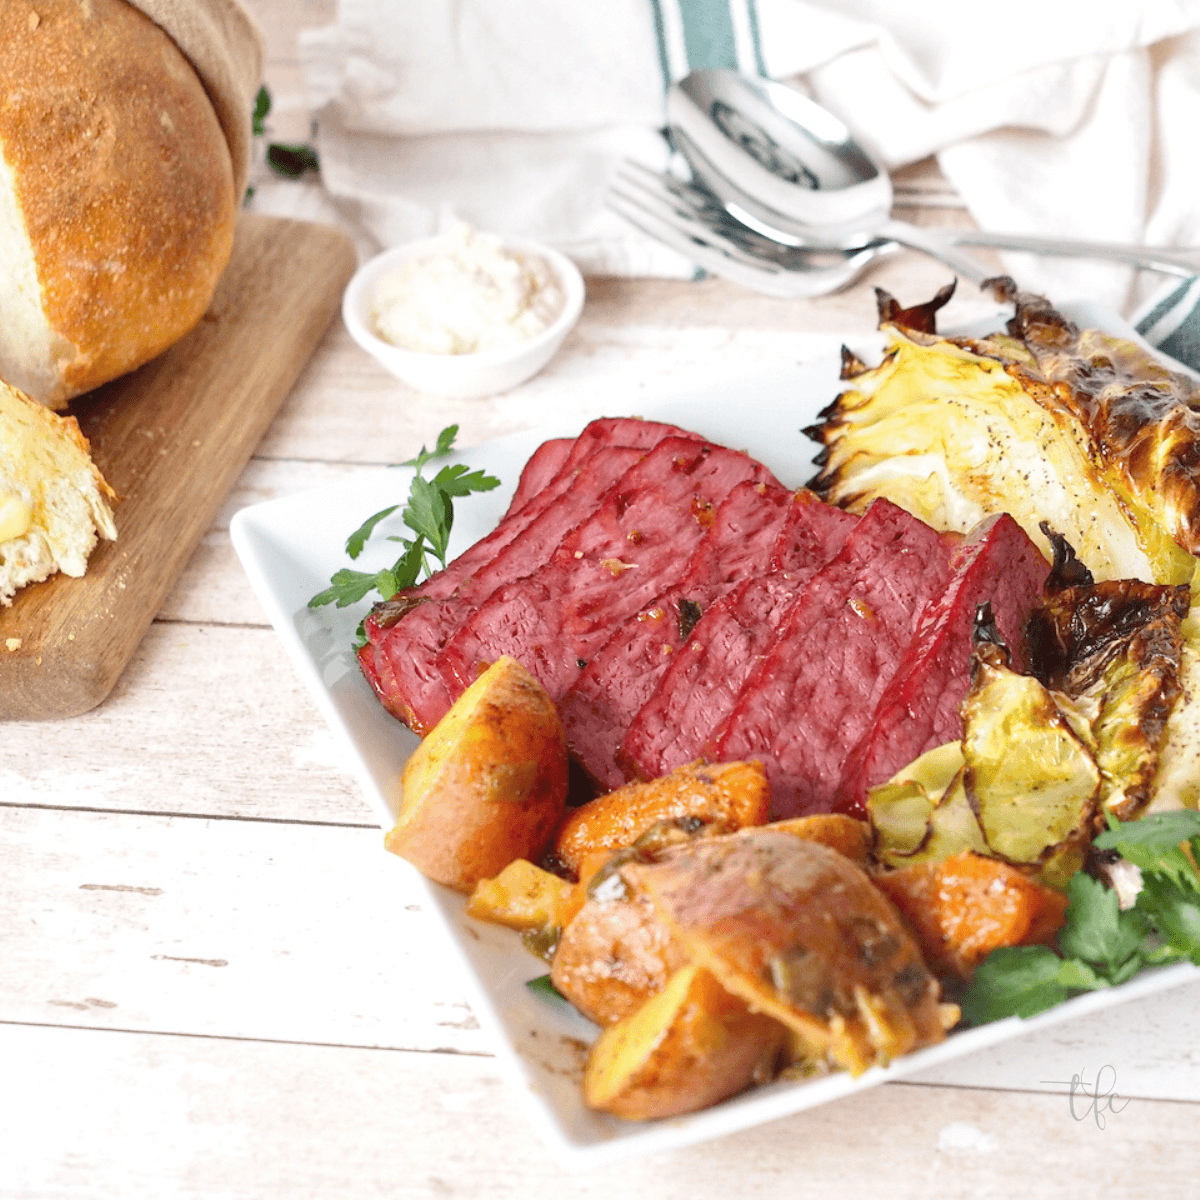
Baked Corned Beef and Cabbage
Traditional Baked Corned Beef and Cabbage this St. Patrick’s Day! Slow roasting salty and sour corned beef with leeks, potatoes, cabbage and carrots, all of their flavors meld and balance in perfect harmony creating fork tender baked corned beef recipe with a delicious smokey bourbon glaze.
No Bake Shepherd’s Pie
Classic Skillet Shepherd’s Pie (or Cottage Pie) with ground beef or lamb, features a savory meat mixture topped with fluffy mashed potatoes. A hearty one-pan meal, no oven required

Irish Bangers and Mash
Bangers and Mash with Stout Gravy! What’s not to love about delicious sausages, cooked in a creamy milk stout, layered atop fluffy mashed potatoes; smothered in a rich stout onion gravy.
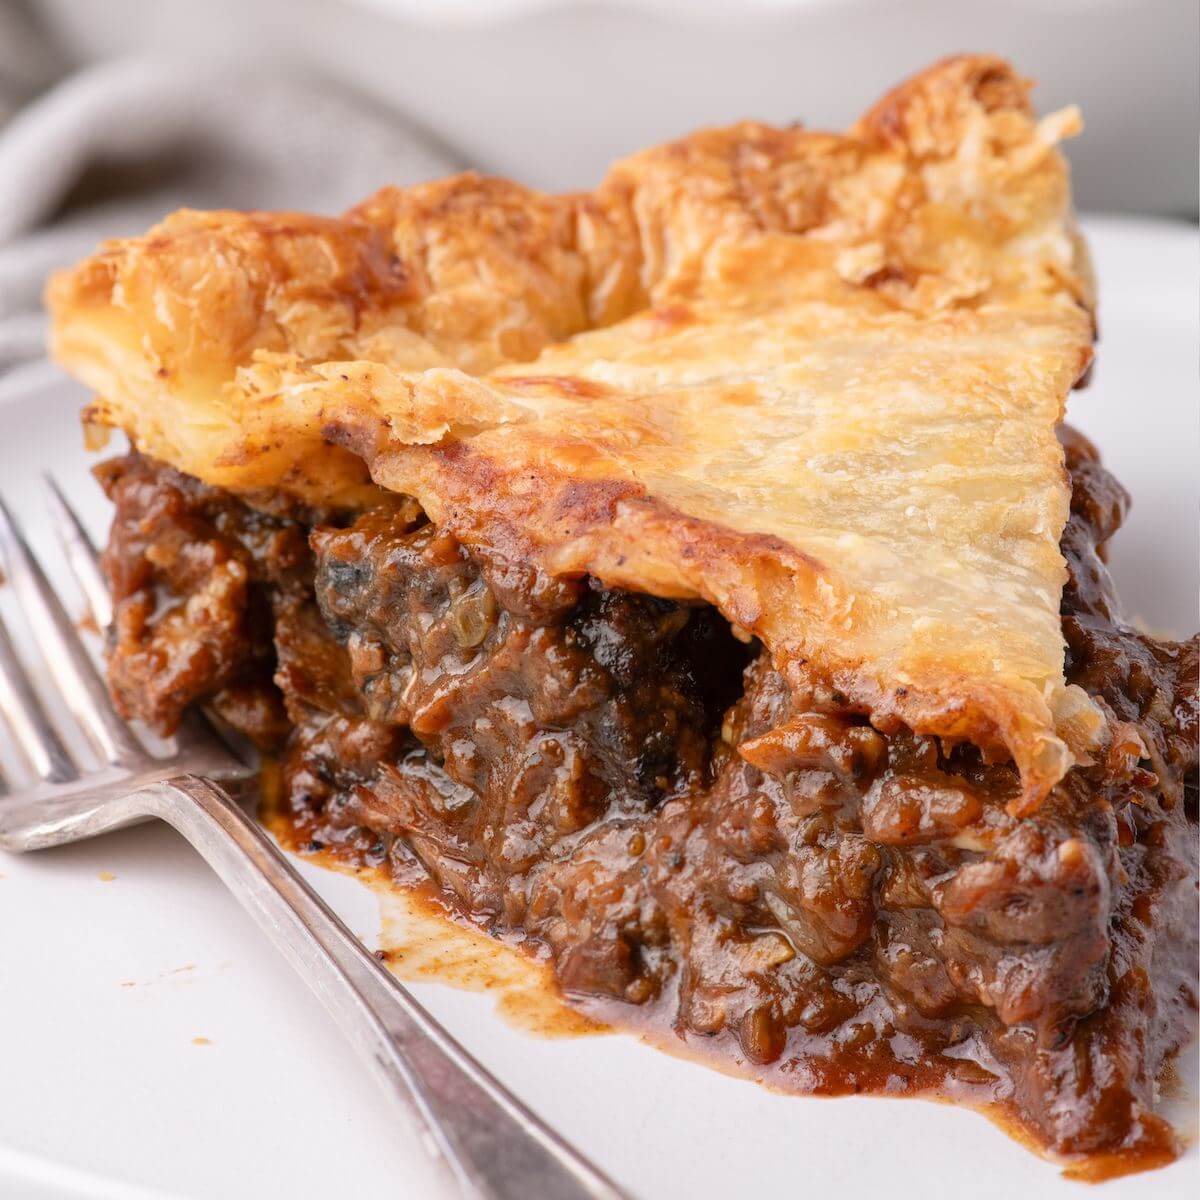
Best Irish Steak and Ale Pie Recipe (Pub Style)
You must try this Steak and Ale Pie! An Irish steak pie filled with tender beef in a flavorful and hearty Guinness gravy, all wrapped in a cheddar puff pastry crust.
Best sides to serve with Lucky Charms Desserts
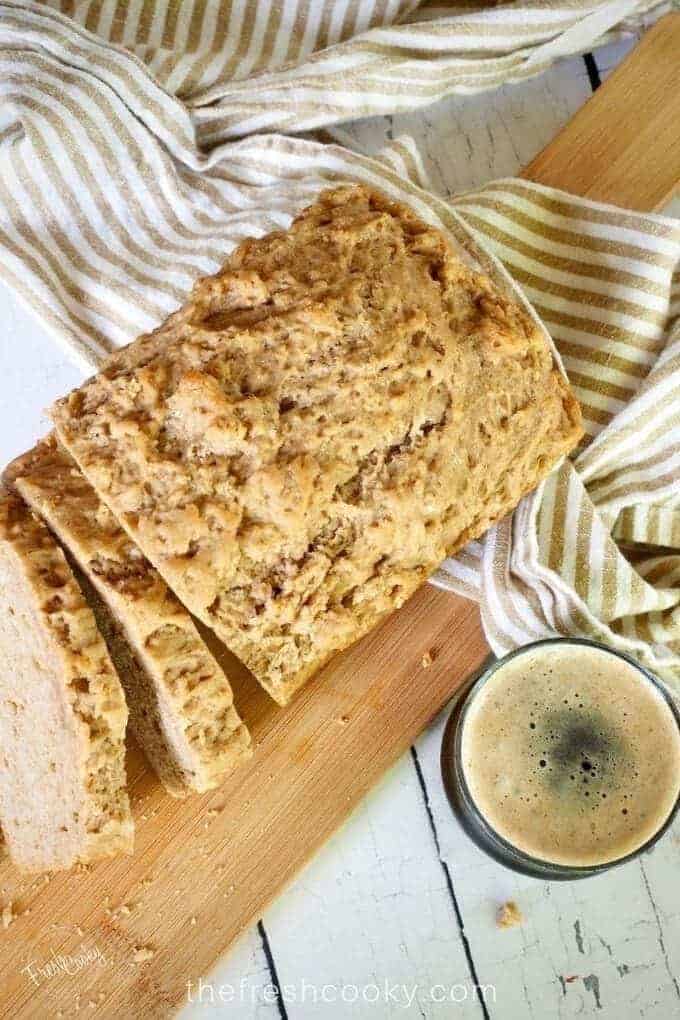
We love our Irish breads; try this 4 Ingredient Irish Soda Bread, this 4 Ingredient Beer Bread and this Irish Brown Bread recipe.
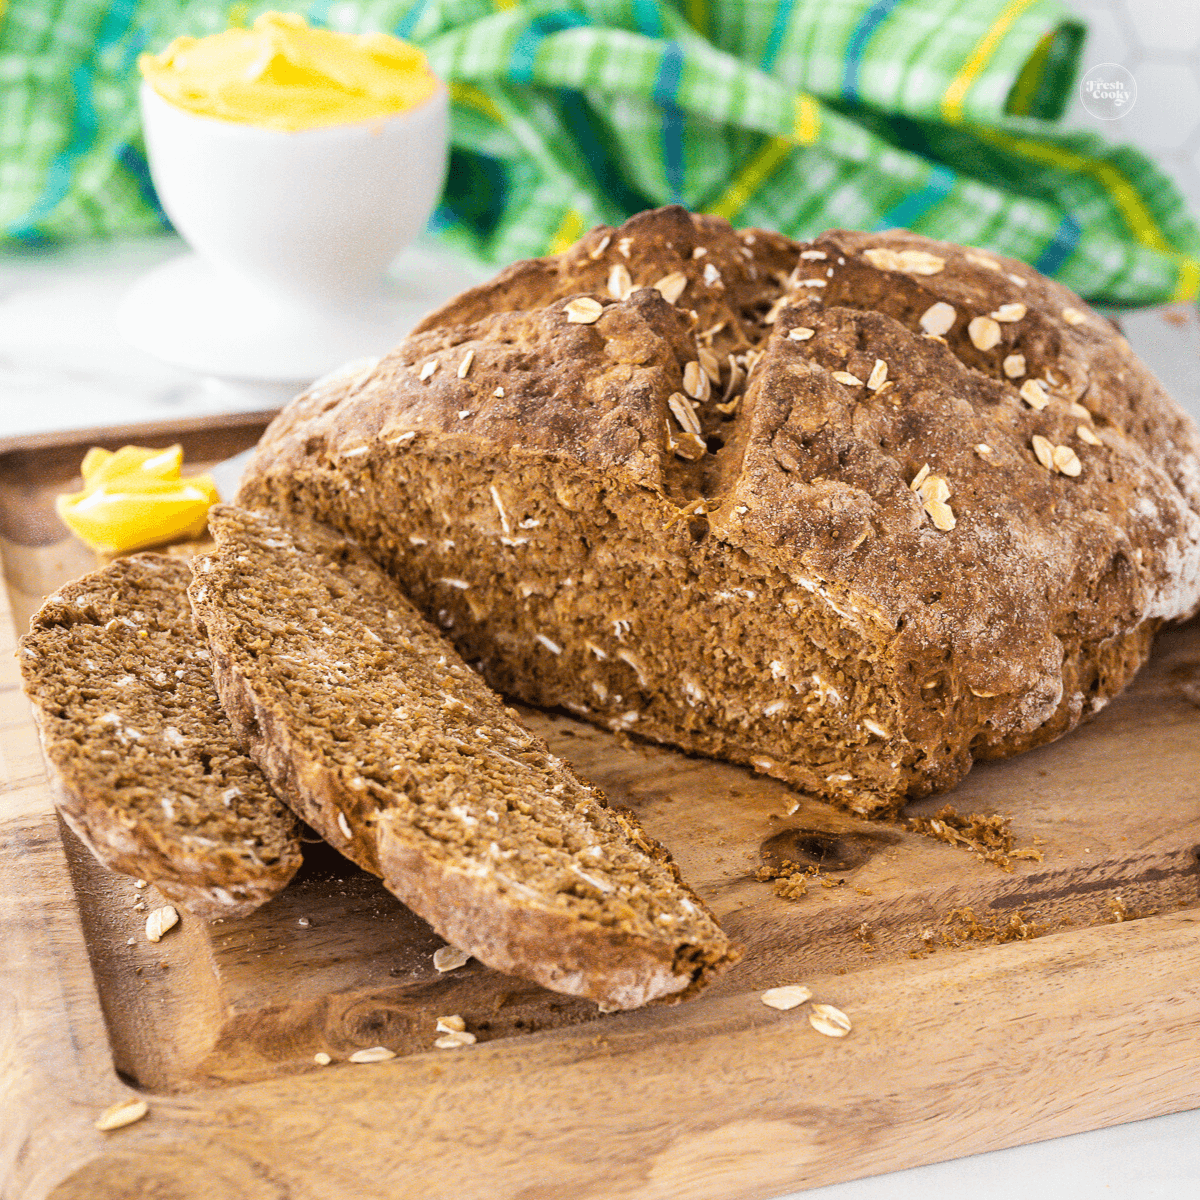
Irish Brown Bread Recipe
This authentic Irish Brown Bread recipe is a hearty whole wheat loaf made with buttermilk and sweetened with rich molasses. It's a traditional Irish recipe, perfect for serving with stews and soups, and of course on St. Patrick's Day!
4 Ingredient Beer Bread
This EASY Beer Bread recipe is one of the easiest bread recipes around. Using just 6 common pantry ingredients, no rise time and less than an hour to bake. It’s the perfect bread for every meal, BBQ, Picnic, Cookout or Party!
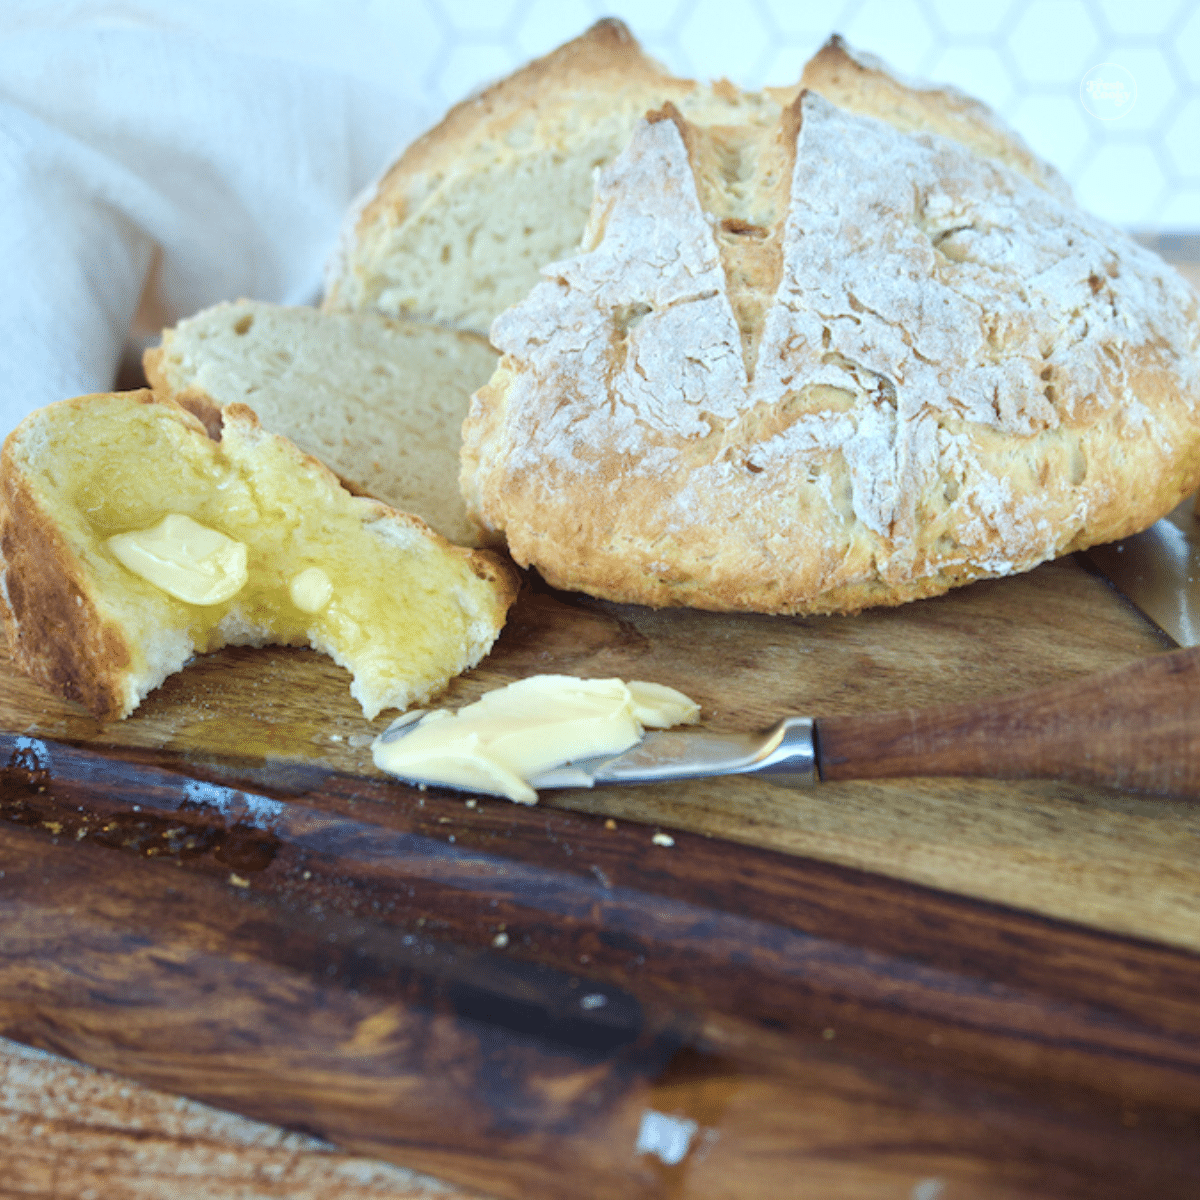
4 Ingredient Irish Soda Bread
Traditional 4 ingredient Irish Soda Bread is the best easy recipe to make from scratch. A dense, crusty, hearty bread recipe from Ireland. Gluten free option too!
Enjoy these other St. Patrick’s Day Treats
I know they did not last long at all in our house! These are perfect for St. Patrick’s day or anytime you want something different a Rice Krispie Treat.
I hope you loved these Lucky Charms Treats! Be sure to share your creation on Instagram, Facebook and Pinterest? Please comment and rate below the recipe card.
Like this recipe?
Don’t forget to give it a ⭐️⭐️⭐️⭐️⭐️ star rating and leave a comment below the recipe!

Equipment
- Unbleached Parchment Paper
- USA Pan Square Cake Pan, 8 inch
- Olive Wooden Spoon
Ingredients
- ½ cup salted butter 8 tablespoons butter, (salted or unsalted)
- 10 ounce marshmallows I used mini marshmallows, be sure they are fresh, may use more
- 1 teaspoon vanilla bean paste optional, or use vanilla extract
- ¼ – ½ teaspoon kosher salt optional, but so good!
- 6 cups Lucky Charms cereal
Instructions
- Line an 8×8 or 9×9 inch square pan with parchment paper for easier clean up and cutting, or butter the pan well.
- Melt butter over medium heat in a large pot, if browning the butter, continue over medium heat, swirling pan occasionally, the butter will foam up and get really quiet, then as you swirl the pan you will start to notice some brown flecks in the bubbles, continue until the butter smells nutty. Be patient and don't rush this step.
- Pour in mini marshmallows and stir over medium-low heat until they are just about melted. Remove from heat and continue stirring until fully melted. Stir in salt and, if desired the vanilla bean paste.
- Add cereal all at once, stirring until it is all coated. Dump into the prepared pan aarchment paper, plastic wrap or buttered hands, press the mixture lightly into the pan. Allow it to cool for about an hour before cutting.
- Store in airtight baggie or container up to one week, best eaten within 2-3 days. If Lucky Charms bars get too hard, place in microwave for 10 seconds at a time until softened, or heat in 300 degree oven for a few minutes.
Notes
- Do not compact | When pressing into the pan, do not press or push hard, if you do you will have really hard Lucky Charms treats.
- Use a pot large enough to be able to stir the cereal in after all of the melting.
- Thick Bars I This cereal bar recipe yields, big, fat Lucky Charms bars. If you want thinner bars stretching further, press into a 7×11 inch pan or 9×13 pan.
- Fresh Mallows | Be sure your marshmallows are fresh, trust me on this one, I used some older, stale marshmallows in a test batch and it yielded really hard Lucky Charm bars, they still tasted good, but definitely give you a jaw workout.
- Salt | I use salted butter in pretty much all of my baking, these have a lovely sweet-salty flavor, if you are not a fan, either omit the additional salt all together, or cut it in half. It’s not overpowering, but some may not care for it.
- Press a few additional Lucky Charms marshmallows into the top of the treats right after pressing into the pan.
- Use parchment to line your baking pan for easy clean-up and to easily lift out of the pan for easy cutting.
- Add more marshmallows to your Lucky Charms rice krispie treats! Maybe you have some left over from another recipe, go ahead and toss them in whole when stirring in the cereal.
- Use another type of cereal | You could use Cheerio’s or other toasted oat style cereal.
- Stir in ½ cup of chocolate chips when you stir in the cereal, or try the same amount of m&m candies if you want these really over the top!
- Use Lucky Charms St. Patty’s Day cereal with only green and yellow marshmallows!
Nutrition


Rate & Comment