
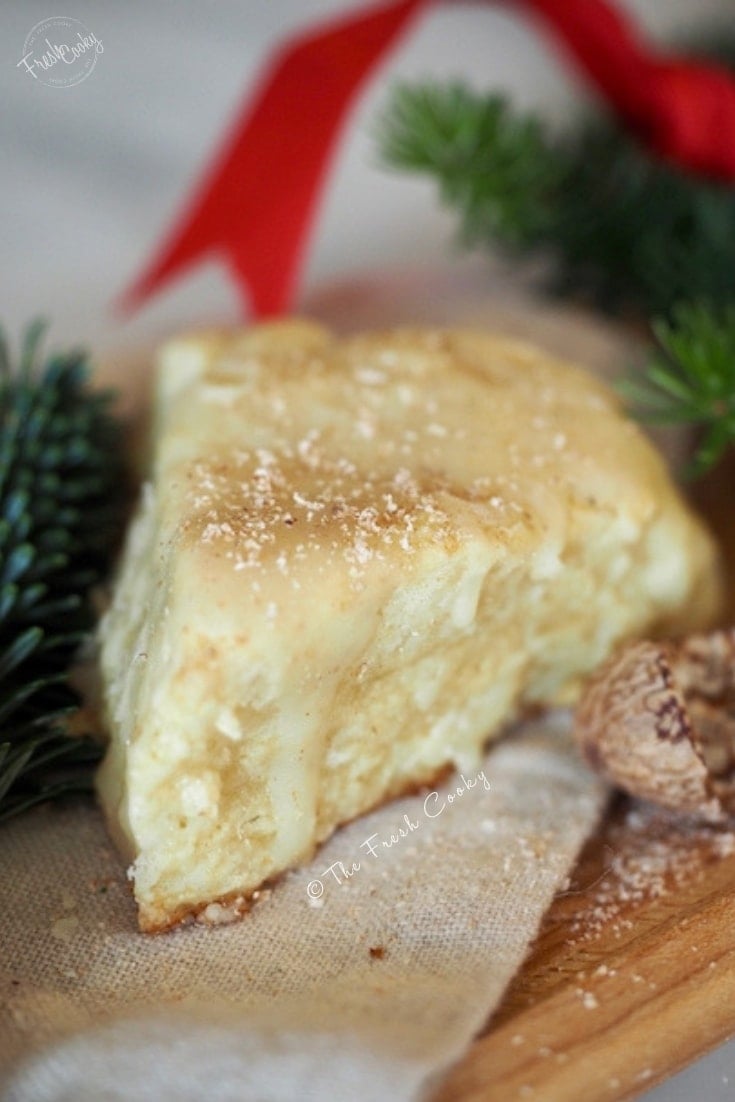
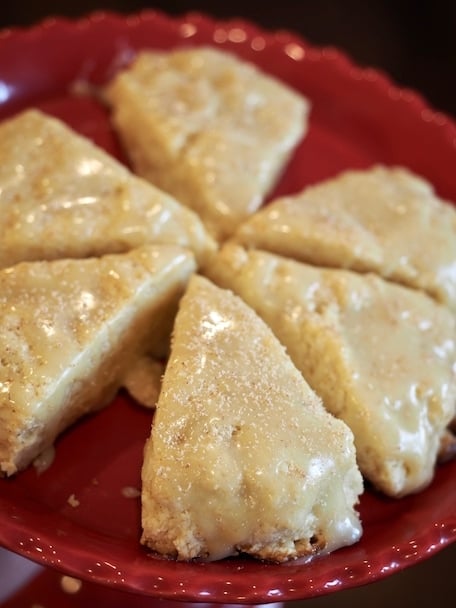
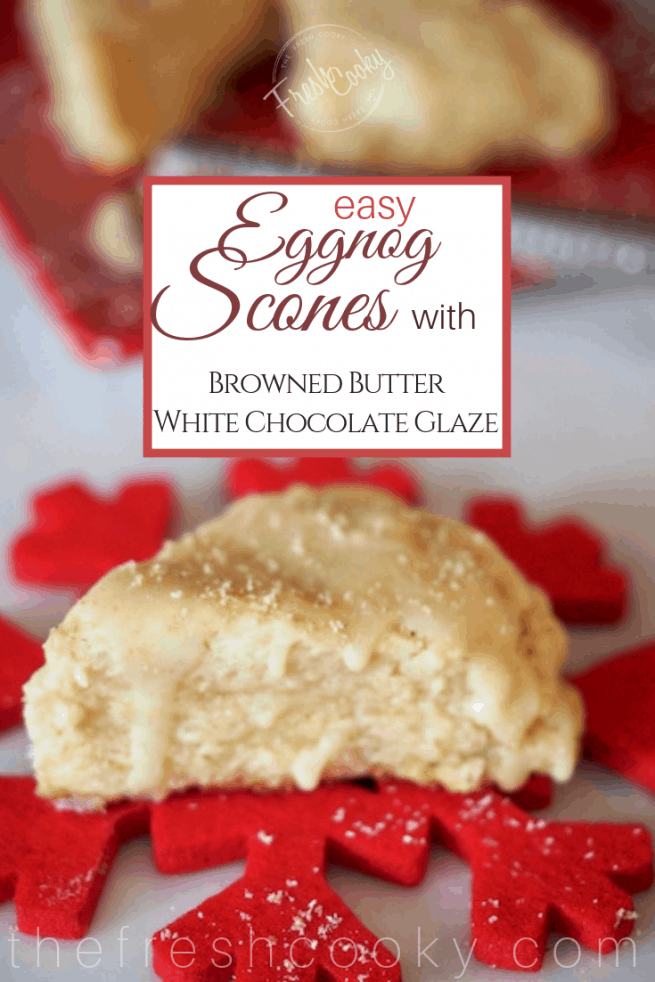
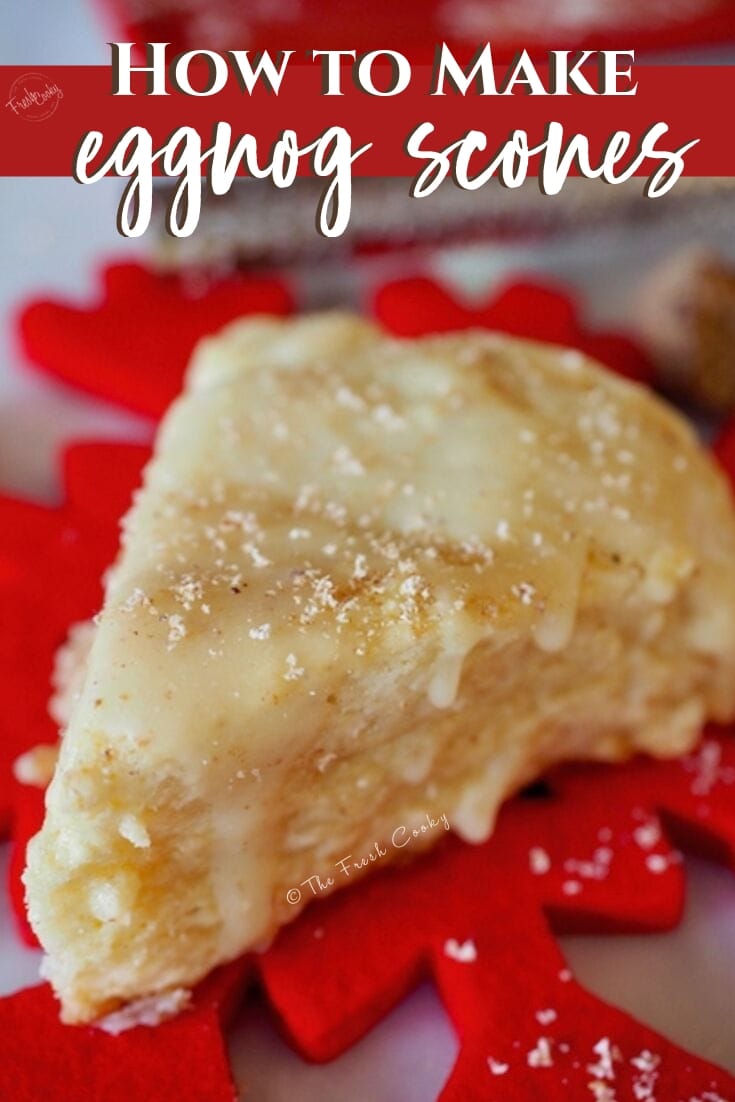
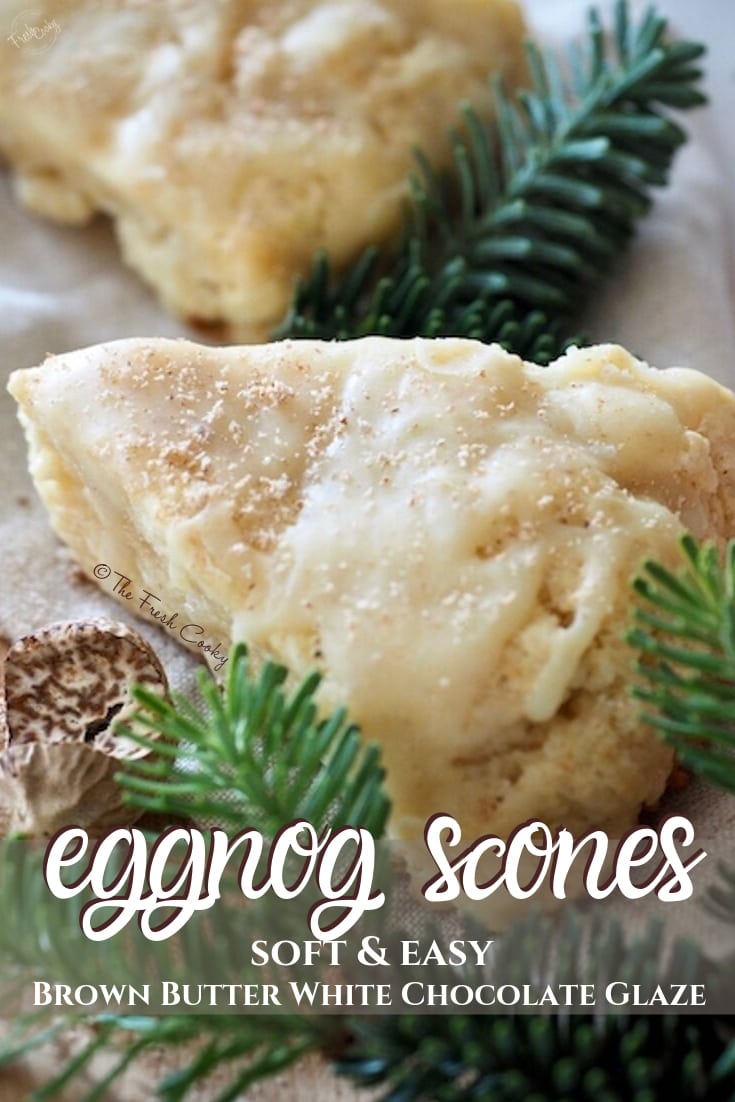
Elegant Eggnog Scones with a Browned Butter White Chocolate Glaze are a simple, yet decadent holiday treat. Soft, buttery, lightly spiced eggnog scones, simply drizzled with a delicious browned butter, white chocolate, eggnog glaze and dusted with freshly grated nutmeg!
In case you can’t tell I’m a big huge fan of scones, not only are they an easy quick bread to make, but they whip up in a jiffy and are freezer friendly!
If you enjoy scones and muffins, you might like these other reader favorites; Maple Pumpkin Scones, Cinnamon Crunch Scones and Starbucks Copycat Date Scones and be sure to wash it all down with this easy Eggnog Latte recipe!
The Best Eggnog Scones
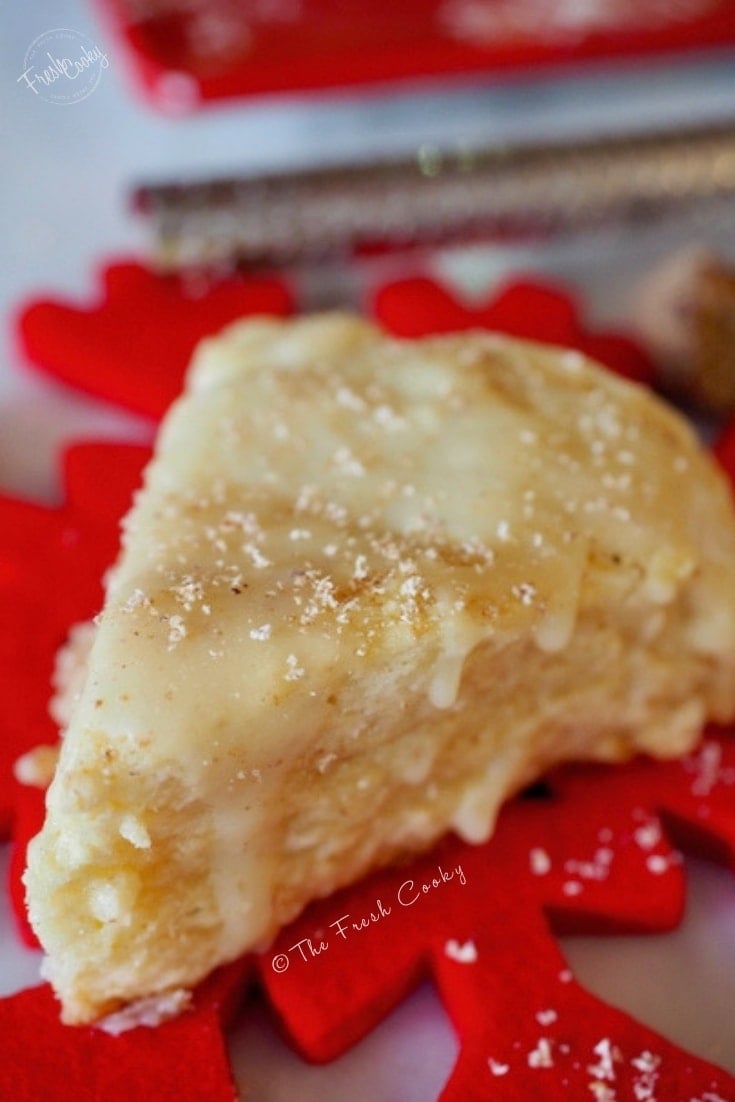
But since it’s the holiday season, adding seasonal eggnog just plain makes sense! Paired with freshly grated nutmeg and trickled with this incredible browned butter white chocolate glaze, you’ve got the makings of something great!
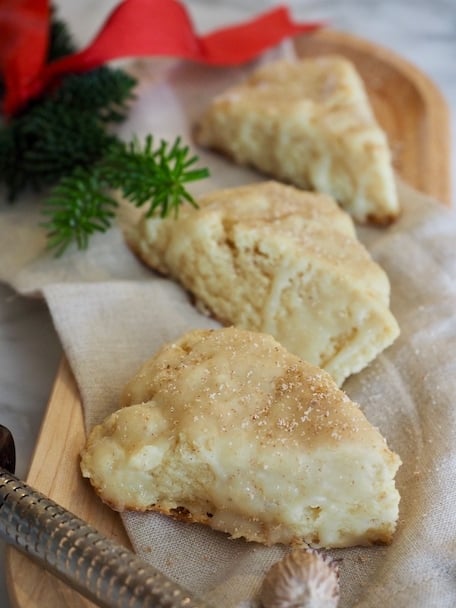
I made them for a holiday breakfast for my dear, sweet Bible study friends. Everyone brought something for our breakfast potluck and my contribution were these soft, buttery Egg nog Scones!
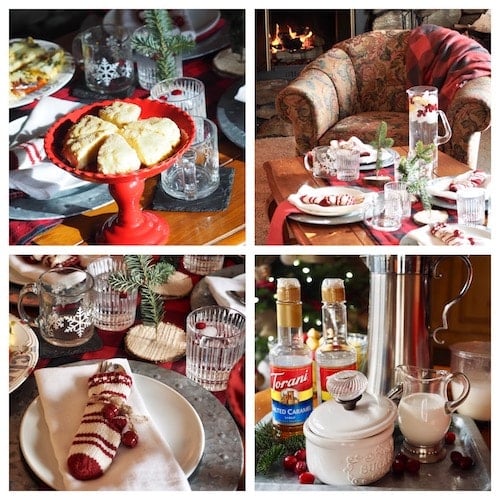
How to Set a Different Holiday Table
- Choose a different location than the dining or kitchen table! I chose our coffee table in the family room, you might have mild weather and do something on a porch or patio, or even have various stages set up at different tables in the house.
- Change it up occasionally! We love having meals in our family room, it tends to evoke different and new conversations.
- Try something different this holiday season! Spread a picnic blanket in your family room or den and make a fun meal out of it! Bonus points if it’s near the Christmas tree!
But I digress, let’s get you making your very own soft, buttery eggnog scones!
Preparing Scone Dough
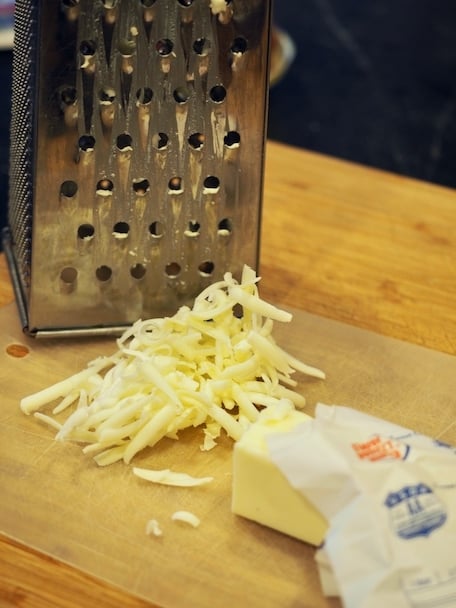
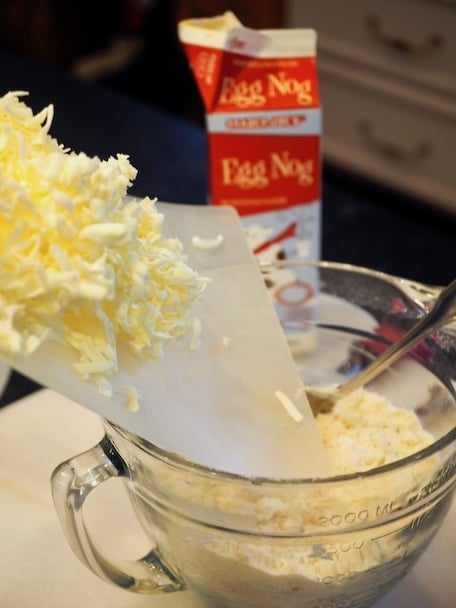
Grate the butter (or dice into small cubes) onto a flexible cutting board and place in freezer until ready to use.
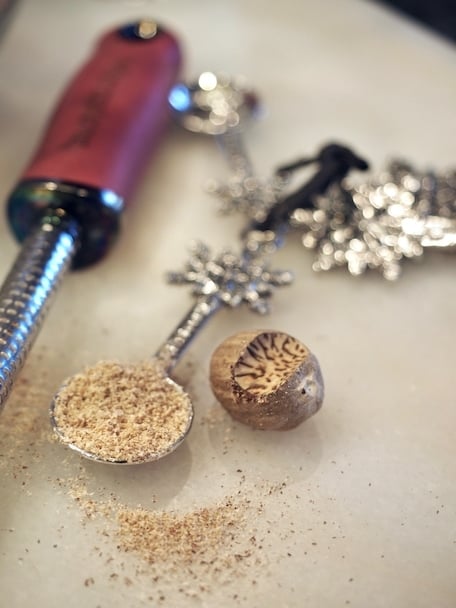
In a medium bowl measure out your all-purpose flour, all natural cane sugar, baking powder, salt and freshly grated nutmeg, whisk to combine.
Aren’t these snowflake measuring spoons the cutest? I received them as a gift last year!
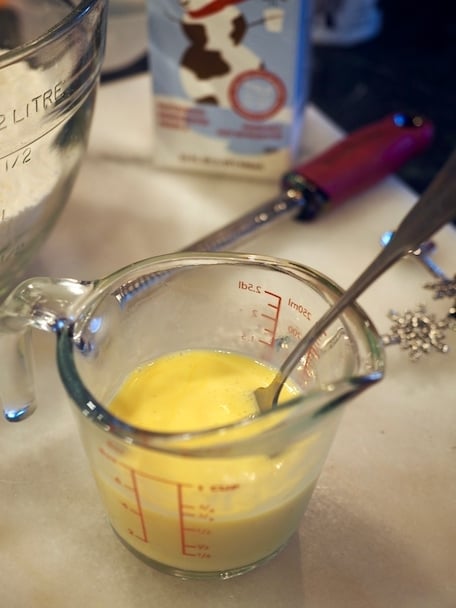
In a 1 cup glass measuring cup, crack an egg and pour in eggnog until you reach ½ a cup, it’ll be about ¼ cup of eggnog. Beat with a fork until combined, set aside.
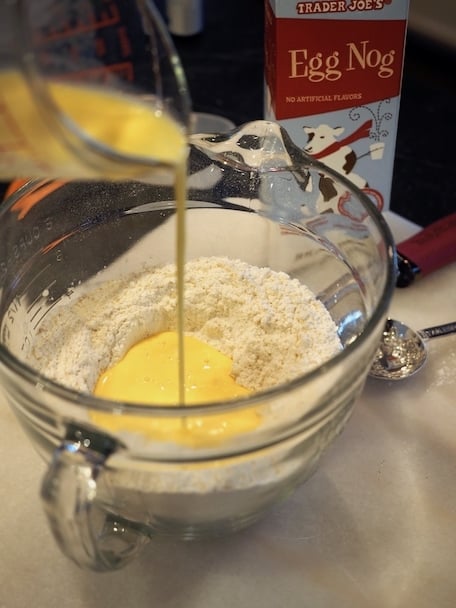
Making a well in the center of your dry ingredients, pour in the egg and eggnog mixture, tossing gently with a fork until liquid is distributed. *Set aside any leftover egg/eggnog mixture for brushing scones later.
SCONES LIKE COLD BUTTER!
Remove your grated or cubed butter from the freezer and mix into the scone mixture, using a pastry cutter or your hands.
Note | If your hands are warm, try rubbing them with a few cubes of ice to cool down or continue with the pastry cutter. Mixture will be dry and crumbly. Continue to mix quickly until pea sized pebbles are formed.
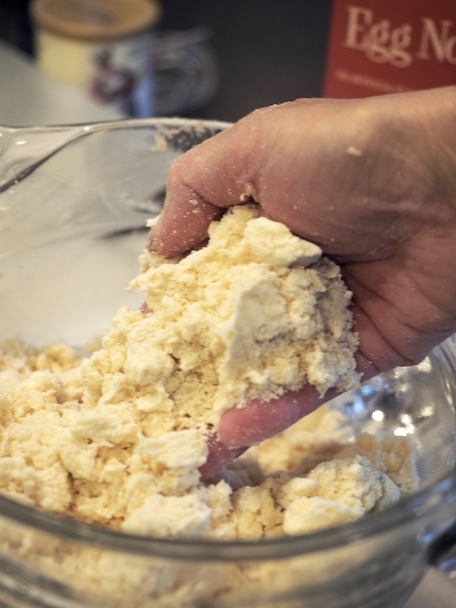
Pour the dry, crumbly mixture onto a parchment lined sheet pan and knead together a couple of times, just until the dough starts to hold together, it will still be quite crumbly, if really dry, add eggnog a teaspoon at a time until it just holds together. Don’t overmix! You want little chunks of butter throughout the mixture, not a dough.
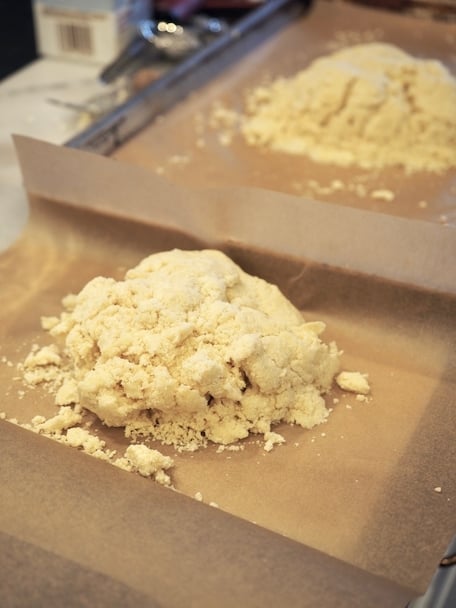
Pat each half into a disc about ¾ inch thick, wrap in parchment or plastic wrap and place in freezer for 20-30 minutes. Preheat your oven to 400°.
FREEZING TIP | Scones may be frozen from this point, wrap well. When ready to bake, simply remove, brush with eggnog and bake as directed, maybe a minute or two longer.
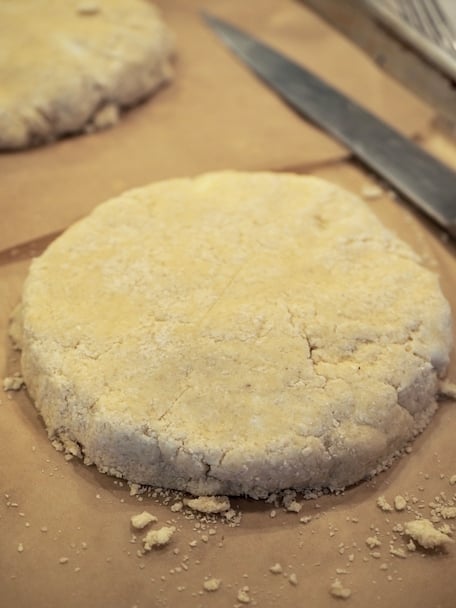
Remove disc from freezer and slice into 4, 6 or 8 wedges. I always go for smaller, bite sized or mini scones. Using a small spatula, scoot the scones away from each other, so that edges are not touching when baked.
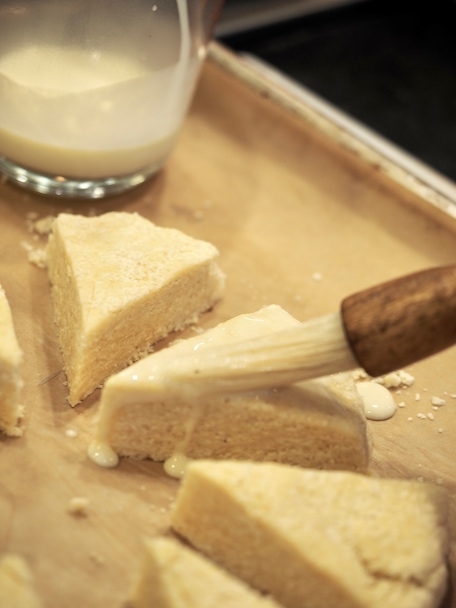
Add a few additional teaspoons of eggnog to the egg/eggnog measuring cup you *reserved earlier. Using a pastry brush, lightly brush each scone with this mixture, it will give the scones a slightly shiny appearance, if desired sprinkle with a little fresh grated nutmeg, if you don’t have a microplane just use the small grate side on your grater.
Bake at 400° for 10-12 minutes until lightly golden at the edges. Allow to cool for 3 minutes on the pan, then carefully move to cooling rack. Allow to cool while you make the glaze.
HOW TO MAKE WHITE CHOCOLATE BROWN BUTTER GLAZE
In a small microwave safe bowl add white chocolate and microwave for 30 seconds.
Brown your butter over medium heat it will just take a minute or so since it is a small amount. Set aside. Pour browned butter into white chocolate and mix to finish melting until smooth.
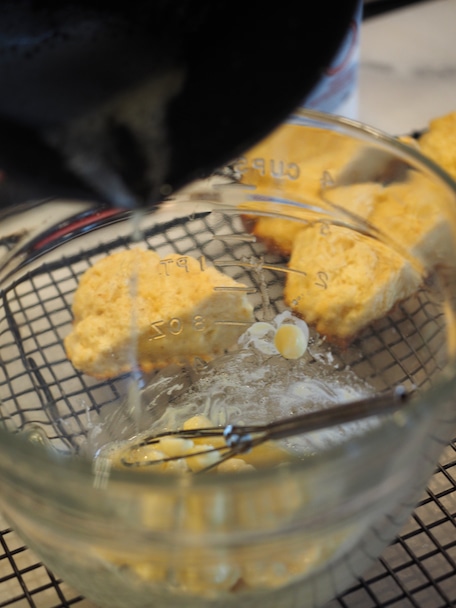
Add eggnog, just a titch at a time and mix until desired pourable thickness. If it gets too thin, allow to cool for a few minutes until thickened.

Drizzle on scones and sprinkle a little more freshly grated nutmeg over the drizzled glaze. Or if easier, pour into baggie, snip a tiny hole off the corner and squeeze onto cooled scones.
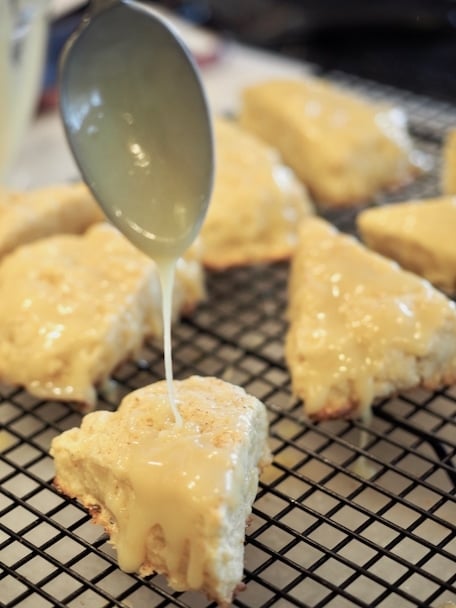
PRO TIP | If the scones are still warm, the glaze will melt into the scones (personal favorite). If you prefer a drizzled look then cool scones completely before drizzling with glaze.
Store scones in airtight container on counter for 2-3 days, though best eaten on day made. Baked scones may be frozen, apply glaze after thawing.
Don’t forget to PIN to your Favorite Holiday Sweets board!
Like this recipe?
Don’t forget to give it a ⭐️⭐️⭐️⭐️⭐️ star rating and leave a comment below the recipe!

Eggnog Scones with Browned Butter White Chocolate Glaze
Video
Ingredients
EGGNOG SCONES
- 2 ½ cups all-purpose flour
- ⅓ cup all natural cane sugar or omit
- 1 tablespoon baking powder
- ¼ teaspoon salt
- ½ teaspoon freshly grated nutmeg heaping (may sub with ground nutmeg)
- 10 tablespoons cold butter unsalted or salted butter, cut into small pieces or grated
- 1 large egg
- ¼ cup eggnog Full fat eggnog. I like Trader Joe's. Can add more if you like.
WHITE CHOCOLATE GLAZE
- 2 oz premium White Chocolate heaping ¼ cup; chopped (see note)
- 1 ½ tablespoons butter browned in pan for a minute or so over medium heat
- 2 teaspoons eggnog full fat
- Freshly grated nutmeg
Instructions
MAKING THE SCONES
- Grate your butter (or dice into small cubes) onto a flexible cutting board and place in freezer until ready to use. In a medium bowl measure out your all-purpose flour, all natural cane sugar, baking powder, salt and nutmeg, whisk to combine.
- In a 1 cup glass measuring cup, crack in an egg and pour in eggnog until you reach ½ a cup, about ¼ cup of eggnog. Beat with a fork until combined, set aside. Making a well in the center of your dry ingredients, pour in the egg/eggnog mixture, tossing gently with a fork until liquid is distributed. *Set aside any leftover egg/eggnog mixture for brushing scones later.
- Remove your grated or chopped butter from the freezer and mix into the scone mixture, using a pastry cutter or your hands. Note | If your hands are warm, try rubbing them with a few cubes of ice to cool down or continue with the pastry cutter. Mixture will be dry and crumbly. Continue to mix quickly until pea sized pebbles are formed.
- Pour the dry, crumbly mixture onto a parchment lined sheet pan and knead together a couple of times, just until the dough starts to hold together, it will still be quite crumbly (this is how you want it for soft, tender scones) and pat into a log. Cut in half. Don’t overmix! You want little chunks of butter throughout the mixture. Pat each half into a disc about ¾ inch thick, wrap in parchment or plastic wrap and place in freezer for 20-30 minutes. Preheat your oven to 400°.
- Second batch of scones may just be frozen from this point, wrap well. When ready to bake, simply remove, brush with eggnog and bake as directed, maybe a minute or two longer. Remove disc from freezer and slice into 4, 6 or 8 wedges. I always go for smaller, bite sized scones.
- Using a small spatula, scoot the scones away from each other, so that edges are not touching when baked. Add a few additional teaspoons of eggnog to the egg/eggnog measuring cup you *reserved earlier. Using a pastry brush, lightly brush each scone with this mixture, it will give the scones a slightly shiny appearance, if desired sprinkle with a little fresh grated nutmeg, if you don’t have a microplane just use the small grate side on your grater.
- Bake at 400° for 10-12 minutes until lightly golden at the edges. Allow to cool for 3 minutes on the pan, then carefully move to cooling rack. Allow to cool while you make the glaze.
MAKING THE GLAZE (Double the glaze for both batches of scones)
- In a small microwave safe bowl add your chopped or white chocolate chips and microwave for 30 seconds. Brown your butter over medium heat it will just take a minute or so with it being such a small amount of butter. Set aside.
- Pour browned butter into white chocolate and mix with fork or whisk to finish melting until smooth. Add in your eggnog and mix until desired pourable thickness. Drizzle on scones and sprinkle a little more freshly grated nutmeg over the drizzled glaze. Serve immediately.
- NOTE | If the scones are still warm, the glaze will melt into the scones (personal favorite). If you prefer a drizzled look then cool scones completely before drizzling with glaze. Store scones in airtight container on counter for 2-3 days, though best eaten on day made. Baked scones may be frozen, apply glaze after thawing.
Notes
- I have used both white chocolate bar and chopped the chocolate as well as white chocolate chips and not chopped, both have worked fine for this recipe.
- Double the glaze if you are baking both batches of scones at once. The recipe for glaze is enough for a light drizzle, if a heavier coat is desired, double the amount of the glaze.
- TIPS for baking frozen scones | Simply remove from freezer, placing on parchment lined sheet pan, thawing just enough to slice into wedges. Brush with a little eggnog and bake in a preheated 400 degree oven for 10-12 minutes, may require 1-2 additional minutes baking time, remove, cool and drizzle as directed above.
Nutrition
These small batch, wholegrain Cinnamon Crunch Scones are a soft and tender cream-based scone topped with an amazing, buttery brown sugar cinnamon crunch crumb topping. This scrumptious baked cinnamon crunch french toast topped with a mouthwatering cinnamon crumb crunch topping is the perfect make ahead breakfast! A simple egg dish, perfect for a special weekend, potluck or special brunch. Melting with creamy cheesy goodness, a low carb, high taste easy dish.MORE HOLIDAY BREAKFAST YUMMIES
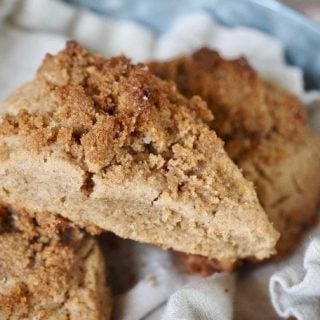
Cinnamon Crunch Scones

Brunch & Breakfast Recipes for Christmas & Holiday • Nourish and Nestle
Baked Cinnamon Crunch French Toast

Mock Eggs Benedict


Nikki Lee
These have Christmas written all over them! Yum!
Thank you, they do!!
MSL
MSL
Yummy! This will be perfect for Christmas brunch! Adding this to my holiday menu!
Absolutely!!
Sheila Thigpen
Absolutely the perfect holiday brunch item! Plus, these scones have the BEST texture… just so, so good!
Patty Gerze
These were amazing ? the perfect texture, with a hint of creamy egg nog! Delicious!!
I’m going to hire you to write descriptions for me!! Thanks Patty!!