
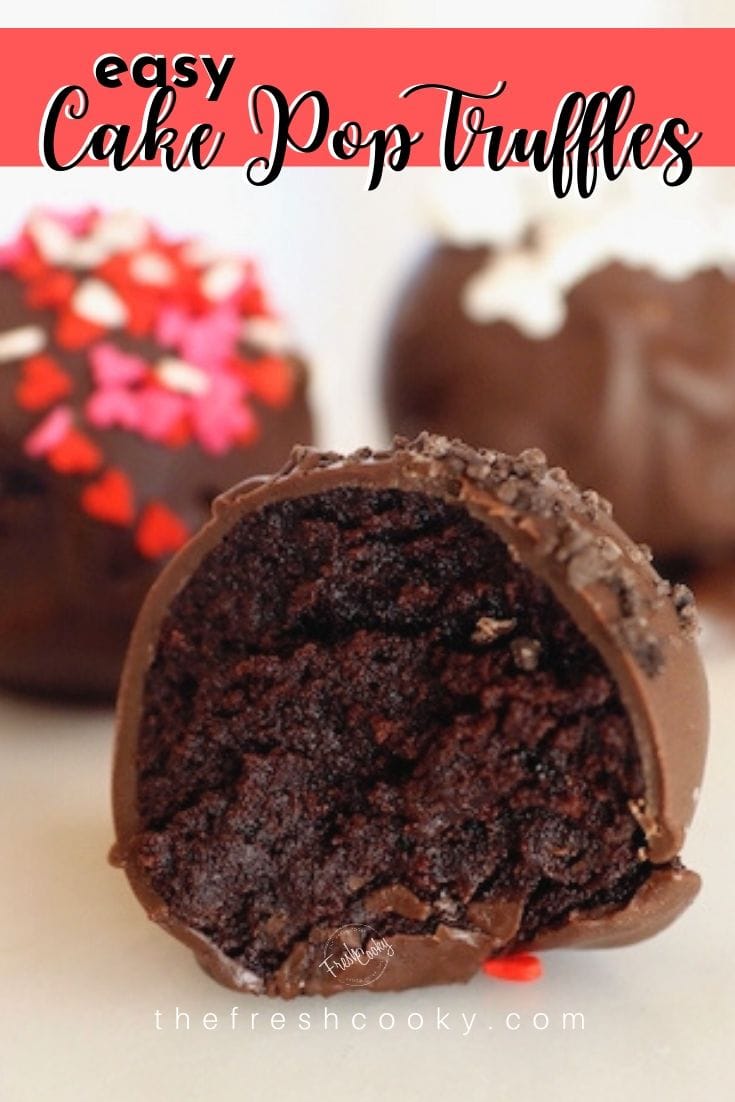
Chocolate Valentine Cake Pops! Rich chocolate homemade cake – creamy chocolate frosting – crumble, mix, roll and dip! Great balls of chocolate fire!
Valentine Chocolate Cake Pops | Truffles
I’m sure you’ve seen them all over Pinterest and blogs for a long time, they “pop” up at weddings, parties and showers, a fun way to serve a treat. But they have intimidated me! HA! The laughs on me, because they are really quite simple!

I love making a fun treat for Valentine’s day, you might also enjoy making this Giant Heart-Shaped Cookie or these Chocolate Lava Cakes.
Preheat your oven to 350°F and grease a 9″ cake pan (round or square).
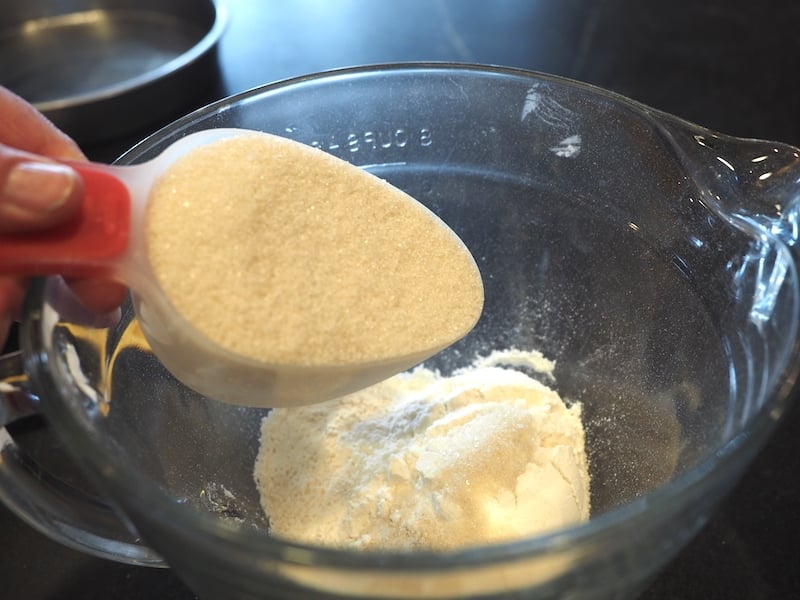
Start by measuring out your flour and sugar into a mixing bowl. Y’all know I use all natural cane sugar for my baking, so it takes a little longer to mix in once you mix your wet ingredients into the dry.
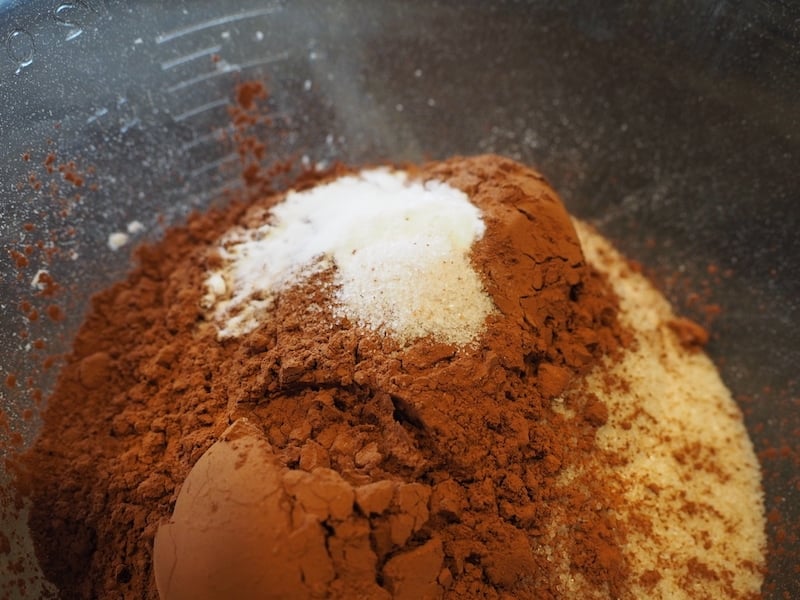
Now add the cocoa powder, soda and sea salt…
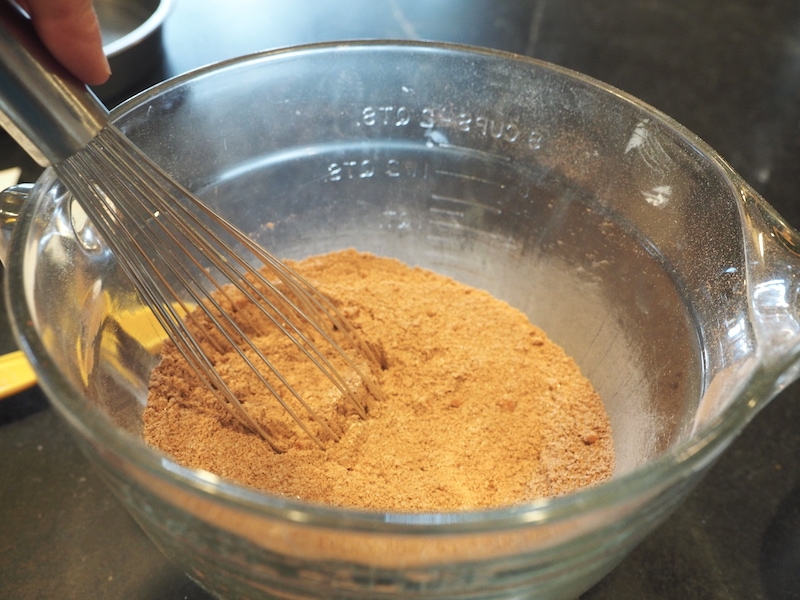
…whisk the dry ingredients until they are mixed well.
In a small bowl; pour in your oil, eggs, and vanilla
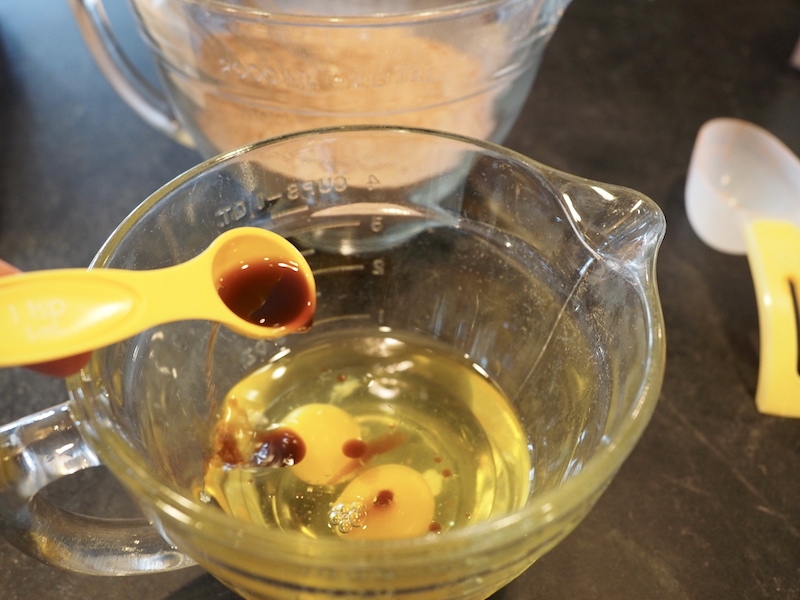
Whisk well until combined and pour into the dry ingredients
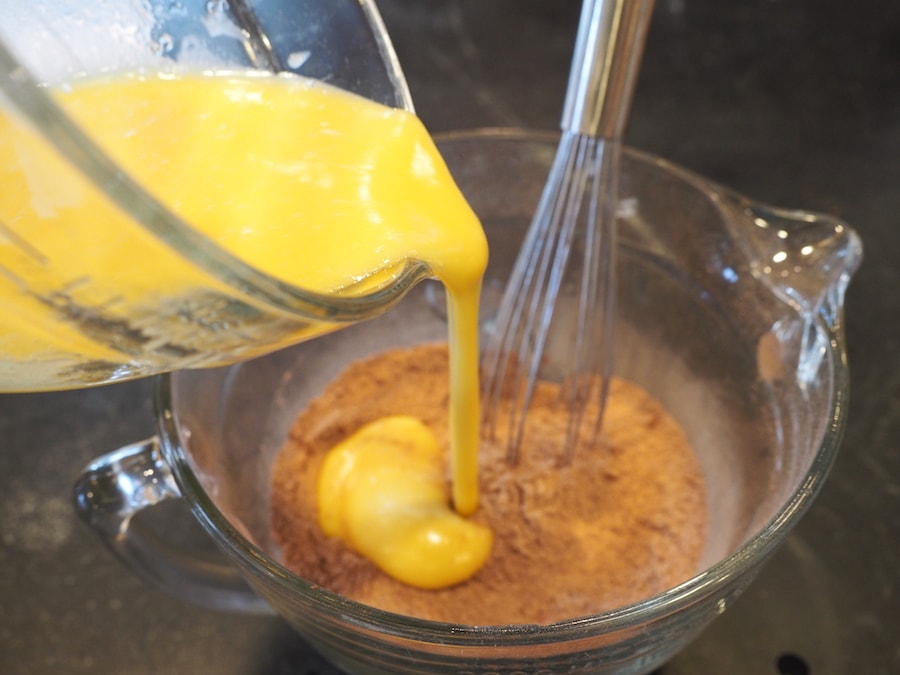
Whisk the egg mixture into the dry ingredients, then slowly add hot water, while whisking.
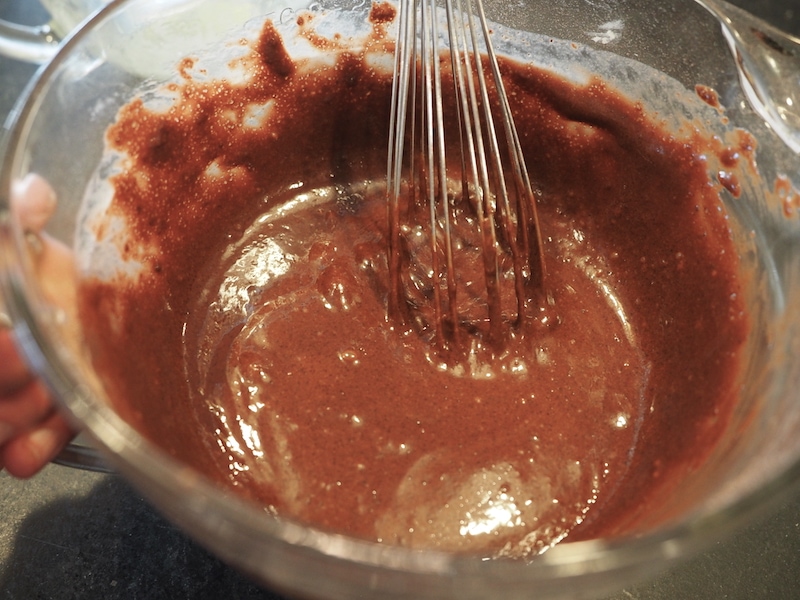
Mix really well, until you are sure you’ve mixed all of the dry ingredients with the wet and have a beautiful batter. 2-3 minutes should work well.
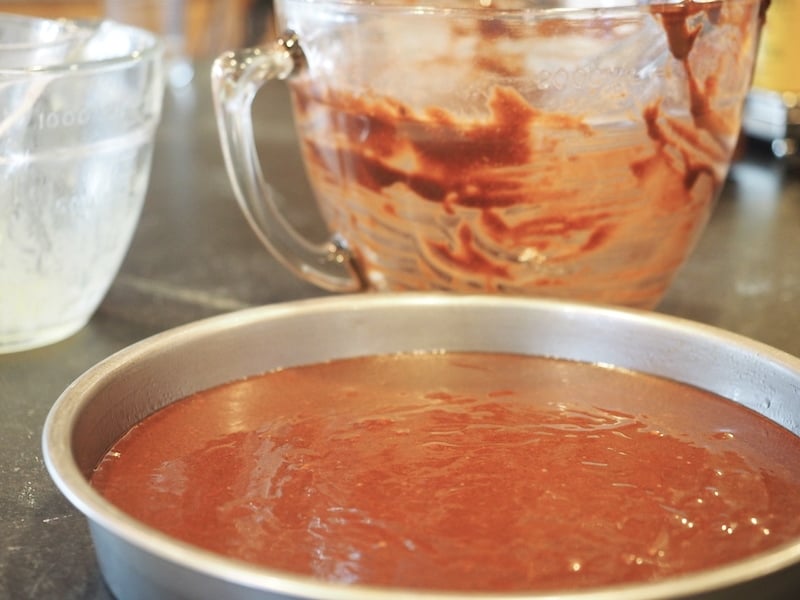
Pour into prepared cake pan and bake for 25-27 minutes until edges pull away from the side of the pan and a toothpick inserted comes out clean.
HOW TO MAKE YOUR CAKE POP FROSTING
Start by plopping your softened butter into the bowl of a stand mixer and mix on medium-high until light and fluffy, since it’s not much butter, you may have to scrape down the sides a couple of times. Dump in the powdered sugar.

and the cocoa powder
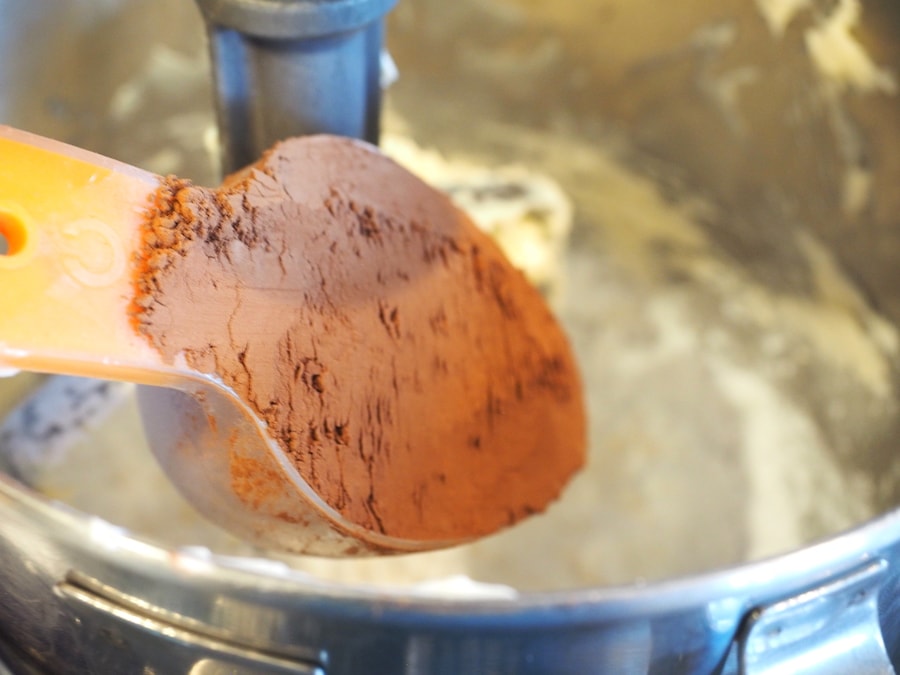
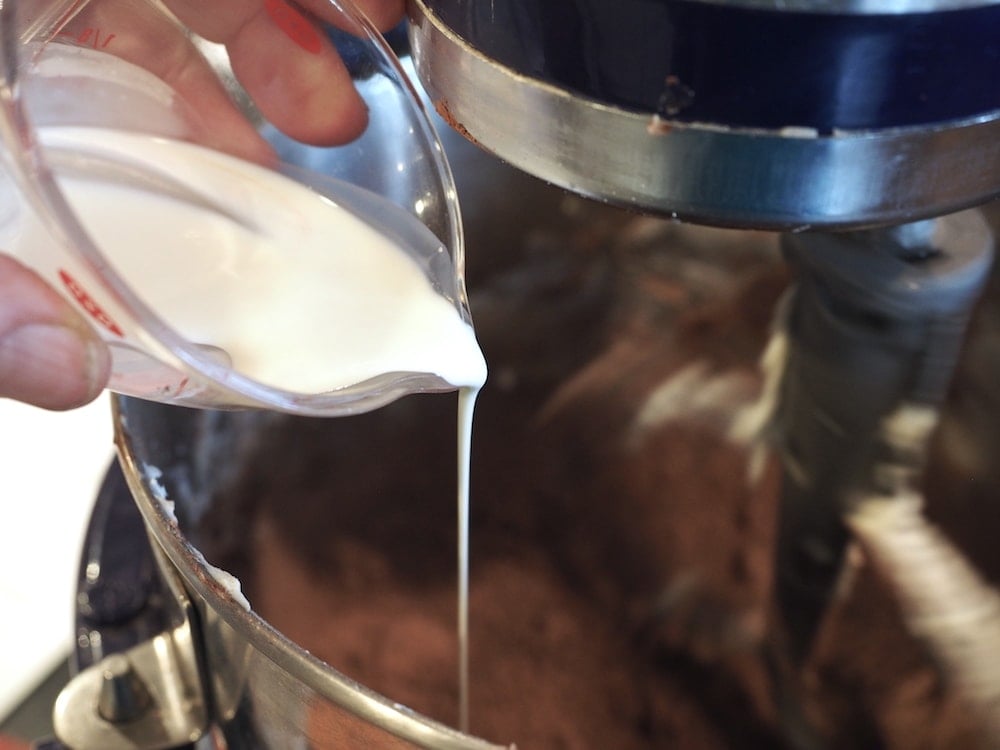
Start mixing on low and slowly pour in your cream, only enough to wet the dry ingredients, then increase the speed and whip until light and smooth, adding more cream as needed. I found I needed to add several tablespoons more cream for this to be nice and creamy. (Psst, this little mini measuring cup is one of my favorite kitchen tools!)
Scrape down the sides and pour in your vanilla extract and do not forget your sea salt, yes salt, just a pinch.
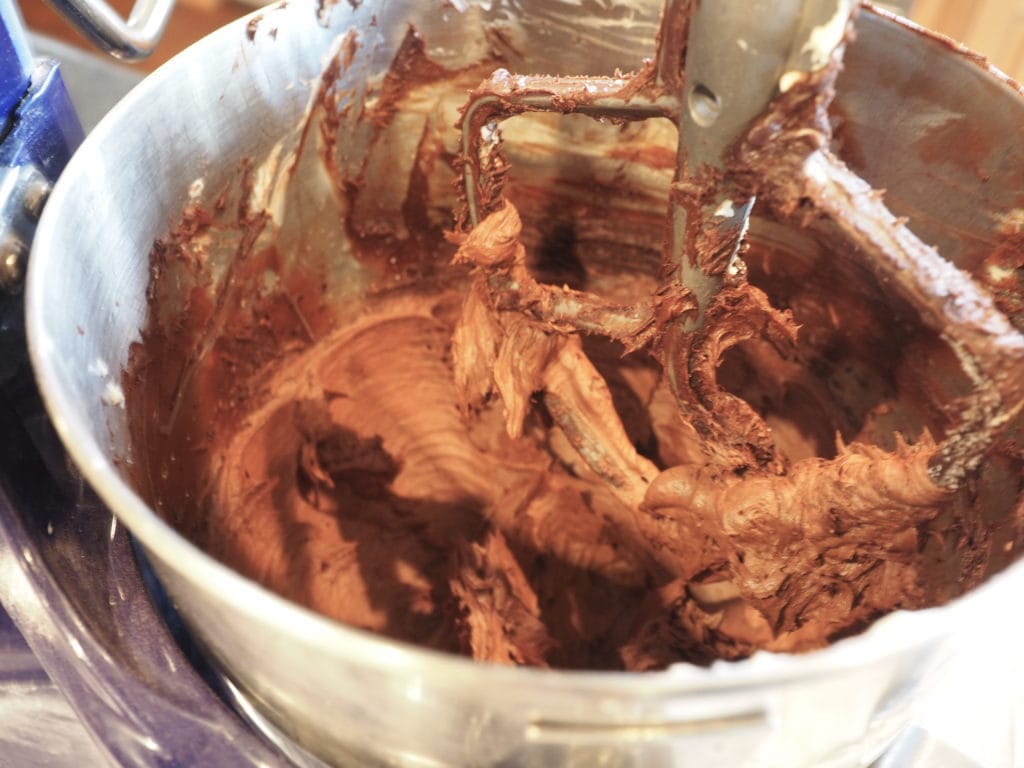
The Longer You Whip Frosting, the Lighter and Fluffier it is
There isn’t a lot of frosting, so you’ll need to scrape the sides down and remix often, adding more cream if needed. Increase the speed to high and beat until light and fluffy. The color of the frosting should actually lighten.
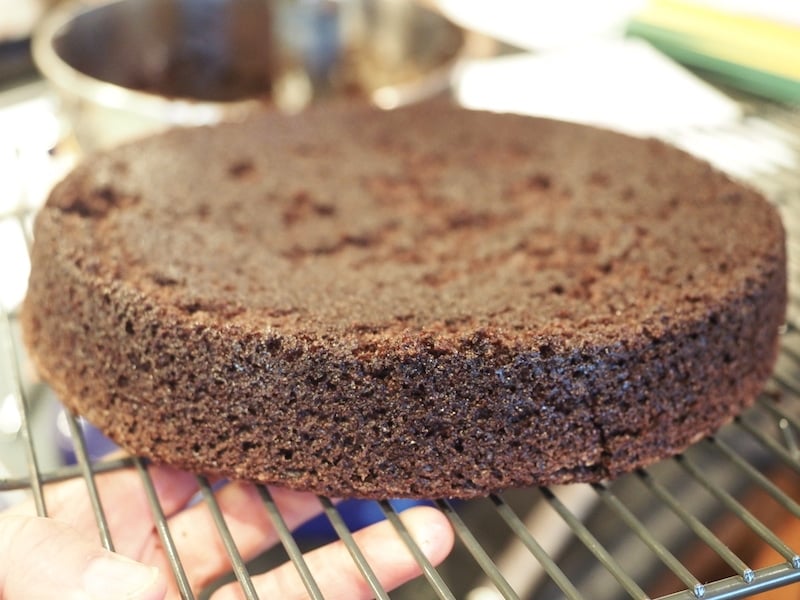
Remove cake from oven, cool for 10-20 minutes and then remove from pan onto cooling rack to cool completely.
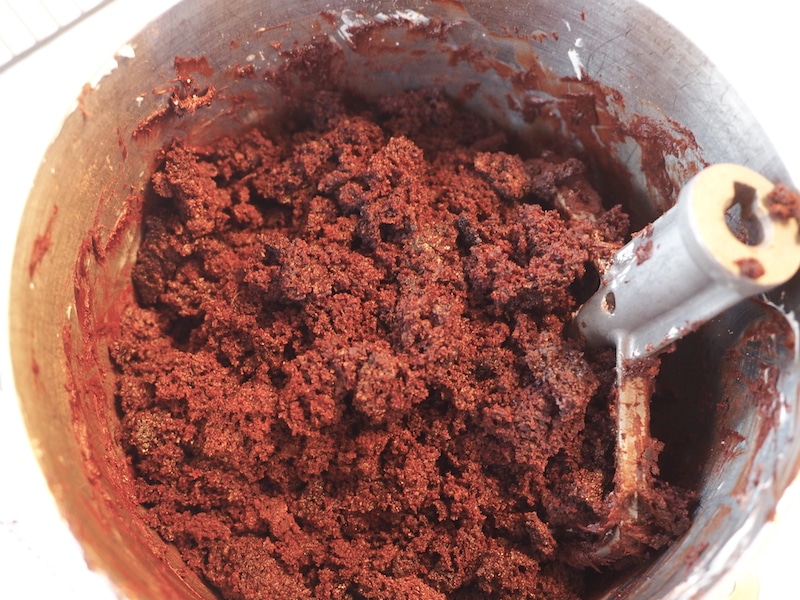
Once cake has cooled completely you’ll crumble it onto the top of the frosting. So that’s kind of fun!!

Like this…
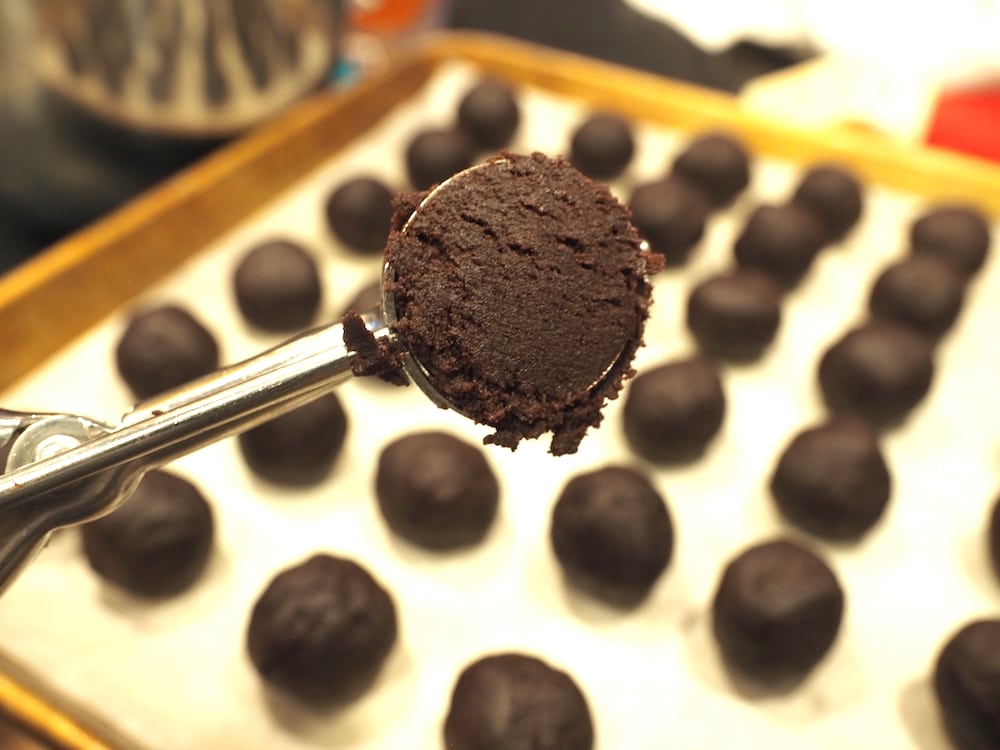
Now place bowl back on mixer, mixing low until combined. Grab a small cookie scoop or a tablespoon and roll batter into small walnut sized balls. Place on parchment or wax paper lined baking sheet.
Refrigerate dough balls for 2 hours or freeze for up to an hour. I made mine a day ahead and chilled them overnight. If leaving overnight, cover with plastic wrap.

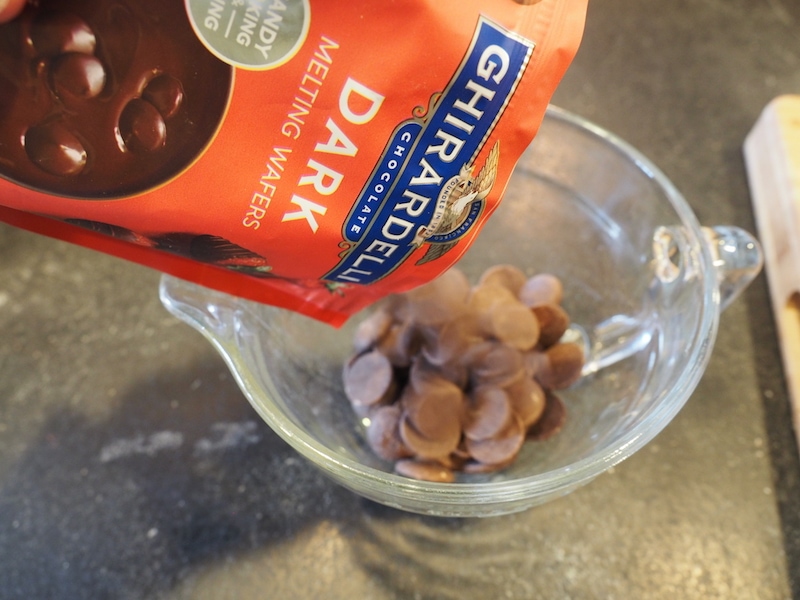
Once dough balls are well chilled, melt chocolate discs, you may also use milk chocolate or semi-sweet chocolate chips, add a ½ teaspoon of oil while melting so it helps them coat and stay a little shiny. Using the microwave melt chips or discs in 30 second intervals, stirring well in between until melted.
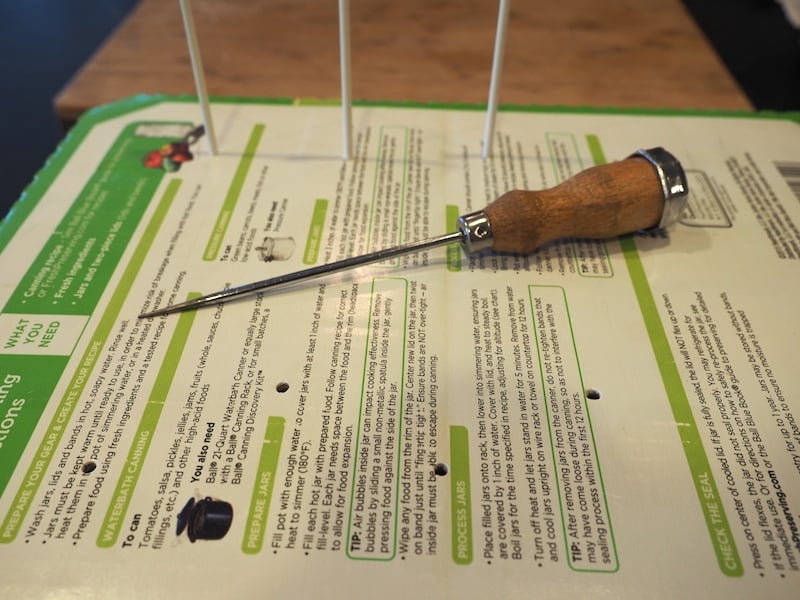
How to Prep a Box to Hold Your Cake Pops
Now to prep your cake pop “stand” you’ll want something for the cake pops to stand in to dry. Using an ice pick “pop” little holes (not too big) just large enough for the lollipop sticks to fit into snuggly.
Once your chocolate is fully melted (a 2 cup measuring cup helps keep the volume high for dipping), start by taking 3-4 cake pops out of the fridge at a time (you want them to stay really cold, the melted chocolate will set quickly).
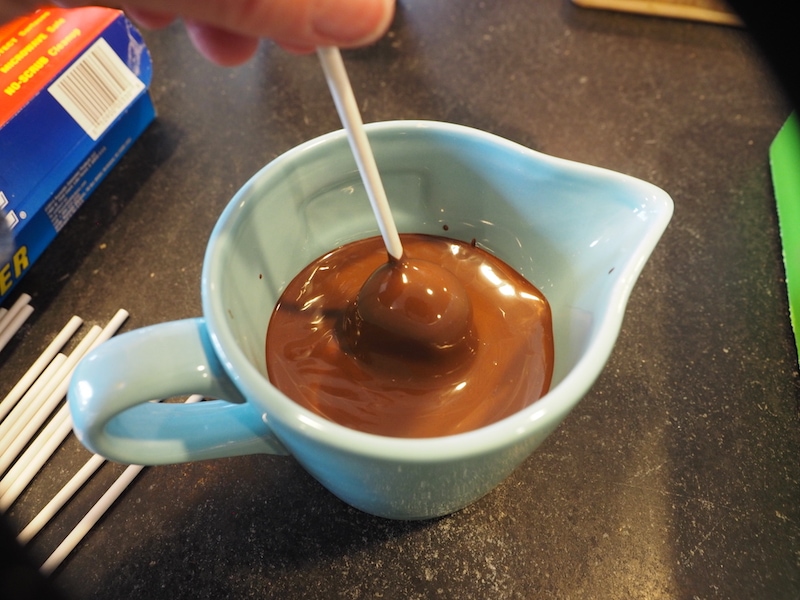
Dip the end of your lollipop stick into the chocolate and tap the excess off — this will then create a seal when inserting into the cake ball.

Insert into the cake pop, a little over half way. My cake pops were not perfectly round or smooth…meh!
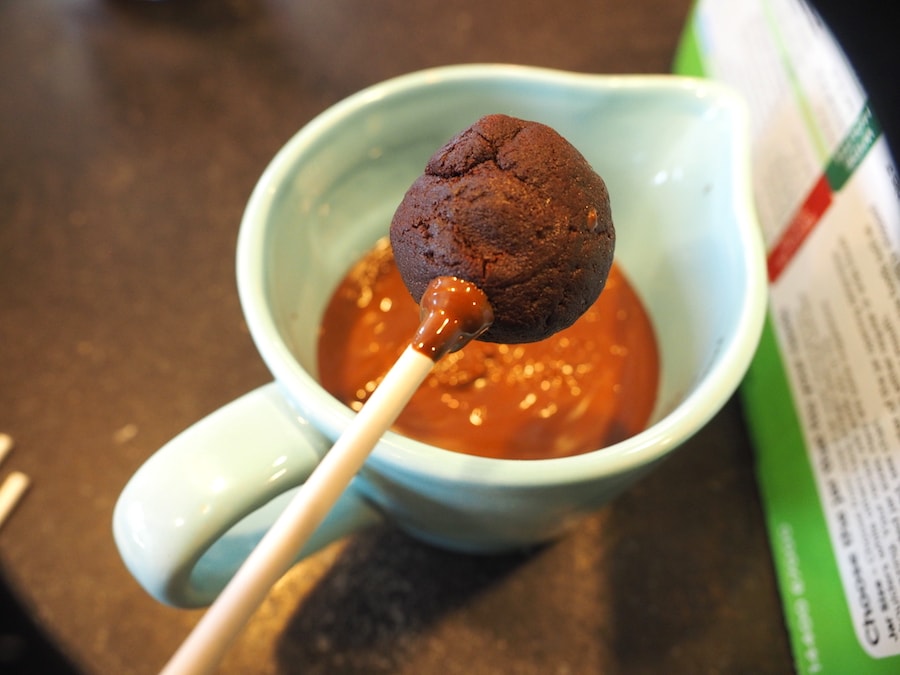
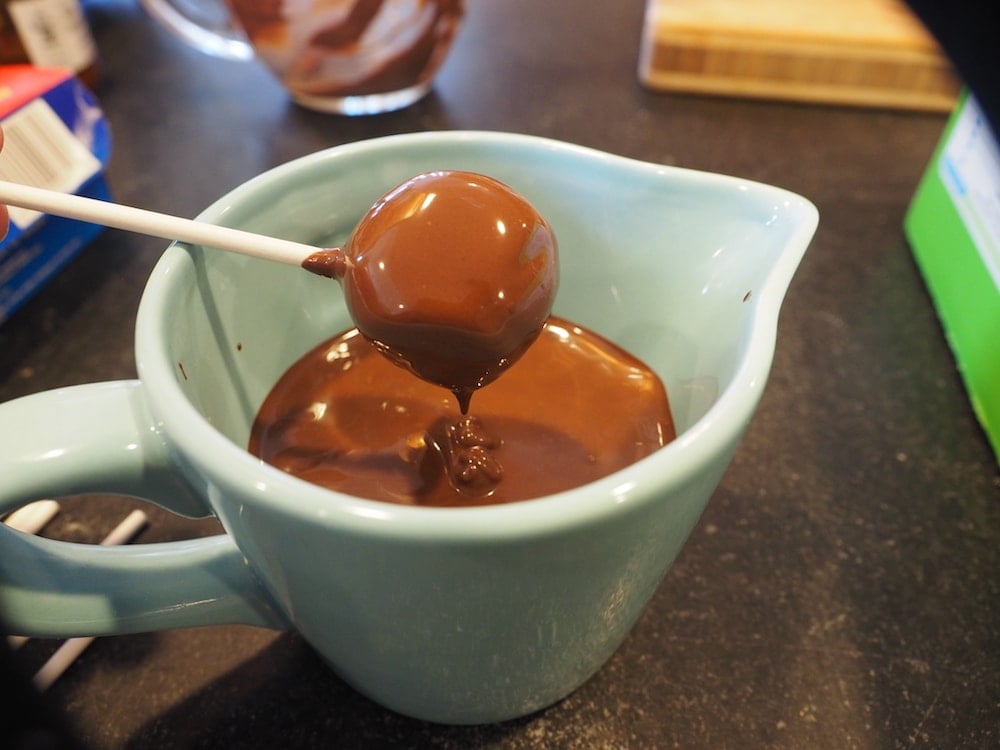
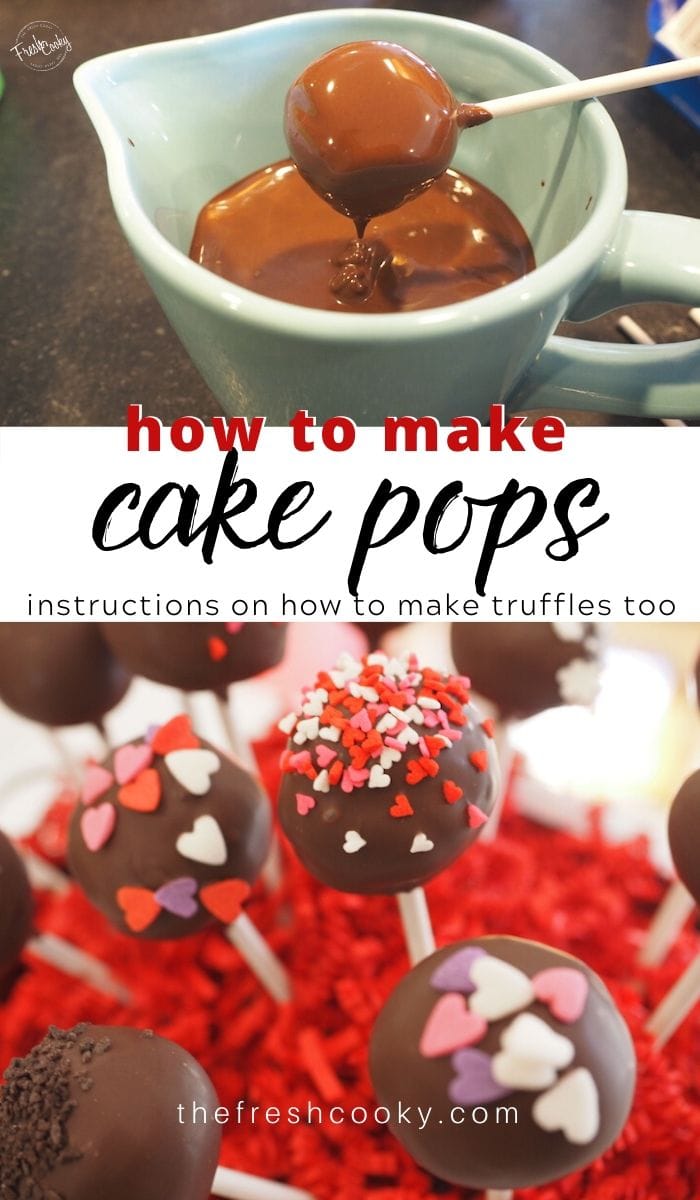
Dunk the cake pop into the chocolate, covering the entire cake ball.
Tap the stick gently and slowly turn the cake pop to shake off excess chocolate, if not you’ll have some super drippy and messy cake pops.
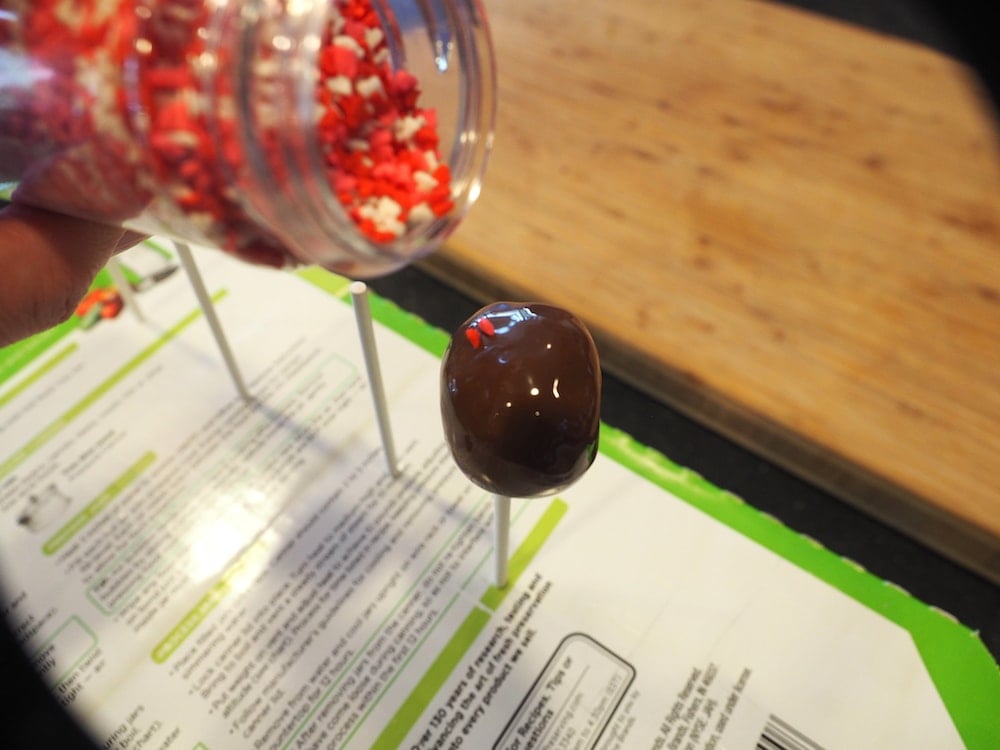
Insert into one of the holes on your inverted box/stand. Top with sprinkles immediately if desired. Use other holiday sprinkles to change these up for any occasion!
Continue process with the rest of your cake pops, taking a few at time from the fridge.
TIP | One 10 oz package of Ghirardelli Chocolate Wafers covered 35 of my cake pops, you’ll probably need 1 ½ packages, or switch it up and do some in white chocolate and some in dark.
Now, if you want to forgo the sticks all-together and make truffles, it’ll go a bit faster. I ran out of sticks so I ended up making most of mine as truffles, which worked fine for me, since they are easier to store. Or do a bit of both.
MAKE TRUFFLES INSTEAD OF CAKE POPS
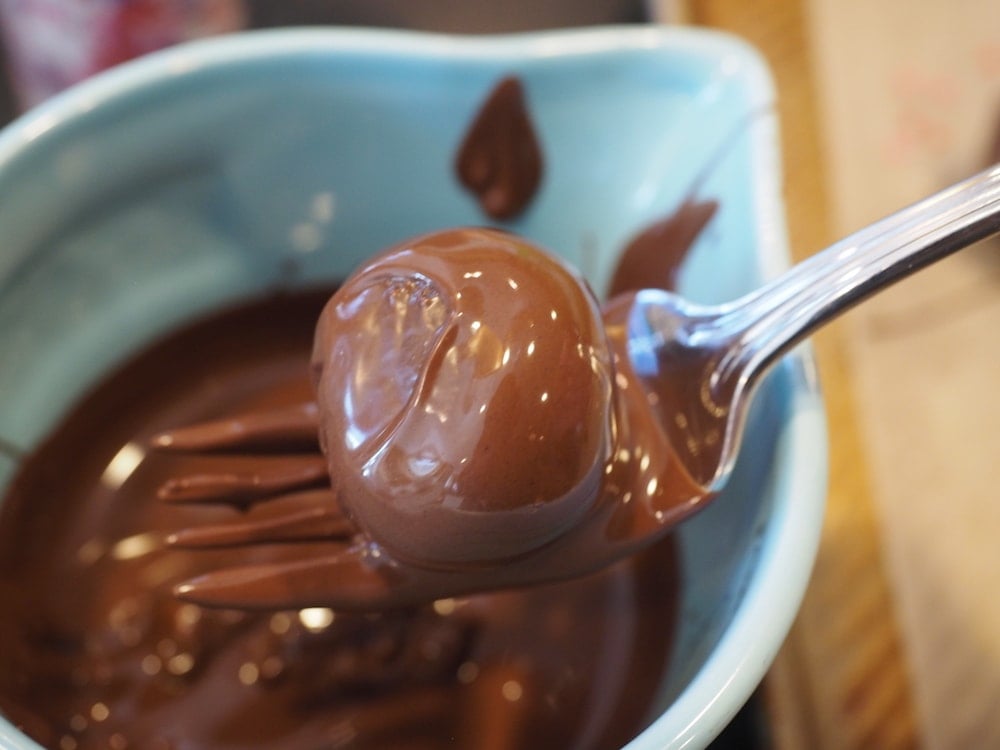
To make truffles, using a fork, dunk the cake ball into the chocolate and using the fork scoop underneath the ball, allowing excess chocolate to drip off the truffle.
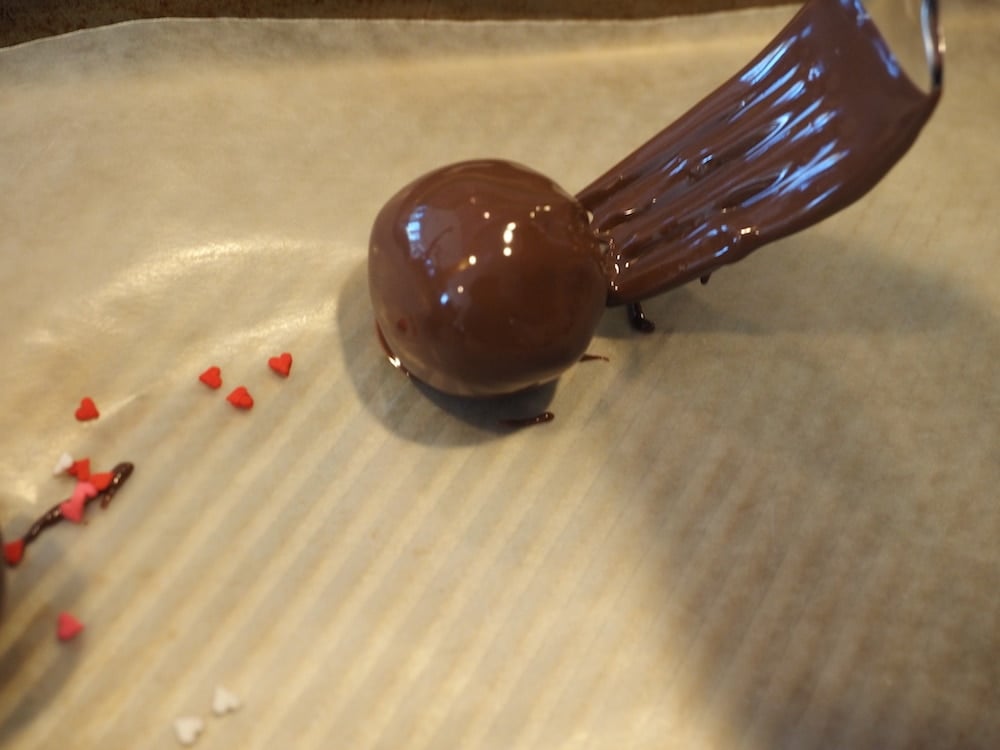
Gently roll off the fork onto a wax or parchment lined cookie sheet.
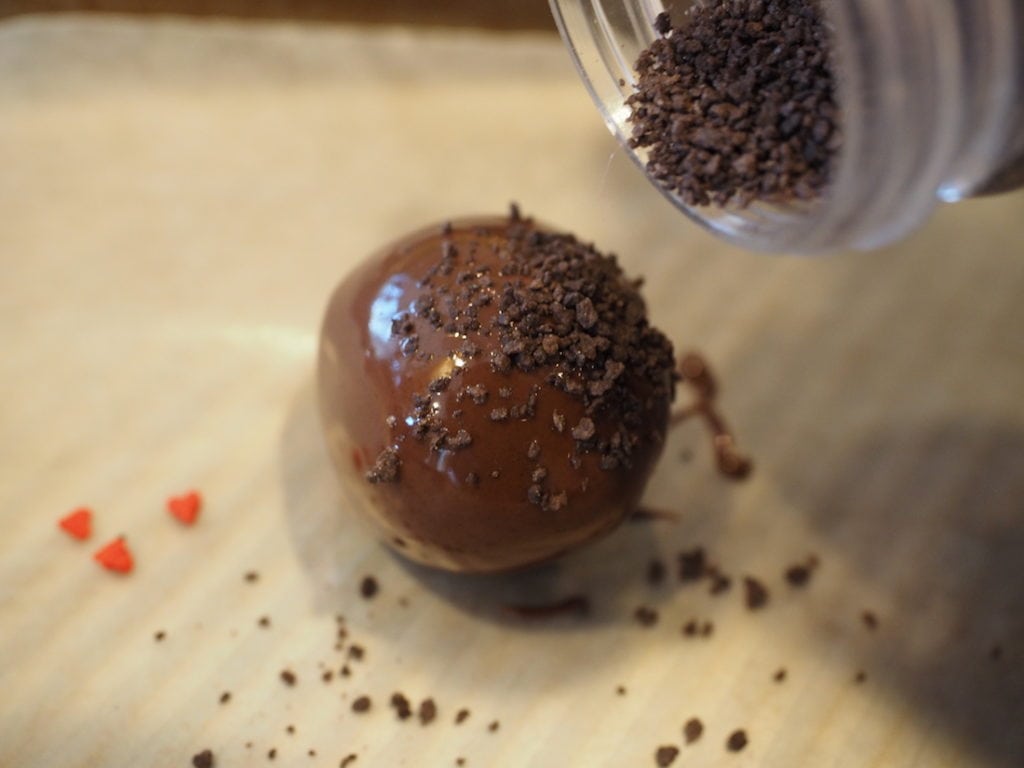
Add sprinkles right away, if desired. Kind of drooling here!!
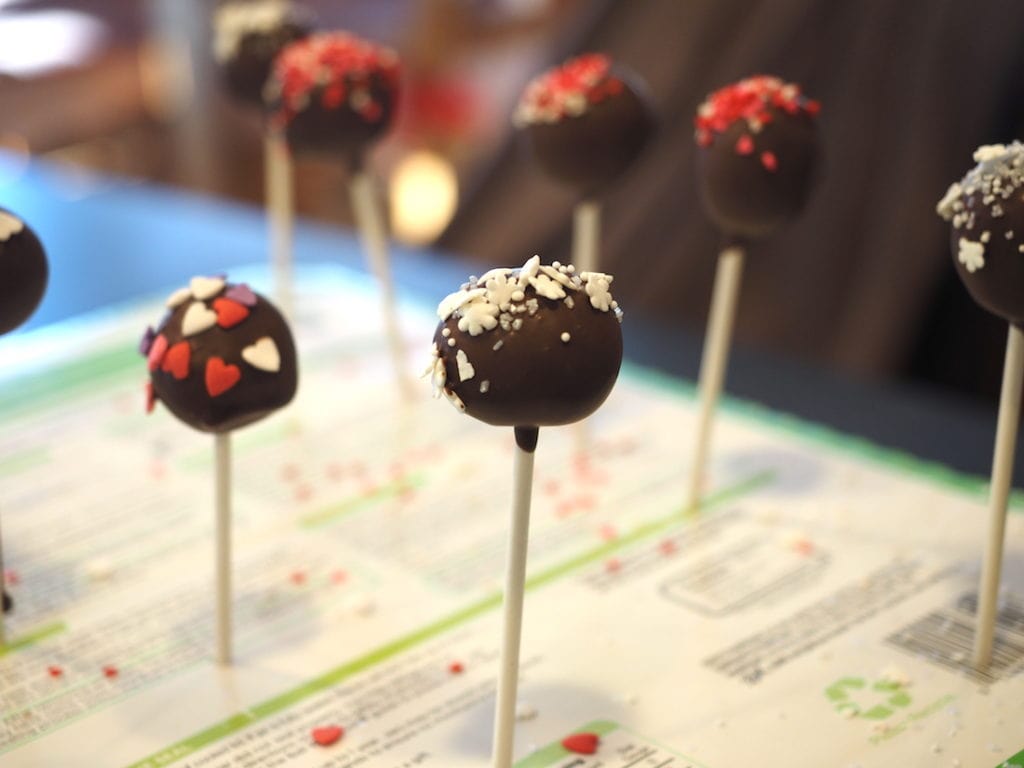
Allow cake pops/truffles to firm completely (about an hour) before storing in a container in refrigerator for up to a week or the freezer for up to 2 months…if they last that long.
HOW TO MAKE A CAKE POP BOUQUET
Now how to serve these babies. I used a cute tin bucket I had (pretty sure from the Dollar Store or Target $1 bin), stuffed a piece of styrofoam in it that was laying around from a school project.
Gently, using lollipop sticks, insert into a bouquet like pattern in the styrofoam. Cover styrofoam with paper shreds, add a bow if desired.

Makes a darling presentation or…

Add to your table as part of your centerpiece, or give to a sweetheart or teacher, color coordinate for a baby or bridal shower!
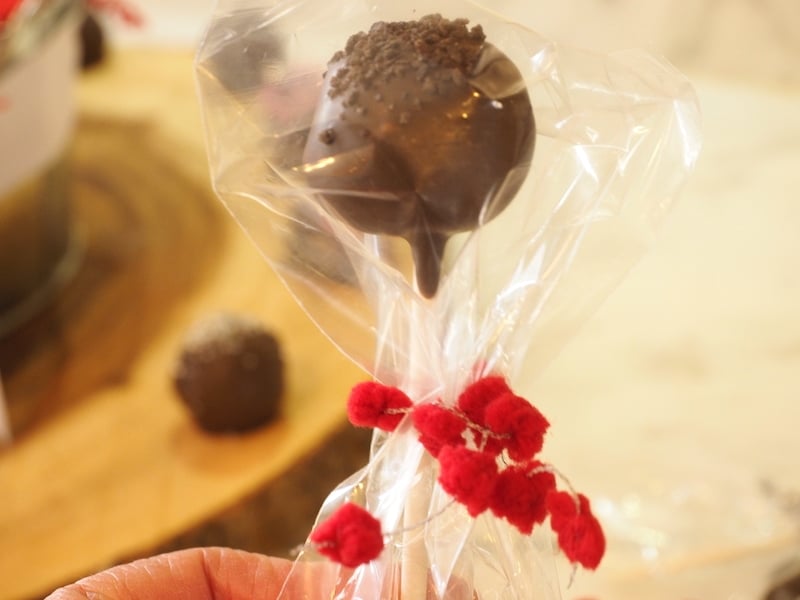
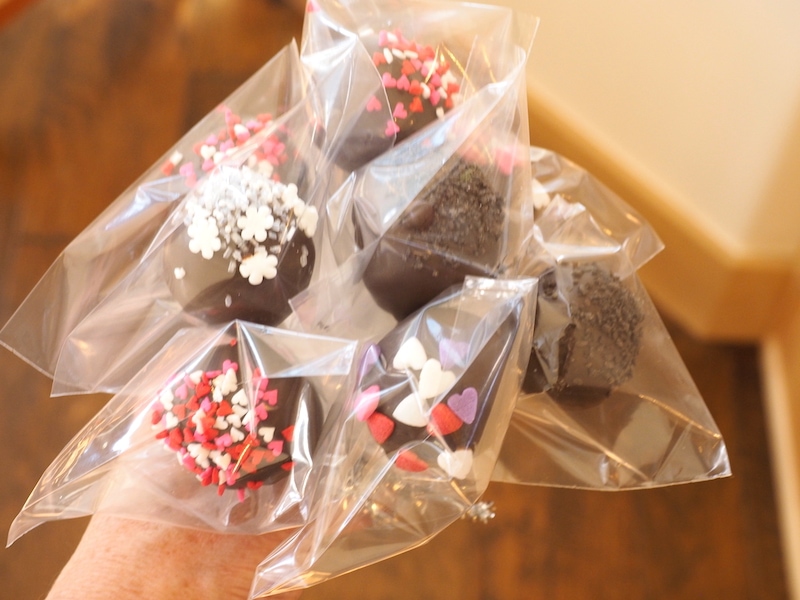
Individually wrap in small cello bags and tie with a cute ribbon.
Gather cake pops in a little bouquet and tie with a ribbon.
As for the truffles, I packed several in plastic containers and put them in my boys lunches as a surprise, or set them out on a pretty plate and allow your family or guests to nibble at will.
Don’t they just make you smile, they are cheery, happy, chocolatey little cake bombs! They are not super sweet, a nice blend of rich chocolate and a little bit of sweet.
Try these other Mini Desserts
- Espresso Brownie Bites with Kahlua Buttercream
- Sugar Cookie Bites
- Edible Cookie Dough (Mix-in Options)
- Mini French Silk Pies
This recipe was inspired by Sallys Baking Addiction.

If you like these, try these other small bite delicious recipes!
- Salted Chocolate Graham Bites
- French Silk Mini Pies
- Espresso Brownie Bites
- Sugar Cookie Bites
- Giant Heart Shaped Chocolate Chip Cookie
Like this recipe?
Don’t forget to give it a ⭐️⭐️⭐️⭐️⭐️ star rating and leave a comment below the recipe!

Equipment
Ingredients
CHOCOLATE CAKE
- 1 cup all-purpose flour
- 1 cup granulated sugar I use all natural cane sugar
- ⅓ cup + 1 Tablespoon unsweetened natural cocoa powder
- ½ teaspoon baking soda
- ¼ teaspoon salt
- ½ cup vegetable oil I used Grapeseed, but can use melted coconut oil or other oils
- 2 large eggs at room temp*
- 1 teaspoon pure vanilla extract
- ½ cup hot water
CHOCOLATE FROSTING
- 6 tablespoons butter softened at room temp**
- ¾ cup confectioners sugar
- ½ cup unsweetened natural cocoa-powder
- 3-5 tablespoons heavy cream half and half or whole milk may be substituted
- 1 teaspoon pure vanilla
- Pinch of salt
COATING
- 15 oz of melting chocolate discs I used Ghirardelli Dark Chocolate or chocolate chips***
- Sprinkles
- Lollipop sticks
Instructions
For the cake
- Preheat oven to 350°F, grease a 9" cake pan, round or square.
- In a medium bowl, whisk your flour, sugar, cocoa powder, baking soda and salt together, set aside. In a small bowl, whisk oil, eggs, and vanilla together. Pour wet ingredients into dry ingredients, mixing to slightly incorporated. Add hot water and whisk until combined. Scrape bottom and sides to make sure no dry ingredients remain.
- Pour the batter into the prepared pan and bake for 25-28 minutes or until toothpick inserted comes out clean. Or edges pull away from sides and top springs back when lightly pressed. Allow the cake to cool for 20 minutes in the pan, then invert onto wire rack to cool completely.
Frosting
- Place the butter in the bowl of a mixer (stand or handheld), mixing on medium-high speed until butter is light and fluffy. You may need to scrape down sides a couple of times, mix for 1-2 minutes. Add confectioners sugar, cocoa powder and 2 tablespoons of the cream and the vanilla, mix on low until sugar is combined, adding more cream as needed for frosting to come together. Scrape down sides, increase to high speed and mix until light and fluffy, the chocolate should lighten as it whips.
Assembling the Cake Pops
- Crumble the cooled cake into the bowl on top of the frosting. Make sure there are no big lumps. Mix on low until frosting and cake crumbs come together, making a rich batter.
- Measure 1 tablespoon of the cake/frosting mixture and roll into a ball (about the size of a walnut). Place cake balls on a baking sheet lined with wax or parchment paper. Refrigerate for 2 hours or 1 hour in the freezer. May be refrigerated overnight, cover with plastic wrap.
- Place your melting discs or chocolate chips in a microwave safe bowl and microwave in 30 second intervals, stirring well after each heating, should only take 2-3 times. Pour chocolate into a 2 cup measure cup for dipping.
- Using a box with a firm bottom, poke small holes into inverted box to hold lollipop sticks. Dip the end of the stick into the chocolate (about ½ inch). Remove just 3-4 cake balls at a time, keeping the rest cold, until ready to use. Insert the chocolate dipped stick into the cake ball, inserting about ¾ of the way into the ball.
- Submerge the ball into the chocolate, making sure the coating covers the entire ball. Gently tap the stick against the side of the cup, slowly turning and tapping until excess chocolate drips off. Set into your cake pop into your box stand and immediately sprinkle on sprinkles if desired. Repeat until all of your cake pops are done.
- Or make truffles instead; forgo the lollipop stick and using a fork, gently lower the cake ball into the chocolate, bringing it up and carefully tapping the fork on the edge and then slowly transferring it to a wax paper lined cookie sheet. Be sure you sprinkle on your toppings as soon as you finish dipping your cake balls. Cake pops will set up in about 45 minutes. Store cake pops in the refrigerator up to one week or up to 6 weeks in the freezer.
Notes
Nutrition


Rate & Comment