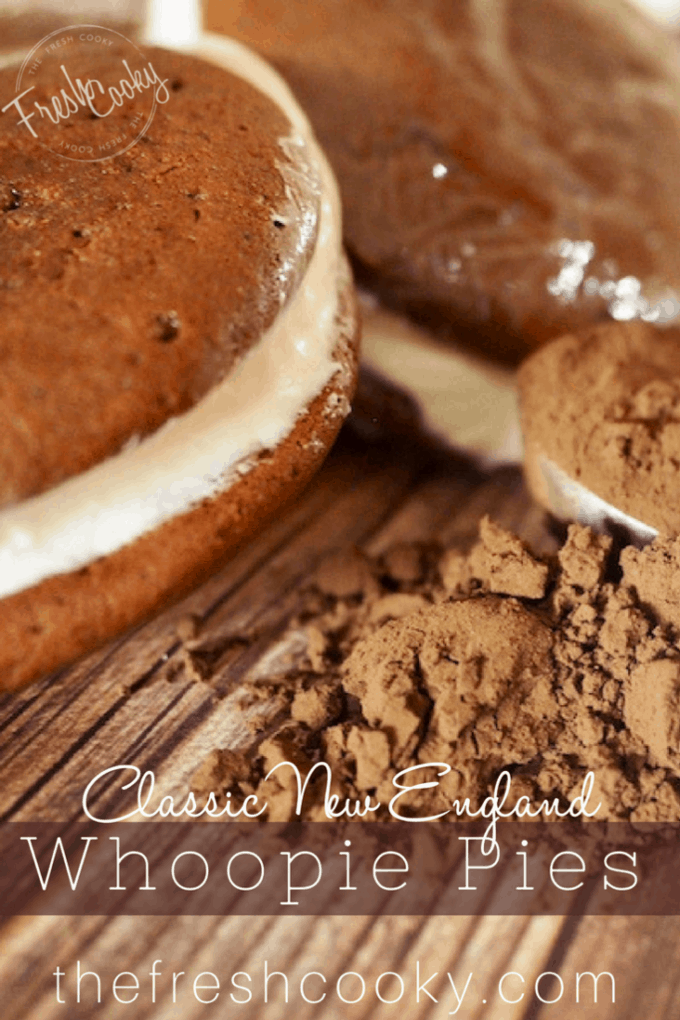
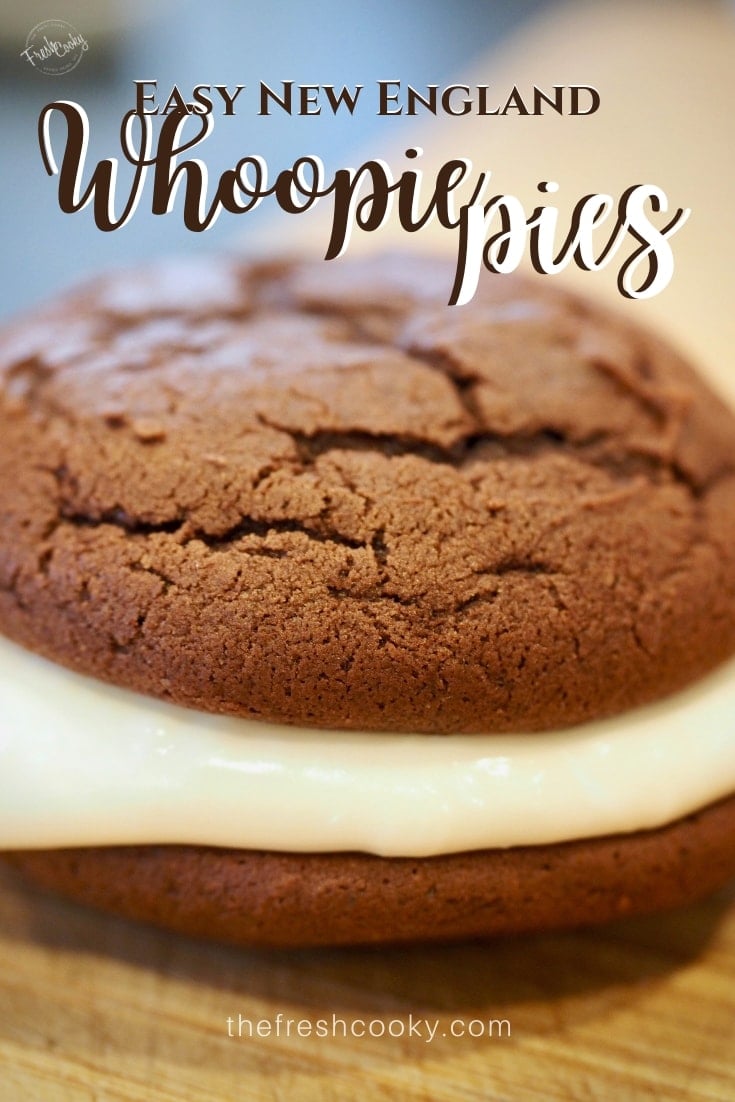
These Whoopie Pies skip the vegetable oil and cake mix you’ll find in many recipes and instead rely on real butter and a splash of sour cream for that classic bakery-soft texture. I’ve been perfecting this one for years (marrying into a New England family will do that to you), so consider this your trusted, tested version!
⭐️⭐️⭐️⭐️⭐️ Dawn said, “Made these the other day! Fairly easy recipe and delicious.”
This recipe was originally posted in 2017; it is one of my original recipes. It has been updated in 2026 with new images, better tips and tricks, variations, and step-by-step instructions.

This Whoopie Pie Recipe is Dangerously Delicious
Did you know whoopie pies have a pretty sweet backstory? Legend has it they got their name because people would shout “Whoopie!” when they found one tucked into their lunchbox. I just love that!
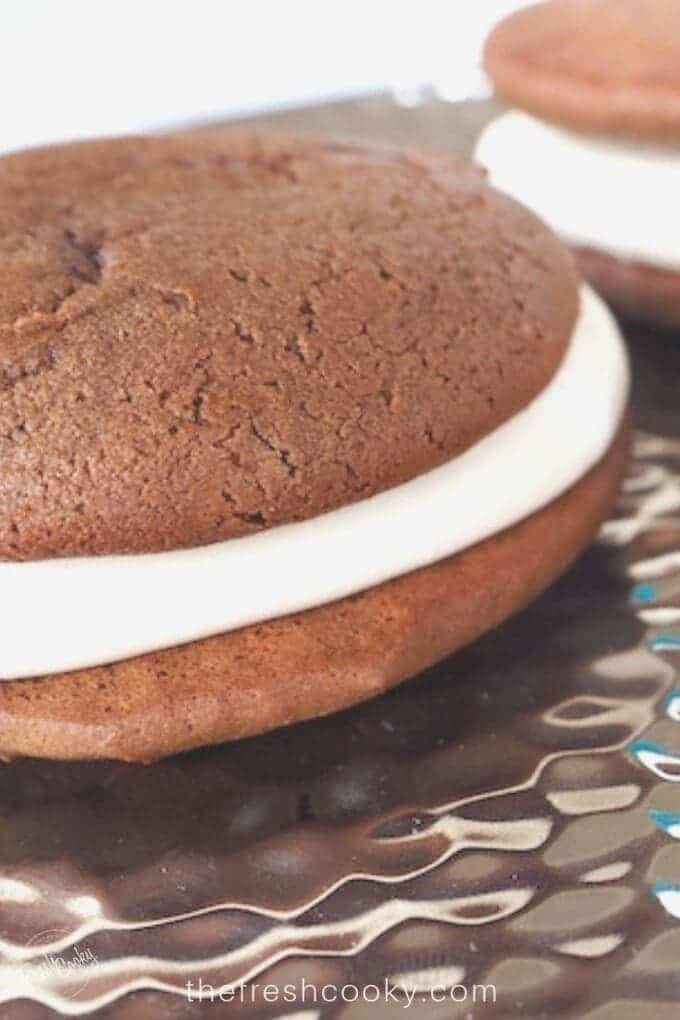
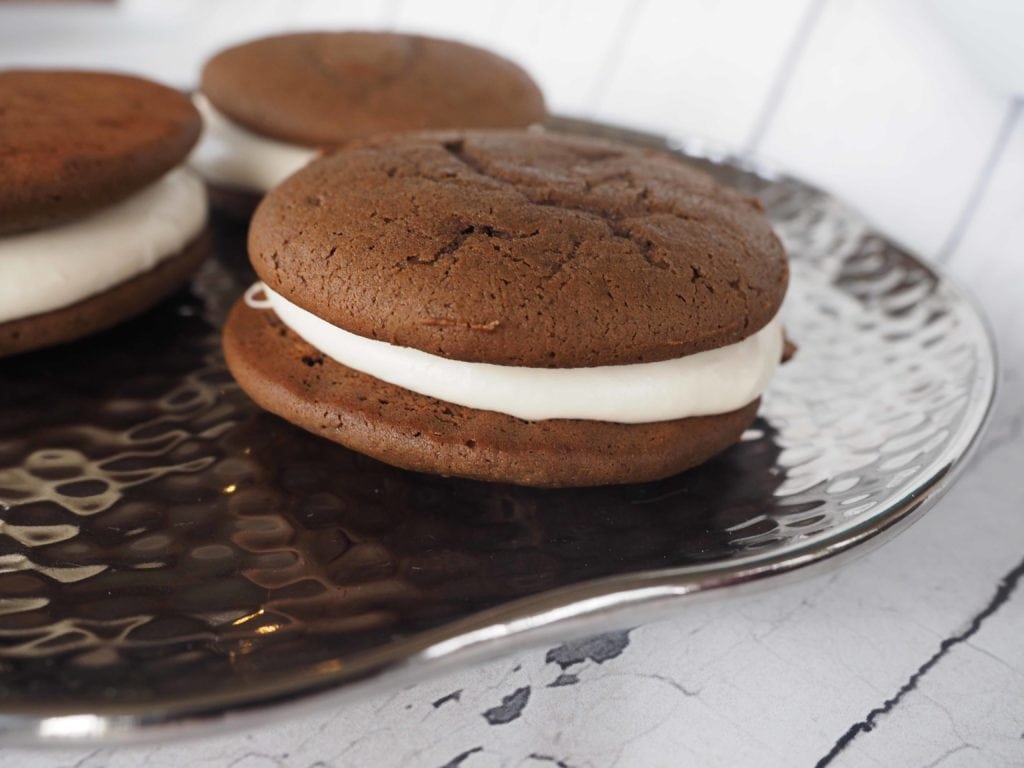
My husband grew up in New England, where whoopie pies are basically a food group, so I knew this recipe had to be just right. After more taste tests than I’ll admit to, I can say it delivers. They’re soft, deeply chocolatey cakes with a fluffy marshmallow buttercream.

Turns out the origin story is just as contested as the name. Maine named the whoopie pie its official state treat in 2011; Pennsylvania Dutch country has been making this Amish dessert for generations and calls it ‘gobs’; and Massachusetts has entered the chat too. Nobody’s backing down. I’ll let the three states fight it out; meanwhile, my New England family has been very clear about which version they expect on the table.
Whether you grew up on these or you’re meeting your first whoopie pie today, this one’s a keeper. Even my husband’s New England-bred family gave it their stamp of approval, and that’s not a group that hands out whoopie pie praise lightly!

Why You’ll Love This Whoopie Pie Recipe
- Bakery-soft texture, every time. Sour cream is the secret here, keeping every cake pillowy-soft instead of dry or crumbly. No sad, stale whoopie pies on my watch!
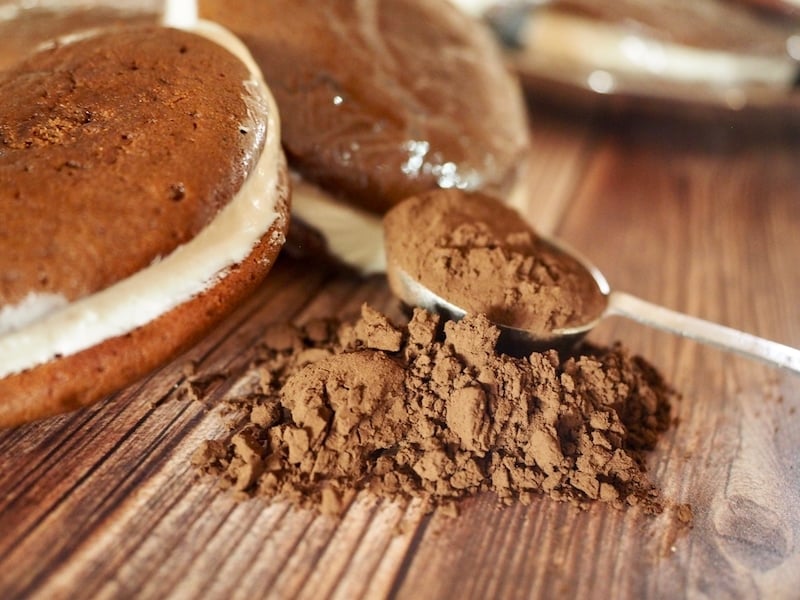
- Real chocolate flavor. Natural cocoa powder brings the deep, rich chocolate taste, so these taste super chocolatey. Use a high-quality cocoa powder; your taste buds will thank you.
- No fancy equipment needed. All you need is a mixer, a trusty scoop, and a couple of baking sheets. If you can make cookies, you can absolutely make these.
- Freezer-friendly, so future-you is covered. Bake a batch now and stash them away for lunchboxes, road trips, or those “I need chocolate immediately” moments. They thaw fast, which is dangerous in the best way.
- A guaranteed crowd-pleaser. They’re sweet, nostalgic, and just plain fun to eat with your hands. Bring these to a party and watch them disappear first.

Whoopie Pie Ingredients
- Hot water: Helps bloom the cocoa powder, pulling out its deepest chocolate flavor. Don’t skip the lukewarm water; it won’t do the same job.
- Unsweetened natural cocoa powder: Natural unsweetened cocoa is the right choice here since this recipe relies on its acidity to activate the baking soda. Sift it first if it looks at all lumpy. Want to try Dutch-process? Reduce the baking soda to ½ teaspoon. It’ll give you a deeper color and a slightly smoother chocolate flavor, but it needs that adjustment to bake up properly.
- Baking soda: Works with the acidity in the cocoa powder and sour cream to give these whoopie pies their lift. Make sure yours is fresh; old baking soda is one of the most common reasons baked goods fall flat.
- All-purpose flour: Standard AP flour gives these cakes the right structure without making them tough. I use organic and unbleached.
- Baking powder: Works alongside the baking soda for a little extra lift and a softer, more tender crumb.
- Kosher salt: Balances the sweetness and deepens the chocolate flavor. Don’t skip it.
- Light brown sugar: Adds sweetness plus a subtle molasses flavor that plays really well with chocolate. Pack it into your measuring cup. You could also use dark brown sugar, it will add a bit more molasses taste.
- Butter: Use real butter, softened to room temperature. Soft enough to press a finger in but still holding its shape, not melty or shiny. I use salted butter, but unsalted may be used; just add ¼ teaspoon of kosher salt if using unsalted.
- Egg: Binds everything together and adds richness. One large egg at room temperature is all you need.
- Vanilla extract: Pure vanilla extract, not imitation. It rounds out the chocolate flavor in a way that’s hard to explain but easy to taste.
- Sour cream: Does double duty here, adding moisture and providing extra acidity to work with the baking soda. Full-fat gives you the best texture. Plain full-fat Greek yogurt works in a pinch.
Marshmallow Buttercream
- Butter: Same rule as above, real butter softened to room temperature. If it’s too warm or starting to look shiny, your buttercream will be loose before you even add the marshmallow cream. Pop it back in the fridge for 10 minutes if needed.
- Marshmallow cream: One standard 13-oz jar, which is about 3 cups. Fluff and marshmallow creme are interchangeable; both work exactly the same way. Once the frosting is mixed, if it feels too soft, refrigerate it for 15 to 30 minutes before filling. It scoops and holds much more cleanly when slightly chilled.
- Powdered sugar: Gives the buttercream structure and sweetness. Sift it if it’s lumpy to avoid a grainy frosting.
- Vanilla bean paste or extract: Adds a punch of flavor. Vanilla bean paste is a great swap here since it delivers big flavor with almost no added liquid.
- Kosher salt: Just a pinch, but it makes a real difference. It keeps the frosting from tasting one-dimensionally sweet.
Get the full recipe in the recipe card below.

How to Make This Whoopie Pie Recipe
Step 1 | Make the Cocoa Mixture
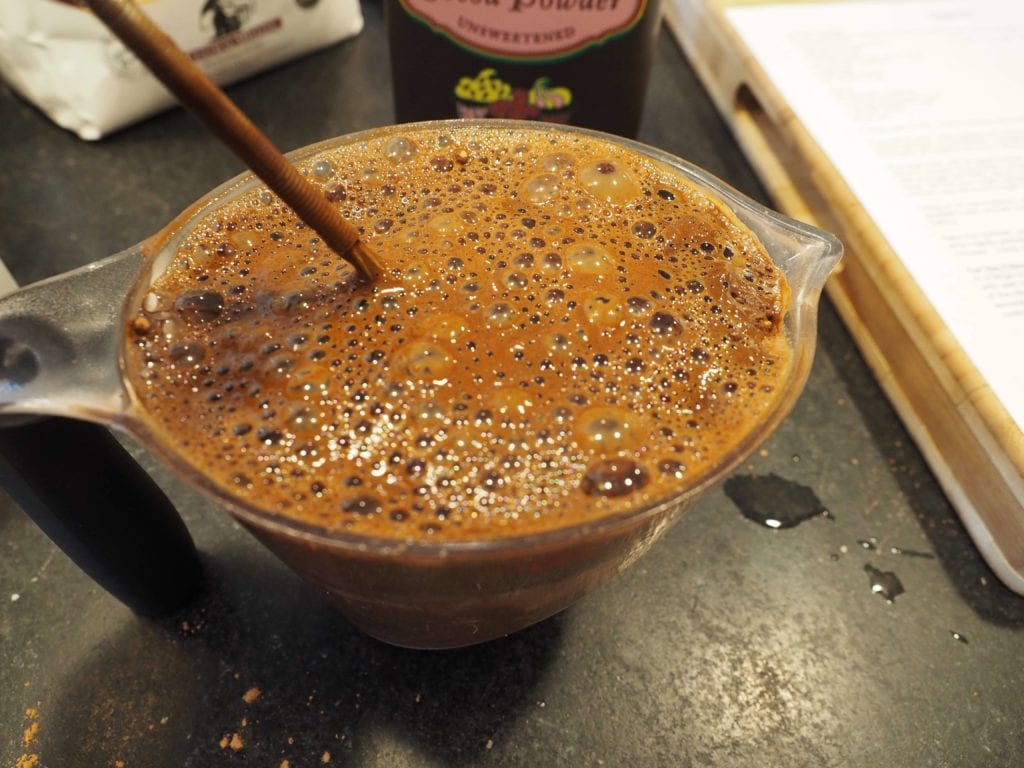
Preheat your oven to 350°F. Whisk the boiling water, cocoa powder, and baking soda together. It’ll foam up dramatically, so use a bowl with room to spare, then let it cool. In a separate bowl, whisk the flour, baking powder, and salt.


Step 2 | Make the Batter
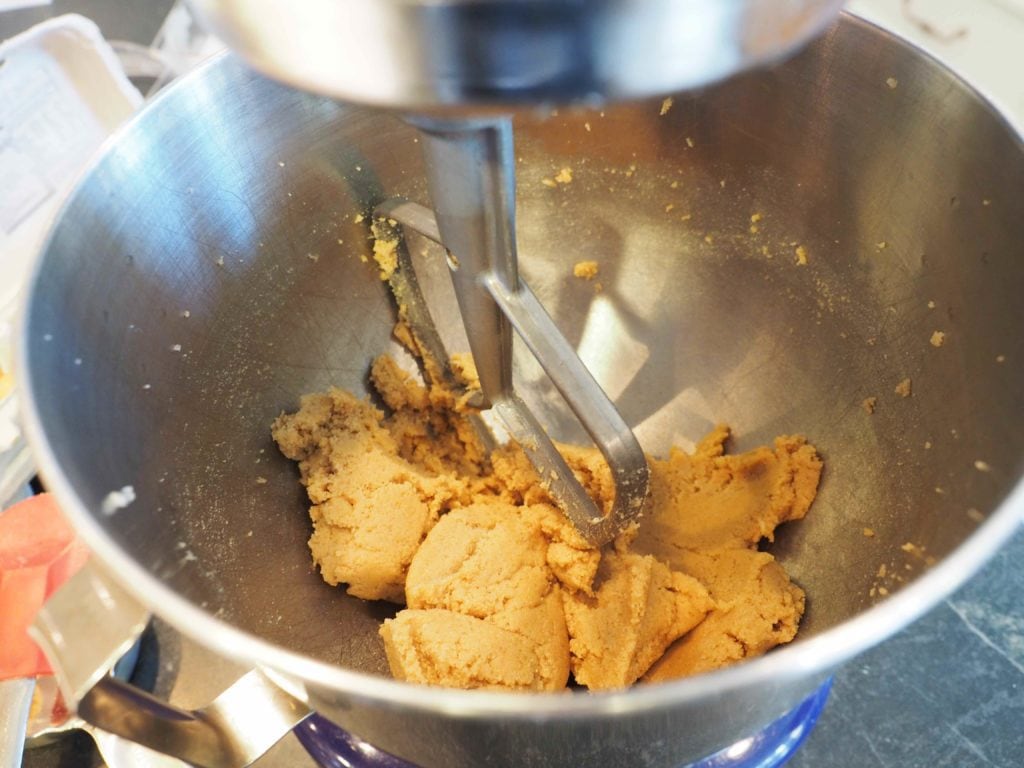
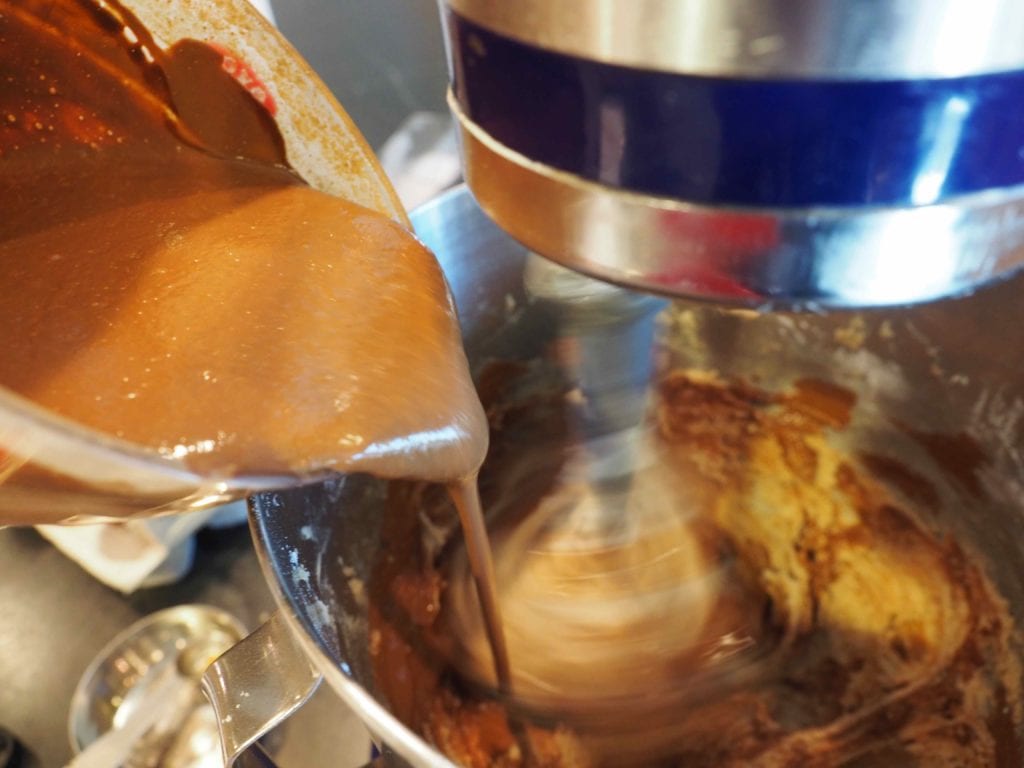
In the bowl of a stand mixer fitted with a paddle attachment, cream the butter and brown sugar until fluffy, then beat in the egg and vanilla. Stir the sour cream into the cooled cocoa mixture, then alternate adding the flour mixture and cocoa mixture into the butter mixture until no streaks remain.


Step 3 | Bake
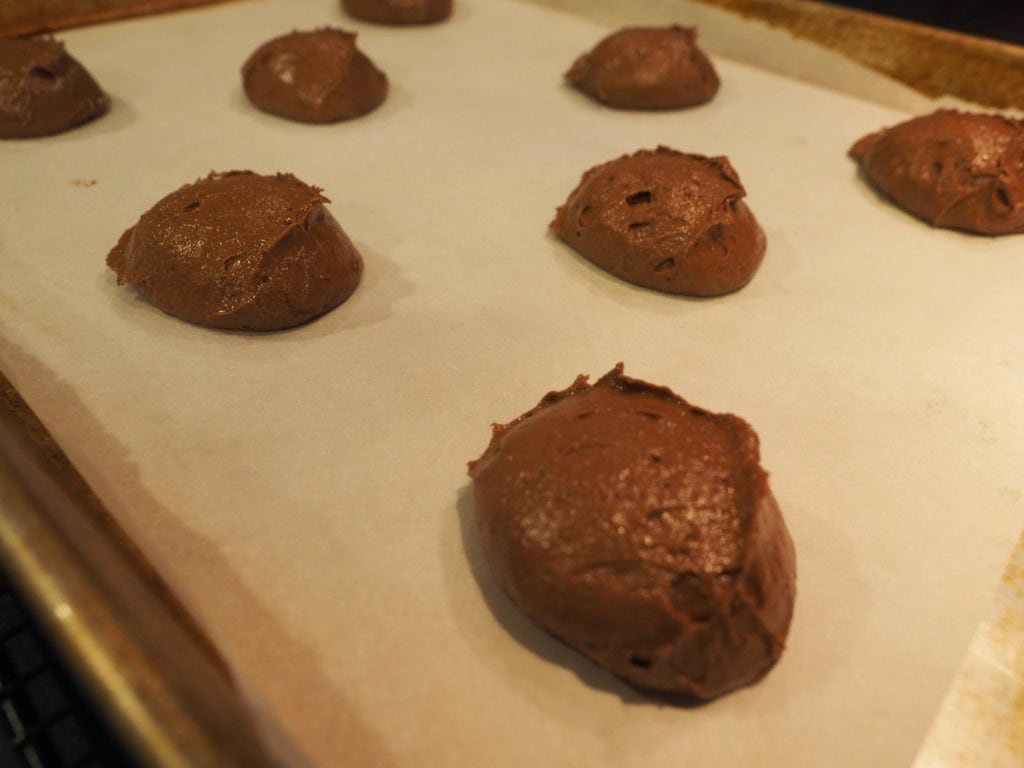
The batter will be a pretty thick, cake-like batter consistency.
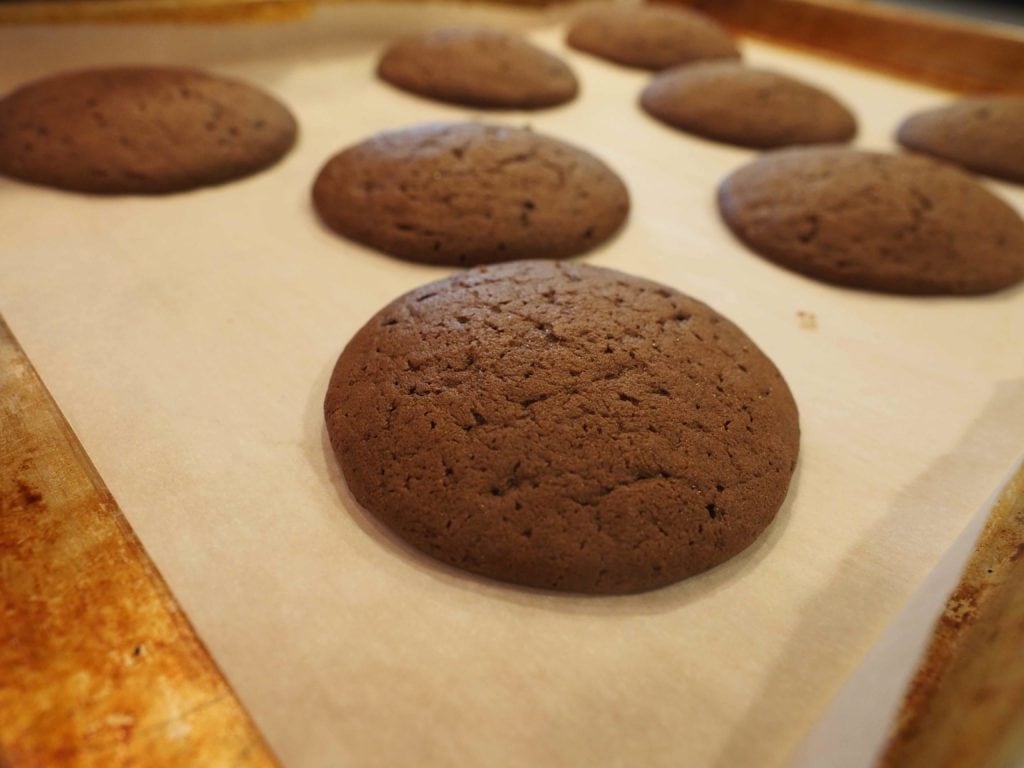
Scoop the batter using a medium cookie scoop onto parchment-lined baking sheets, spacing scoops about 3 inches apart, and bake one sheet at a time for 10-12 minutes, until the tops spring back when pressed. Let them cool on the pan a few minutes before moving them to a wire rack to cool completely.


How To Make Easy Marshmallow Buttercream
Step 4 | Beat the Mixture Together
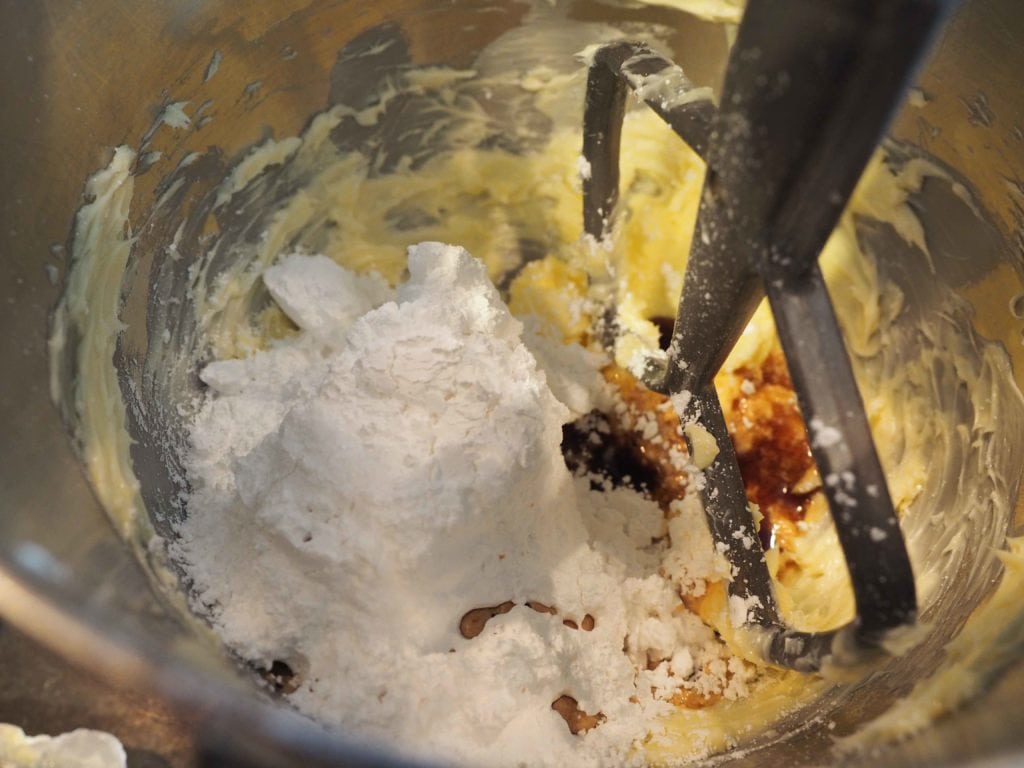
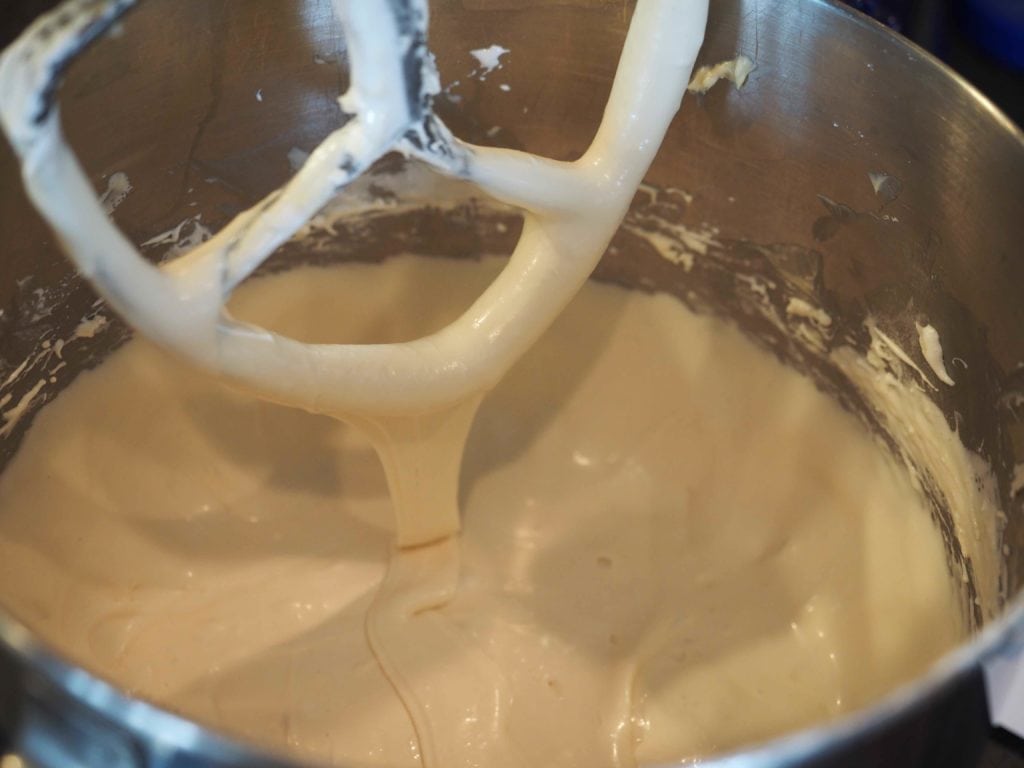
Beat the butter, powdered sugar, vanilla, and salt together until light and fluffy, then mix in the marshmallow cream until smooth. I like using the whisk attachment. If it feels too soft to hold its shape, pop it in the fridge for 15-20 minutes. it scoops much more cleanly once it’s had a chance to firm up.


Whoopie Pie Assembly
Step 5 | Assemble
Match your cooled cakes up in pairs by size. Scoop a generous portion of marshmallow buttercream onto the flat side of one cake, leaving a small border, then top with its match and press gently until the filling reaches the edges.


Now, when you sink your teeth into one of these babies, you will shout, “WHOOPIE”! I hope you love these chocolate whoopie pies!
Storing Whoopie Pies
- Counter: Unfilled cakes keep well at room temperature for up to 2 days, stored in an airtight container. Once they’re filled with marshmallow buttercream, though, I don’t recommend leaving them out. The butter in the filling will soften, and the whoopie pies can start to look a little sad after just a few hours at room temperature, especially in a warm kitchen.
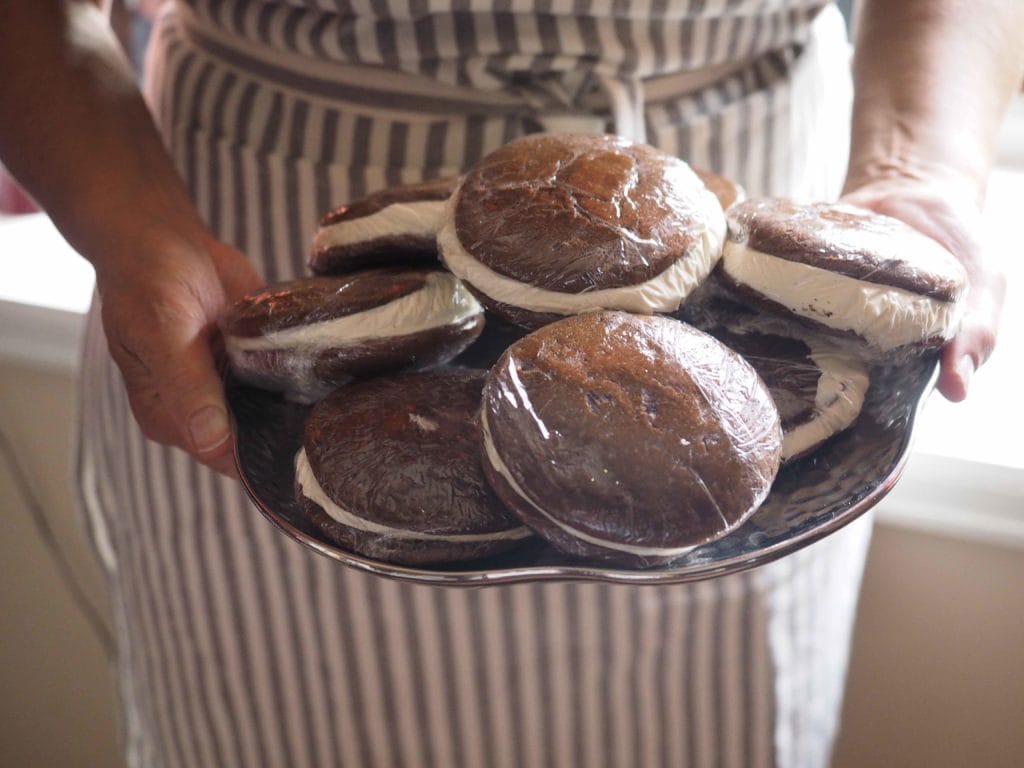
- Refrigerator: This is where assembled whoopie pies belong. Wrap each one individually in plastic wrap and refrigerate for up to 5 days. The cold actually helps here; it firms up the filling so you get a cleaner bite instead of buttercream squishing out the sides. Let them sit at room temperature for about 10 minutes before serving if you want that just-baked softness back in the cakes.
Can I Freeze Whoopie Pies?
Yes, freeze the unfrosted cakes in freezer bags until ready to frost.
I like to match them up in pairs, bottoms together; they freeze so well and pop apart easily when frozen. Layer the cookies between wax or parchment paper.
Already assembled a batch? They freeze beautifully too. Wrap each one individually in plastic wrap, then store in a freezer bag. They thaw quickly on the counter, or go straight from the freezer into a lunchbox.

Variations & Substitutions
- Gluten-Free Whoopie Pies: Substitute 1 ½ cups gluten-free all-purpose flour (I like King Arthur or Bob’s Red Mill), ¼ cup almond flour, and ¼ cup oat flour for the all-purpose flour; this will help balance the texture and moisture.
- Dairy-Free Whoopie Pies: I haven’t tested this combination myself yet, but here’s where I’d start if you want to experiment. Use a good plant-based butter; I like Miyoko’s and Earth Balance. Use a plant-based sour cream, and do the same for the frosting; swap out the butter for a plant-based one. The marshmallow fluff is already dairy-free but not vegan because it contains egg whites.
- High Altitude Instructions (above 3500 feet): I’ve been baking these whoopie pies for over 30 years, even before I met my hubby, but baking for him solidified the deal. Increase flour by 2 tablespoons and decrease sugar by ¼ cup. These two small adjustments make a real difference in how the cakes bake up and hold their shape. Have no fear though, these whoopie pies have been baked and approved by a team of volunteer recipe testers across the country at sea level and beyond.
- Mini Whoopie Pies: smaller scoop, shorter bake time, great for parties, lunchboxes, or cookie trays. This is a genuinely popular search variant and an easy swap to write, since it’s just a change to scoop size and timing.
- Peanut Butter Whoopie Pies: swap the marshmallow buttercream for a straight peanut butter buttercream, no marshmallow. If you want both together, my Fluffernutter version has you covered.
- Espresso Boost: a teaspoon of instant espresso powder added to the cocoa mixture deepens the chocolate flavor without adding coffee taste. This ties directly to your bloom technique, since you’re already explaining cocoa chemistry, this is a natural, low-effort addition that reinforces your expertise angle rather than being a random tack-on.
Whoopie Pie FAQs
Regular unsweetened natural cocoa powder was used to test this recipe, and it’s what I recommend. This recipe uses baking soda with sour cream, and that combination needs the acidity in natural cocoa to work properly. Dutch-processed cocoa has been alkalized, so the acid reaction doesn’t occur the same way. The result can be flatter, denser whoopie pies.
That said, if you want to try Dutch-process for a darker, richer color and a smoother chocolate flavor, reduce the baking soda to ½ teaspoon and keep everything else the same. Just know that’s a variation, not a straight swap. Either way, sift your cocoa if it’s lumpy, and use a good quality brand. I love Ghirardelli or Anthony’s.
Usually it’s one of two things: your baking soda is old (it loses power over time, so check the date), or your butter was too soft when you creamed it, which can make the batter spread more before it sets. A cool room-temp butter, one you can press a finger into but that still holds its shape, gives you the best rise.
It’s two soft, cake-like cookies (not a pie at all, don’t let the name fool you) sandwiched around a sweet filling, classically chocolate cake with marshmallow buttercream. Some call them gobs, some call them black moons, but they all mean the same delicious thing.
Once assembled, wrap each one individually in plastic wrap and refrigerate. They’ll keep up to 5 days in the fridge. You can also freeze assembled whoopie pies for up to 2 months. Wrap tightly in plastic wrap, then pop them into a freezer bag. They thaw quickly on the counter, or toss one frozen into a lunchbox, and it’ll be perfectly ready by noon.
You can! A chocolate cake mix makes a solid shortcut when you need these fast. Here’s what you’ll need:
1 box devil’s food cake mix (15.25 oz, see note below)
1 box (3.9 oz) instant chocolate pudding mix
3 large eggs, room temperature
¾ cup water
½ cup vegetable oil, I like avocado oil
Mix everything together until well combined. The batter will be thick, which is exactly what you want for whoopie pies. Scoop and bake just like the scratch version. The pudding mix is the secret here; it keeps the cakes soft and moist even after a day or two in the fridge.
Make the marshmallow buttercream from scratch though. That part is worth it every single time.
Note: Cake mix sizes have shrunk over the years. Look for the 15.25 oz box, not the smaller 13.25 oz boxes that have crept onto shelves. The difference matters here.

More Cookie Recipes to Try
- Crumbl Chocolate Chip Cookies – our most popular recipe!
- Oatmeal Sandwich Cookies
- Biscoff Stuffed Cookie Butter Cookies
- Brownie Sandwich Cookies
- Edible Cookie Dough
- Shortbread Recipe – always a huge hit!
Like this recipe?
Don’t forget to give it a ⭐️⭐️⭐️⭐️⭐️ star rating and leave a comment below the recipe!

Equipment
Ingredients
COOKIE/PIE BATTER
- ¾ cup boiling water
- ⅔ cup unsweetened cocoa powder sifted after measuring, (if using Dutch Process, your cakes will spread more)
- 1 teaspoon baking soda you may need to reduce to ½ if using Dutch Process cocoa powder)
- 2 cups all-purpose flour I use organic, unbleached flour (add 2 tablespoons for high altitude)
- 1 teaspoon baking powder make sure it's fresh
- ¾ teaspoon kosher salt
- 1 ½ cups light brown sugar packed (decrease by ¼ cup for high altitude)
- ½ cup salted butter softened to cool room temp, not too soft, if using unsalted increase salt to ¾ teaspoon
- 1 large egg room temperature
- 2 teaspoon vanilla extract
- ½ cup sour cream room temperature
MARSHMALLOW BUTTERCREAM
- ¾ cup salted butter softened to cool room temp, not too soft
- 13 ounces marshmallow cream About 3 cups, use between 2 ½ – 3 cups
- 1 ½ cups powdered sugar
- 1 ½ teaspoons vanilla bean paste or vanilla extract
- ⅛ teaspoon kosher salt pinch
Instructions
- Preheat oven to 350°F (175° C) and place rack in the middle of the oven.
- In a 2 cup or larger bowl or measuring cup, pour hot water, stir in cocoa powder and baking soda with a fork until smooth; the mixture will foam up (a lot) and darken. Let the mixture stand until the foaming subsides and the mixture has cooled. You will be adding sour cream to this mixture after it cools, so use a bowl large enough to add sour cream. *make sure your baking soda is fresh!¾ cup boiling water, ⅔ cup unsweetened cocoa powder, 1 teaspoon baking soda
- In a medium bowl, add flour, baking powder and salt, gently stir with whisk to mix. Set aside.2 cups all-purpose flour, 1 teaspoon baking powder, ¾ teaspoon kosher salt
- In a large bowl of a stand mixer (or hand mixer), beat together butter and brown sugar on medium-high until well blended and creamy, about 2-3 minutes. Scrape down sides of bowl. Add egg and vanilla, beating until light and fluffy, about 2 more minutes, scraping sides.1 ½ cups light brown sugar, ½ cup salted butter, 1 large egg, 2 teaspoon vanilla extract
- Beat in half the flour mixture; scraping down the sides several times. Stir the sour cream into the cocoa mixture now cooled. On low speed, beat the cocoa mixture and the remaining flour mixture, into the brown sugar mixture until even incorporated, Scraping down sides until you no longer see any of the white flour or creamed mixture.½ cup sour cream
- Using a medium to large scoop, drop the dough onto parchment lined baking sheets, spacing about 3 inches apart. Don't make the rounds much larger or they may spread too much during baking.
- As these are a sandwich cookie, try and make an even number of cookies so they match up. Bake the cookies at 350, one sheet at a time, in the middle of the oven for about 10-12 minutes, until the tops spring back when lightly pressed in the center. Transfer the sheet to a wire rack and let stand until cookies firm up, 4-5 minutes. Don't overbake.
- Using spatula, transfer the cookies to wire racks. Cool completely.
- Once cooled, the cookies may be placed in freezer storage bags, layer using wax paper in between. Lay flat in the freezer. You may fill them straight from the freezer, sometimes easier.
Marshmallow Filling
- In the large bowl of a mixer, on medium speed, beat together the butter, powdered sugar, vanilla and salt until well blended and fluffy. Add the marshmallow cream and beat until evenly incorporated. Once the marshmallow buttercream is mixed, if it feels too soft or loose, refrigerate it for 15 to 20 minutes before filling. It scoops and holds much more cleanly when slightly chilled.¾ cup salted butter, 13 ounces marshmallow cream, 1 ½ cups powdered sugar, 1 ½ teaspoons vanilla bean paste, ⅛ teaspoon kosher salt
- Using a medium or large scoop, plop a generous portion of frosting onto "bottom" of cookie, leaving a ½ " border around the edge. Top with matching cookie top. Pressing gently to sandwich them together, just until filling reaches edges.
- Store cookies in individual plastic bags or wrap in plastic wrap. Refrigerate or freeze (great to put in a lunch box) until ready to enjoy. Shout WHOOPIE!!!!


Anita
In Denver. Thanks. Was just double checking.
Thanks Anita!! Hope you love them!
Anita
Hi, Quick question before I try. Why doesn’t this recipe require reduced leavening for altitude? Thank you.
Hi Anita, how high are you? I didn’t need to reduce for my altitude (about 5300) but if you are above 6,000 I’d reduce it to ¾ teaspoon.
Anita
In Denver. Thanks. Was just double checking.
Lorraine Gagnon
I have baked many Whoopie Pies in my life, but this recipe was disappointing. The pies were very flat compared to the recipe I would normally use. I think I will stay with my usual recipe.
I’m so sorry to hear that you had that experience Lorraine. Mine are definitely not as thick as some
I’ve had in NE, but my husband likes them that way.

Dawn Vandermillen
Made these the other day! Fairly easy recipe and delicious. Thank Kathleen!!
Thanks Dawn! Not hard just a bit time consuming.
Dawn Vandermillen
Made these the other day! Fairly easy recipe and delicious. Thank Kathleen!!
Bks
Drooooolllll☕️☕️
You da best BKS!