
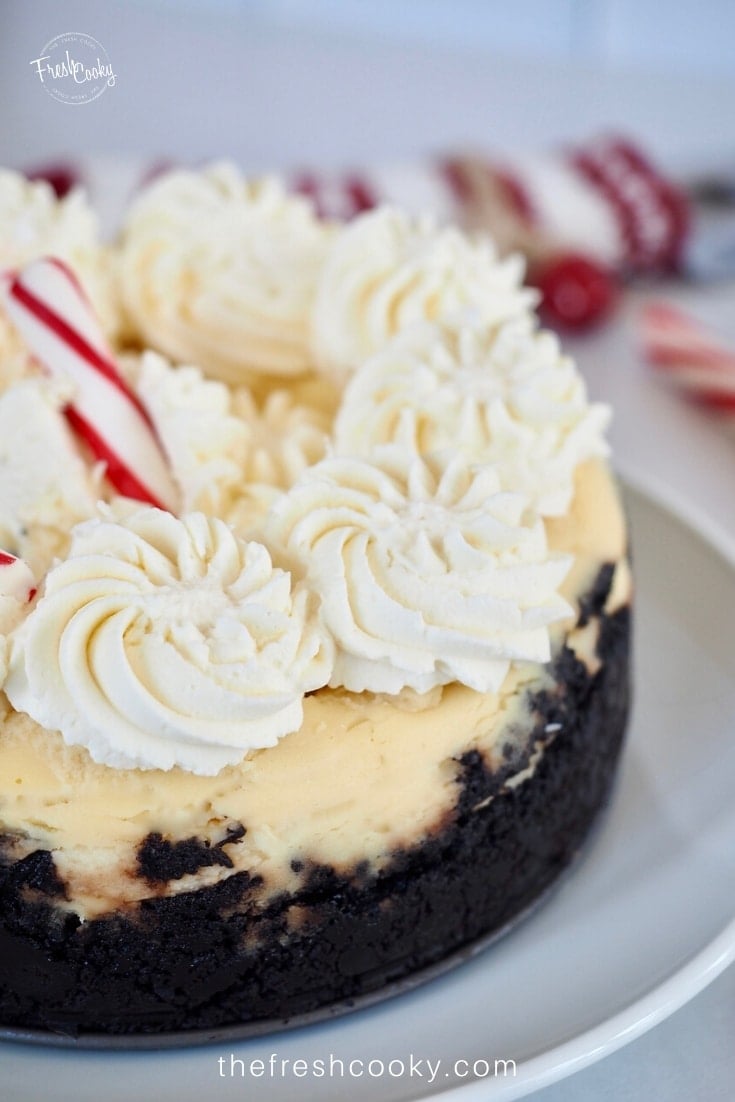
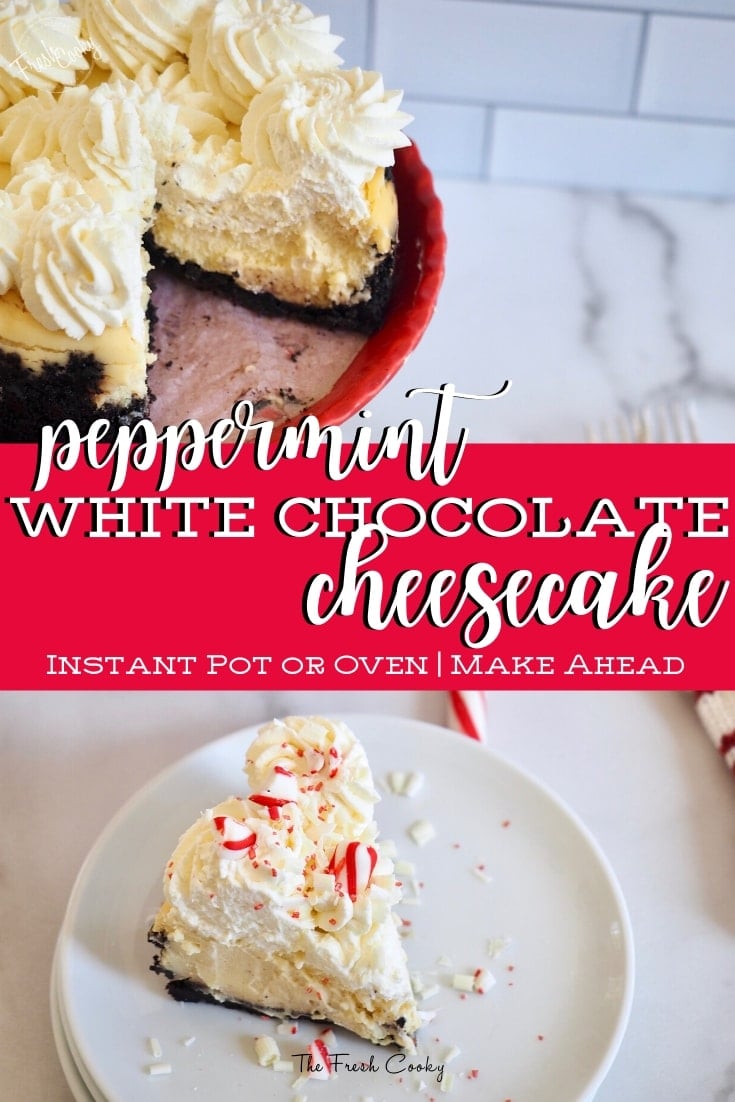
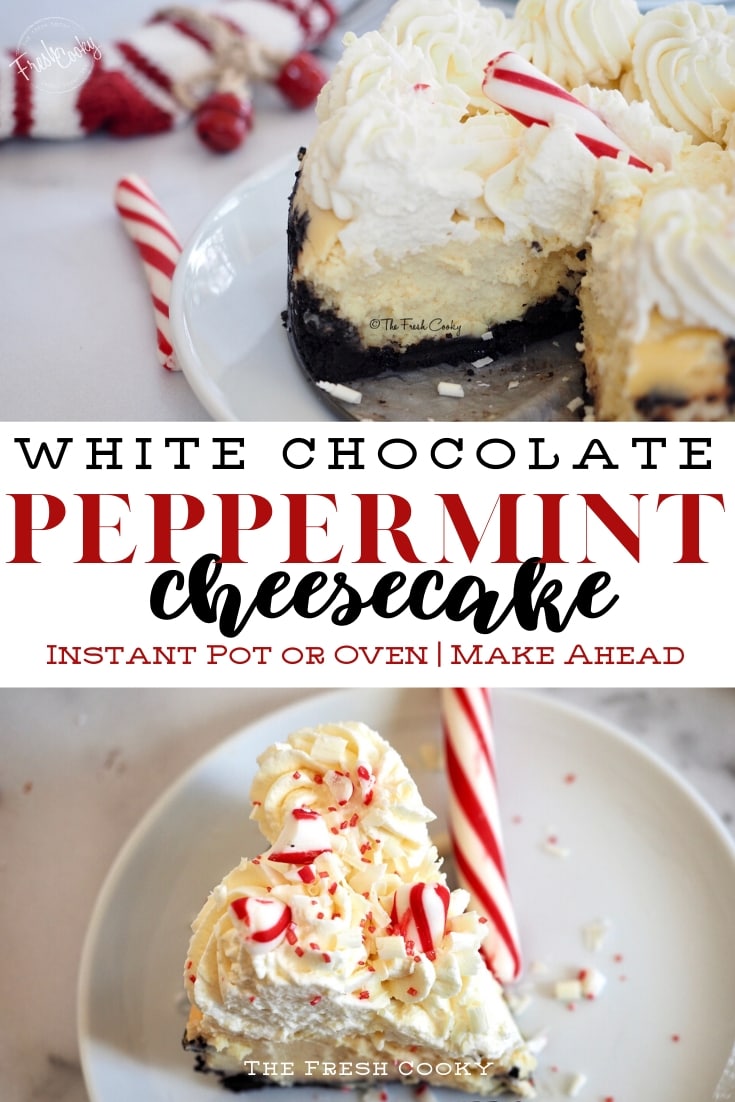
Make a special dessert this holiday season with this make ahead, White Chocolate Peppermint Cheesecake. It is so creamy and festive, loaded with white chocolate and the flavor of the season, peppermint all nestled into an chocolate cookie crust.
Have you ever tried making a cheesecake in your Instant Pot? Making this cheesecake has locked in my love of Instant Pots! I was visiting a friend and she made a similar cheesecake in her Instant Pot and I was AMAZED! So creamy, so easy, so hands off! Plus I’ll give you the cooking times for high altitude as well as sea level.
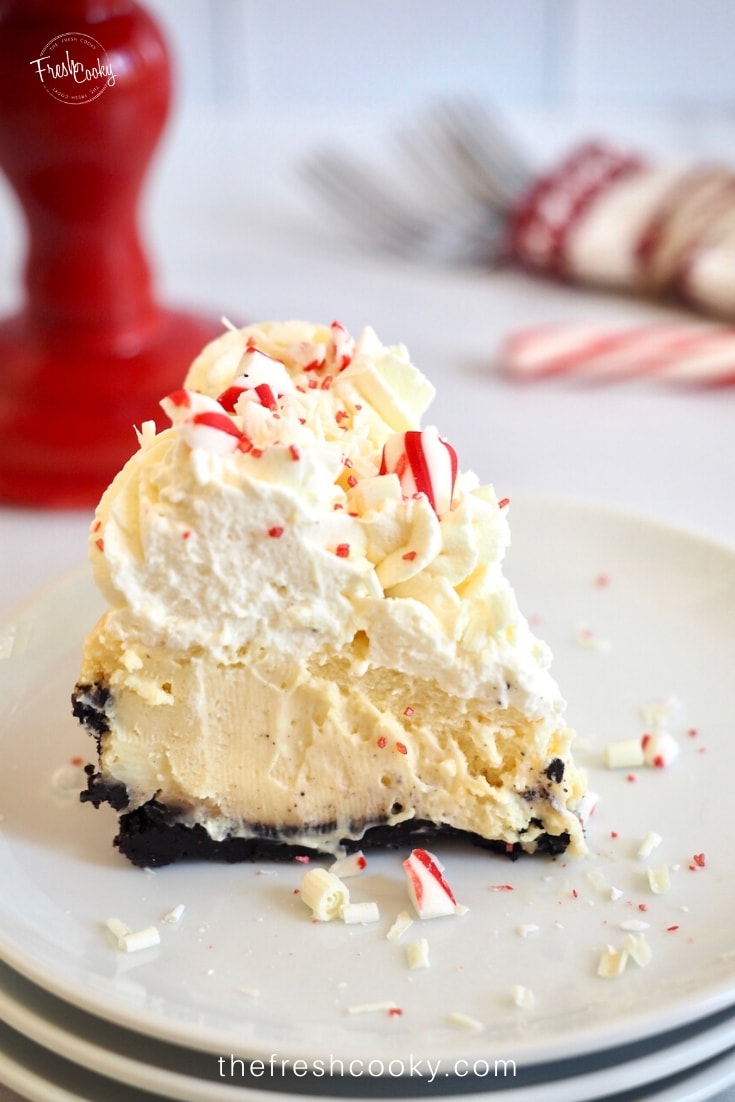
I have never been a huge cheesecake fan, I think it has been the texture, but somehow the process of cooking in a pressure cooker makes this cheesecake so delectable and delicious! I am sold!
Recommended Tools for White Chocolate Peppermint Cheesecake
- If not using a stand mixer, then a good mixing bowl and handheld mixer.
- 7 inch springform (leakproof) pan
- All Natural Peppermint Flavor or Extract (but use more!)
- White Chocolate Chips (use a good quality white chocolate)
- 6 qt Instant Pot or Pressure Cooker with trivet
- Food Processor or sturdy freezer bag and rolling pin
- Piping Bags and Decorator Tips (optional)
- White Chocolate Curls and Peppermint Candy (my favorites)
I hope you will try it in your Instant Pot, however, I do provide oven instructions on the recipe card at the end of the post.
This recipe will overflow a 7″ pan, you want the filling to come a little below the rim of the pan, by about ¼ inch. I used the extra filling making some mini cheesecakes in a muffin tin, see instructions below.
Make Mini White Chocolate Peppermint Cheesecakes
If you find you have a lot of filling left over, have no fear mini cheesecakes are here!
- Place cupcake liners in a muffin tin, mine made 6 additional cheesecakes.
- Add a whole cookie to the bottom, then pour or scoop cheesecake filling over the cookie until just barely at the top of the tin.
- Bake at 325 for 15-20 minutes, until only slightly jiggly in the center.
- Set pan on wire rack, cooling for 30 minutes, then transfer to fridge for at least 2 hours.
- They will sink a bit in the middle, but you will never notice since you will top them with whipped cream!
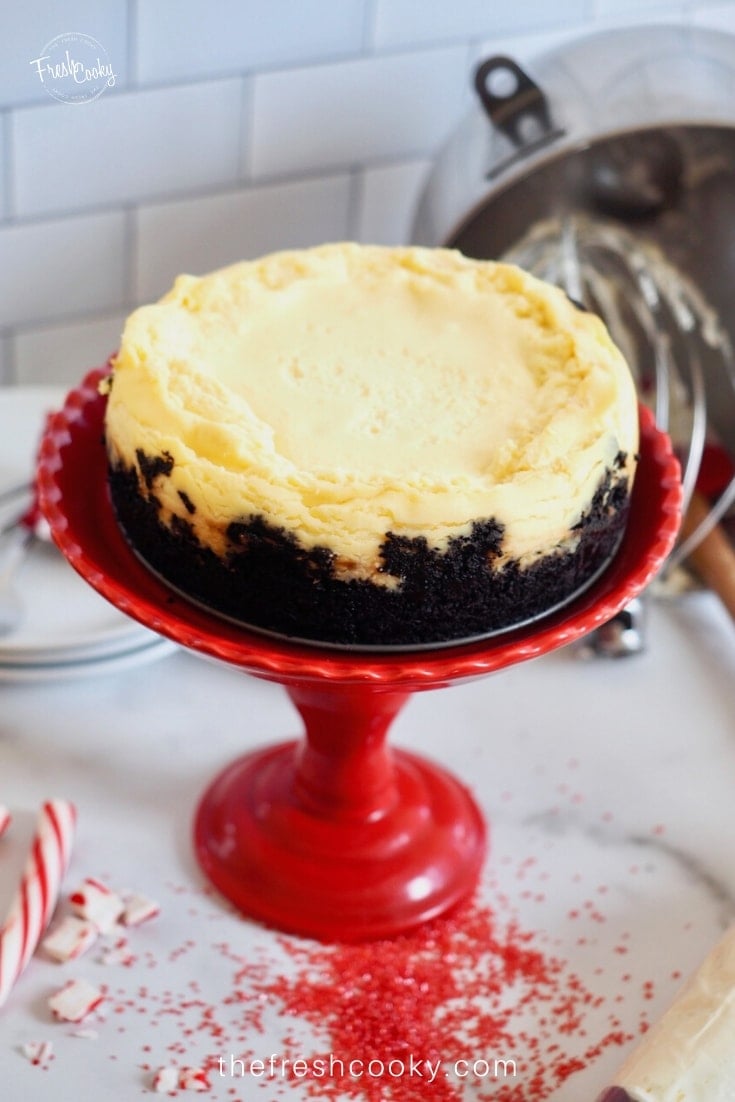
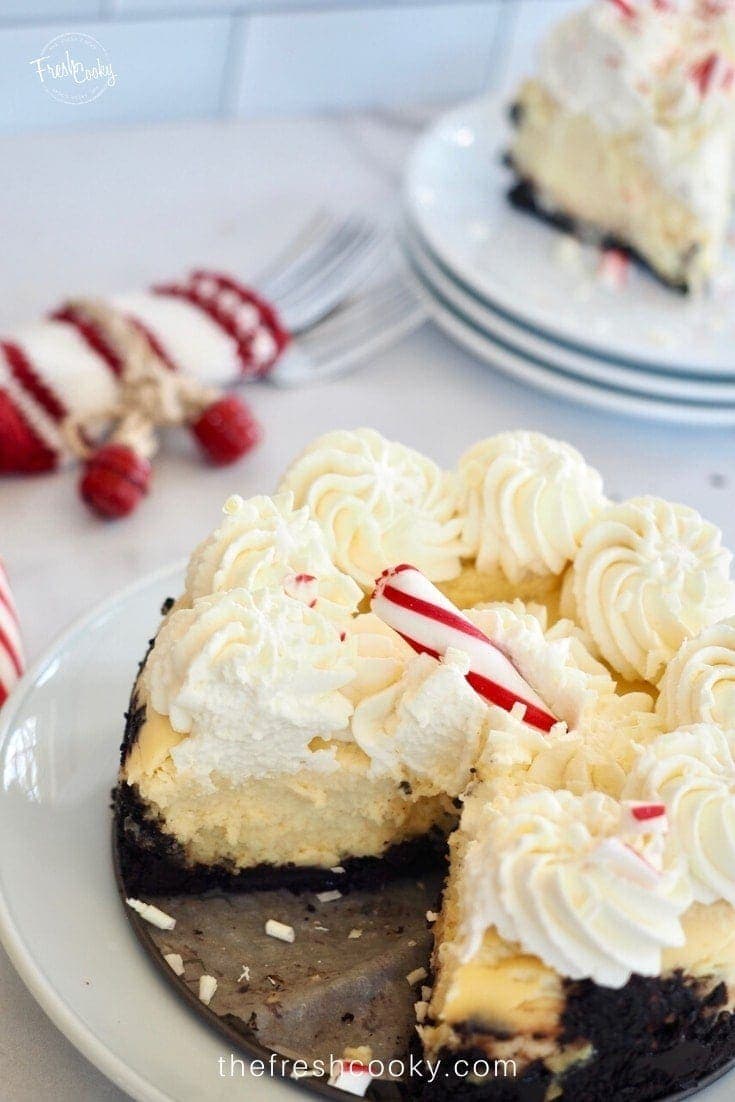
It might look dry and cracked, but honestly, using a warm butter knife you can smooth those cracks right out, but this cake is ANYTHING but dry and once you pipe on your whipped cream, nobody will notice anyway!

Can I make this Cheesecake Gluten Free?
Yes, and so easily! If making the entire cheesecake gluten free I would use Gluten Free Sandwich Cookies for the crust. If you just need to make a few, follow the instructions for making the mini cheesecakes, omitting the cookie in the bottom of the cupcake liner AND replace the flour in the filling with a good AP Gluten Free flour.
Extracts vs. Flavorings (or oils)
What’s the difference? Extracts are usually made by literally extracting the flavor of the source ingredient into a liquid base, usually alcohol. For instance, pure vanilla extract is usually made by “brewing” vanilla beans in alcohol for an extended period of time. Try my bourbon vanilla!
On the other hand, flavoring oils or flavors, are the essential oil squeezed from the ingredient itself, yielding a much more concentrated and intense flavor. Typically much more pure.
We tend to use extracts in our everyday baking where the flavor is playing a supporting, rather than a starring, role. The oils like I’ve used here are really fantastic when you want that specific flavor to really shine through. Source
Give these other holiday treats a chance as well!
- Pan Banging Sugar Cookies
- Pan Banging Giant Chocolate Chip Cookies (ever tried pan-banging?)
- Chocolate Peppermint Ice Cream Cake
Like this recipe?
Don’t forget to give it a ⭐️⭐️⭐️⭐️⭐️ star rating and leave a comment below the recipe!
White Chocolate Peppermint Cheesecake (Instant Pot or Oven)
Equipment
Ingredients
Cookie Crust
- 1 ½ cups crushed Organic Newman O’s or other sandwich cookie about ½ a package
- 3 tablespoons butter melted
White Chocolate Peppermint Cheesecake Filling
- 2 8 ounce packages cream cheese full fat, at room temperature
- ½ cup all natural cane sugar
- ½ cup white chocolate chips melted and cooled slightly
- ¼ teaspoon peppermint flavor oil or ½ teaspoon peppermint extract
- ½ cup greek plain yogurt
- 2 tablespoons all purpose flour replace with AP Gluten Free Flour
- 2 teaspoons vanilla extract
- 3 large eggs at room temperature
Whipped Cream Garnish
- 2 cups organic heavy cream
- ¼ cup powdered sugar
- 1 teaspoon vanilla extract
- ⅛ teaspoon peppermint flavor if desired
Instructions
- For the Cookie CrustStart by tracing your pan bottom on a piece of parchment paper and cutting out the circle, this will make it easier to transfer.
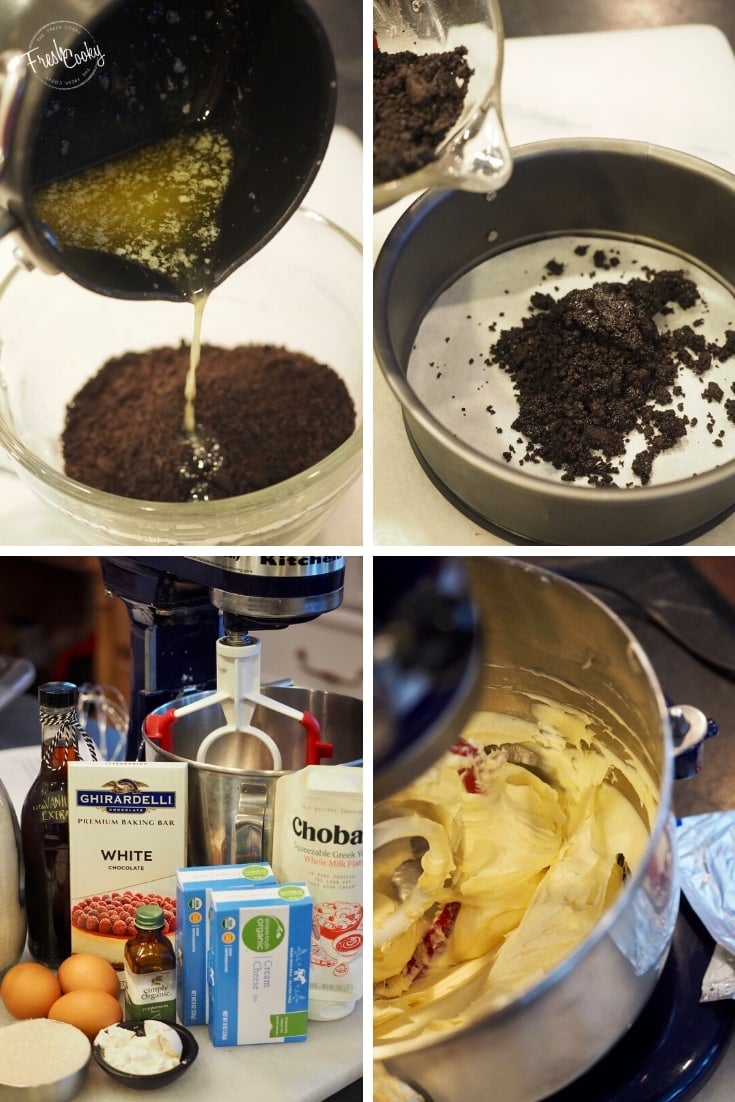
- In a food processor pulse cookies until crushed, some larger chunks are okay. Stir in melted butter and mix to combine.
- Press into bottom of springform pan, using a piece of wax paper or parchment until even and pressed partially up sides of pan. Place in freezer, while you prepare the filling.
- White Chocolate Peppermint Cheesecake FillingMeasure white chocolate chips into a microwave safe bowl, heating in 30 second increments, stirring after each heating until melted. Set aside to cool for 5-10 minutes.
- In the bowl of a stand mixer or mixing bowl, whip the cream cheese and all natural sugar until very smooth. With the mixer on low, slowly pour in cooled, melted white chocolate and the peppermint oil (or extract) until smooth and combined.
- Mix in yogurt, vanilla, and flour and mix until just smooth again, scraping sides of bowl if needed. Add eggs, one at a time, mixing on low and scraping bowl as needed. But be careful not to over whip.
- Baking the Cheesecake (Instant Pot or Oven)Add 1 cup water to the pressure cooker pot and place trivet inside. Remove cookie crust from freezer and pour cheesecake mixture into crust until just reaches below the rim, you may have leftover cheesecake filling (see notes for leftover mixture to make mini cheesecakes).
- Cover cheesecake with tinfoil to prevent moisture from dripping on to the cheesecake. Carefully lower cheesecake onto trivet in pressure cooker. Secure the lid and turn pressure release knob to seal position. Cook at high pressure for 40 minutes. 50 minutes for high altitude.
- Once complete, use a 10 minute natural release, then release any remaining pressure in Instant Pot. Carefully using the trivet handles remove the cheesecake from the pressure cooker and allow to cool on wire rack 10 minutes. Refrigerate cheesecake for at least 4 hours or even better, overnight, covering cake once it has cooled completely.
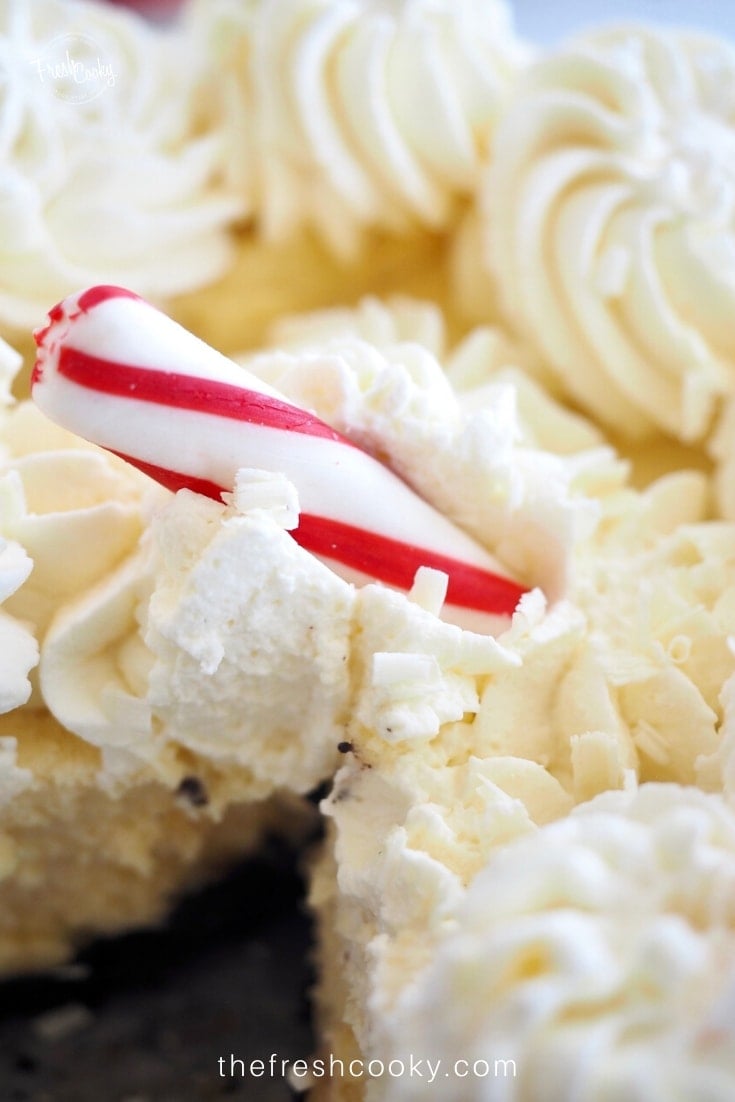
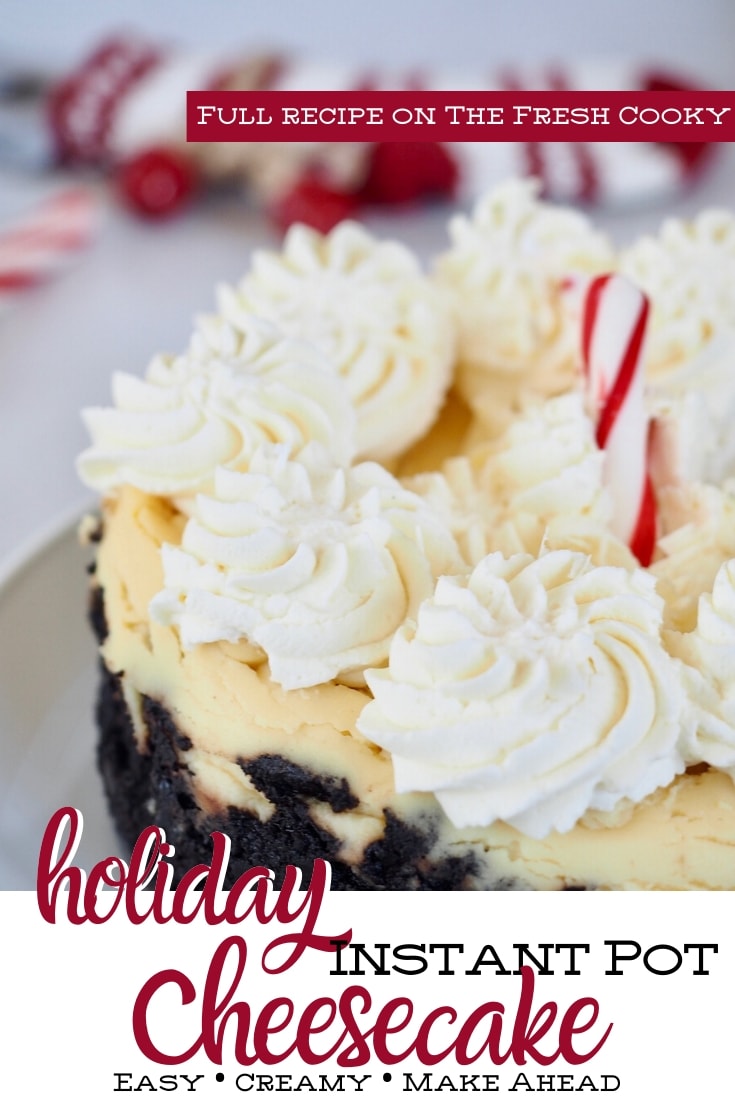
- Once chilled, top with whipped cream and decorate if desired with white chocolate curls and crushed peppermint candy.
- Oven Instructions | Preheat oven to 325° and place a 9×13 pan on the bottom rack of your oven filled halfway with water.
- Bake in an 8″ springform pan for 1 hour and 20 minutes. You can also use a 9″-10" pan and bake for 1 hour and 5 minutes, add more minutes if needed. Cheesecake center should jiggle slightly when moved.
- Once baked, turn the oven off, open the door and stick a wooden spoon in it to leave it slightly open. Leave the cheesecake in the oven in these conditions for 1 hour.
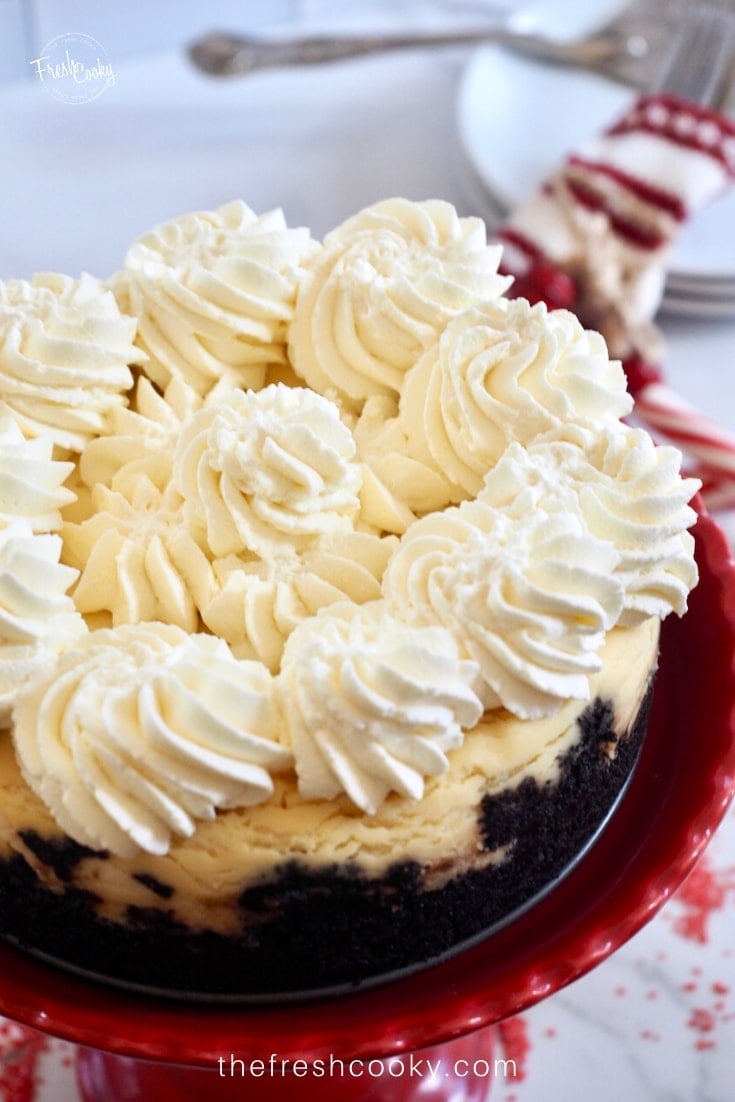
- Whipping Cream In the bowl of a stand mixer, with the whisk attachment, pour in heavy cream, powdered sugar, vanilla and peppermint. Whip until thick and stiff peaks form. Scoop into piping bags fitting with piping tip of choice, I used Wilton #88 open star tip. Keep refrigerated until ready to decorate. TIP | to make whipped cream that holds it shape, whip slightly longer than normal until very thick, almost butter texture.
- Gluten Free OptionUse a package of Gluten Free Chocolate sandwich cookies in place of regular cookies and replace the regular all purpose flour with all purpose gluten free flour.
Notes
Making Mini Cheesecakes with Leftover Filling
- Place cupcake liners in a muffin tin, mine made 6 additional cheesecakes.
- Add a whole cookie to the bottom, then pour or scoop cheesecake filling over the cookie until just barely at the top of the tin.
- Bake at 325° F. for 15-20 minutes, until only slightly jiggly in the center.
- Set pan on wire rack, cooling for 30 minutes, then transfer to fridge for at least 2 hours.
- They will sink a bit in the middle, but you will never notice since you will top them with whipped cream!
Nutrition


Chrissy
Love this recipe!! I helped my son make it once, and I was very worried that it wasn’t cooked all the way through after 40 minutes. Refrigerating overnight helped immensely. I made a second one, and increased the cook time to 45 minutes, and this worked much better for us. I wish you had a recipe for a chocolate peanut butter instapot cheesecake.
Great info on the extra time Chrissy! Just like ovens every appliance heats a bit different! Glad to know 45 worked better!
I’ll have to look into a chocolate peanut butter cheesecake! Yum!
Erin
This looks amazing! How far ahead do you think this could be made?
At least several days Erin! When I originally made it it was for my book club and we had a snowstorm, I served it 5 days later and it was still good. 3 days is probably about the most, with 24 hours being optimal. Let me know how it goes!
Roy Scott
Can I just go with two eggs to make it denser ?
It’s pretty darn dense to begin with, but yes Roy, you may use 2 eggs, let me know how it turns out.
Kathy
that cheesecake looks so creamy!! I have to try this recipe!
Rachelle
This looks delicious! Thanks for adding on the GF instructions.
You are welcome Rachelle! I have family and quite a few friends who are GF, so I try and do that when I can!
Lynn Spencer
I have not considered making a cheesecake in my Instant Pot! But of course, your recipe is encouraging me to do just that! What a fun and festive dessert! Thanks for the inspiration my friend.
Hugs,
Lynn
I wouldn’t have believed it, if I didn’t see it! No water bath, takes the guesswork out of the recipe! Thanks Lynn!
Cherryl Ehlenburg
This looks delicious, and I love how beautifully you decorated the top!
Thank you Cherryl! Amazing how piping on your whipped cream can take it from plain to fancy in seconds!