


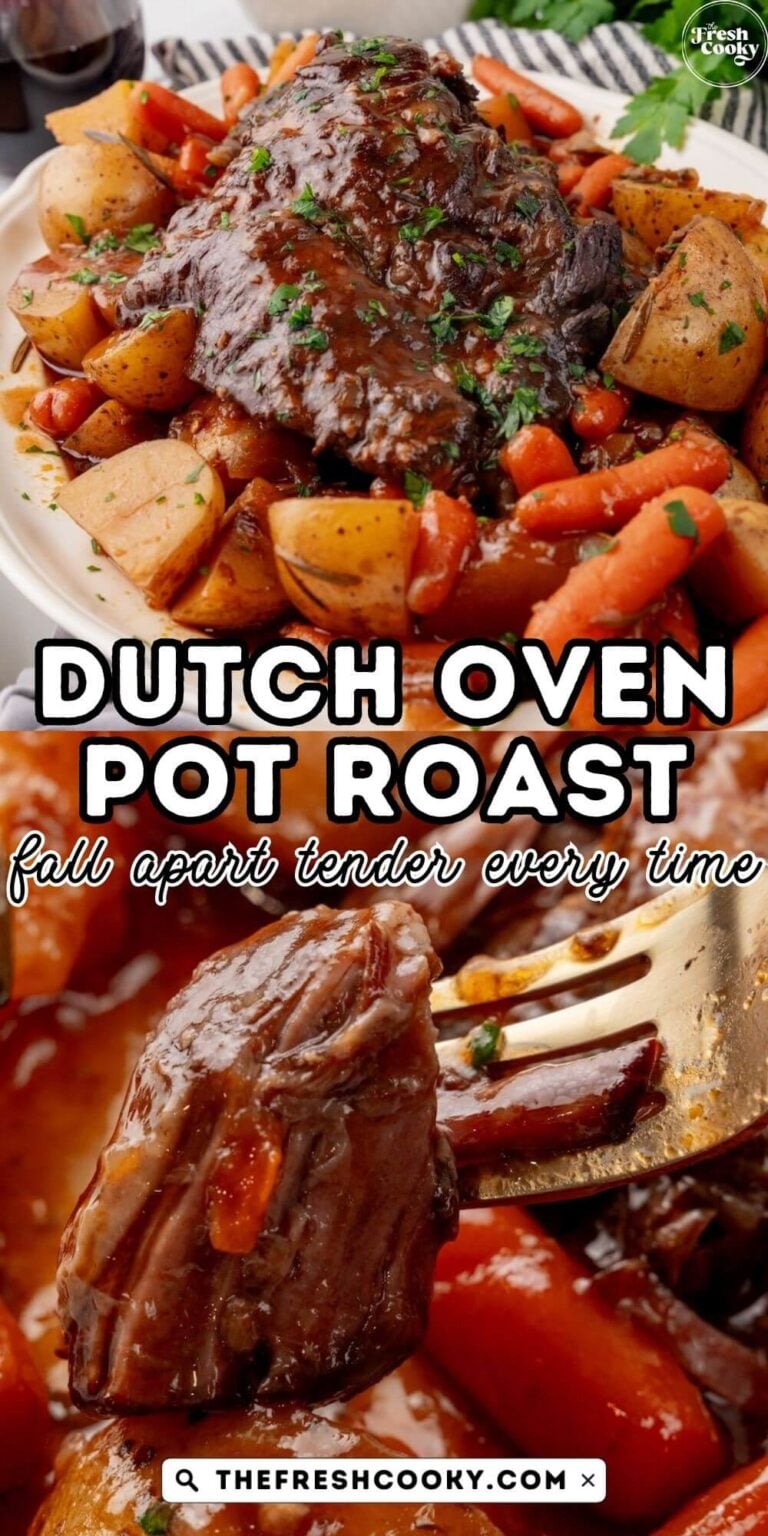
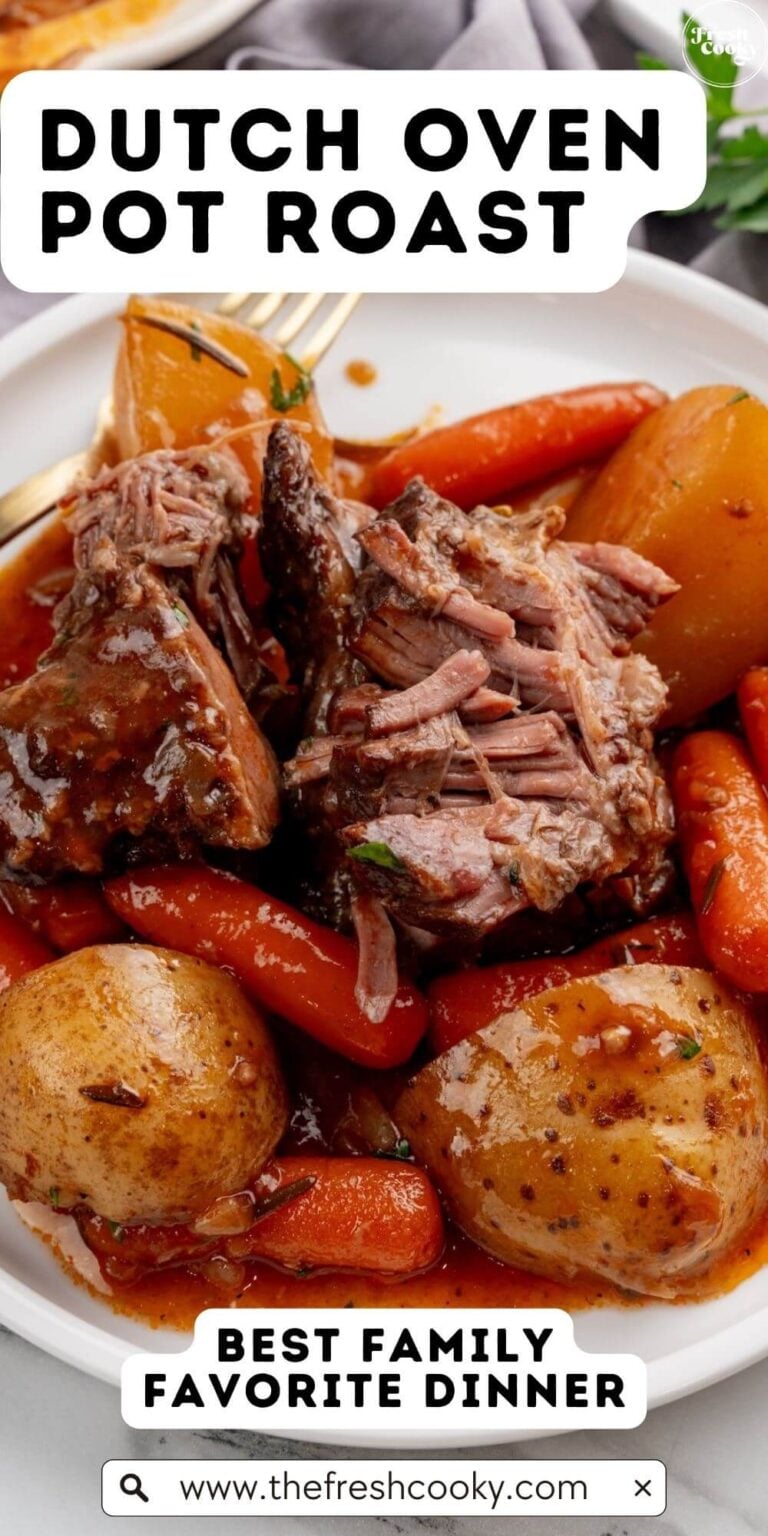
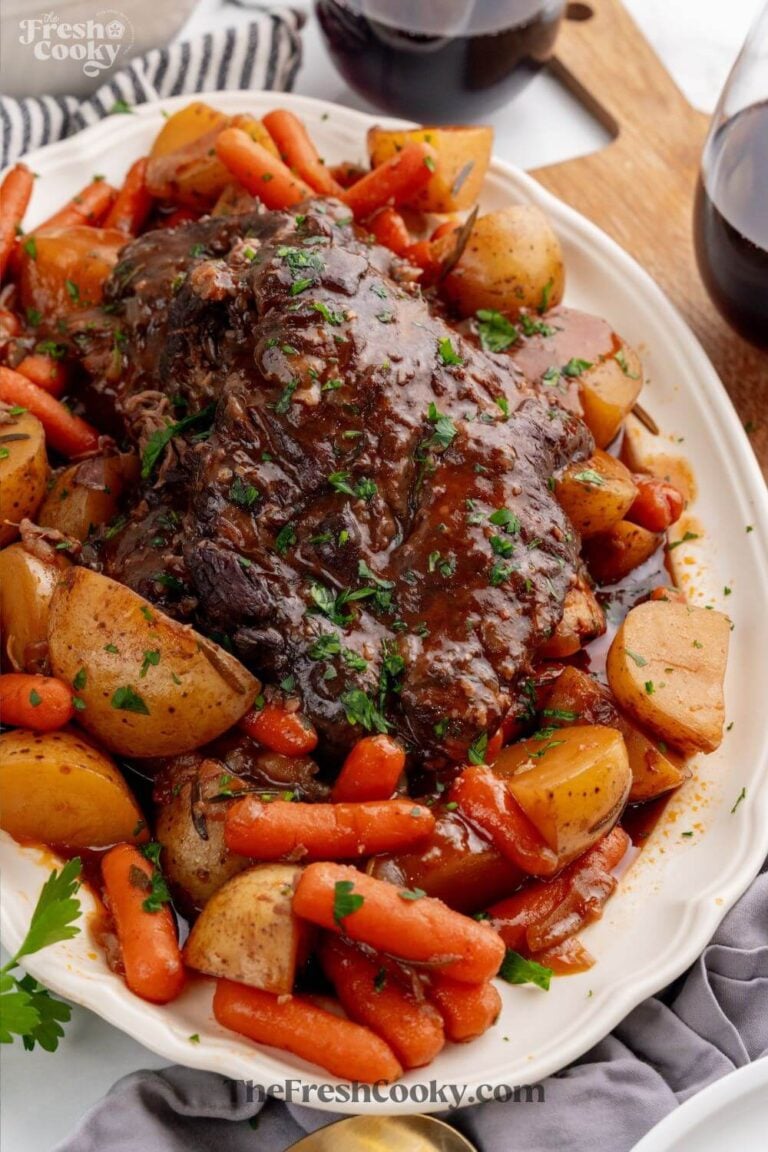
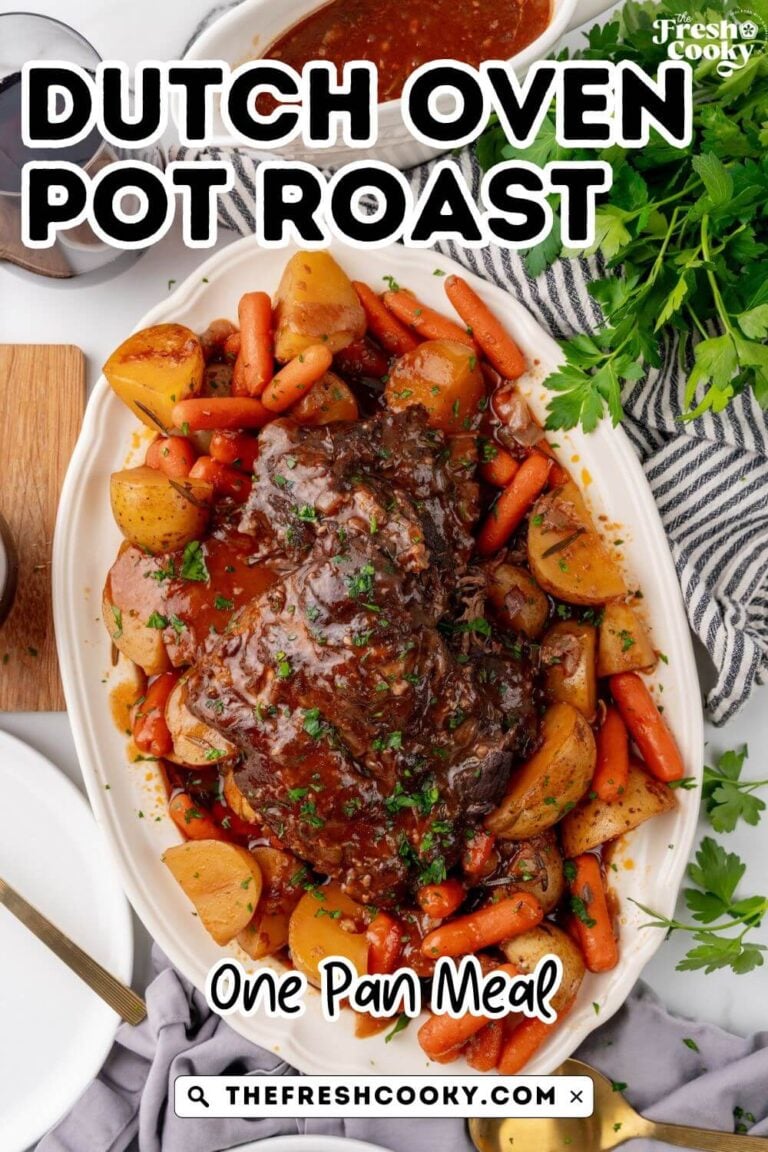
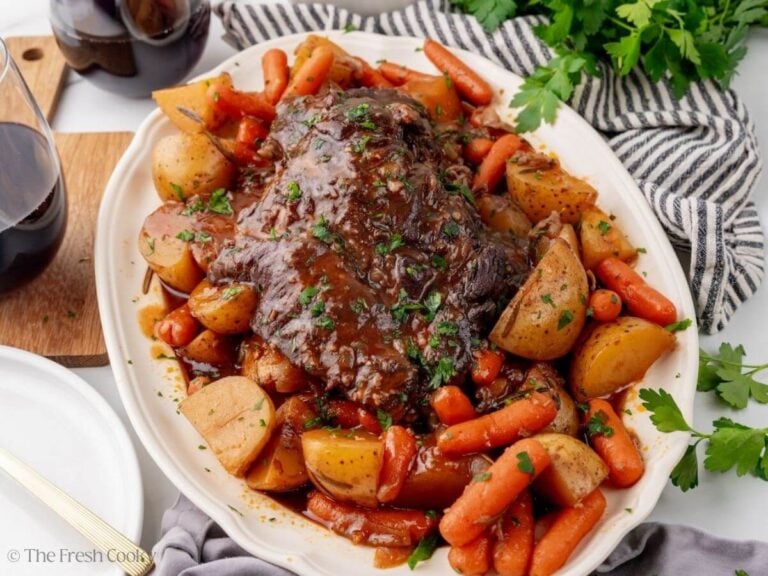
When the cold weather months come around, this Dutch Oven Pot Roast is one of the first requested recipes by my husband and boys. It’s a one-pot meal with minimal prep time (30 minutes) and includes delicious root vegetables for a cozy dinner that tastes so gourmet with hardly any effort.
A Pot Roast Worth Coming Home To
Growing up, pot roast night was a big deal at our house. My mom was serious about hers, the kind of cook who knew exactly when to pop it in the oven so dinner was waiting the minute we all came through the door. We bellied up to the table those nights, no argument. She had this old harvest gold Dutch oven she eventually passed down to me, and I cooked in that thing for years until it started flaking. Sad day! But the memories that came out of that pot? Those are mine to keep.

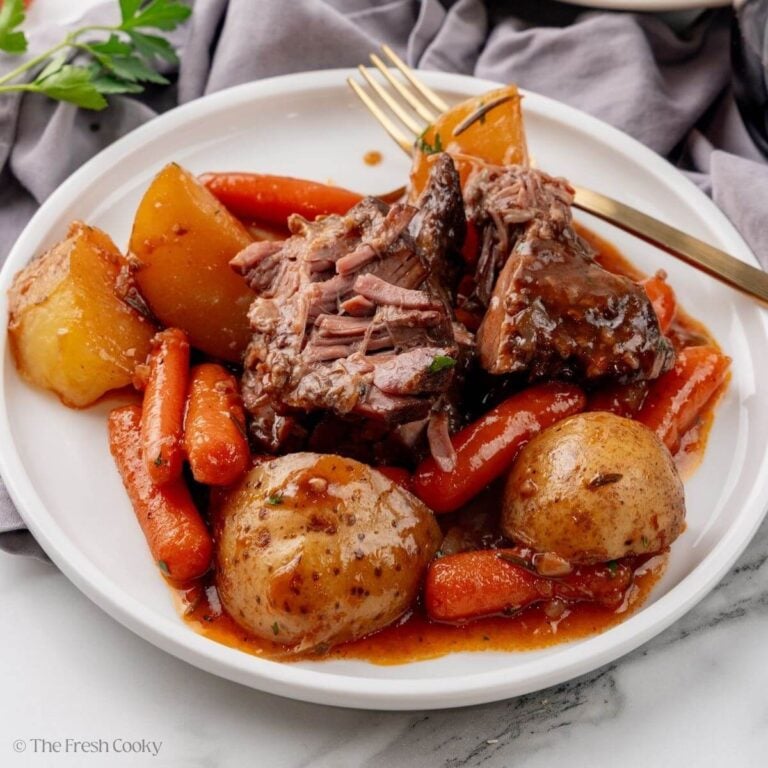
Sunday pot roast was part of our rhythm, especially on church days. Pop it in before you leave and come home to the whole house smelling incredible, dinner basically done. Now that we’re in Colorado, there is nothing better on a cold, chilly winter day than walking in to that smell. My husband and boys have requested this recipe more times than I can count, and it never gets old: chuck roast seared until deeply golden, braised low and slow in red wine until it’s buttery, fork-tender, then served over mashed potatoes or alongside thick slices of homemade bread to catch every drop of that rich braising liquid. It’s truly a home-cooked meal that’s better than going out. If you love a good beef recipe, our Mississippi Pot Roast and Classic Beef Stew are two more that are wildly popular around here!

Why You’ll Love this Dutch Oven Roast
- Hearty one-pot meal the whole family will love. There’s minimal equipment and minimal cleanup for this delicious recipe!
- Great for serving a crowd or for meal prepping. I love to make this Dutch oven beef chuck roast for a dinner party since it can feed lots of people easily. It’s also ideal to make for a Sunday dinner and enjoy as leftovers for lunch and dinner throughout the week (the flavors get even better!).
- A restaurant-quality recipe that’s simple to make at home. There’s no need to be intimidated; this style of pot roast in the oven is quick to prep and then the oven does the rest of the cooking for you.
Why Use a Dutch Oven?
Nothing else does what a large Dutch oven does, at least not all at once.
The heavy cast iron construction holds heat like nothing else. Once it gets hot, it stays hot, even when you open the lid to add vegetables halfway through. That matters a lot for braising because you want the beef surrounded by gentle, consistent heat for the full cook, not just heat from the bottom of the pot.
It’s also the best tool for searing. The thick base gets ripping hot and STAYS hot when you add a cold piece of meat, so you get that deep, golden-brown crust instead of gray, steamed beef. That crust is flavor, full stop, and it’s non-negotiable for a great pot roast.
Finally, the tight-fitting lid creates a seal that keeps all that steam inside, which bastes the meat continuously as it cooks. That’s how you get fall-apart tender beef without it ever drying out. It’s basically the perfect tool for this recipe, which is exactly why my mom used one for decades and why I still do today.
Watch my video showing how easy this pot roast is
Dutch Oven Pot Roast Recipe Ingredient Notes
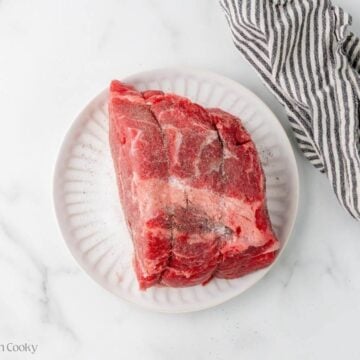
- Chuck roast: Buy a boneless chuck roast. Other options are also a rump roast, or blade roast. You want a well-marbled roast, the fat is what eventually (through slow cooking) makes it fall-apart tender! Remove your roast from the refrigerator and bring to room temperature about 30 minutes before searing.
- Avocado oil: Use a high-smoke-point oil like avocado oil, or your favorite oil, to sear and brown the chuck roast beautifully for extra flavor. You can use olive oil, but its smoke point isn’t as high.
- Yellow onions: Infuses the roast with sweet vegetable flavor.
- Garlic: Infuses every bite with a light garlic flavor, adding richness.
- Dry red wine: Use a wine that you would drink. If you prefer, you may substitute it with beef broth.
- Beef stock: Buy a high-quality brand for the richest flavor, and avoid the concentrated type, which is high in sodium.
- Tomato paste: Adds another layer of rich flavor that complements the beef so nicely.
- Worcestershire sauce: A little goes a long way, adds a nice hint of umami.
- Fresh thyme: Gives a warm herbal flavor with a hint of lemon. If you don’t have fresh, you can use 1 teaspoon of dried thyme.
- Fresh rosemary: Adds rich herbal flavor that’s cozy and makes this pot roast very flavorful or 1 teaspoon dried rosemary.
- Bay leaves: Just a couple add even more warm and lightly bitter flavors; try not to skip the herbs, they build the layer of flavor!
- Yukon gold potatoes: We love a waxy potato here so they don’t break down too much in the braise. You can also use baby potatoes uncut or quarter larger potatoes if needed.
- Baby carrots or whole carrots: Just be sure to cut the whole carrots into thirds so they cook until tender in the pot roast.
- Flat leaf Italian parsley: A bright herb garnish that also adds a hint of fresh flavor.
Get the full recipe in the recipe card below.

Kathleen’s Tip: If you need to thicken your sauce, make a slurry of cornstarch and water mixed together. Adding this to the cooking liquid and simmering for a couple of extra minutes will thicken it into a gravy to the perfect glaze-like consistency that’s restaurant-quality and so delicious.
How to Make Pot Roast in Dutch Oven
Step 1 – Preheat the oven
Preheat oven to 275°F (135°C) – 300°F (150°C). If I make it earlier in the day, I tend to lower the temp so it cooks a little slower; remember, low and slow is the name of the game here!
Step 2 – Sear the roast
In a large 6–8 quart Dutch Oven, heat oil over medium-high heat (you want the pan HOT, without the oil smoking). Go ahead and turn on your exhaust now, you will have smoke once you add the meat! Meanwhile, pat your chuck roast dry with paper towels and generously season it with kosher salt and black pepper on all sides, giving it a little rub as you do.
Carefully lower the beef into the hot oil in the Dutch oven (I like using a heavy-duty fork for this; it’s less likely to slip) and, without moving it, sear the beef for 4–6 minutes per side. Note: You don’t have to sear the sides of the beef, but you can if you’d like! 1-2 minutes per side.
Once seared, remove to a plate, but don’t wipe or clean that pot- no-no, that’s the flavor building.


Step 3 – Sauté onions and garlic
Reduce heat to medium then add the onions, stirring occasionally with a wooden spoon until golden, about 3–5 minutes. Heating should release some moisture in the onions, but if needed, add a teaspoon or two of oil, butter or broth to the pan to prevent it from drying out. During the last minute of cooking, toss in the garlic and stir until fragrant.


Step 4 – Deglaze the pan
Increase the heat slightly, then pour the wine into the pan, scraping the bottom of the pan to release the brown bits; this is called deglazing. Simmer until reduced by about half, but not totally evaporated.


Step 5 – Add liquids and herbs
Pour in 2 cups of beef stock, Worcestershire sauce, tomato paste, fresh thyme, rosemary, and bay leaves. Stir to combine and bring to a low simmer.
Kathleen’s Tip: This recipe is naturally gluten-free, make sure your Worcestershire sauce is gluten-free along with your broth. Lee & Perrins (US only) is gluten-free!


Step 6 – Begin the Braise
Return the meat to the pot, including any accumulated juices. The liquid should come to about halfway up the meat; if not, add a little more beef broth. Place the lid on, cooking for 2 hours without peeking.

Step 7 – Add vegetables and continue cooking
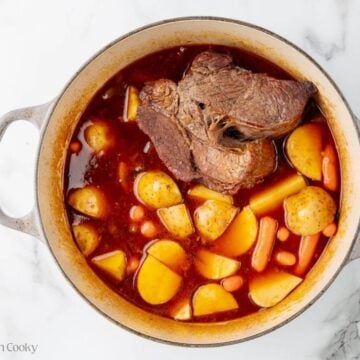
Remove from oven and close door. Add carrots and potatoes (cut into equal chunks) to the pot carefully, tucking them into the liquid. This is a great time to add liquid if needed. Cover, return to the oven, and cook for another 1 ½–2 hours until the meat falls apart.
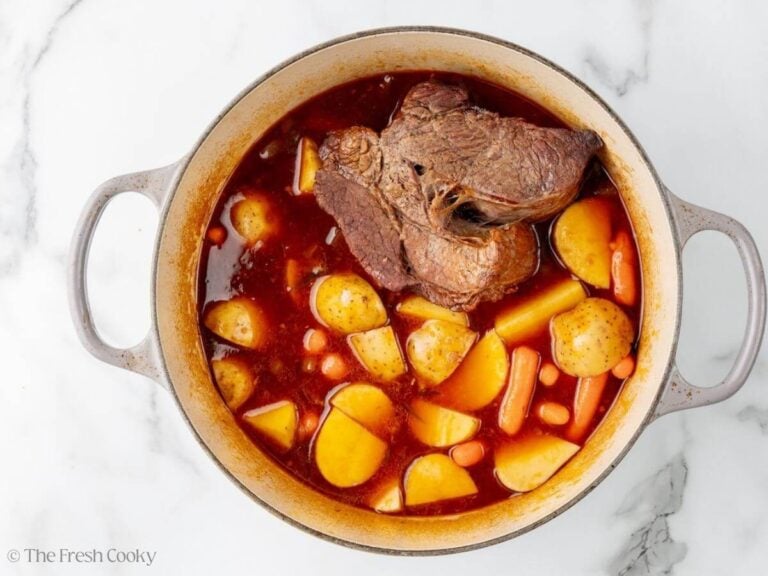
Pro Tip: If your meat is still tough and not falling apart, cook it for another 30 minutes, making sure it has plenty of liquid.
Step 8 – Make the gravy (optional)
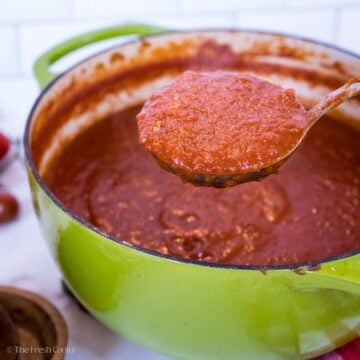
If you desire a thicker gravy, remove the roast and vegetables to a covered platter. I use a spider or a large slotted spoon to make it easier, don’t worry, that meat should fall apart on you.
Over medium-low heat, bring the liquid to a simmer. Mix the tablespoon of cornstarch and cold water in a small bowl (this is called a slurry). While whisking, slowly pour it into the gravy to thicken. Serve poured over the pot roast and veggies.


How to Make Pot Roast in a Slow Cooker or Instant Pot
Slow Cooker Instructions
Complete Steps 1 through 5 exactly as written above: sear the roast, sauté the onions and garlic, deglaze with the wine, and add your liquids and herbs. Then transfer everything to your slow cooker, making sure the liquid comes about halfway up the sides of the roast. Add a splash more beef broth if needed.
Cook on LOW for 8-10 hours or HIGH for 4-5 hours. Add your potatoes and carrots about 1 to 1.5 hours before it’s done so they stay tender without going mushy. The roast is ready when it pulls apart easily with two forks. For a thicker gravy, pull the liquid out and use the cornstarch slurry from Step 8.
Instant Pot Instructions
Set your Instant Pot to Sauté. Season and sear the chuck roast on all sides, 3-4 minutes per side, until deeply golden. Don’t rush it! Add the onions and garlic and cook for another 2 minutes, then pour in the red wine to deglaze, scraping up all those brown bits from the bottom of the pot.
Add the beef stock, Worcestershire sauce, tomato paste, fresh thyme, rosemary, and bay leaves. Tuck the potatoes and carrots around the roast. Switch to Pressure Cook on HIGH: 60 minutes for a 3-pound roast, 75-80 minutes for a 4-5 pound roast. Make sure your vent is sealed.
When the time is up, let it naturally release for 10 minutes, then carefully switch to quick release until the float valve drops. Transfer the roast and vegetables to a platter and shred. For gravy, set the pot back to Sauté, bring the liquid to a simmer, and whisk in the cornstarch slurry until thickened.
Kathleen’s Tip: If you’re using baby carrots (like I do!), they’ll cook much faster than large carrot chunks. To keep them from turning to mush, reduce your pressure cook time by 10 minutes, then do a quick release, add the baby carrots, seal it back up, and pressure cook for 10 more minutes. Same great result without sad, soggy carrots.
Expert Tips for the Best Dutch Oven Chuck Roast
- For a perfect sear, preheat the skillet and pat the meat dry! The secret to a great sear is a hot pan and dry meat! Pat your beef dry with paper towels before searing. Wet meat steams when it hits a hot pan. You want a dark, golden, crispy sear on all sides of the chuck roast for maximum flavor.
- Don’t skip the deglazing step. It’s so important to scrape up the browned bits of flavor off the bottom of the Dutch oven after searing the beef and browning the onions. It’s where all the flavor is!
- Fresh herbs are best! I provide substitutions for fresh herbs, but your pot roast will be so much more flavorful if you use fresh herbs.
- Swap the potatoes. Red potatoes or any waxy potato also work great in this recipe. If using baby or fingerling potatoes, no need to cut them. Russets tend to fall apart during the cooking process so it’s best to avoid.
- Make sure you cut all of your vegetables about the same size. This allows them to cook at an even rate so that nothing is under or overcooked.
- Use a dry red wine or swap it for beef broth if you prefer. The alcohol cooks out completely, leaving just the rich depth of flavor behind. I almost always reach for a Cabernet Sauvignon; it’s what I drink, and it’s what I cook with, but any dry red you love will work beautifully here. Pinot Noir and Merlot are both great options too.
- Low-Carb: To make this pot roast lower-carb, simply skip the potatoes and reduce the carrots, then swap in hearty vegetables like rutabagas, turnips, radishes, mushrooms, or celery. These veggies cook up tender, soak in flavor, and keep that classic comfort-food feel without the extra carbs. For the gravy, let it naturally reduce or thicken lightly without cornstarch or use ¼ teaspoon xantham gum whisked in place of cornstarch. Serve with mashed or riced cauliflower or roasted veggies.

Dutch Oven Roast Variations
The beauty of a pot roast is there are so many ways to cook it depending on your likes or what you already have at home. Here are some other ways we’ve made it before that are also so delicious:
- Add some mushrooms. Sliced baby bella or white are great. Add them in with the onions.
- Make it an Italian-style pot roast. Add Italian seasoning and extra garlic and finish with fresh basil.
- Swap the red wine for beer. This is a rich flavor when tailgating. Replace wine with dark beer or stout, it’s similar to my beef stew!
- We love how rich the vegetables turn out in this recipe. Try adding other root veggies like parsnips or turnips with potatoes and carrots for more variety.
- If you’re in a pinch, make it “onion soup” pot roast. Add a packet of onion soup mix. If you do so, then reduce the added salt since there’s already some in the spice mix.
What to Serve with Dutch Oven Roast
This is already a full meal right in the pot: beef, carrots, potatoes, and that gorgeous braising liquid. But if you want to go all out (and sometimes you absolutely should), here’s what we love alongside it:
- Bread for sopping up that gravy. You need something to drag through those drippings. My Texas Roadhouse Rolls are impossibly soft, my Easy Yeast Rolls are a longtime reader favorite, and if you’re short on time, my No Yeast Bread comes together fast and tastes so good with pot roast.
- Creamy mashed potatoes. I know, I know, the pot roast already has potatoes in it! Whether you’re skipping the potatoes in the braise or just want to go all out, my Stovetop Mashed Potatoes are the perfect landing spot for all that rich gravy.
- Apple crisp for dessert. If you’re making a whole Sunday dinner, you might as well commit. My Classic Apple Crisp is the most all-American finish to this meal. Pot roast, rolls, crisp. That’s the dream right there.
How to Store & Reheat Pot Roast
Leftovers are honestly almost better the next day. The flavors deepen overnight and the meat gets even more tender. Store beef and veggies in an airtight container in the fridge for 3 to 4 days. Freeze cooled meat with gravy (skip the potatoes, they don’t freeze well) for up to 3 months.
Stovetop (best method): Add the beef and vegetables to a saucepan with a good splash of the braising liquid or beef broth. Cover and warm over medium-low heat, stirring occasionally, until heated through, about 10 to 15 minutes.
Oven: Place everything in an oven-safe dish, add a splash of broth, and cover tightly with foil. Warm at 325°F for 20 to 30 minutes. Don’t skip the foil or the broth or your beautiful braised beef will dry right out.
Microwave: Fastest option, but overheating can toughen the meat. Cover with a damp paper towel, add a spoonful of gravy over the top, and reheat in 60-second increments on medium power.
Night two, make a Pot Roast Stuffed Spud: Black Eyed Pea restaurant used to do this and called it exactly that, and the name has lived rent-free in my head ever since. Split a big russet, pile on the shredded beef and a ladle of that rich gravy, top with sour cream and chives. That’s a whole meal right there, and honestly? Arguably better than night one. You can also toss the shredded beef and gravy through egg noodles or pasta for a completely different dinner. The gravy is basically a built-in sauce. Don’t waste a drop.

Dutch Oven Pot Roast FAQs
No, it should only cover half of the roast for the braise. This will help it to cook evenly until it’s buttery tender. The top will also brown nicely for an even richer flavor.
Chuck roast, and it’s not really close. It’s well-marbled with fat that slowly melts into the meat during the long braise, which is exactly what gives pot roast its fall-apart, buttery texture rather than something dry and stringy. A boneless chuck roast in the 3-4 pound range is what I use every single time.
A rump roast or blade roast will also work if that’s what you have. They’re a bit leaner than chuck, so they won’t be quite as rich, but with enough time in the oven they’ll still come out tender. Whatever cut you go with, look for good marbling throughout. Those little veins of fat running through the meat are doing a lot of the work here.
A 6 to 8 quart Dutch oven is the sweet spot for this recipe. You need enough room to fit a 3-4 pound roast AND have the liquid come about halfway up the sides of the meat — that’s what makes it a proper braise. Go too small and you’re crowding everything and losing that braising effect. I use a 7-quart oval and it’s perfect; round works too, but oval tends to cradle a roast more naturally. A good Dutch oven is expensive, but it will last you a lifetime, maybe even your grandchildren’s!
This is because you didn’t cook it long enough. Continue braising it in the oven until it’s easy to shred with the prongs of a fork. Check after another 30 minutes and if it’s still tough, repeat the process again.
A Dutch oven is better because it lets the meat simmer until tender while browning the top for a nicer texture.
Add a small splash of beef broth, about 2 tablespoons, to the bottom of the Dutch oven and use a wooden spoon to scrape up those bits right away. This is actually exactly what you want: those brown bits are flavor gold, and getting them into the liquid is half of what makes this pot roast taste so rich. Just don’t let them blacken or they’ll turn bitter. Keep the heat at medium and keep an eye on it, especially during the onion step.
You can! Any heavy, oven-safe pot with a tight-fitting lid will work, like a deep braising pan or a casserole dish covered tightly with foil. You won’t get quite the same heat retention, so check it a bit earlier than the recipe says. For the searing step, make sure your pan is very hot before the meat goes in. That said, if you make pot roast even a few times a year, a Dutch oven is worth every penny. It is the single most-used pot in my kitchen, and that’s saying a lot.
Because they cook much faster than the beef, and if you add them at the start, they’ll be complete mush by the time the meat is done. The chuck roast needs a solid 2 hours before anything else goes in. Once it’s getting there, the carrots and potatoes join the party and come out perfectly tender without falling apart. Trust the timing on this one; it makes a real difference in the final dish.
More Comforting Beef Recipes
Like this recipe?
Don’t forget to give it a ⭐️⭐️⭐️⭐️⭐️ star rating and leave a comment below the recipe!
Video
Equipment
Ingredients
- 2 ½ – 4 pounds Chuck roast or rump roast, blade roast
- 1 ½ – 2 teaspoons kosher salt
- 1 teaspoon black pepper
- 2 tablespoons avocado oil or your favorite oil
- 2 medium onions cut in half and sliced
- 4-6 cloves garlic minced
- 1 cup red wine may sub with beef broth if desired
- 2-3 cups beef stock not concentrated, more if needed
- 2 tablespoons tomato paste
- 1 tablespoon Worcestershire sauce make sure it's gluten-free if you are concerned
- 3 sprigs fresh thyme or 1 teaspoon dried
- 3 sprigs fresh rosemary or 1 teaspoon dried rosemary
- 2 bay leaves
- 1- 1 ½ pounds Yukon gold potatoes if larger, quartered, or other waxy potatoes
- 1 pound baby carrots or or 6-8 whole carrots, peeled and cut into thirds
- Flat Leaf Italian Parsley for garnish
Optional Gravy Thickener
- 1 tablespoon cornstarch use ⅛- ¼ teaspoon xanthan gum if gluten-free or leave out
- 1 tablespoon water
Instructions
- Preheat oven to 275°F (135°C) – 300°F (150°C). If I make earlier in the day, I tend to lower the temp so it cooks a little slower; remember, low and slow is the name of the game here!
- In a large 6–8 quart Dutch Oven, heat oil over medium-high heat (you want the pan HOT, without the oil smoking). Go ahead and turn on your exhaust now, you will have smoke once you add the meat! Meanwhile, pat your chuck roast dry with paper towels and generously season it with kosher salt and black pepper on all sides, giving it a little rub as you do.2 ½ – 4 pounds Chuck roast, 1 ½ – 2 teaspoons kosher salt, 2 tablespoons avocado oil, 1 teaspoon black pepper

- Carefully lower the beef into the hot oil in the Dutch oven (I like using a heavy-duty fork for this; it’s less likely to slip) and, without moving it, sear the beef for 4–6 minutes per side. Note: You don’t have to sear the edges, but you can if you’d like!
- Once seared, remove to a plate, but don’t wipe or clean that pot- no-no, that’s the flavor building.
- Reduce heat to medium then add the onions, stirring occasionally with a wooden spoon until golden, about 3–5 minutes. If needed, add a teaspoon or two of oil or broth to the pan to prevent it from drying out. During the last minute of cooking, toss in the garlic and stir until fragrant.2 medium onions, 4-6 cloves garlic
- Increase the heat slightly, then pour the wine into the pan, scraping the bottom to release the brown bits; this is called deglazing. Simmer until reduced by about half, but not totally evaporated.1 cup red wine
- Pour in 2 cups of beef stock, Worcestershire sauce, tomato paste, fresh thyme, rosemary, and bay leaves. Stir to combine and bring to a low simmer.2-3 cups beef stock, 2 tablespoons tomato paste, 1 tablespoon Worcestershire sauce, 3 sprigs fresh thyme, 3 sprigs fresh rosemary, 2 bay leaves
- Return the meat to the pot, including any accumulated juices. The liquid should come to about halfway up the meat; if not, add a little more beef broth. Cover and place in the oven, cooking for 2 hours without peeking.
- Add vegetables and continue cooking: Remove from oven and close door. Add carrots and potatoes to the pot carefully, tucking them into the liquid. This is a great time to add liquid if needed. Cover, return to the oven, and cook for another 1 ½–2 hours until the meat falls apart. Note: If your meat is still tough and not falling apart, cook it for another 30 minutes, making sure it has plenty of liquid.1- 1 ½ pounds Yukon gold potatoes, 1 pound baby carrots
- Optional: Make the gravy: If you desire a thicker gravy, remove the roast and vegetables to a covered baking dish. I use a spider or a large slotted spoon to make it easier, don't worry, that meat should fall apart on you.1 tablespoon cornstarch, 1 tablespoon water
- Over medium-low heat, bring the liquid to a simmer. Mix the cornstarch and cold water in a small bowl (this is called a slurry). While whisking, slowly pour it into the gravy to thicken. Serve poured over the pot roast and veggies.Flat Leaf Italian Parsley




Notes
Store leftover pot roast and vegetables in an airtight container in the refrigerator for 3–4 days. Reheat gently on the stovetop with a splash of broth, then cover and bake in a 325°F oven for 20–30 minutes, or microwave until warmed through. For longer storage, freeze cooled meat with gravy (potatoes don’t freeze well) for up to 3 months. See post for more storage tips and serving ideas. Tips
- Preheat the Dutch oven and pat the meat dry for the best sear.
- Don’t skip deglazing — those browned bits add major flavor.
- Fresh herbs give the best flavor, but dried will work.
- Use waxy potatoes like Yukon Gold or red; avoid russets.
- Cut vegetables evenly, so they cook at the same rate.
- Use a dry red wine or substitute beef broth if preferred.
Nutrition








Rate & Comment